How to Fix BSOD Error Code 0x0000001e
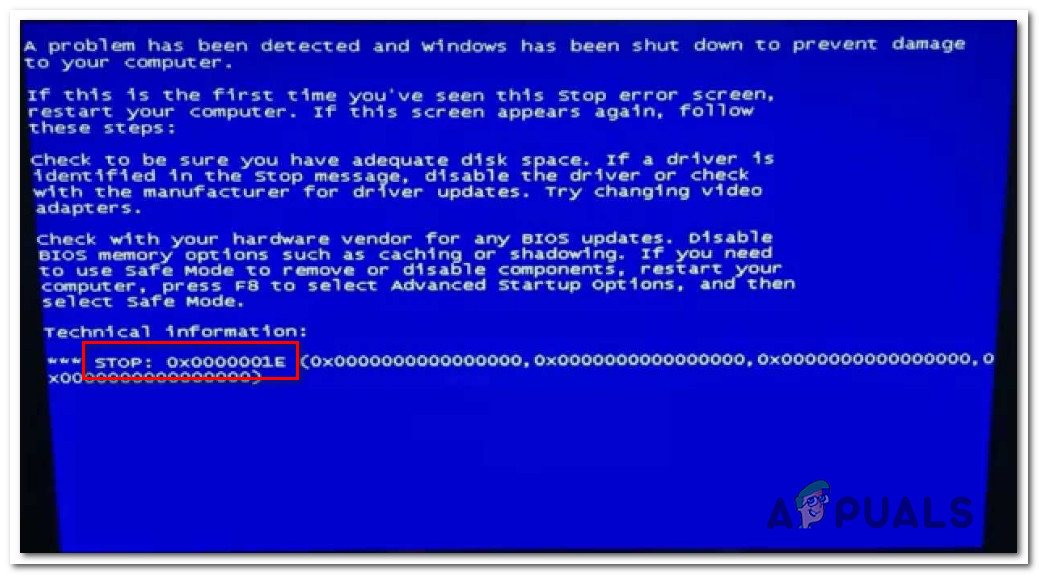
Several Windows users are reaching us with questions after getting frequent BSOD (Blue Screen Of Death) with the 0x0000001e Error Code. This particular error code can be translated to KMODE_EXCEPTION_NOT_HANDLED. It essentially means that the Windows kernel detected an illegal or unknown processor instruction. This can be caused by invalid memory access or by access violation similar to those that are responsible for generating Stop 0xA errors.
While some affected users are reporting that the issue occurs once or twice per day, other users are complaining that they see this critical error every 10 minutes or so. The issue is not exclusive to a certain Windows version, but the frequency is much higher on Windows 7.
What is causing the BSOD Error Code 0x0000001e?
We investigated this particular issue by looking at various user reports and the repair strategies that are commonly being used to fix this Blue Screen of Death crash. As it turns out, there are several different culprits that might be responsible for this crash:
- Windows 7 glitch – If you’re encountering this issue consistently on Windows 7 or Windows 10, chances are the issue is being caused by a glitch introduced with a security update. If this scenario is applicable, you should be able to resolve the issue by installing the appropriate hotfix (Windows 7) or by installing every pending update until the hotfix installs automatically (Windows 10).
- Insufficient PSU power – Based on several user reports, this particular issue can also occur if your Power Supply Unit is not powerful enough to provide enough power for the internals and for the connected peripherals. You can test this theory by disconnecting all non-essential peripherals. If the issue is indeed caused by the PSU, you should be able to resolve the problem by upgrading to a better PSU or by using a self-powered USB hub to take the load off the PSU.
- Bad RAM Memory – A bad RAM memory can also be responsible for this particular type of BSOD. You can test if this scenario is applicable to your situation by running the Windows Memory Diagnostic tool. If the results show that the RAM memory is bad, the only way to fix the issue is to invest in a healthy equivalent.
- Underlying system file corruption – System file corruption is one of the most common causes known to facilitate the apparition of this issue. In most cases, the problem appears due to corruption inside the Boot Configuration files. If this scenario is applicable, you should be able to resolve the issue by running DISM or SFC scans, or (in exceptional scenarios) to perform a repair install.
Method 1: Installing the hotfix for the 0x0000001E error
If you’re experiencing intermittent crashes with the 0x0000001E error on a Windows 7, Windows 8.1 or Windows 10 computer, chances are the issue is being caused by a system memory leak problem that Microsoft has already patched.
If this scenario is applicable, this issue occurs when an application opens a file that has an oplock on it for modification. Whenever this occurs, NTFS will break the oplock, which in turn will leak nonpaged pool memory. This will end up causing excessive memory usage and other memory allocation features that will trigger the 0x0000001E error.
Fortunately, if this is the case with your scenario, you can resolve it easily by installing the appropriate hotfix for this issue.
Note: If you’re in Windows 7, you can install it manually from this link (here)
The most efficient way of ensuring that the appropriate hotfix gets installed is to install every pending Windows update until you bring your operating system build to the latest. Here’s a quick guide on how to do this:
- Press Windows key + R to open up a Run dialog box. Next, type “wuapp” and press Enter to open up the Windows Update screen.
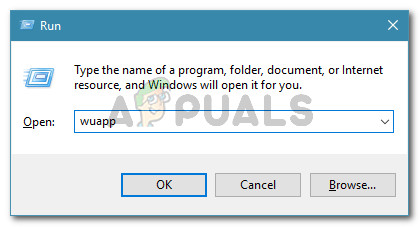
Running dialog: wuapp Note: If you are on Windows 10, use ‘ms-settings:windowsupdate‘ instead.
- Once you’re inside the Windows Update screen, click on Check for Updates to initiate an update scan. If new updates are available, follow the on-screen prompts to install every pending update.
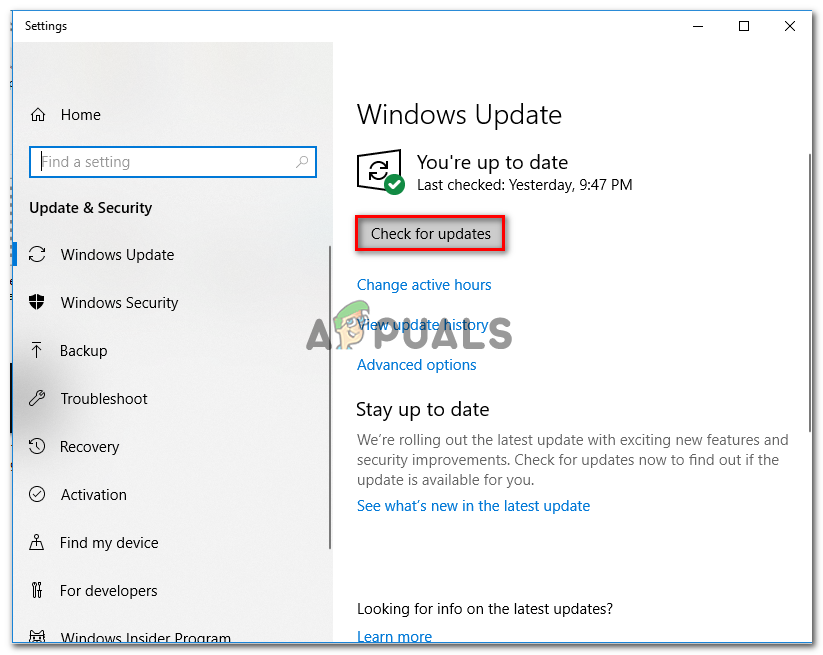
Installing every pending Windows update Note: If you’re prompted to restart your PC before every update is installed do so, but make sure to return to the same screen and continue updated until every pending update is installed.
- Once every pending update is installed, see if the BSOD with the 0x0000001e crashes are still occurring.
If you’re still having the same issue, move down to the next method below.
Method 2: Disconnect non-essential peripherals (if applicable)
As it turns out, an overworked PSU (Power Source Unit) can also be responsible for the 0x0000001e BSOD. If you have a lot of peripherals connected to your computer, it’s a good idea to remove all non-essential one just to see if the issue is still occurring.
Disconnect all non-essential and use your computer normally to see if the BSOD crash is still occurring. If the crashes stop altogether, you’ve successfully determined that you’re dealing with a power issue. In this case, you have two ways of mitigating the problem:
- Upgrade to a more powerful PSU that is capable of supplying enough power to all your connected devices.
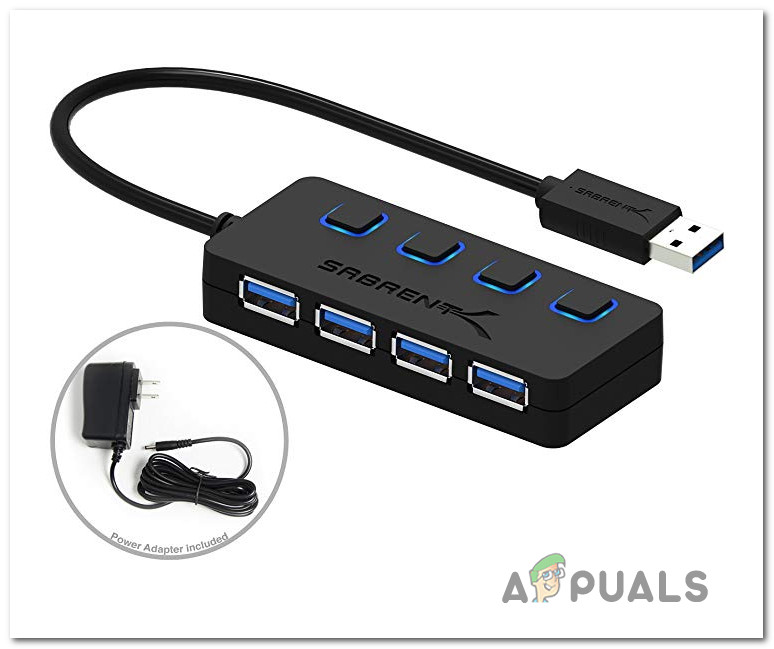
- Buy a USB Hub with its own Power Supply to take some load off your PSU.
If this method wasn’t applicable to your particular scenario, move down to the next method below.
Method 3: Running a Memory test
If you’ve come this far without a result, you should take the appropriate tests to ensure that you’re not dealing with a memory problem. As it turns out, faulty RAM can also be responsible for BSODs associated with the 0x0000001e stop code.
Fortunately, Windows includes a tool that you can use to see if you’re dealing with faulty RAM memory. Follow the instructions below to test your RAM with the Windows Memory Diagnostic Tool:
- Press Windows key + R to open up a Run dialog box. Then, type “mdsched” inside the text box and press Ctrl + Shift + Enter to open up the Windows Memory Diagnostic tool with admin access. When prompted by the UAC (User Account Control), click Yes to grant administrative privileges.

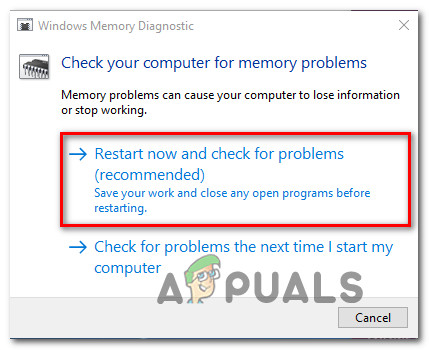
Accessing the Memory Diagnostics Tool from a Run box - Once you get to the Windows Memory Diagnostic issue, click on the Restart now and check for problems.
Performing a Windows Memory Diagnostic Check - At the next startup, your computer will boot directly into the Windows Memory Diagnostics Tool. Wait until the process is complete – do not exit the setup until the scan is finished.
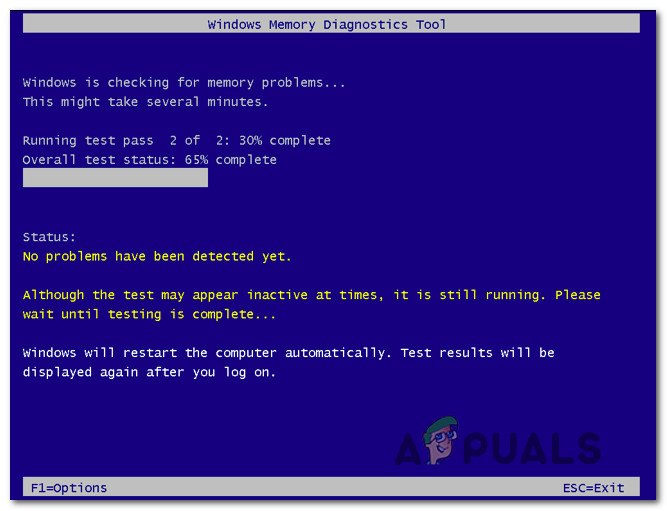
Scanning using the Windows Memory Diagnostics tool - If no problems are found, exit the setup and move directly to the next method below.
Note: If the scan reveals a problem with your RAM, the only way to stop the BSOD crashes associated with the 0x0000001e stop code is to invest in another memory altogether.
If this scan didn’t reveal any underlying problems with your RAM, move down to the next method below.
Method 4: Performing SFC & DISM scans
As it turns out, this issue can also be caused by some kind of system file corruption. If some file used during the booting sequence is being affected by corruption, you might experience constant BSOD crashes with the 0x0000001e stop code.
Several affected users have reported that they managed to resolve the issue by running a couple of built-in utilities capable of fixing system file corruption without going for a radical solution like uninstalling the Windows.
SFC (System File Checker) and DISM (Deployment Image Servicing and Management) are two utilities capable of repairing system files, but they do it in different ways. SFC will repair corrupted files by replacing them with locally stored copies, while DISM relies on WU (Windows Update) to download healthy copies in order to replace corrupted files.
However, the two utilities complement each other, so we advise you to do both scans if possible, to ensure that you try to fix every possible corruption instance. Here’s a quick guide on running SFC and DISM scans from an elevated Command Prompt:
- Press Windows key + R to open up a Run dialog box. Then, type “cmd’ inside the text box and press Ctrl + Shift + Enter to open up a Run dialog box.

Running CMD as an administrator Note: When you’re prompted by the UAC (User Account Control), click on Yes to grant administrative privileges to the Command Prompt window.
- Inside the elevated Command Prompt, type the following command and press Enter to initiate an SFC scan:
sfc /scannow
Note: Keep in mind that once this procedure is initiated, wait until the scan is finished without closing the CMD window, otherwise you run the risk of causing even more system corruption
- Once the process is complete, close the elevated Command Prompt and restart your computer to finish the process. At the next startup sequence, follow step 1 again to open another elevated CMD window.
- Once you’re inside the elevated CMD window again, type the following command and press Enter to initiate the DISM scan:
DISM /Online /Cleanup-Image /RestoreHealth
Note: This procedure will require a stable internet connection in order to complete the process. DISM relies on WU (Windows Update) to replace corrupted files with clean instances.
- Once the scan is finished, do a final restart and see if the BSOD with the 0x0000001e Error Code is still occurring.
If you’re still struggling with constant BSOD critical 0x0000001e Error Codes, move down to the final method below.
Method 5: Performing a repair/clean install
If none of the methods above have allowed you to resolve the issue so far, one of your last potential fixes is to refresh every Windows component. If this doesn’t fix the problem, it’s clear that you’re PC is suffering from an underlying hardware issue that wasn’t discovered using the methods above.
The best way to do this is by performing a repair install. This procedure will refresh every Windows component while allowing you to keep all personal data including photos, videos, images, applications, games, etc. If you want to perform a repair install, follow the guide (here).
You can also go for the more severe solution and go for a clean install (here) instead.


