How To Export Your Discord Chats [Easiest Method]
 Reviewed by Huzaifa Haroon
Over the past few years, Discord has moved beyond its roots as a platform for gamers and now welcomes people from all backgrounds. Discord’s success is clear—it continuously enhances the user experience by introducing a wide array of innovative and unique features that make chatting with friends both enjoyable and engaging.
Features such as automated bots, mini-games, and screen sharing, combined with an intuitive interface, make Discord an excellent application for socializing and collaboration.
Despite its many strengths, Discord still lacks some functionalities, including the ability to export chats natively. Fortunately, this limitation can be overcome easily by following this guide, which demonstrates how to export your Discord messages using an effective third-party tool.
Ways to Export Discord Chats
You can export your Discord chats on Windows, Linux, and macOS devices. Follow the comprehensive steps below to start exporting your chat history.
1. The Classic Copy-Paste Method
The simplest way to export your Discord chats is by using the basic copy and paste function to transfer chat content into Notepad or a similar text editor. While this approach may not be the most efficient for lengthy conversations, it is quick, accessible, and can be invaluable when you need to save important information immediately.
- Highlight the chat you wish to export by clicking and dragging your mouse over the messages while holding down the left mouse button.
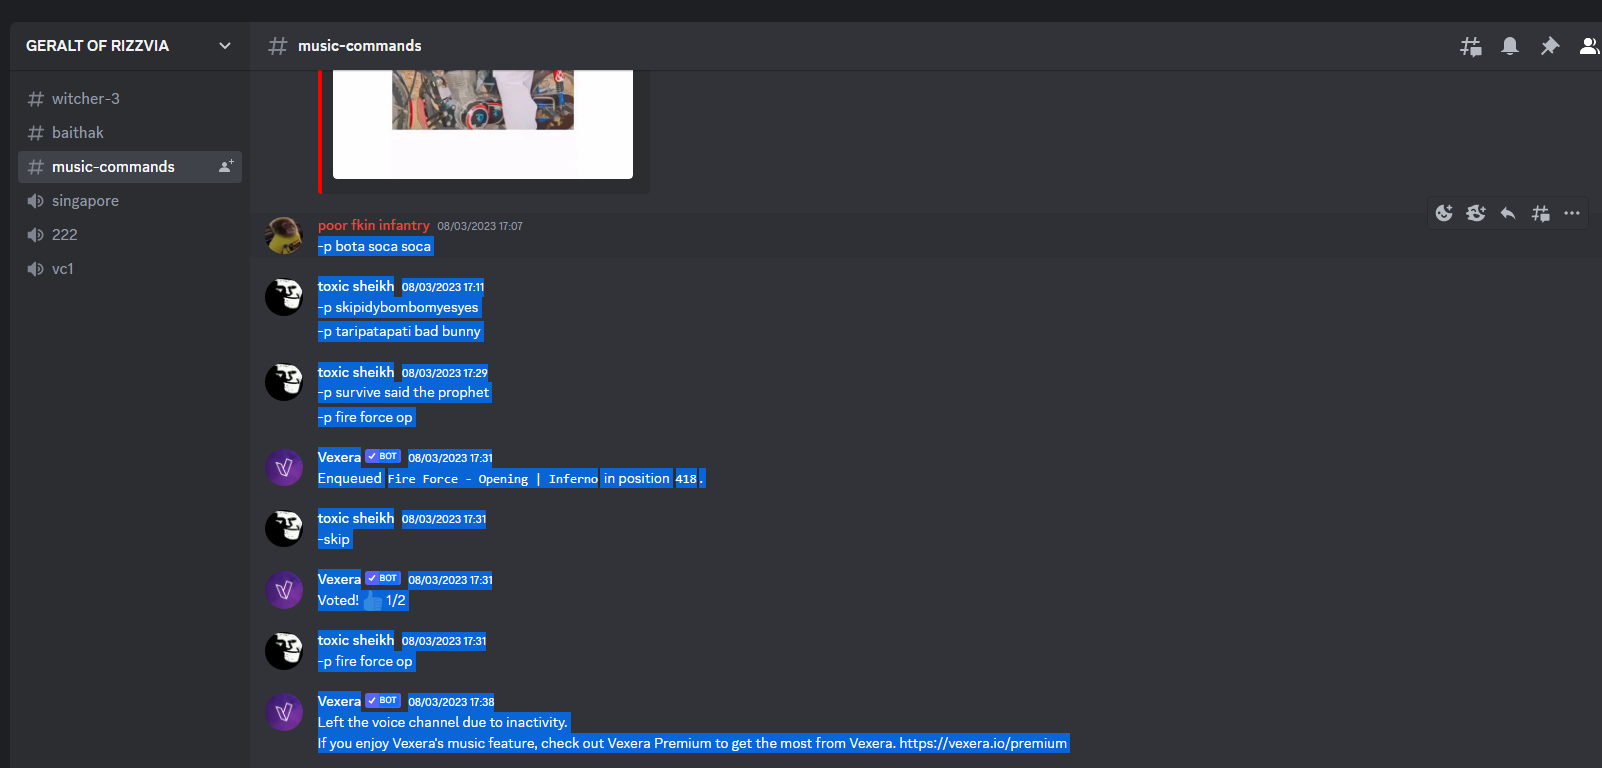
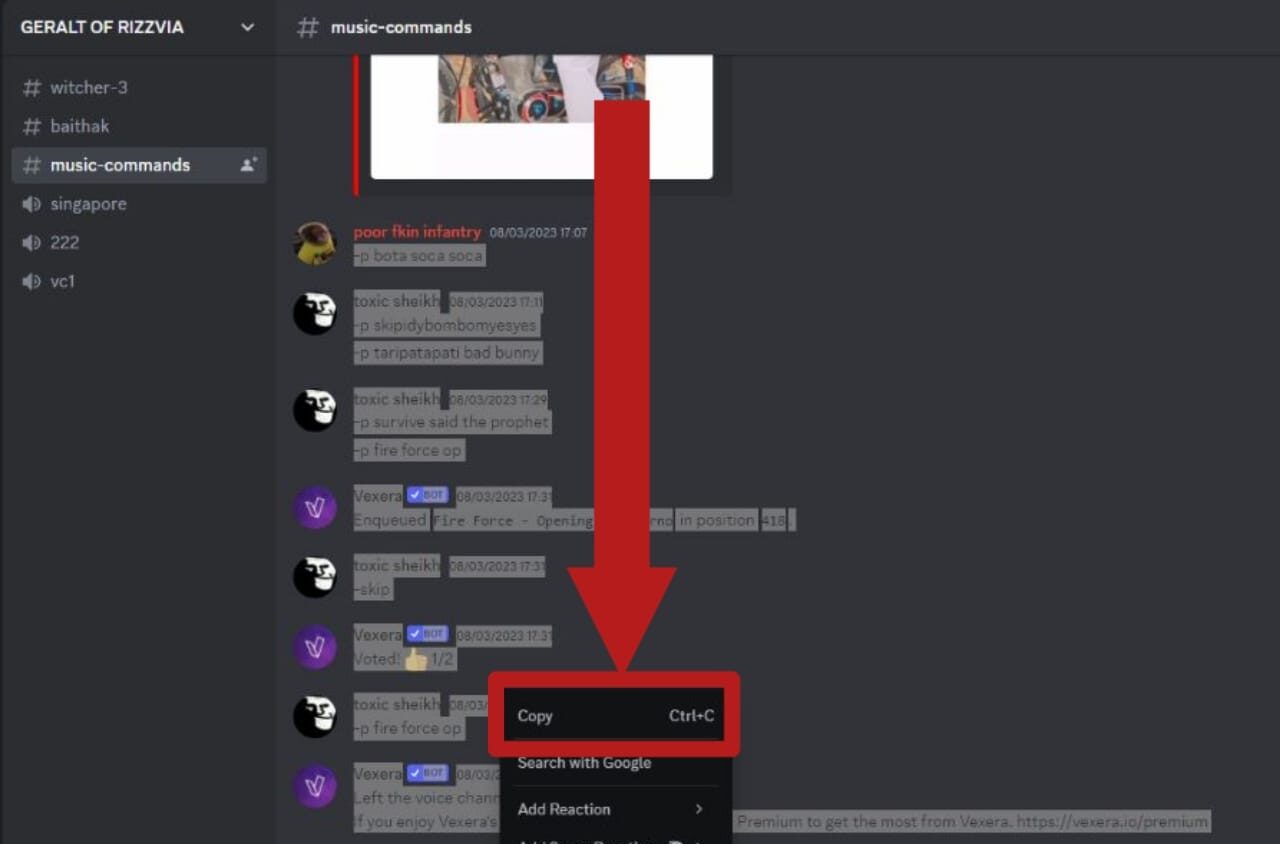
Highlight the chat you want to copy - Once you have selected the desired messages, right-click to open the context menu.

Right-click to open the menu - Click on Copy from the right-click menu.
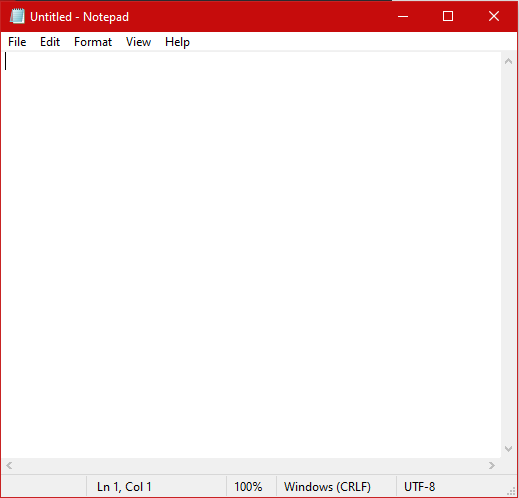
Select Copy from the right-click menu - Open Notepad or any preferred text editor.
Open up Notepad - Right-click inside the text editor and select Paste to insert the copied chat.
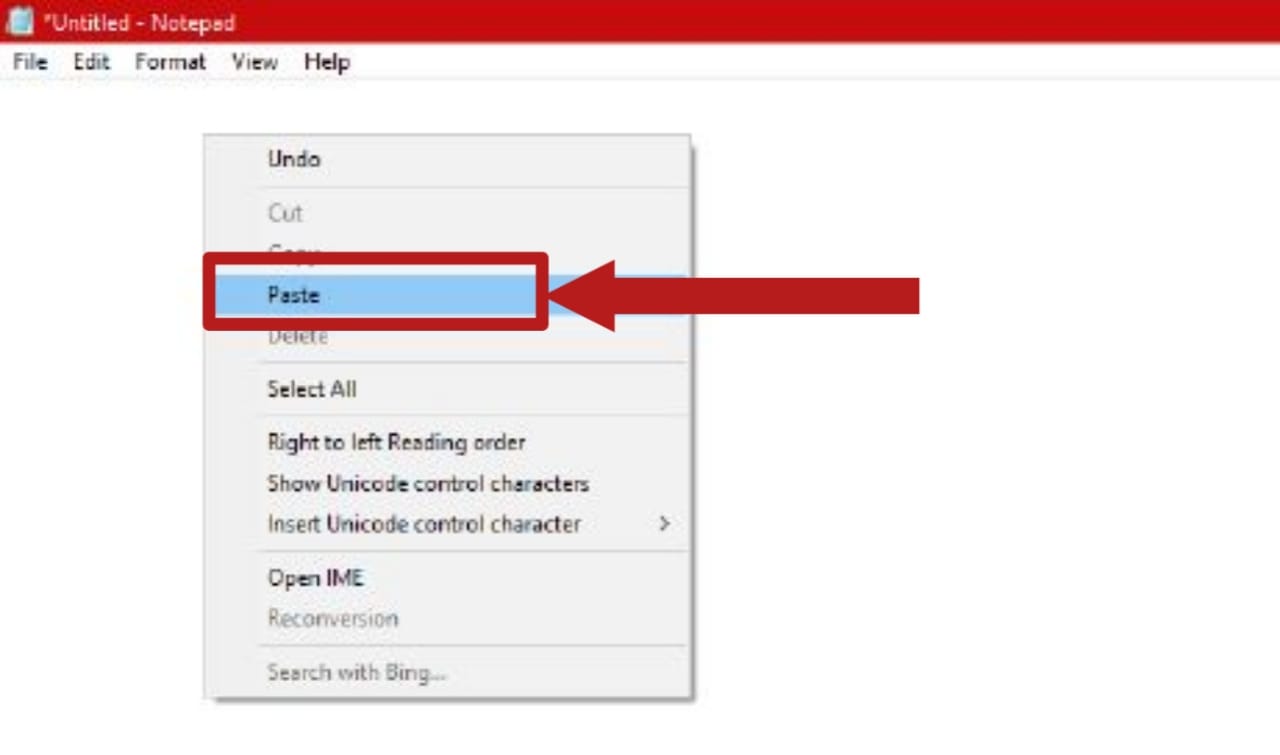
From the right-click menu, select Paste - The selected chat messages will appear in Notepad. Save the document as a .txt file by clicking File and selecting Save.

Click on File and Select Save to export your chat as a .txt file
2. Using DiscordChatExporter
DiscordChatExporter is a free, open-source tool designed specifically to help users export their Discord chat histories. It supports Windows, Linux, and macOS, allowing you to create local backups of your messages safely and efficiently.
This utility comes in two versions: a Graphical User Interface (GUI) and a Command Line Interface (CLI). Currently, the GUI version is only available for Windows users. The following steps will guide you through exporting and saving your Discord chats with DiscordChatExporter.
Using the GUI Version
- Download the GUI version from this link. Look for the file named ‘DiscordChatExporter.zip’.
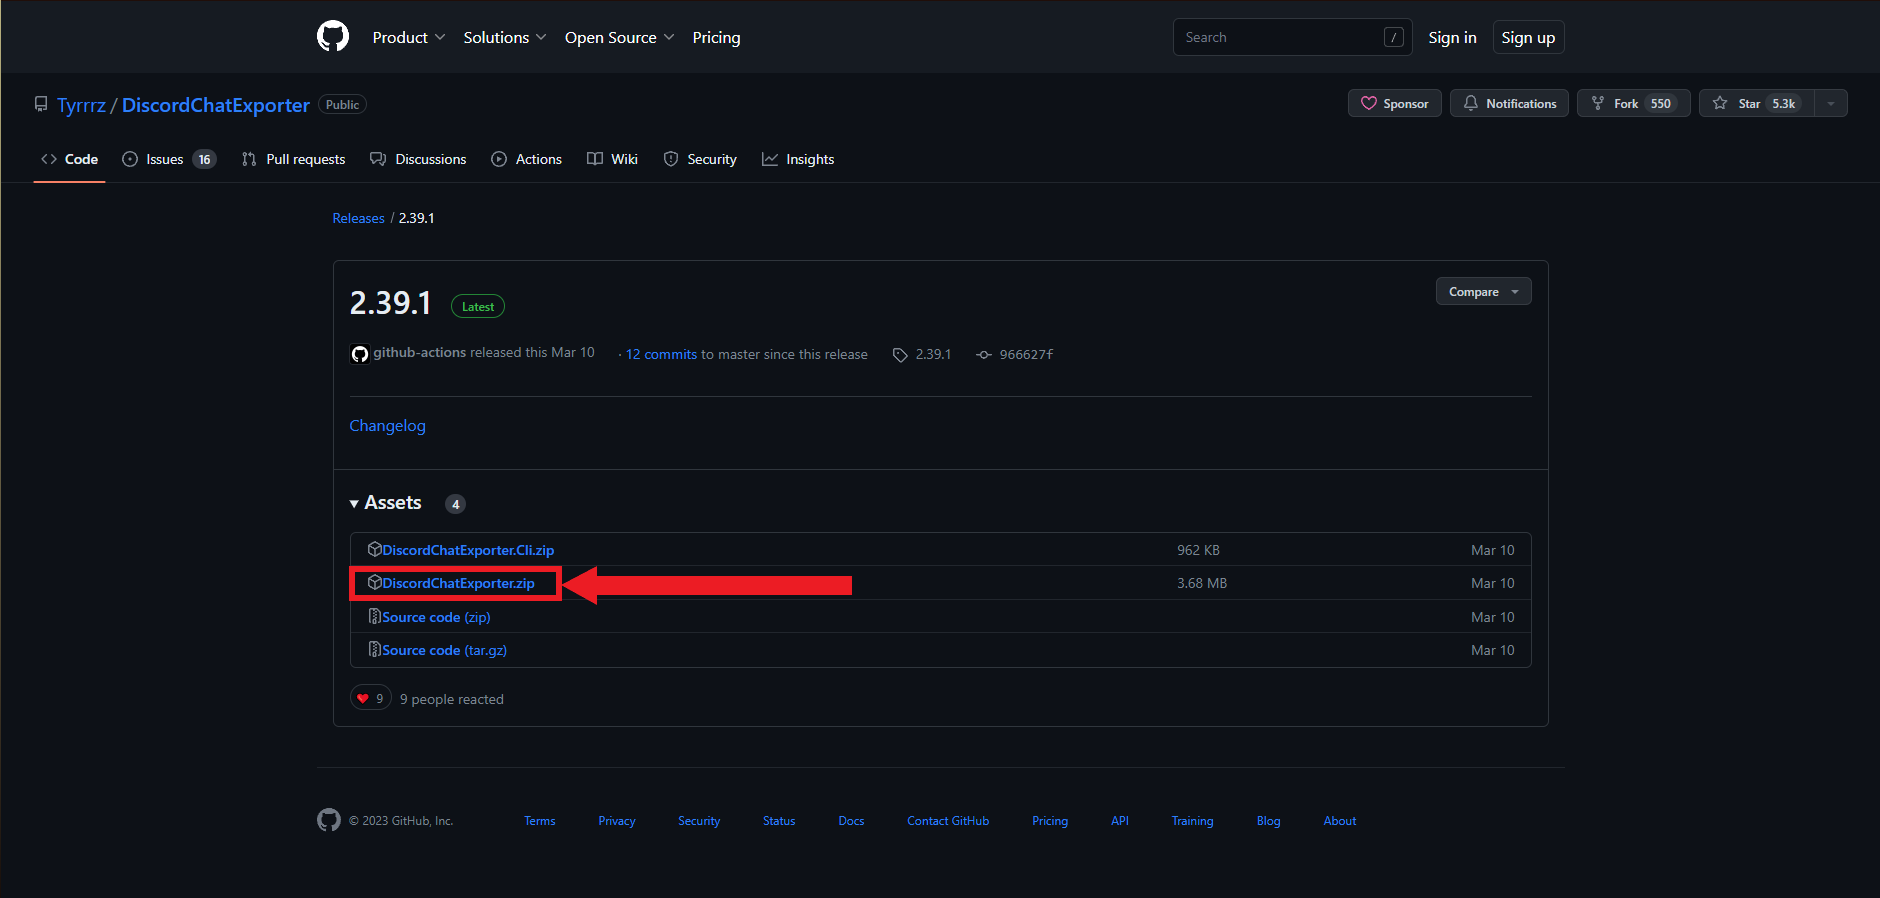
Click on this zip file to begin downloading - When the download is complete, extract the contents of the ZIP file to your preferred location on your computer.
- Open the extracted application. You may be prompted to install additional components; approve these installations, as they are required for the tool to run correctly.

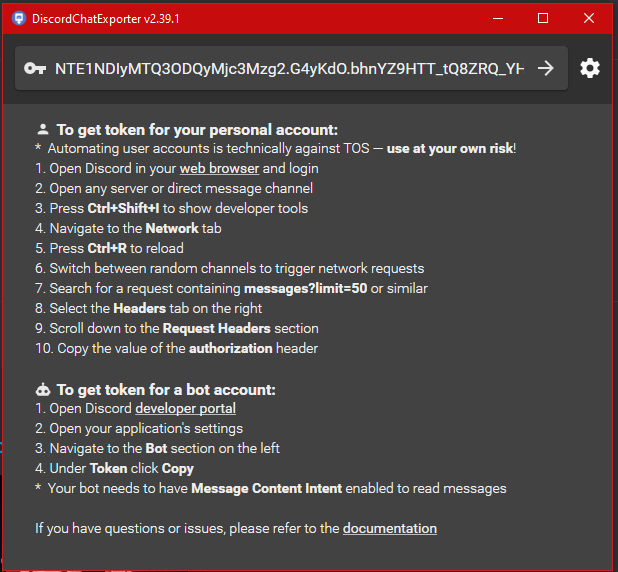
The DiscordChatExporter app screen - The tool will prompt you for your Discord user token. This information cannot be accessed directly from your Discord account, but the DiscordChatExporter developers have provided instructions within the app. Follow these guidelines carefully to safely retrieve your token.
Note: Keep your Discord token confidential. Sharing it can result in compromised account security.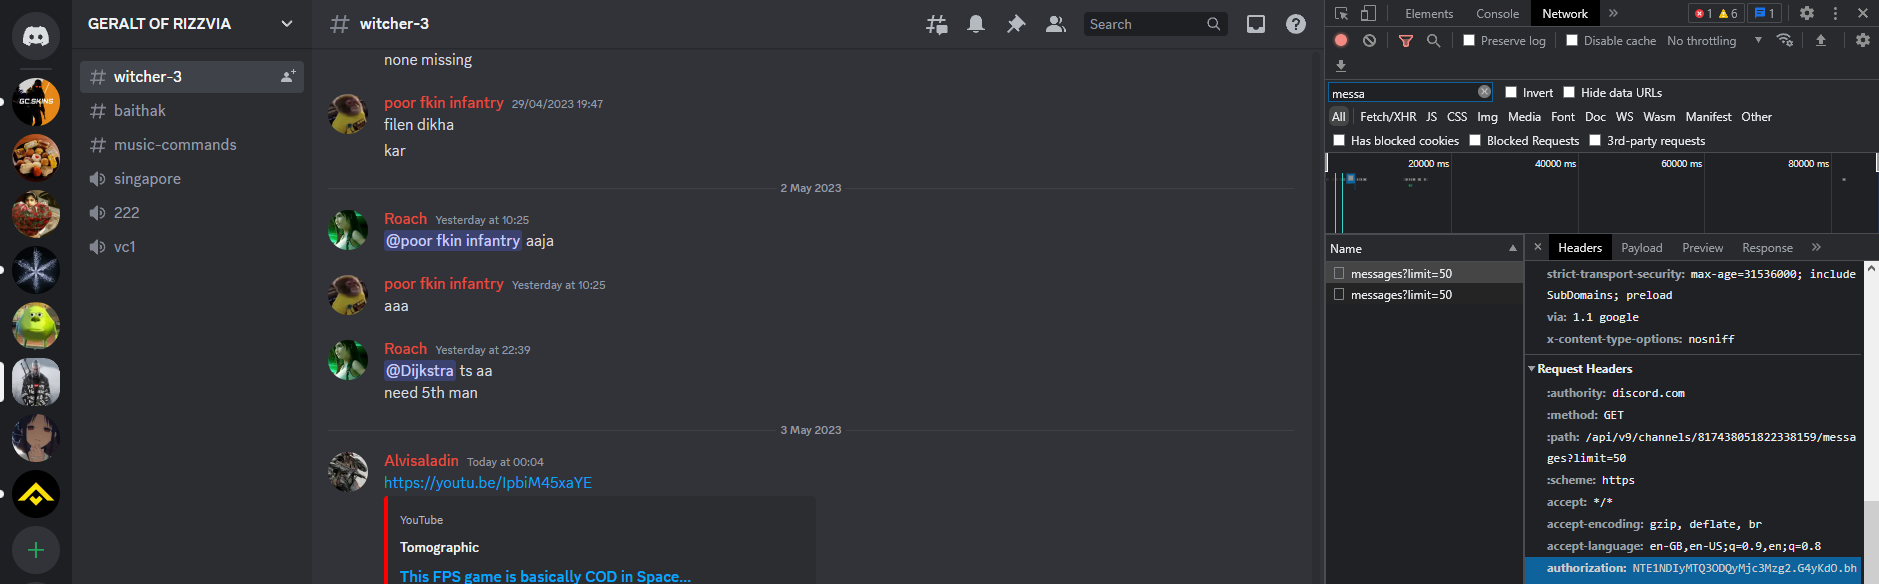
Obtaining your Discord token by following the instructions in the app - After acquiring your Discord token, enter it into the application.
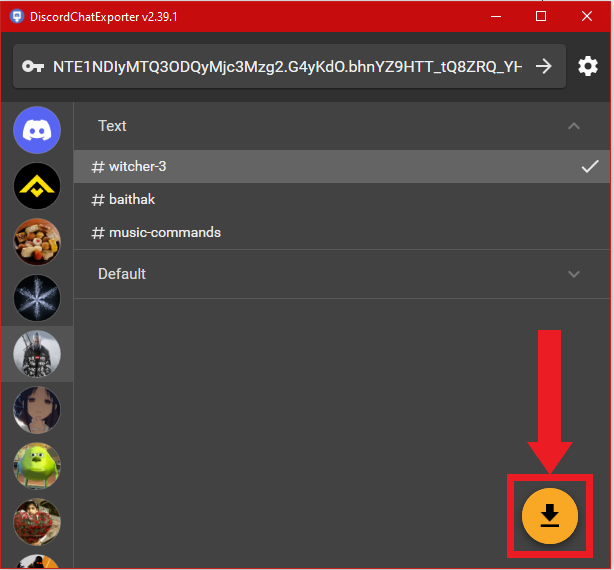
Entering the Discord user token - You can now select the channels or chats you wish to export. To export multiple channels, hold the Shift key and select the first and last channels in the list. Then, click the download button to begin exporting.
Select your desired chat and click on the download button - A dialog box will appear, allowing you to choose the output path and file type. We recommend selecting the TXT format because it is smaller, easier to share, and can be edited as needed. Confirm your choices by clicking Export.
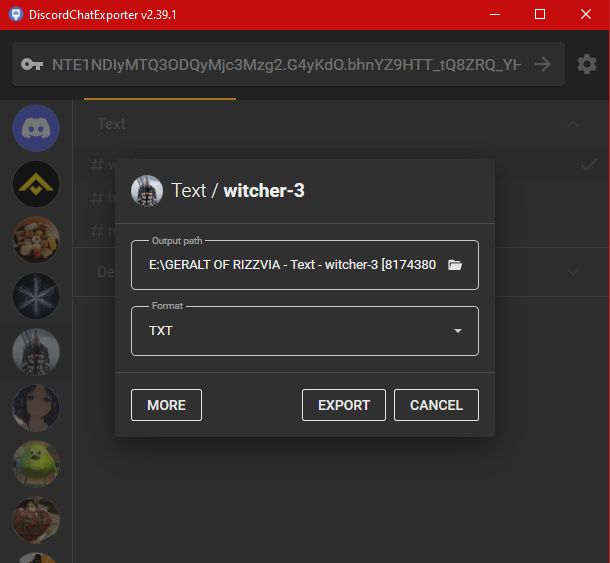
Select your desired name, format, and output path - The export process will commence. You can monitor the progress using the yellow loading bar beneath the token input field.

The yellow bar below the token represents export progress - After completion, you will find a comprehensive log of your chat history at the previously selected output location.

The export file will be found at the output path you set
Using the CLI Version
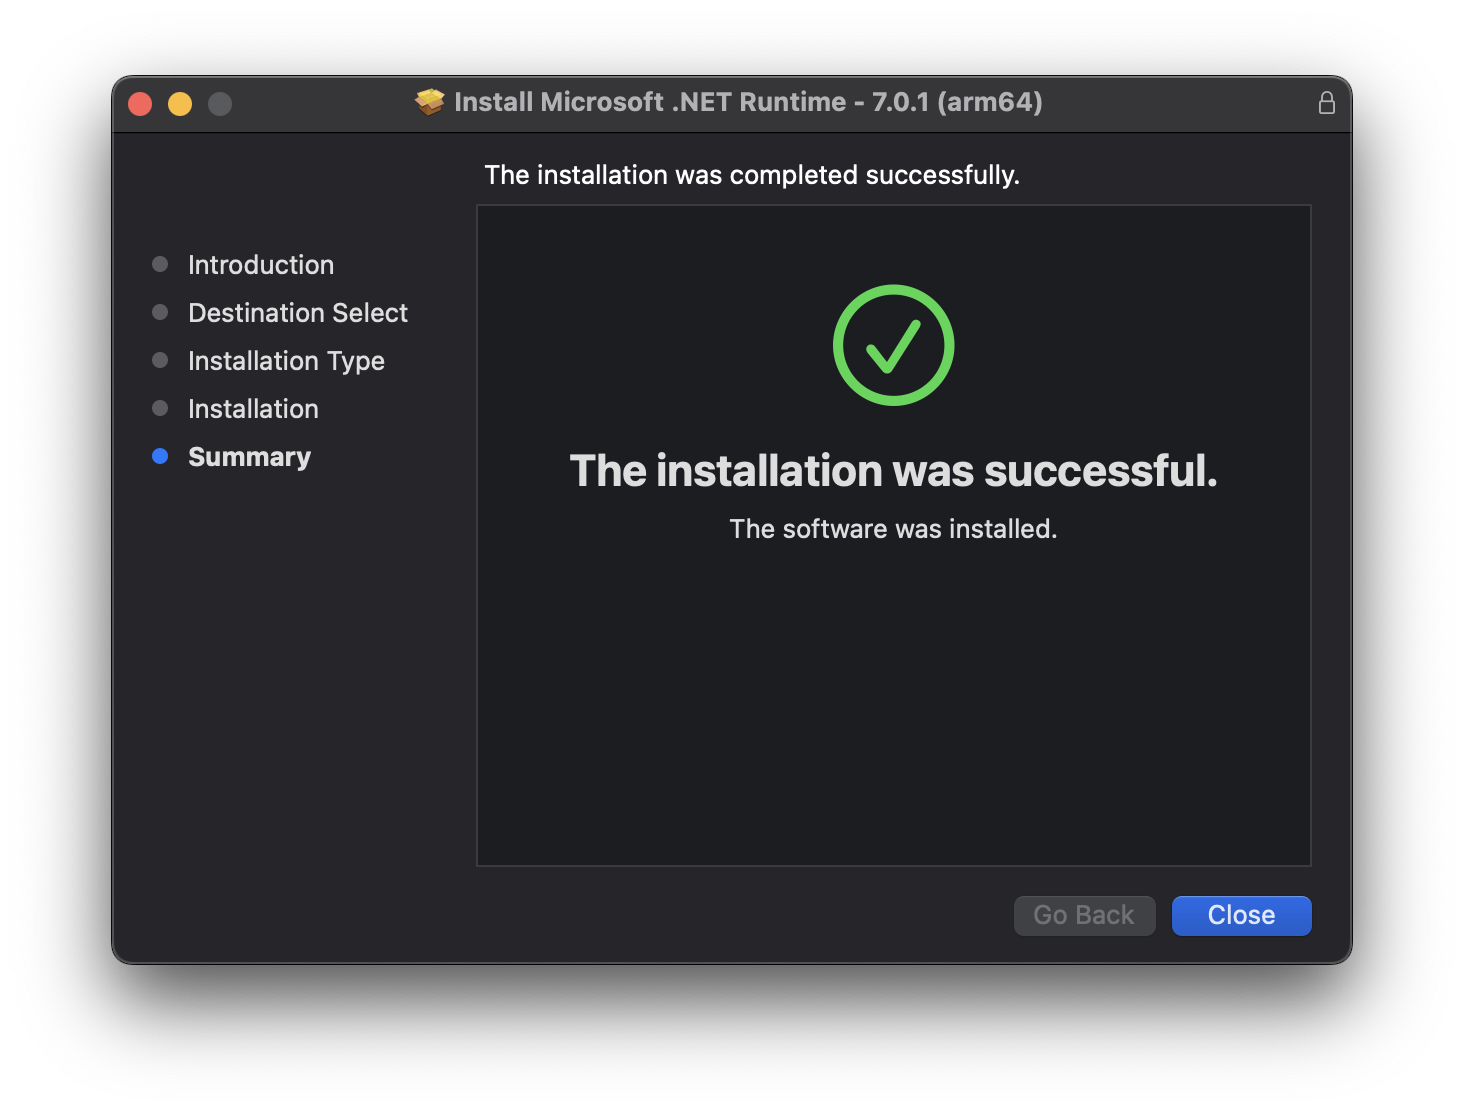
- First, download .NET v7.0 Runtime from this link. We demonstrate using the macOS version here. This runtime component is essential for running the CLI version of DiscordChatExporter. Install it when the download is complete.
.NET Runtime installation on macOS - Download the ‘DiscordChatExporterCli.zip’ file from this link.
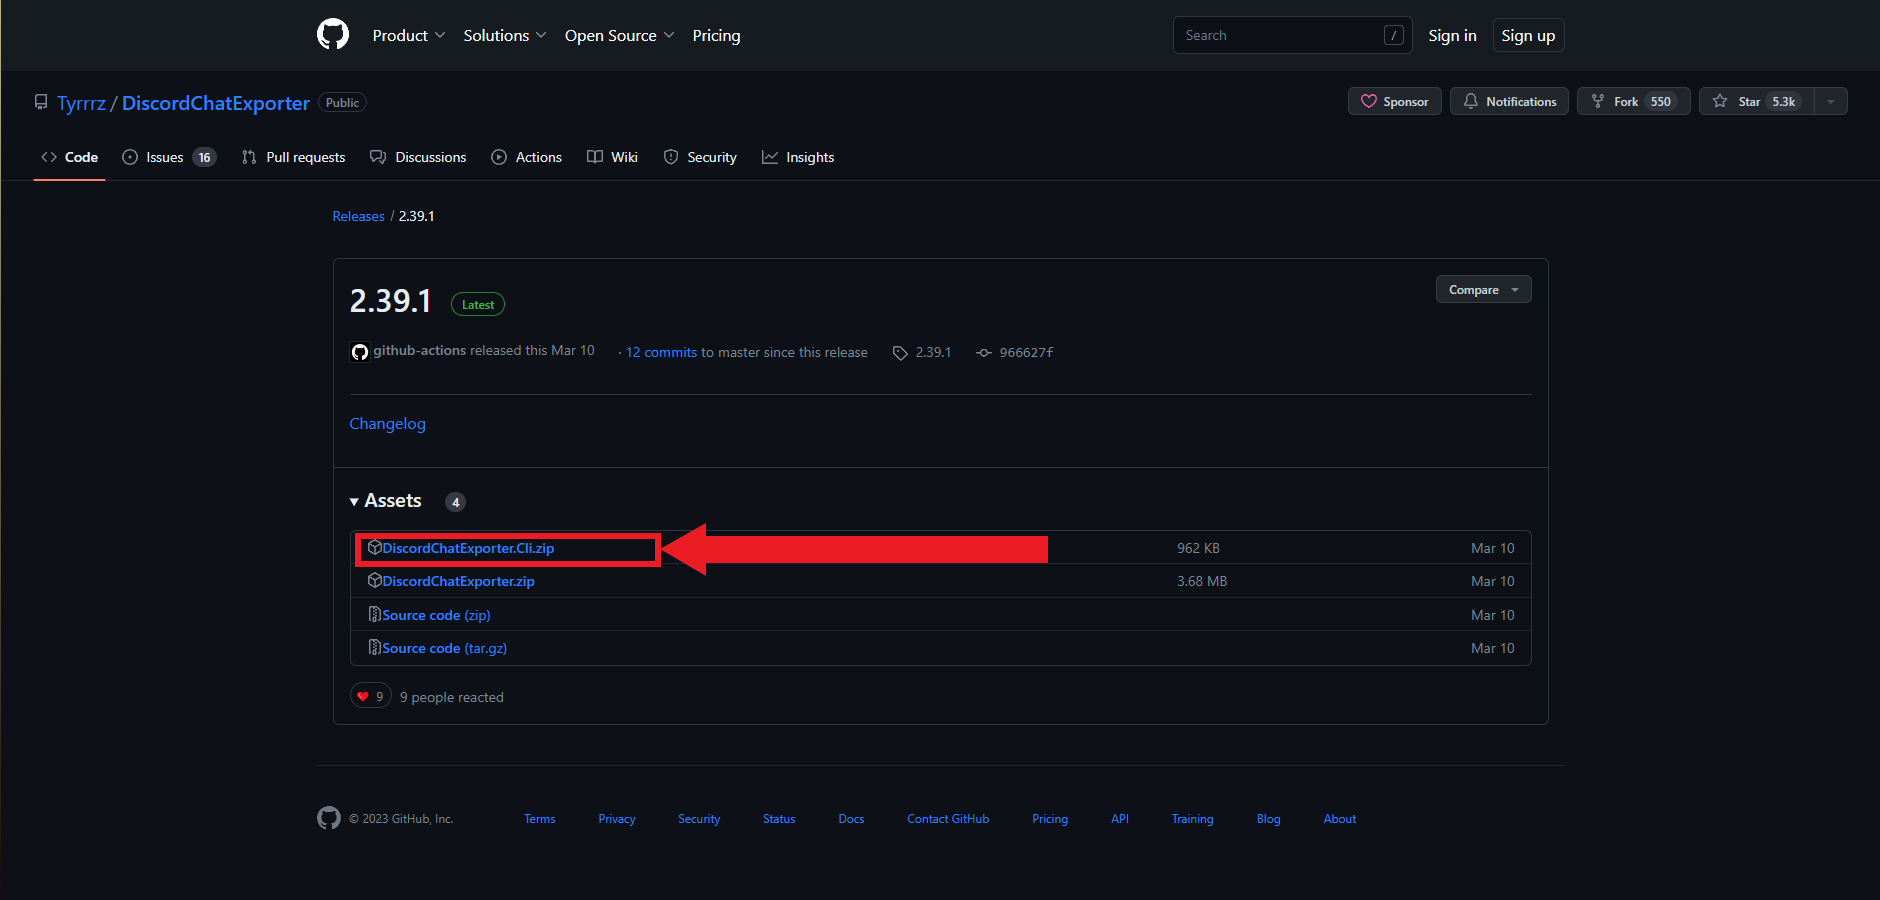
Click on this zip file to begin downloading it - After downloading, extract the files to the appropriate directory, such as your C drive, where the .NET Runtime is installed.
- Open your command-line interface: Command Prompt for Windows (with administrator rights), Terminal for macOS, or the Linux CLI for Linux users.
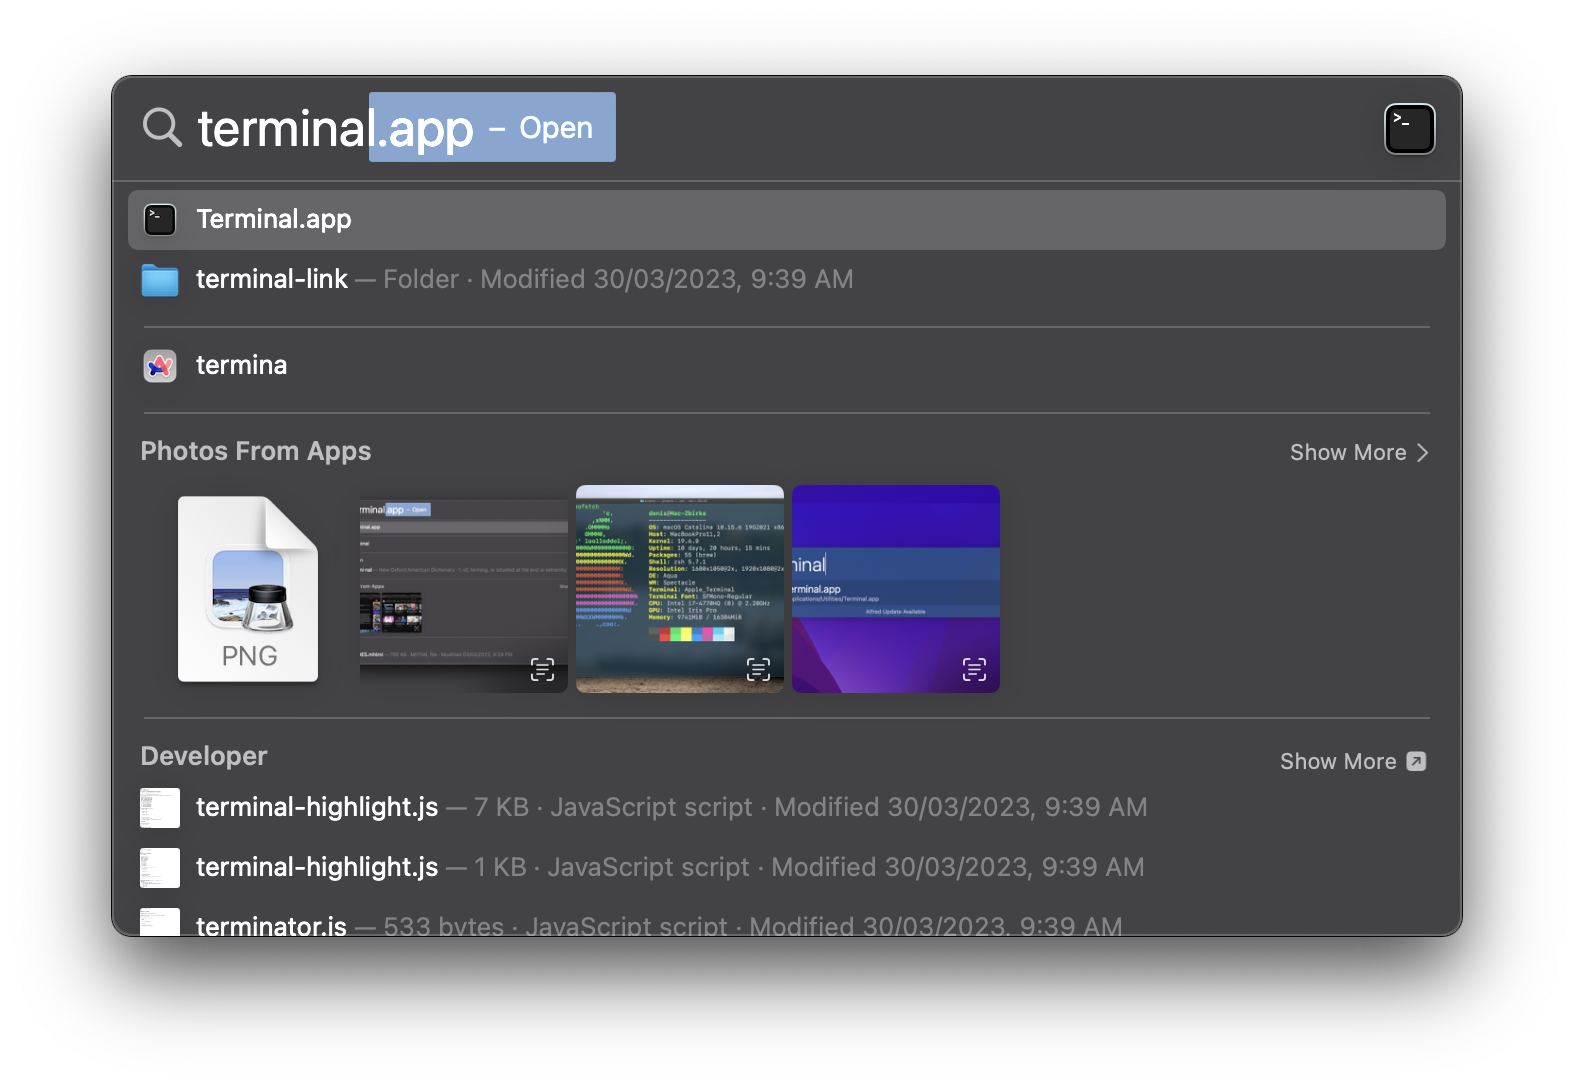
Opening Terminal by searching for it with Spotlight -
Navigate to the directory where you extracted DiscordChatExporter CLI by running the following command:
cd [destination path of where you extracted the DiscordChatExporter CLI]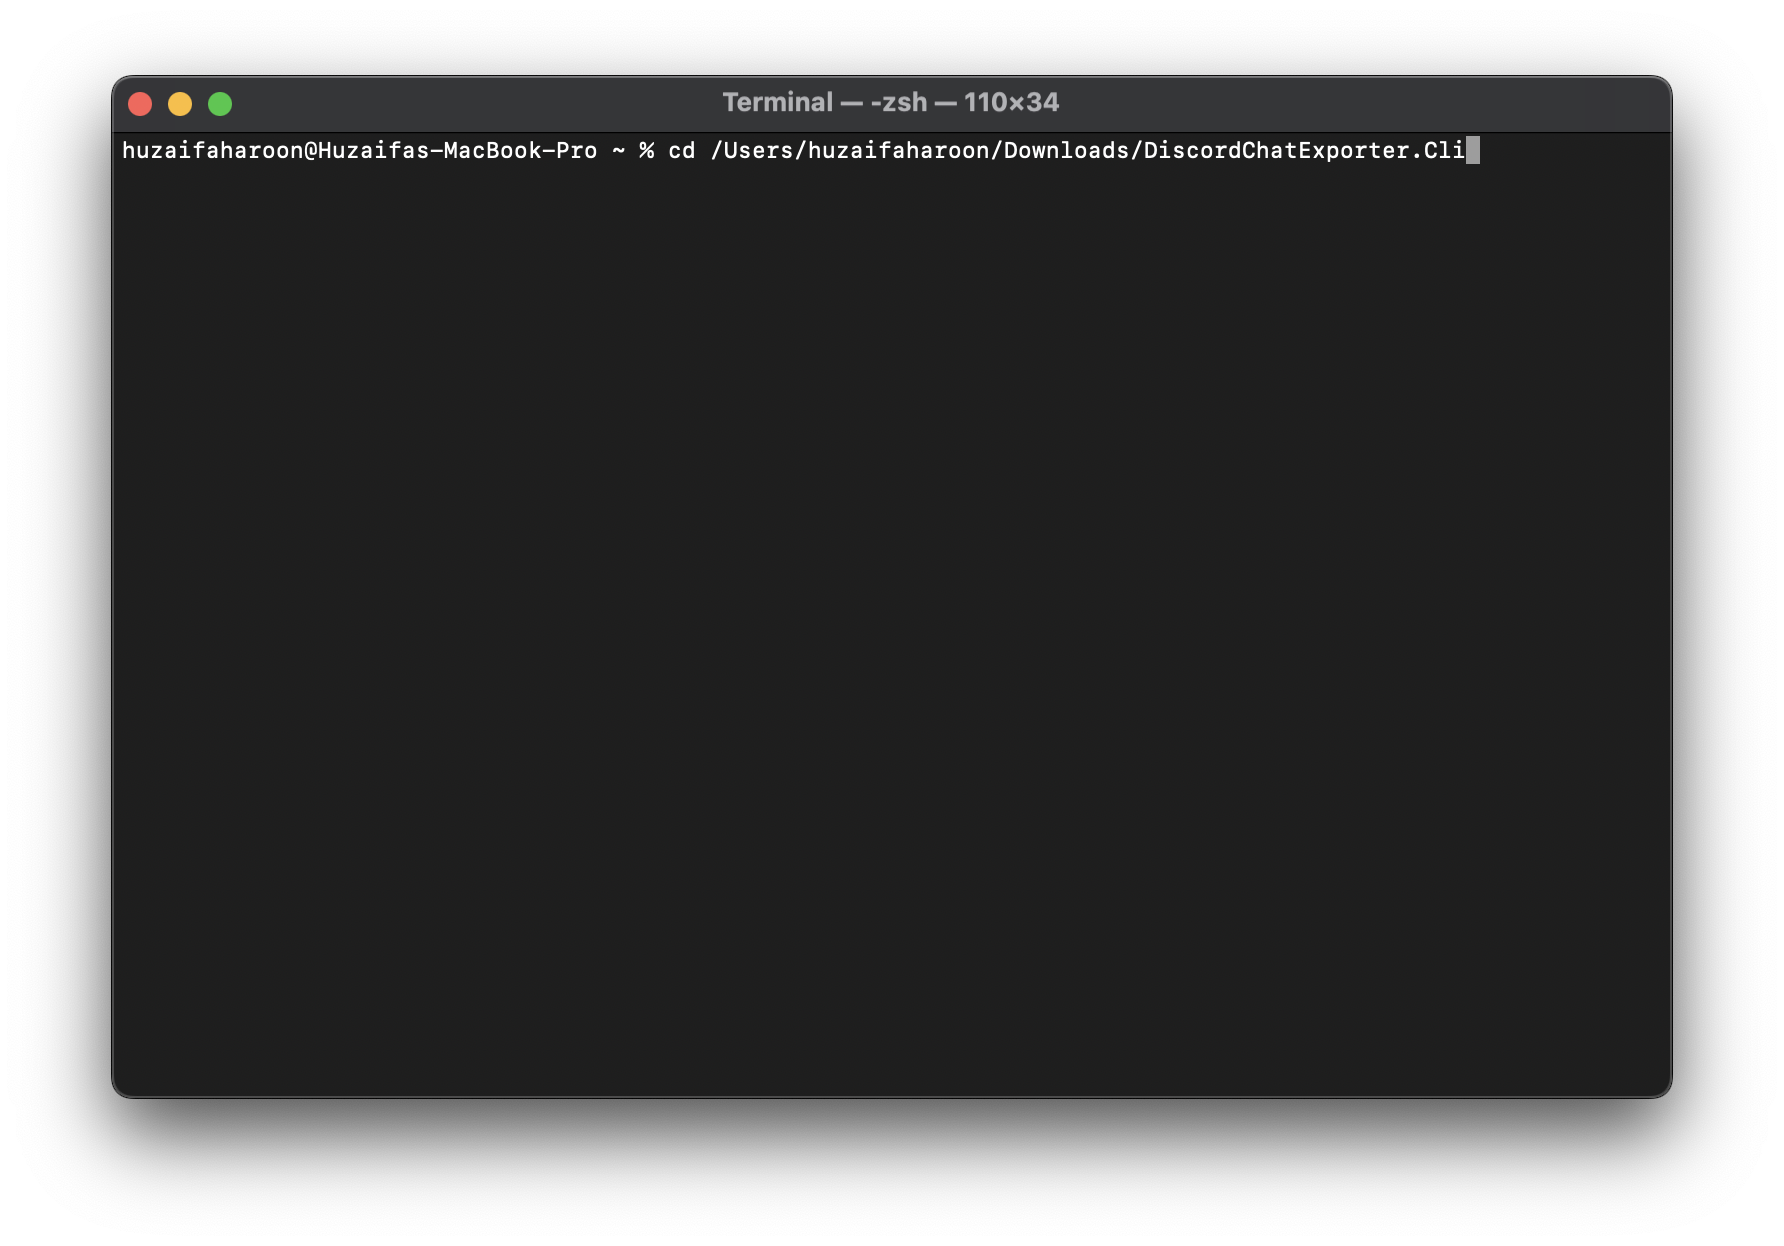
Typing in the pathname in Terminal - Next, you will need your Discord user token and the channel ID you wish to export chats from. Obtain both by following the guides provided by the DiscordChatExporter developers here. Copy these values into Notepad or a secure text editor.
- Once you have your user token and channel ID, enter the following command to start the CLI application:
dotnet DiscordChatExporter.Cli.dll
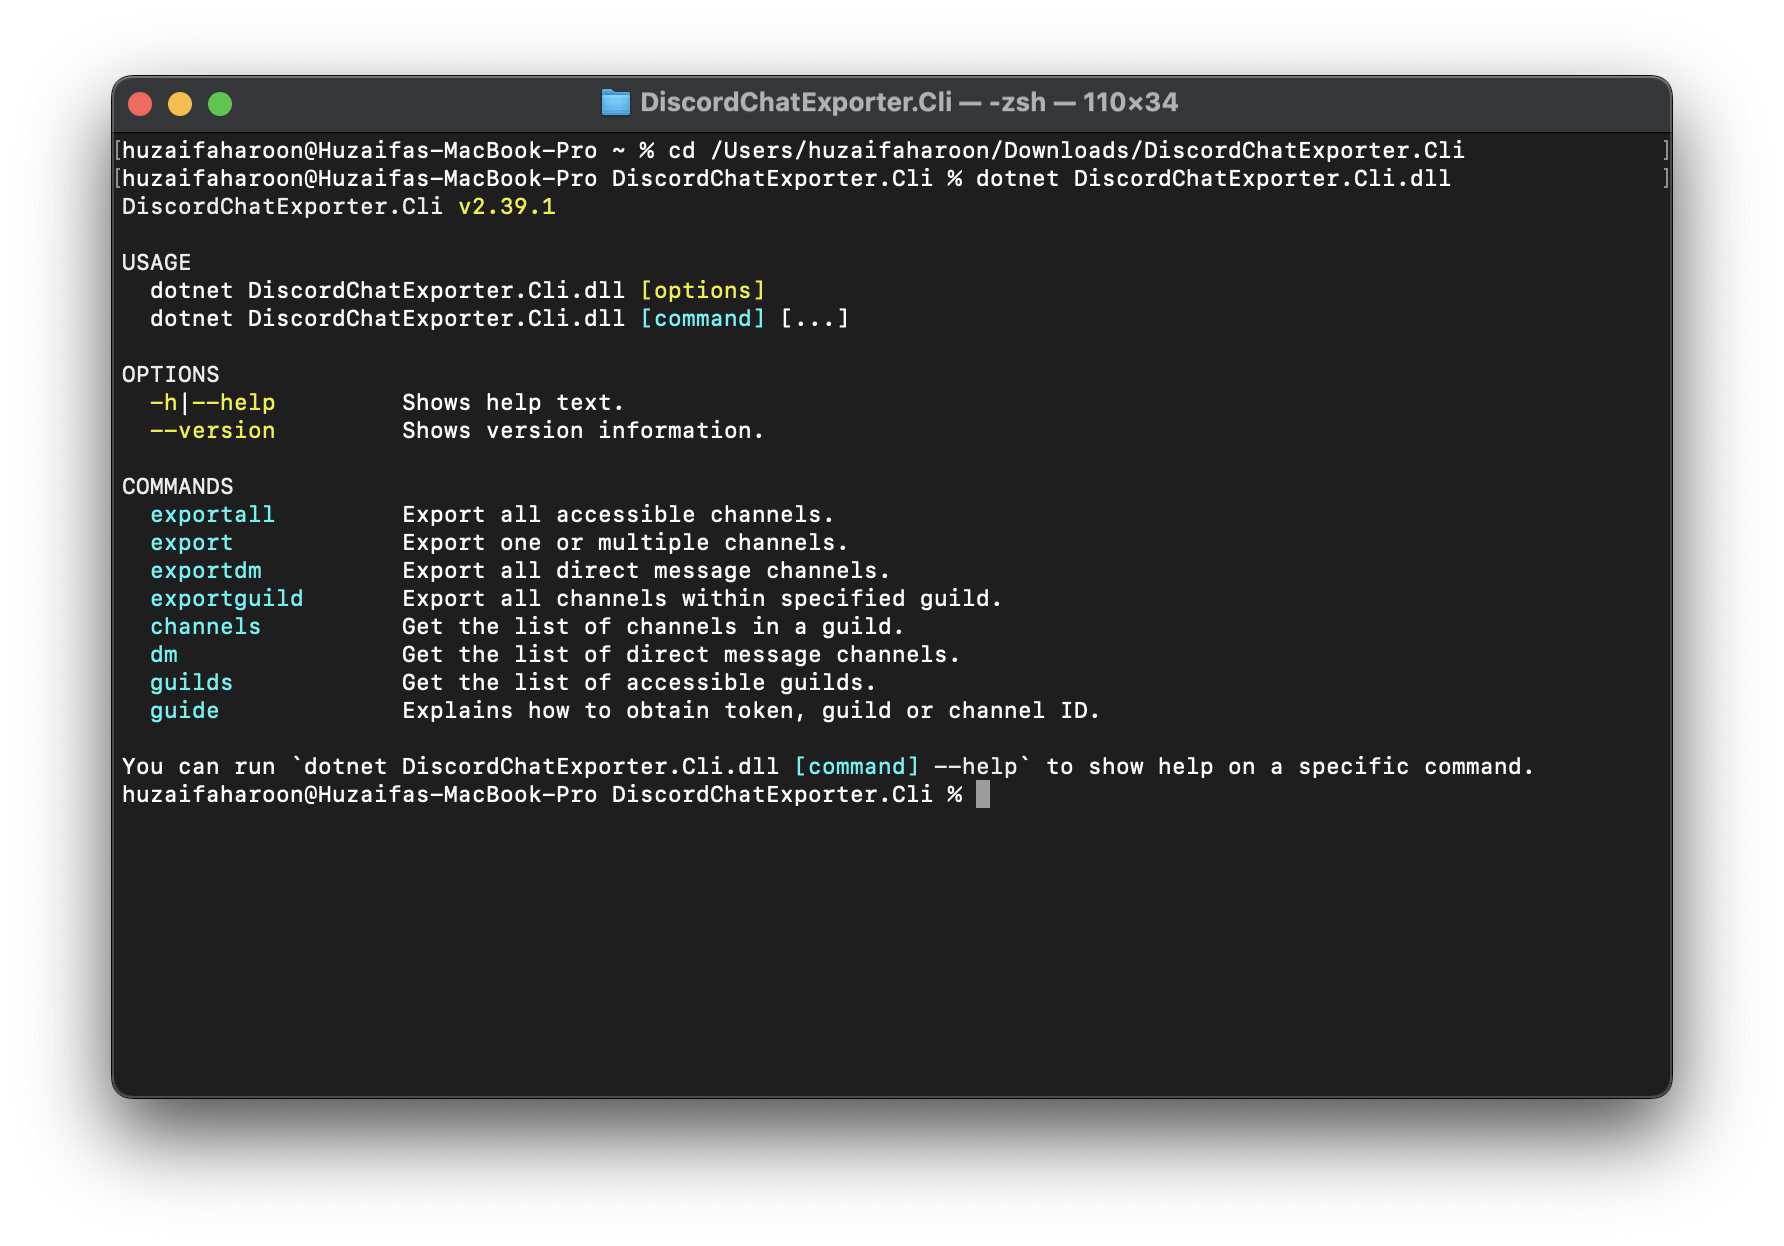
Running the DLL command - To begin exporting your chat, enter this command, replacing “token” with your actual token and 0000 with your channel ID:
dotnet DiscordChatExporter.Cli.dll export -t “token” -c 0000
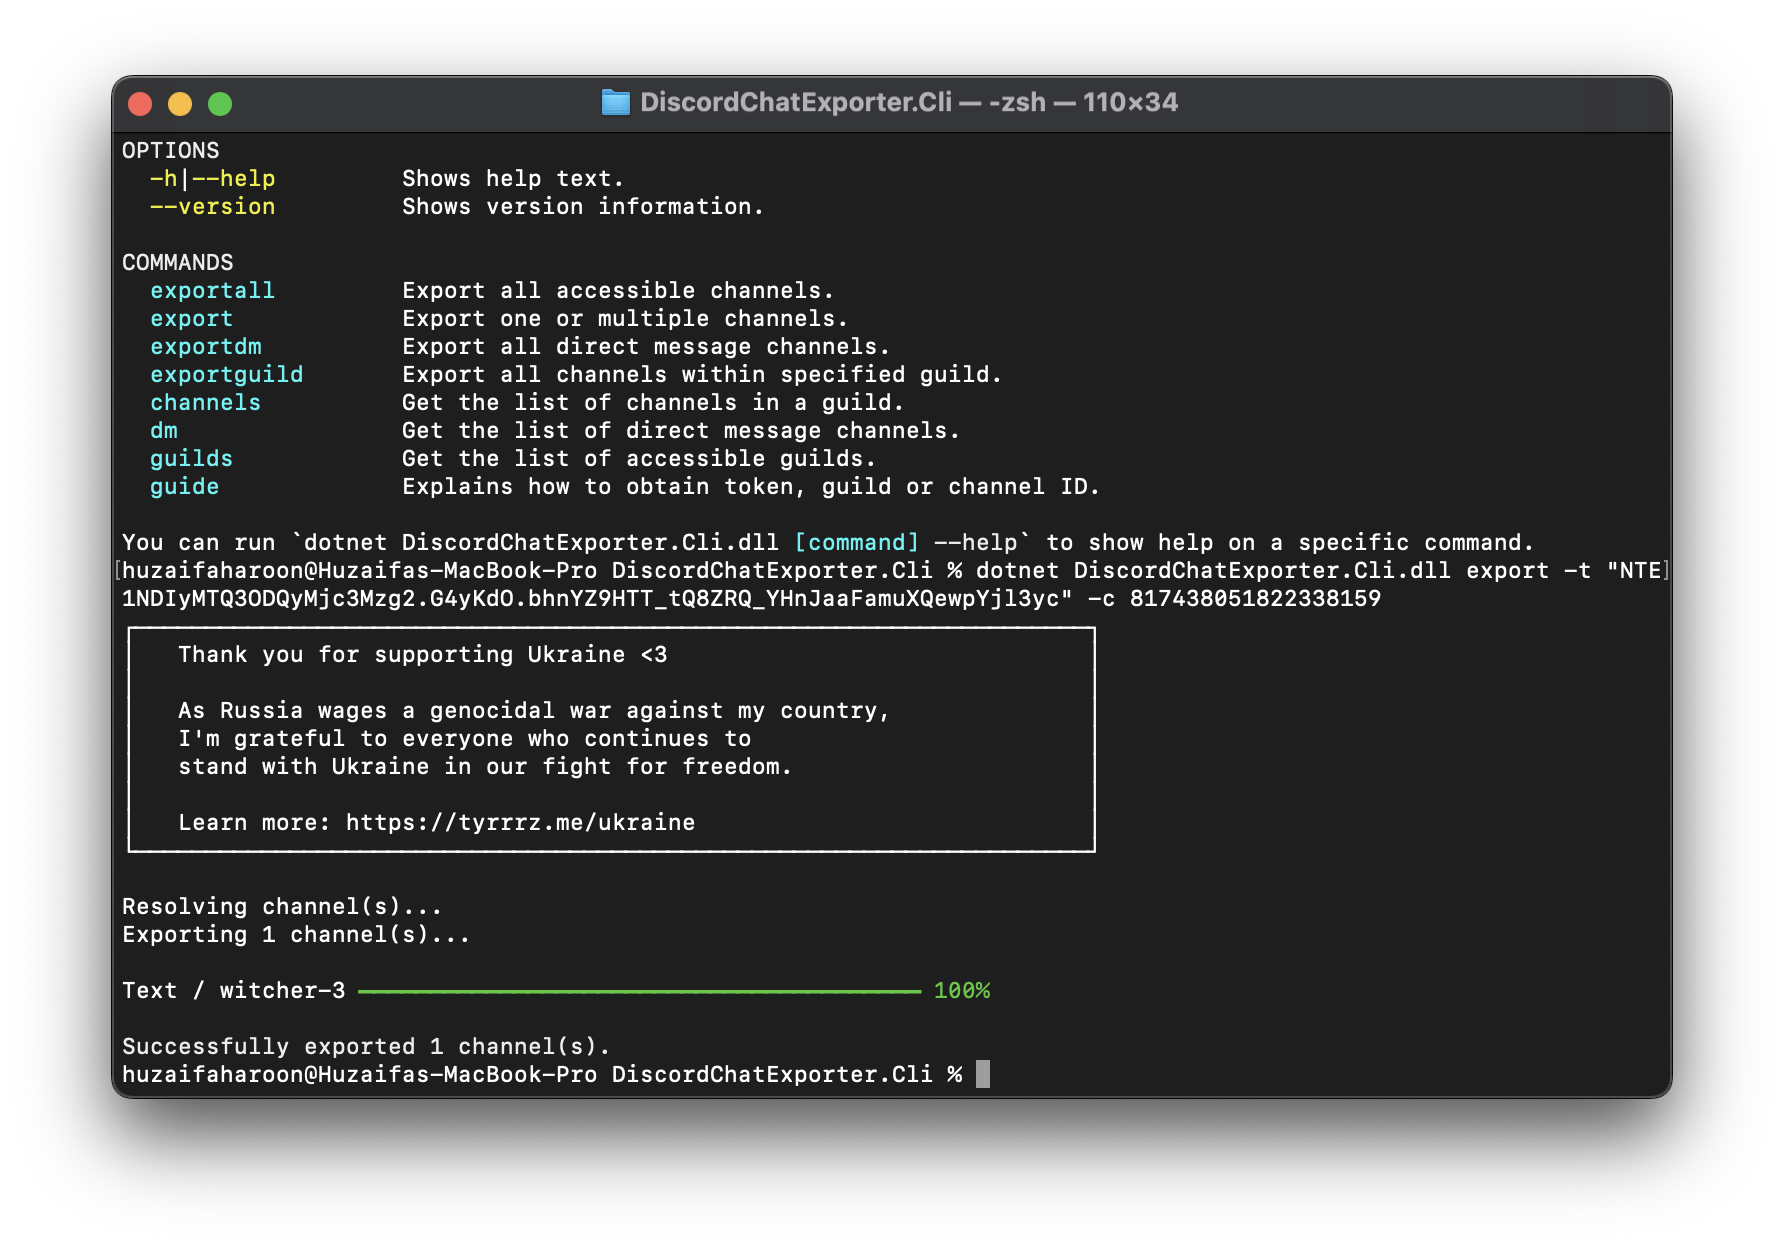
Discord chat extracted - The exported file will appear in the same directory where you extracted the CLI app. By default, it will be created as an HTML file, making it easy to view in any web browser.
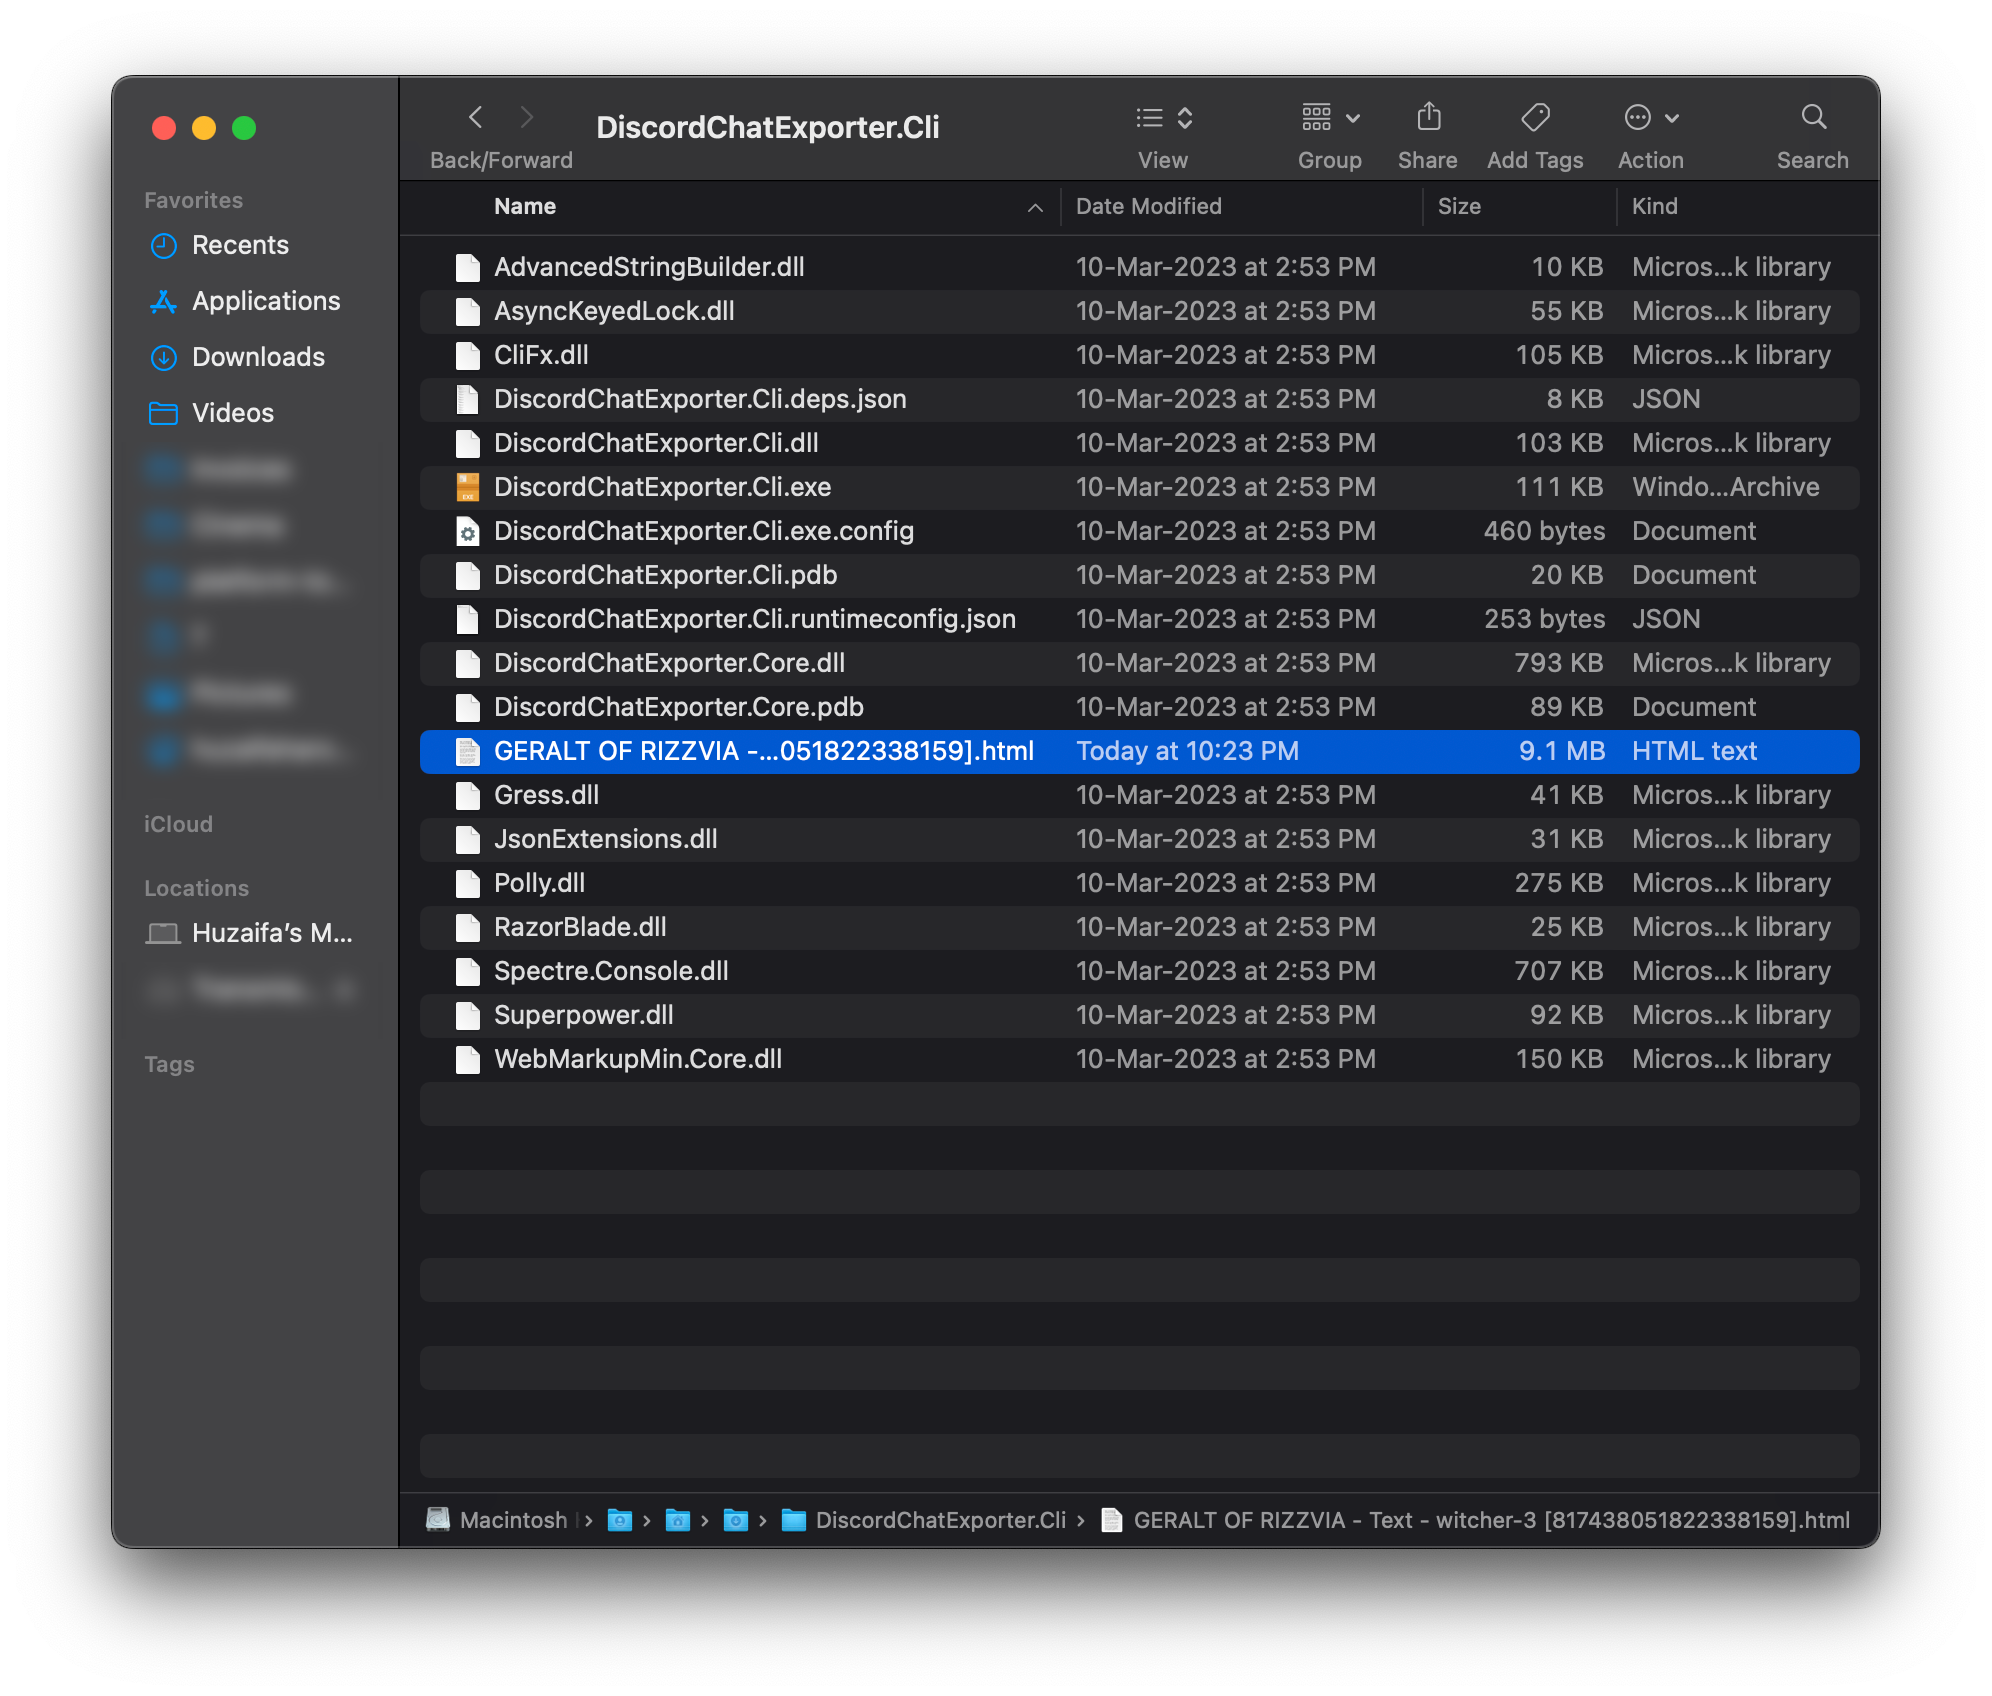
The exported HTML file in the original directory
Reviewed by Huzaifa Haroon