How to Disable Task Manager for Standard User
The Task Manager is a built-in Windows utility that provides information about processes and applications running on your system and gives statistics about memory and CPU usage. It is also used for ending and changing the priority of processes. However, several users want to turn off Task Manager for the standard accounts that are set up for kids, family, and co-workers to prevent them from using it.
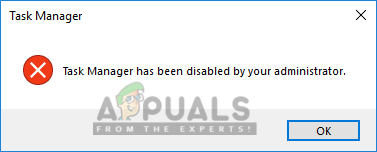
Task Manager for Standard User
There are certain applications and processes running in the background that can only be closed by Task Manager. Changing the priority of different processes can provide more memory and CPU to that process but less to others. Sometimes administrator disables the Task Manager for a standard user to keep the system safe just in case. A standard user can be a student, kid, or user that only needs access to a few programs and utilities. In most of the school and government computers, the Task Manager will be disabled as a security measure.
Disabling Task Manager through the Registry Editor
We can disable the Task Manager for a specific user by opening the registry editor as an administrator in that standard account. You need to find the user SID and then change the settings for that specific SID. This will turn off the Task Manager only for that specific standard account and not others.
- Log in to your Standard User account and go to the following location in file explorer:
C:\Windows\System32\
- Find the file “regedit.exe“, right-click on it and choose Run as administrator
- Insert the password for the administrator when prompted by the UAC (User Account Control) and click Yes
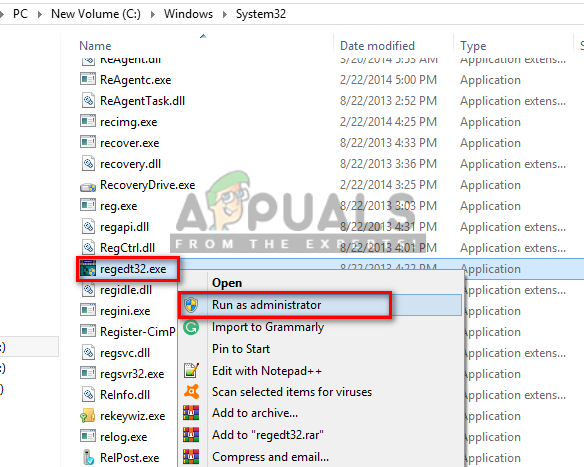
Opening regedit.exe as an administrator - First, find your SID by going to the following directory in the registry editor:
HKEY_LOCAL_MACHINE\SOFTWARE\Microsoft\Windows NT\CurrentVersion\ProfileList
- Click on the SID in the list to find your username as shown below:
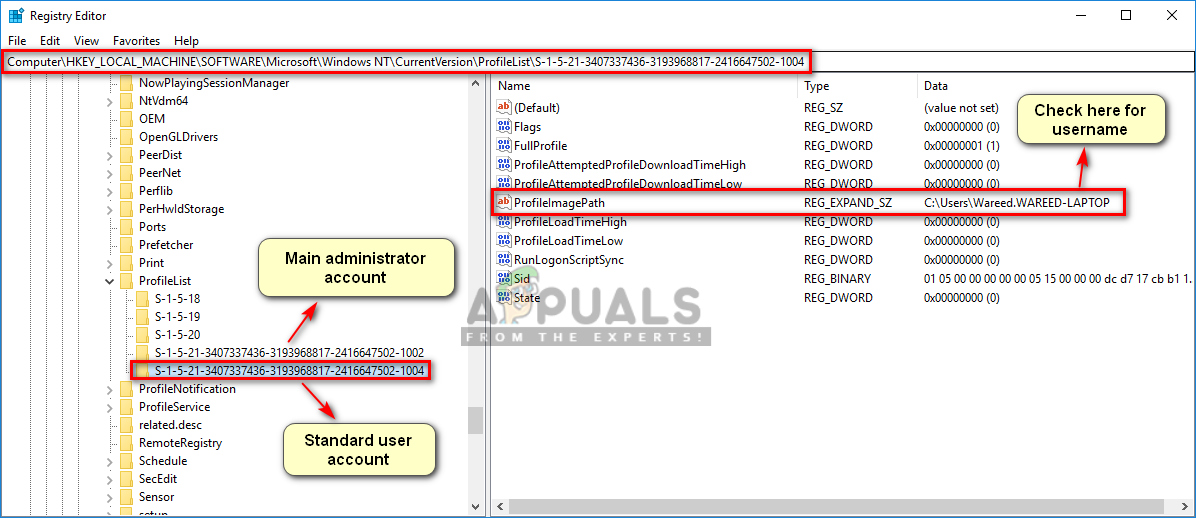
Finding the SID for the standard user - Now go to the following directory of your standard account SID:
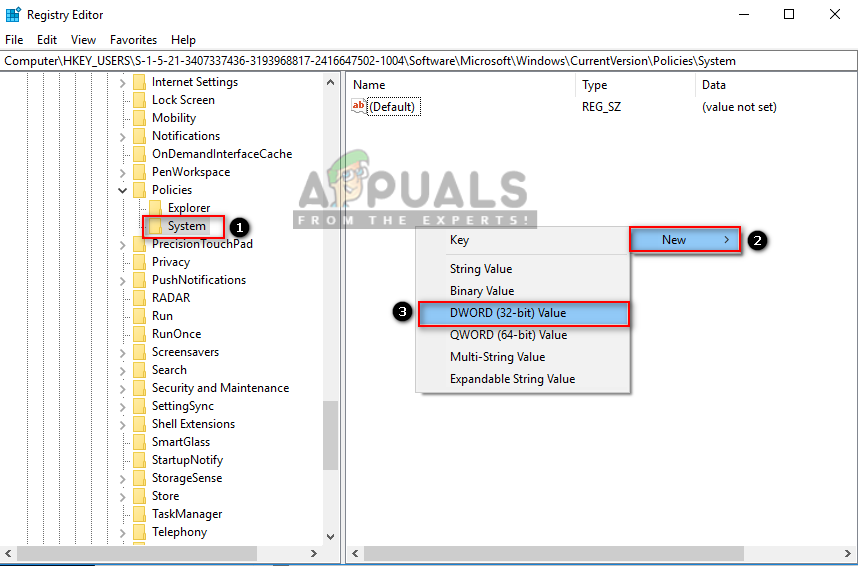
HKEY_USERS\S-1-5-21-3407337436-3193968817-2416647502-1004\Software\Microsoft\Windows\CurrentVersion\Policies
- Select the subfolder key “System” (if the key doesn’t exist, create it by right-clicking on Policies folder and choosing key)
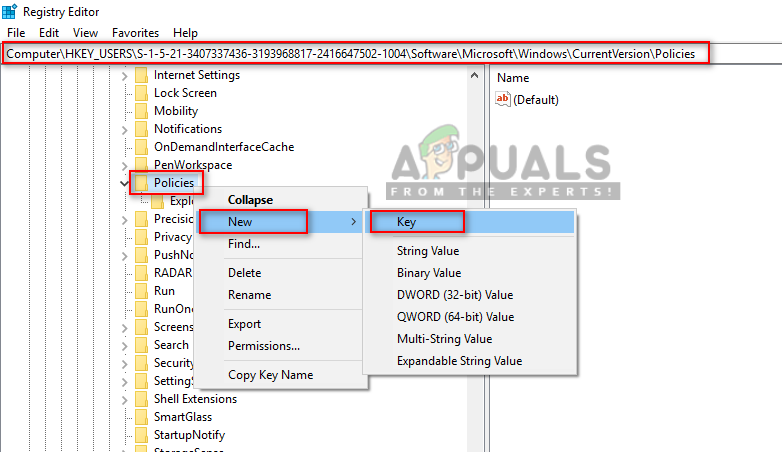
Creating the System Key - Right-click on or inside the system folder key, then choose New > DWORD (32-bit) Value and name it DisableTaskmgr
Creating DWORD value DisableTaskmgr - Right-click on DisableTaskmgr, then choose modify and change the value to “1”
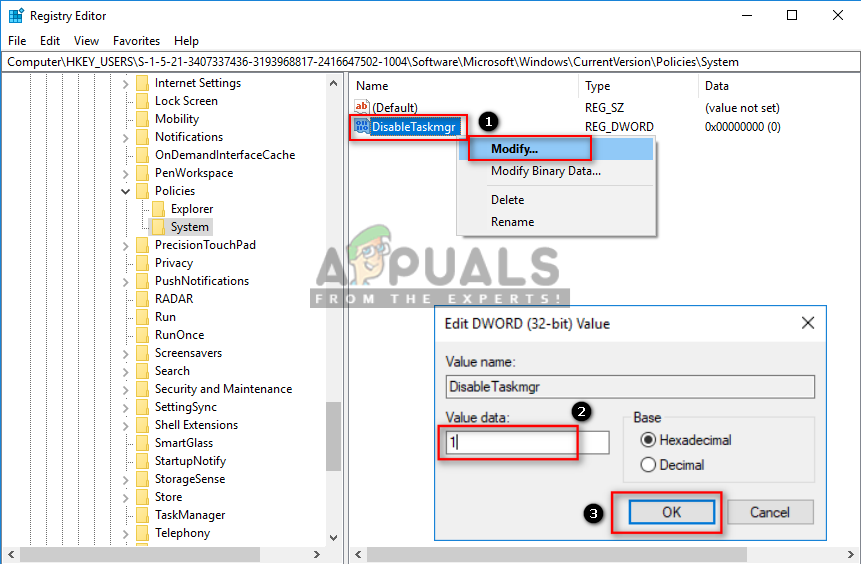
Modify the value to 1 - Now the Task Manager will be disabled for the standard user.
Note: In urgent cases, to open Task Manager you don’t need to turn OFF this option or change the account from standard user to administrator. You can easily open the Task Manager as an administrator with the administrator password as shown in our article: here
To Enable the Task Manager again, you need to change the value of DisableTaskmgr back to “0” and restart the computer. But sometimes this will turn into a bug and still work, so deleting the system key that you created would be a better option for future use.
Disabling Task Manager through the Group Policy Editor
The Group Policy is used to manage and configure the working environment of computer accounts and user accounts. An administrator can use the Group Policy Editor to enable or disable the Task Manager for standard users. The setting will also provide detailed information about the function and purpose of that policy setting. This setting will disable the Task Manager from all the places on your system.
If you are using the Windows Home version, then skip this method because Group Policy Editor isn’t available in the Windows Home Editions.
- Hold the Windows key and press R on your keyboard to open a Run dialog. Then type “gpedit.msc” and press the Enter key to open the Group Policy Editor. Choose the Yes option when prompted by the UAC (User Account Control).
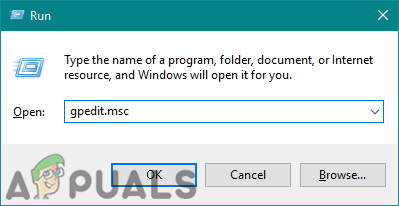
Opening Local Group Policy Editor - Navigate to the following path in the Group Policy Editor window:
User Configuration\Administrative Templates\System\Ctrl+Alt+Del Options
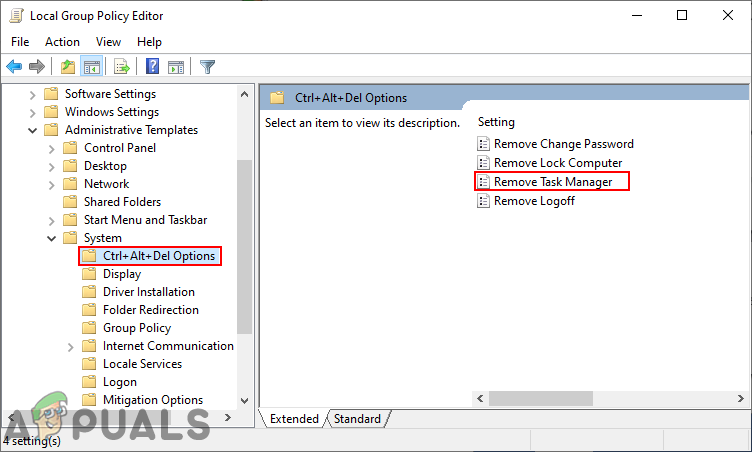
Navigating to the setting - To disable the Task Manager, double-click on the “Remove Task Manager” setting. It will open up in a new window, now change the toggle from Not Configured to Enabled and click on Apply/Ok button to save the changes.
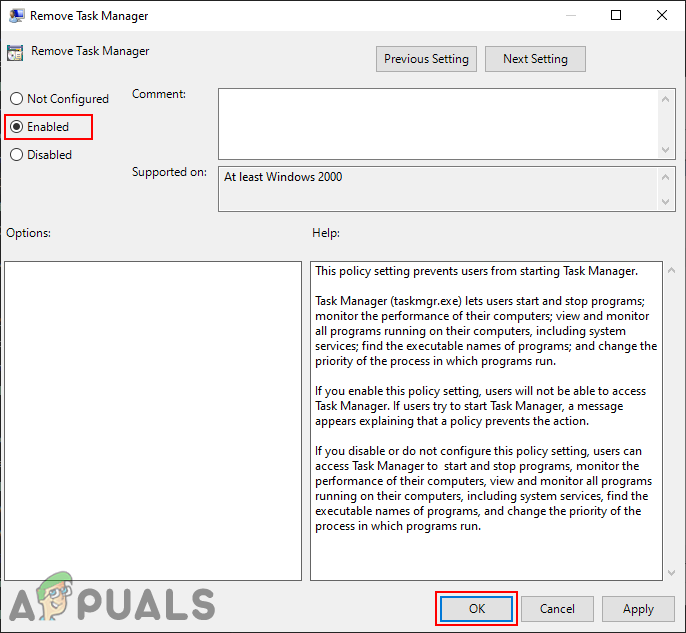
Enabling the setting - This will disable the Task Manager from Ctrl + Alt + Del screen, shortcuts, and other places.
- To enable it back, simply change the toggle option in step 3 back to Not Configured or Disabled. The Task Manager will be back to that user account.


thanks a lot it really workedyou saved me brogreat effort