How to Connect Canon printer to Wi-Fi
Going wireless is the new norm in the printing world and Canon, being one of the top companies to produce imaging and optical devices., is not an exception. To connect a Canon printer is not a very difficult job but certainly a bit technical, depending on the printer and the device you are trying to connect to the printer.
There are different scenarios where a client may try to connect a Canon printer to a Wi-Fi:
- A Canon printer with a built-in Wi-Fi Antenna that can only connect to a Wi-Fi network but cannot create its Wi-Fi network.
- A Canon printer that can create its Wi-Fi network and can also connect to any other Wi-Fi network.
- A non-Wi-Fi Canon printer that is wired to a wireless router.
- A non-Wi-Fi Canon printer that is connected through a USB cable to a system that is part of a Wi-Fi network.
Except for the first case (or in the second case, where a client is connecting to a Wi-Fi), the other scenarios can be easily said to be beyond the scope of this article but if you want to, there are other similar articles on our websites covering those scenarios.
To use a Canon printer wirelessly, the process can be easily divided into the following steps:
- Connect the Printer to the Router.
- Set up your device (PC, Mac, phone, etc.) to use with the printer.
Keep in mind that the milage for some of the readers may vary, depending on the model of the Canon printer, router type and the device to be used for Wi-Fi printing.
Connect a Canon Printer to a Router
The process to connect a Canon printer to a router depends upon the type of the router or access point i.e., routers with a WPS button or without a WPS button. Keep in mind that the Canon printers support WPA (Wi-Fi Protected Access) or WPA2 Wi-Fi protocols, so, make sure the Wi-Fi network you are trying to connect to is using any of these protocols.
Connect a Canon Printer to a Router by Using a WPS Button
If you have a router or access point with a WPS (Wi-Fi Protected Setup) button, then setting up a Canon printer with that router is perhaps the easiest way. To do so:
- Turn on your printer and press the Settings button on the printer and by using the arrow keys, steer to the Wireless LAN Setup option on the printer’s screen.
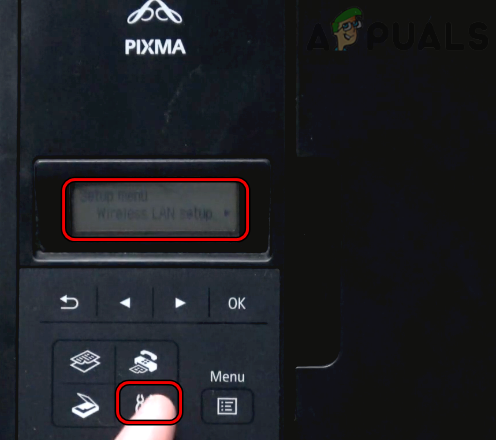
Open Wireless LAN Setup on the Canon Printer - Now press the OK button and use the arrow keys to show WPS (Push Button) option on the printer’s screen.
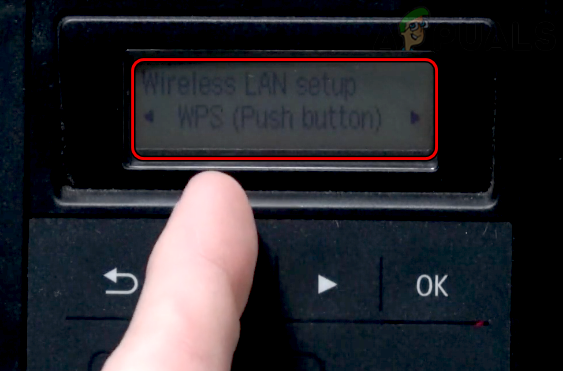
Show and Select the WPS (Push Button) on the Canon Printer - Then press the OK button and a connecting prompt will be shown on the printer’s screen.
- Now head to the router or access point and press its WPS button (make sure you complete this step within 2 minutes after step 2).
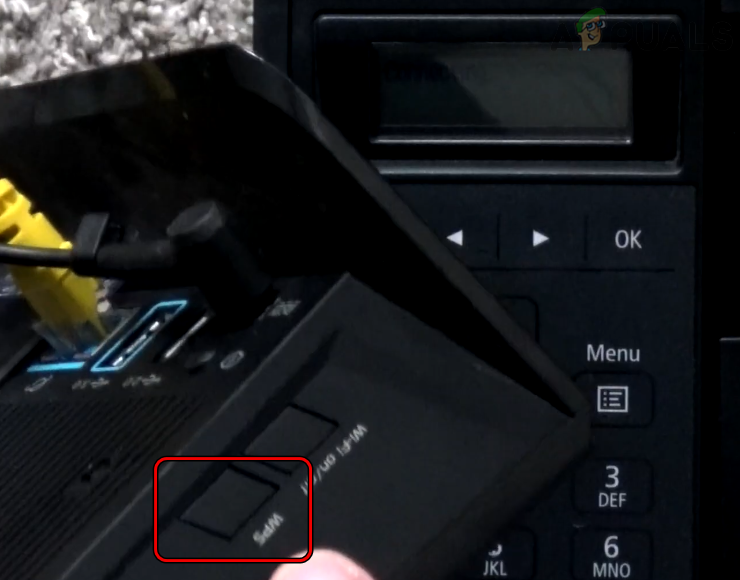
Press the WPS Button on Your Router - Once the printer successfully connects to the Wi-Fi, the printer’s screen will show a connected message and then you can set up your device/PC to use the Canon printer (discussed later in the article).
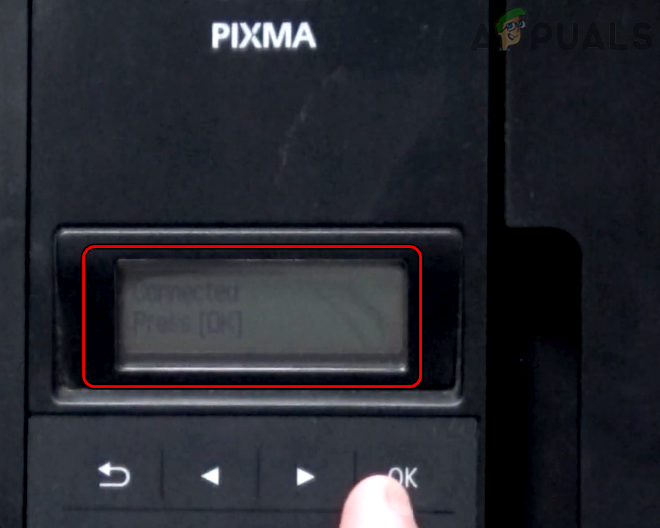
Connected Shown on the Canon Printer’s Screen After Successful WPC Connection
Connect a Canon Printer to a Router by Using Wi-Fi Credentials
If your router does not have a WPS switch, then you may use the Wi-Fi credentials to connect the Canon printer to a Wi-Fi network.
- Firstly, make sure the wireless router is powered on.
- Then power on your printer and once properly powered on, press the Settings icon on the printer.
- Now press the next button till the Device Settings are shown on the printer screen and then tap on the OK button.
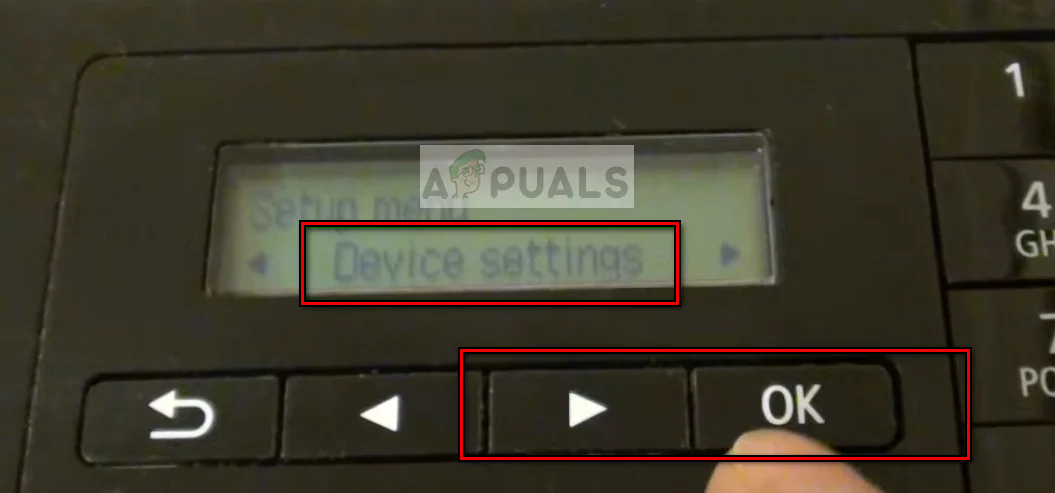
Open Device Settings of the Canon Printer - Then press the next button till the LAN Settings are shown and then tap on OK.
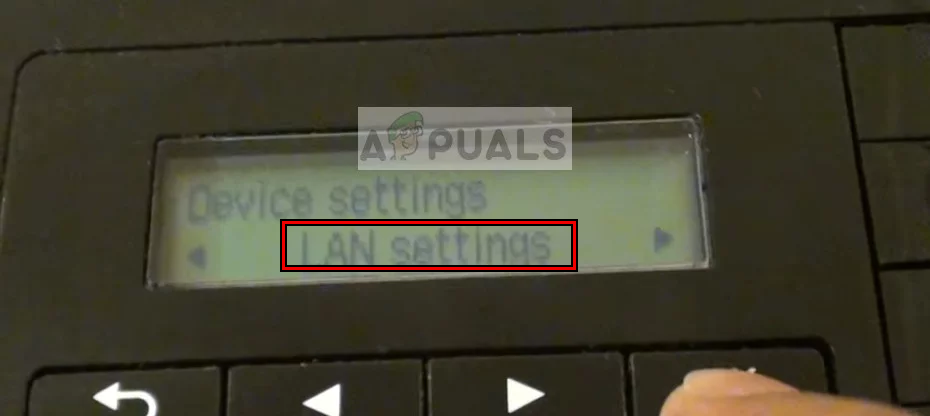
Open LAN Settings of the Canon Printer - Now press the next button on the printer till the Wireless LAN Setup is shown and press the OK button.
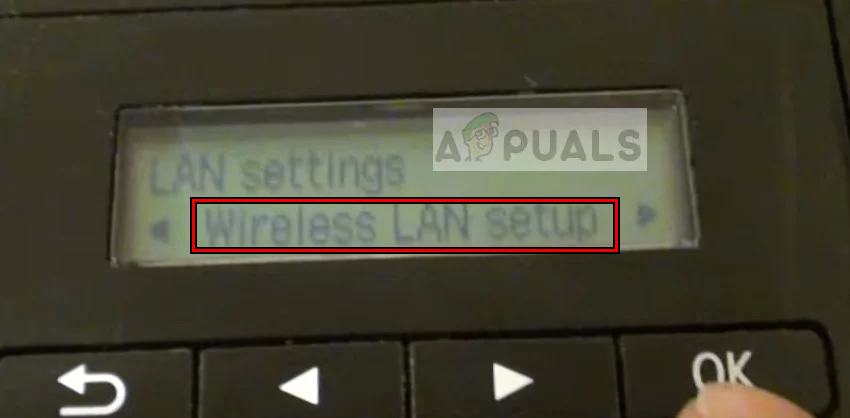
Open Wireless LAN Setup on the Canon Printer - Then the printer will start searching for available networks and its Wi-Fi light will start blinking. In some cases, you may have to select Easy WL Connect and press OK.
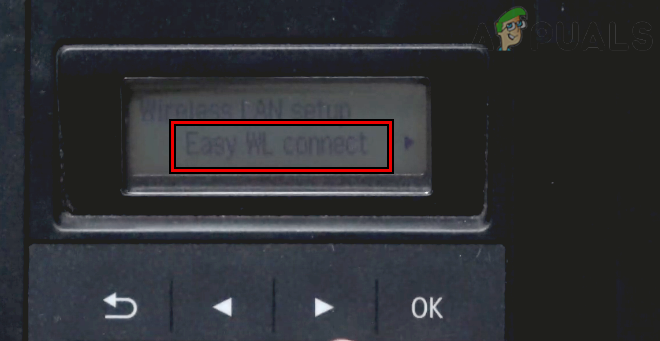
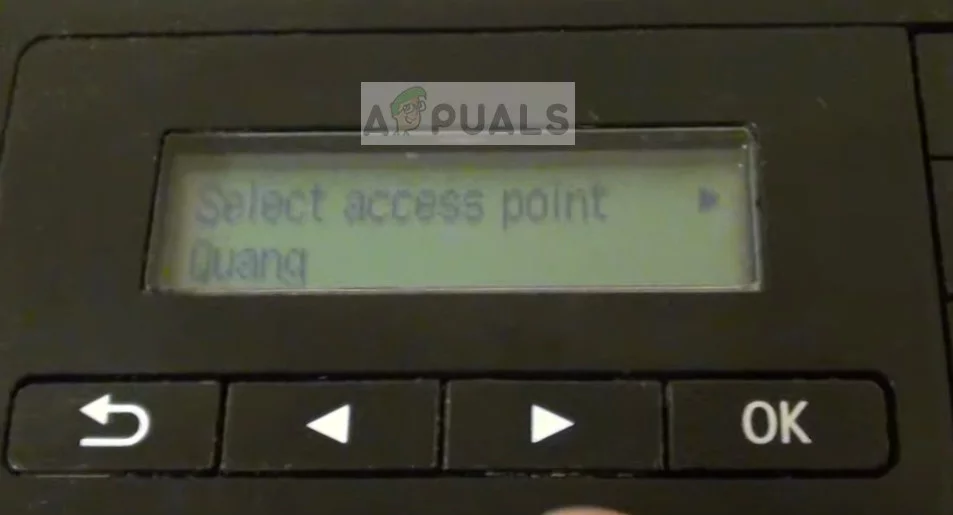
Open Easy WL Connect on the Canon Printer - Now the list of available Wi-Fi networks will be shown on the printer’s screen and then use the arrow keys on the printer to show the required Wi-Fi network on the screen.
- Then press the OK button to select the Wi-Fi network and enter the Wi-Fi’s password.
Select Your Required Wi-Fi Network on the Canon Printer - Now comes the trickiest part as you may have to switch between different input modes to enter the Wi-Fi password. To change the input mode (from number, upper case letters, lower case letters) of the printer, you may press the * key of the printer and once the required mode is selected, use it to enter the Wi-Fi key.
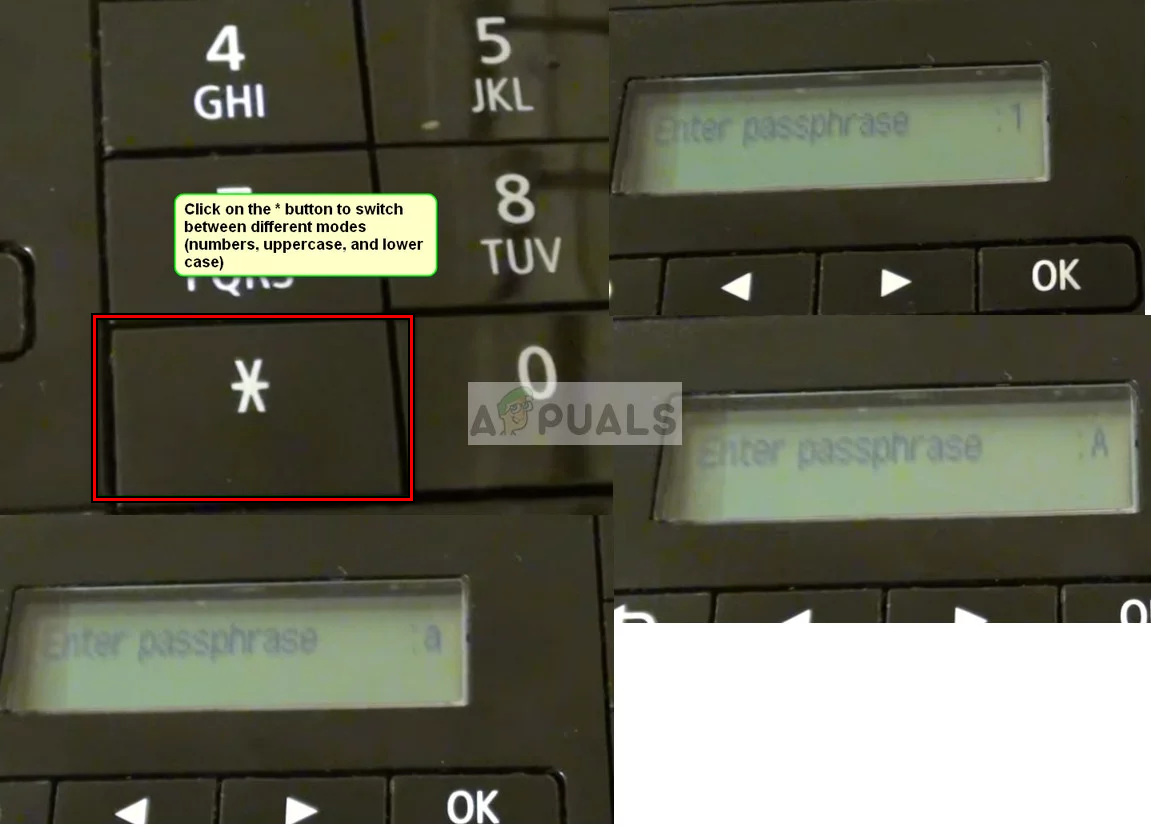
Press the * Key on the Canon Printer to Switch Between Different Input Modes - Then press OK and wait till the successful connection is established.
- Now a connected message is shown on the printer’s screen and you can set up your PC or device to use the Canon printer (discussed below).
Set up Canon Printer Wirelessly on a Windows PC
- Firstly, download the Canon printer driver from the Canon website and install it as an administrator. Make sure to select a Wireless printer during the driver setup.
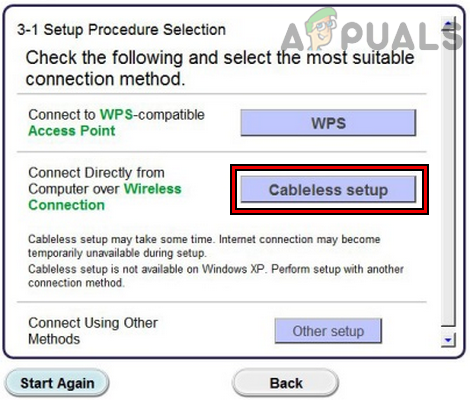
Use the Cableless Setup During the Canon Driver Installation - Then right-click Windows and open Settings.
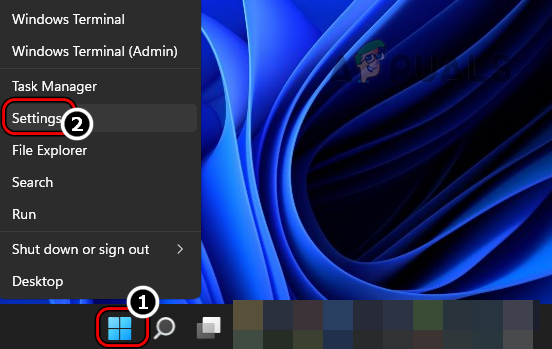
Open Windows Settings Through the Quick Access Menu - Now, in the left pane, head to the Bluetooth & Devices tab, and the right pane, select Printers & Scanners.
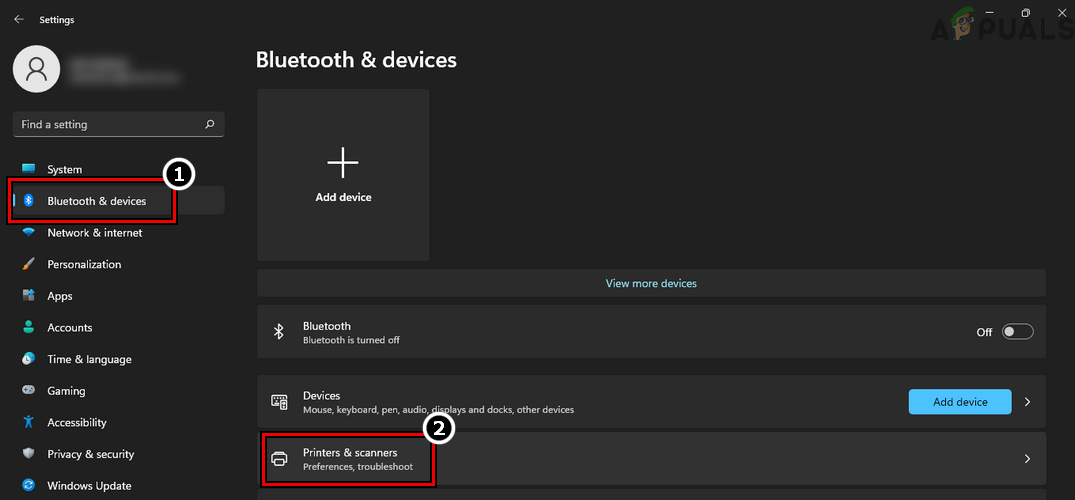
Open Printers & Scanners in the Bluetooth & Devices Tab of the Windows Settings - Then, near the top of the screen, click on Add Device and once the list of the printers is shown, select the required Canon printer. If the Canon printer is not shown in the list, follow step 5.
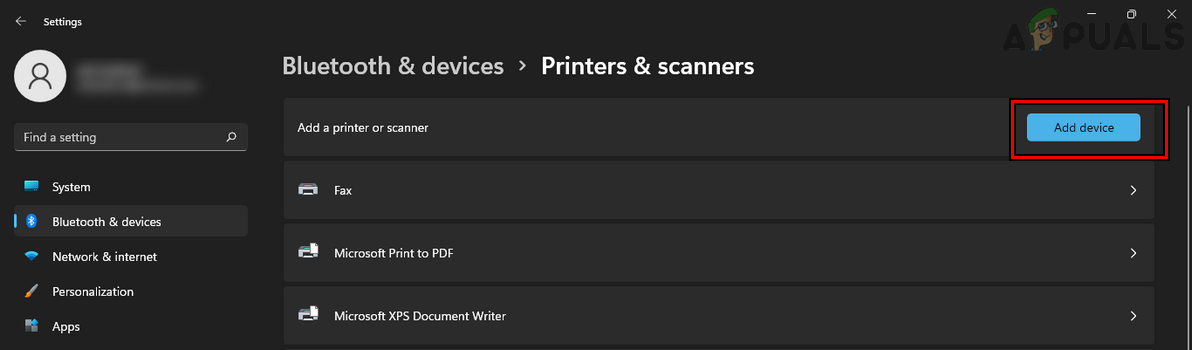
Click on Add Device in the Windows Settings to Add the Canon Printer to Your System - Now follow the prompts on your screen to complete the process and that will successfully, add the Canon printer to your Windows PC.
- If the Canon printer is not shown at step 3, then you may click on Add Manually and follow the prompts on the screen to complete the process. You can confirm this by printing a test page.
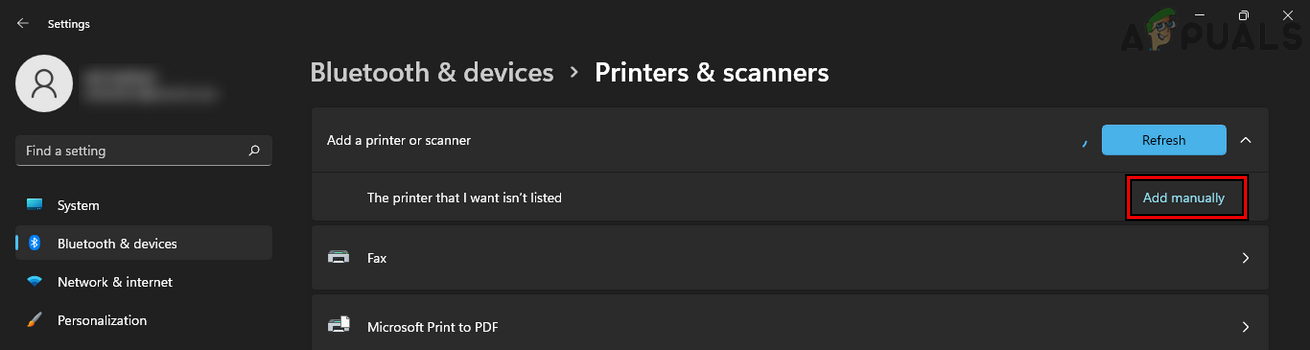
Manually Add the Canon Printer to Your Windows PC
Set Up Canon Printer Wirelessly on a Mac
- Firstly, download the Canon printer driver from the Canon website and install it. Make sure to select the wireless option during the installation of the driver.
- Now click on the Apple menu and select System Preferences.
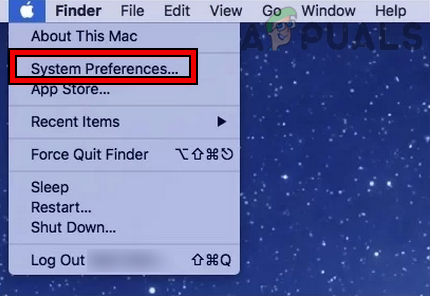
Open System Preferences on Your Mac - Then open Printers & Scanners and click on the plus sign to add the printer.
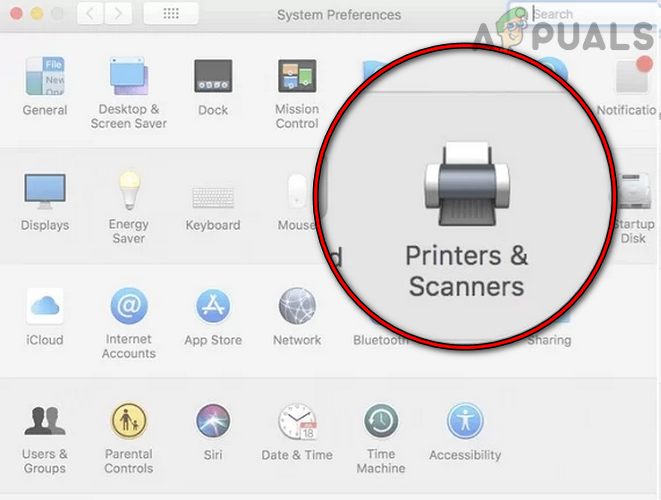
Open Printers & Scanners in the MAC’s System Preferences - Now, in the list of printers, select the Canon printer and click Add.
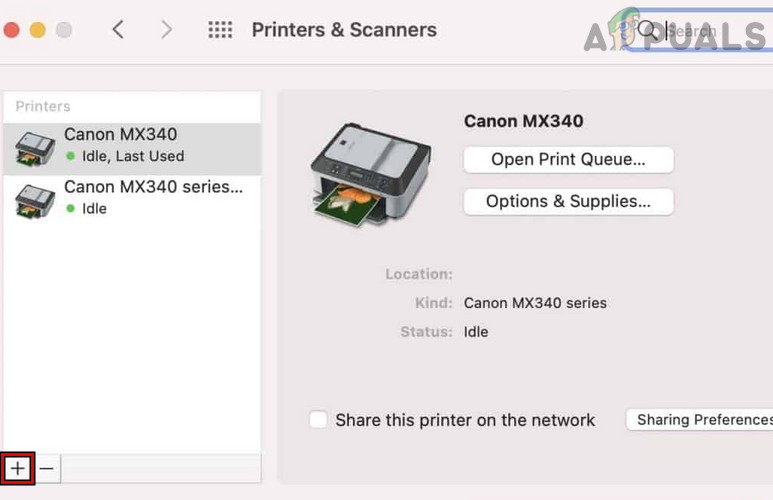
Click on the Plus Sign in Mac’s Printers and Scanners Preferences - Then follow the prompts on your screen to complete the addition of the Canon printer to your Mac and afterward, print a test page to check if everything is working fine.
Set UP Canon Printer Wirelessly on a Linux Machine
- Launch a web browser and steer to the Canon website.
- Now switch to its Support section and select your Canon printer.
- Then download the DEB package of the driver for your Canon printer and install it. Make sure to select the wireless or cableless option during the setup.
- Now launch Linux Settings and head to Printers.
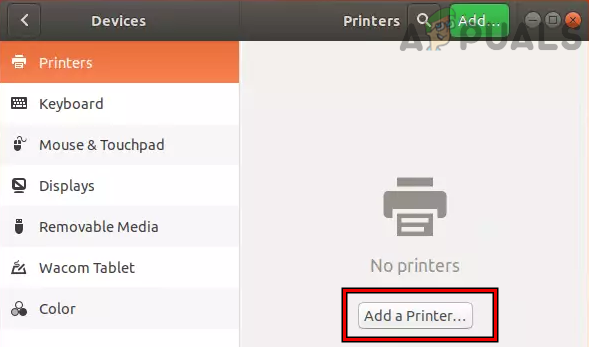
Click on Add a Printer in the Printers Tab of the Linux Settings - Then click on Add a Printer and in the list of printers shown, select your Canon printer. If your Canon printer is not shown, then you may use the CUPS interface to add the printer to your Linux distro.
- Now follow the prompts on the screen to complete the process and the Canon printer will be successfully added to your Linux distro. You can confirm by printing a test page.
Set Up Canon Printer Wirelessly on an Android Phone
Before proceeding, please note that the Canon printers support Android 4.1 and above, so, make sure the Android device you are trying to print from meets this requirement.
- Launch the Google Play Store and search for Canon Print Service.
- Now open Canon Print Service and install it.
Install Canon Print Service App from the Google Play Store - Then launch it and give it the required permissions (if it asks to).
- Now open a document that you may want to print and expand its Options.
- Then select Print or Share>> Print.
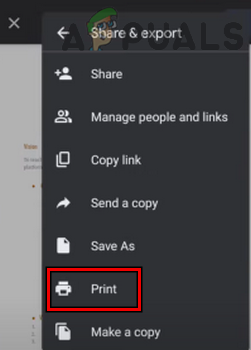
Open Print Dialogue for a Document on An Android Phone - Now, in the list of printers, select the Canon printer and edit the print settings (like page range, etc.). In some cases, you may have to tap on All Printers.
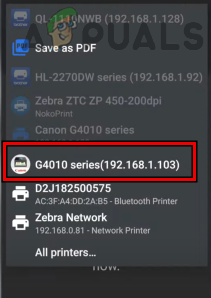
Select the Canon Printer in the List of Printers on an Android Phone - Then check if the Canon printer has started to print. If not, then make sure the printer and phone are connected to the same Wi-Fi network. Also, you may restart your phone and Canon printer to check if the printer has started to work fine.
Set Up Canon Printer Wirelessly On an iPhone
- Open the document that you want to print and expand its Options.
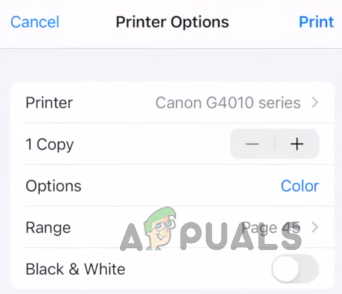
- Now select Print and check if the Canon printer is shown in the list of available printers. If not, follow steps 4 and onwards.
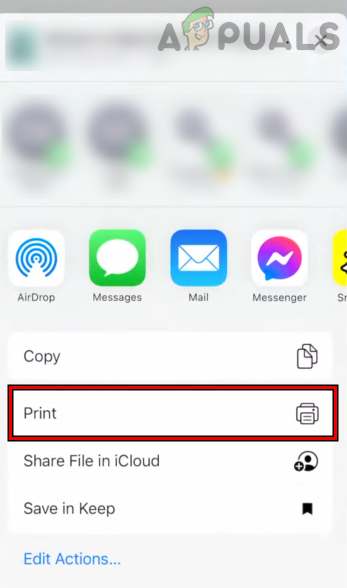
Select Print for the Document on the iPhone - If so, then print the document and check if the Canon printer is working fine.
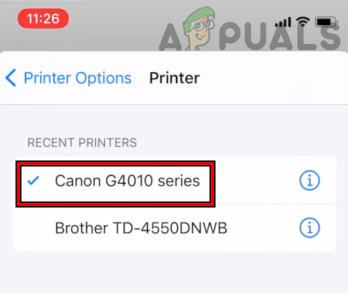
Select the Canon Printer in the Printer’s List on the iPhone - If not or the printer is not shown at step 2, then open Apple App Store and search for Canon Print.
Send the Print Command to the Canon Printer Through the iPhone - Now open Canon Print Inkjet/SELPHY and install it.
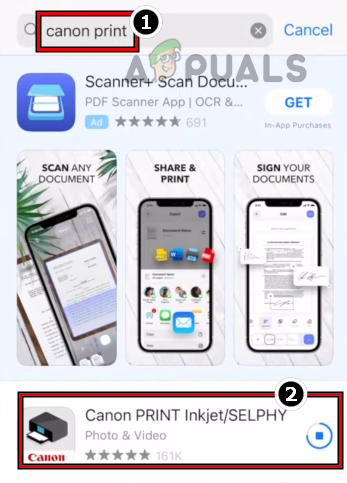
Install Canon Print Inkjet/SELPHY from the Apple App Store - Then launch it and give the app its required permissions.
- Now tap on Add Your Printer and let the app search for available printers.
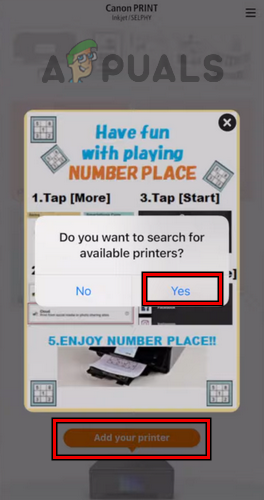
Search for Available Printers on the Canon Print App - Then select your required Canon printer and afterward, you can use the Canon Print app to print from your iPhone to a Canon printer wirelessly.
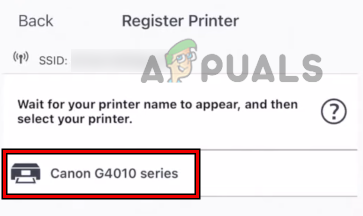
Select Your Canon Printer on the Canon Print App on the iPhone
Keep in mind that if wireless printing fails to work, then you may restart your device (like a PC, Mac, etc.), router, and Canon printer to retry the wireless printing.