How to Change Desktop Icon’s Size on Ubuntu
If you find that, the icons on the Ubuntu desktop are suddenly too big, then you might have accidentally changed the rendering size. This simple mistake can happen with a few errant rolls of the mouse scroll wheel or even a touchscreen or touchpad. Try pushing the Ctrl key at the desktop and spinning the scroll wheel again to see if that corrects the issue. If it does, then you or a misbehaving program merely changed the zoom in the course of things and you can easily move on.
Otherwise, if you find that the type underneath the icons is the problem itself, then try running gsettings set org.gnome.nautilus.desktop font “Ubuntu 10” at the terminal. This will adjust the typeface used for the text labels underneath the icons at the desktop. You have a few other configuration options if you’d like more control as well. Those who use Xubuntu instead of standard Ubuntu also have a trick up their sleeve that can help in this case.
Method 1: Changing Icon Size in the File Manager
Select Files from the Dash, and then select the Visualize the Desktop Folder option. Choose the grid view in the upper right corner of the window and resize the icons. This could help you set the icons to a preferred different size if you didn’t care for the defaults.
Should your installation of Ubuntu not have some of these options, and then start Nautilus from the Dash, open the Preferences menu and select My Icon View Default. Change the zoom percentage to something you prefer. The maximum is 400%, which is four times greater than the regular maximum size as the value suggests. Try changing this value to 100% or even less and see if you like these options better. You should be able to hold down control and rotate the mouse wheel forwards and backwards as well in order to dynamically change these zoom values whenever you’d like to. This can be useful when dealing with many thumbnails in directories that contain a large number of documents.
If you have folders stored on the desktop and want to change the size of their respective icons, then you merely need to right click on them and then select the “Resize icon…” option from the context menu that comes up. Click and drag the handles that appear along the icon’s size to change the size of the icon. Each folder could theoretically feature a different size setting, though this might ultimately clutter up the desktop.
Method 2: Changing Desktop Icon Size in Xfce4
Xubuntu users won’t have access to the Unity interface, but they have their own unique way of solving this issue. Start the Desktop app from the Whisker menu or by finding it in the applications menu. Select the Icons tab, and scroll down to Icon size. The value next to it should be an integer value.
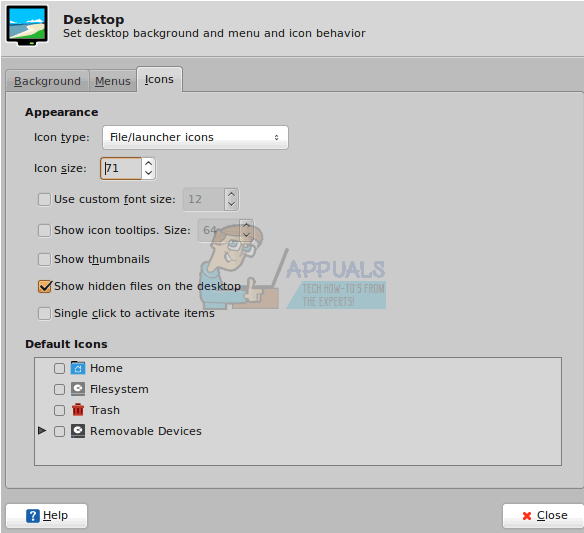
Enter a new value to adjust the size of the icons that appear on your desktop. You can make it larger or smaller depending on your particular preferences.

Once you have a setting you like, click on the close button. Unlike the Unity interface in regular Ubuntu, Xubuntu will make you set all your icon sizes equally.

Method 3: Installing a Custom Icon Theme
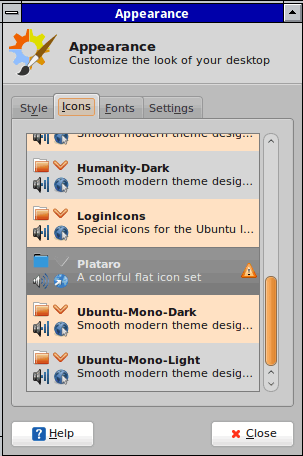
If you want more power than either of these methods provide, then you could always install a new icon theme that’s different from the defaults that Ubuntu provides. You can always start the Appearance application from the Dash in Unity or the Whisker menu in Xfce4 and then navigate to the Icons tab to browse other icon options you have installed. Select one of these and then click Close to approve it. The sizes will match the standards that are installed with the new standard.
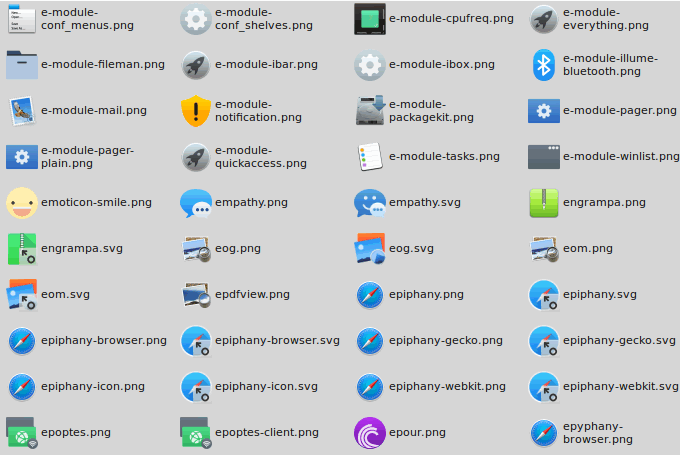
However, you could visit gnome-look.org, deviantart.com or several other sites to find a number of new icon themes, which may be more in keeping with what you’re actually looking for when it comes to specific sizes. These themes usually come as .tar.gz/.tgz or .tar.xz/.txz files, which are easy enough to decompress like any other downloaded Internet attachment.
These won’t install the same way that an apt-get or .deb package would install, and instead merely sit tight in your Downloads directory doing nothing. You need to cut the extracted directory either to ~/.icons/ if you want to install them for use by a single user, or instead to ![]() if you want them to be accessible to everyone who logs into your Ubuntu install. Moving items into this latter directory requires root access, so you’ll need to use sudo or gksu from the command line in order to do so.
if you want them to be accessible to everyone who logs into your Ubuntu install. Moving items into this latter directory requires root access, so you’ll need to use sudo or gksu from the command line in order to do so.
You may also need to log out of your X Windows server then log back in or alternatively restart your machine for the changes to stick. Fortunately, this method once it’s in place allows you to make numerous customizations that are beyond merely adjusting the size of individual icons. For instance, icon packs are available to make your Linux installation look more like OS X, which has been popular with Ubuntu users as of late. There are also macOS Sierra, Windows 10 and even classic Windows 95 icons. Naturally, all of these icon sets will additionally respond to the same resize commands laid out in the previous two methods.
Thanks for the article but the first method in GNOME is now out-dated unfortunately.