How to Apply Thermal Paste the Right Way
If you have explored the realm of PC building, there’s no doubt that you have heard whispers about the magical thermal paste. This thick form of material is also famously known as thermal interface material (TIM), thermal gel, CPU paste, heat paste, and thermal grease.
Whether you call it a thermal material or thermal paste, the fact remains that applying it correctly can significantly reduce your CPU temperatures, and ensure that your processor is working like a charm.
But the question is, how to apply thermal paste the right way? If you are one of those PC enthusiasts, then you are at the right place at the right time.
Why Do You Need to Apply Thermal Paste?
Thermal pastes are integrated when you are installing a cooling solution. Whether you are installing a new CPU cooler or applying custom aftermarket water cooling solutions to your GPU, you integrate the thermal solution.
With this in mind, it is evident that thermal paste is a vital material that safeguards your CPU from intense heat, and, your money from going up in smoke. Albeit the correct way to apply a thermal paste is important, it is also crucial to buy the correct type of thermal solution, if you are confused then check out some trustworthy options here.
There is a high chance that you have come across different techniques to apply thermal paste, which has left with you a lot of confusion. Don’t worry, we are here to guide you, and as long as you apply the right amount at the right place, you are good to go.
How to Apply Thermal Paste
Now that we have covered our bases let’s jump right into how you can apply thermal paste the right way.
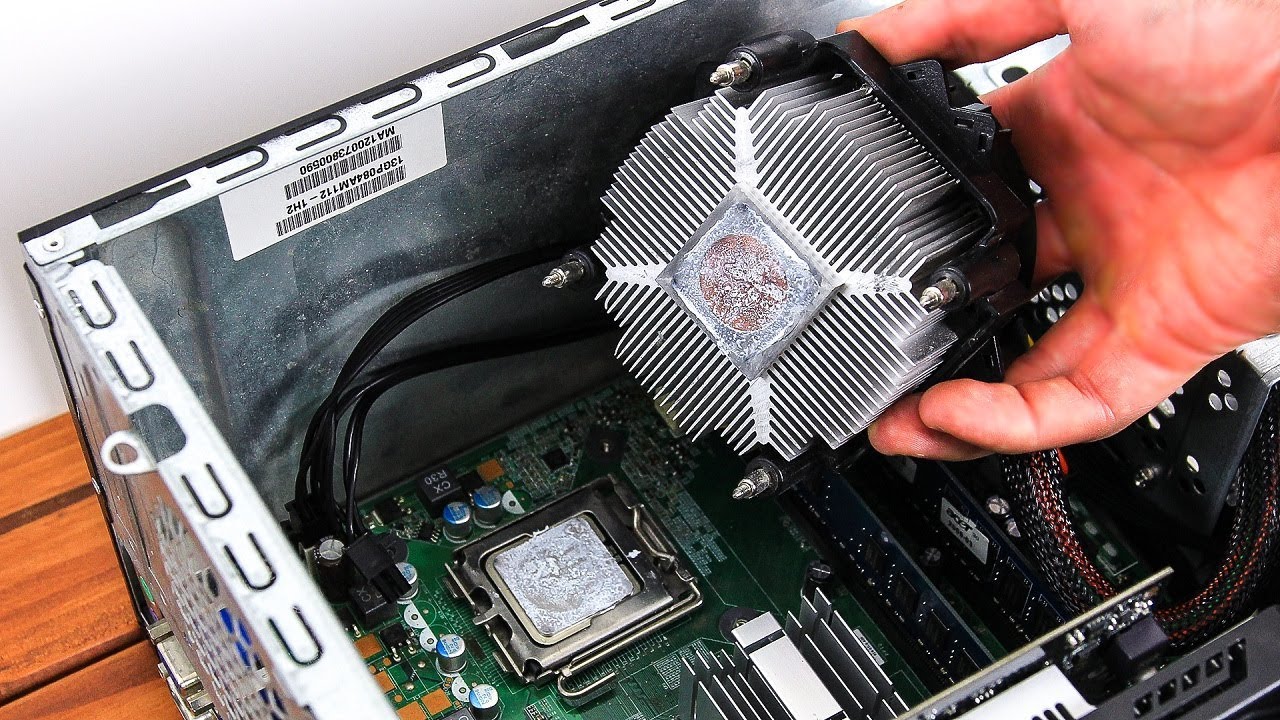
Step 1: Remove Old thermal Paste
This is the most basic step of all, in order to apply new thermal paste, you are required to remove any previously integrated thermal solution from both the heat sink and your processor.

Use the spudger’s flat end to scrape off as much old thermal paste as you can. Then remove the remaining thermal paste by using a paper towel, microfiber cloth, or a coffee filter with isopropyl alcohol – preferably 90% concentration to wipe the remaining residue off. Once you are done, let it dry before going to the next step.
Step 2: CPU Cooler
Even if you have applied thermal paste correctly, what will happen if your CPU cooler, for any reason, is not working properly?

A lot of people ignore this step as they believe that their CPU cooler is good to go. So, before you start applying the thermal solution, ascertain that your CPU cooler is working and ready to install. Ensure that you have all the necessary tools, and an instruction manual to consult.
Step 3: Apply Thermal Paste
If you have correctly followed the above two steps, step three is going to be a walk in the park. To apply thermal paste, we recommend using the method proposed by your processor manufacturer. There are four ways you can apply thermal paste, the surface spread method, middle dot method, horizontal line method, and vertical line method. I personally prefer the middle dot method and that is what I’m going to recommend.

The surface spread method requires you to wrap your finger with a plastic piece. After that, put some thermal paste onto your processor and then use your finger to gently spread the paste across the core(s) of the processor.
Horizontal and vertical line methods are exactly as they sound, putting thermal paste strip either horizontally or vertically. These are very commonly used methods but require a high level of concentration. If you apply too much, the paste can ooze out, which can potentially damage your hardware.
After you are done applying thermal paste, move on to the next step!
Step 4: CPU Cooler
In the fourth step, all you have to do is to place your CPU cooler on top of your processor IHS and apply gentle pressure (in case of stock intel cooler).

When you hear a click sound, then it means your CPU cooler is in the right place. Lastly, if you’ve any other aftermarket CPU Cooler installed then make sure to resort to its manual for proper reinstallation instructions.
Step 5: Keep Calm and Double-Check Your Work
Once you have installed your CPU cooler, ascertain that everything is in the right place. Ensure that the thermal paste is not oozing out from the CPU edges. If you find any thermal paste on your motherboard, then it means you have applied too much paste.

It would be best if you clean any paste that is outside your CPU as it can potentially damage your hardware. Remember, it is just a thermal paste so, don’t panic. Work in a calm environment to ensure that you are fully concentrating on applying the thermal paste.
If your cooler doesn’t move and everything looks clean, then you, my friend, have done a fantastic job.
Final Verdict
Thermal paste is a crucial component PC building component, and if you know how to apply thermal paste the correct way, then you can increase the life of your CPU or GPU.
Now that you know how to apply thermal paste, you can easily max out your CPU usage and get the best performance.
So, what are you waiting for? If your CPU’s temperatures are high and you’re system is bottlenecking, apply thermal paste right away!


