How To Host a Minecraft Server on Digital Ocean
Hosting a Minecraft Server on your own computer can be really problematic sometimes as hosting a server requires you to have a solid internet connection that can communicate and manage multiple network connections simultaneously.
Although, You can create and host a Minecraft server on your own computer but it won’t be stable enough for most people because servers are optimized for these kinds of tasks. There are a lot of server hosting websites available, however, we personally recommend Digital Ocean for this task.
This post will give you a step-by-step guide on how to host a Minecraft Server on Digital Ocean.
Sign-up on Digital Ocean
If you already have an account on Digital Ocean, simply login to your Control panel. Otherwise, you can sign up for one using either your email address, Google account, or GitHub account if you are a developer.
Create a Minecraft Server Droplet
Now, there are two ways which we can use to spin a Minecraft server on Digital Ocean. We can set up a Linux server -say Ubuntu Server 20.04 LTS then install the Minecraft server on our new Ubuntu server. This method can be pretty tedious if all you need is to set up a Minecraft server. The other way is using the Digital Ocean Marketplace.
Digital Ocean Marketplace is a library of pre-built applications that you can deploy on your digital ocean account in just one click. It contains a curated selection of applications including, docker, WordPress, laravel, Lampp, NodeS, Minecraft, etc.
That is the method we will use to host a Minecraft Server on Digitaltal Ocean. Follow the steps below.
- Click on the Create button and select the Droplets menu.

Creating Droplet on Digital Ocean - On the choose image screen, click the Marketplace tab and search for Minecraft. You will see two options. Minecraft: Bedrock Edition and Minecraft: Java Edition Server. Select the latter – Minecraft: Java Edition Server.

Buying the Minecraft Server on Digital Ocean - Scroll down and choose a plan for your Minecraft server depending on the number of machines accessing this server. As of writing this post, the available plans include Basic, DEDICATED CPU, General Purpose, CPU-Optimized, Memory-Optimized, and Storage-Optimized. We will select the Basic plan with 2GB memory, 50GB SSD storage, and 2 TB data transfer.

Buying the Required Server - Scroll down and choose the region where you want to host your server.
- Next, you will need to select the authentication method that you will use to access your server. In this post, we will use SSH.

Hosting the Minecraft Server on Digital Ocean Note: You will need to create an SSH key on your local computer and upload the ssh public key to your droplet account. If you are on a Linux machine, you can create an SSH key with the command below.
ssh-keygen -t ed25519
- When done, scroll down and click the Create Droplet button to start creating your Minecraft Server droplet. Once the creation process is complete, you will see your server’s public IP address that you can access from your local machine.

Getting the IP address for Server
That’s it! We have successfully set up a Minecraft Server on Digital Ocean. The next part is connecting to our Minecraft droplet from our local machine.
Connect to Your Minecraft Server
Now we are going to connect to the server that we just created on Digital Ocean, To Connect to the server and play Minecraft, follow these steps:-
- Download and install the Minecraft Client application on your local PC
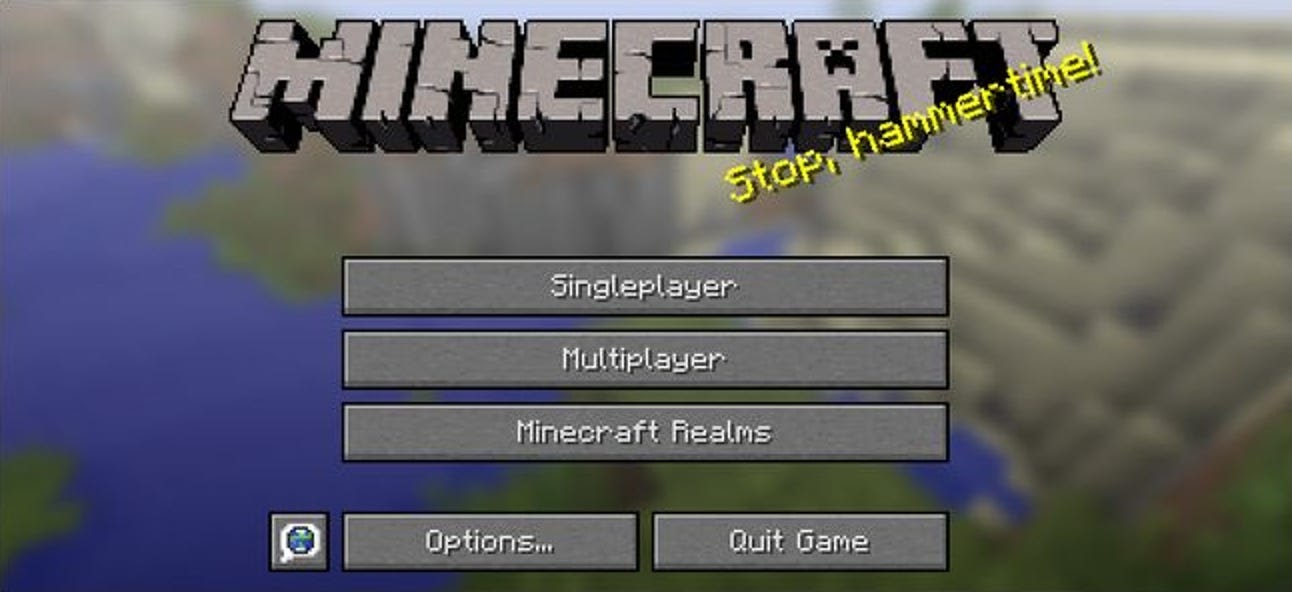
- Log in with your Microsoft account and select the Multiplayer option.

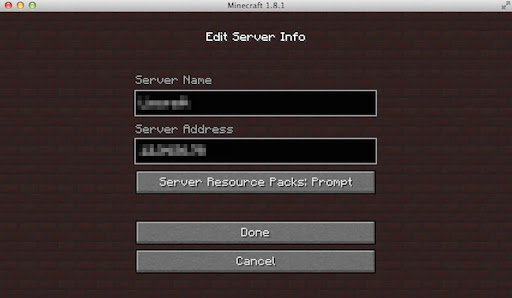
Connecting to the Hosted Server on Digital Ocean - On the screen that appears, click Add Server and enter your Digital Ocean Minecraft Server public IP address. Click Done when finished.

Joining the Server on Minecraft
That’s it! Your server is now ready to accept any incoming connections.
In this guide, we have looked at a step-by-step procedure of setting up a Minecraft server on Digital Ocean. It’s a pretty straightforward and quick process since we are using the Digital Ocean Marketplace, which offers pre-built applications that you can deploy with one click. Have some fun playing Minecraft.


