Fix: Gray x’s on Desktop Icons in Windows 10
The grey X’s on the icons are shown as a result of conflicting cloud applications. Moreover, the corrupt icon cache of your system may also cause the problem. The user starts seeing grey X’s on his desktop icons (for a small contingent, the issue limits to only some icons).
Before moving on with the solutions, make sure to uninstall any shortcut managing application (like Windows Shortcut Arrow Editor). Moreover, check if the problematic files/folders are not backed up to a tape device (that may take some time to complete). Furthermore, make sure that your system, backup drive, and cloud storage has enough space available.
You may try if any of the following workarounds resolve the issue:
- Right-click and refresh your desktop.
- Sign-out and sign back in or rebooting the PC resolves the issue.
- Make sure to remove any sharing from the problematic files/folders.
- Check if moving the files/folders to a different location and moving back resolves the issue or renaming them solves the problem.
Solution 1: Change the Folder Options of Your System
There are different folder options on your system that can trigger the current icons issue. In this context, changing the folder options may solve the problem.
Enable/Disable Desktop Icons
- Hit the Windows key and type Themes. Then open Themes and Related Settings.
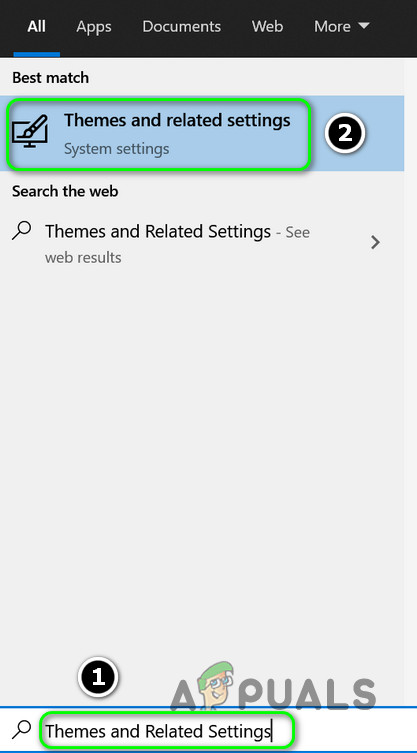
Open Themes and Related Settings - Now, in the right pane, click on Desktop Icon Settings and then enable/disable some of the desktop icons.
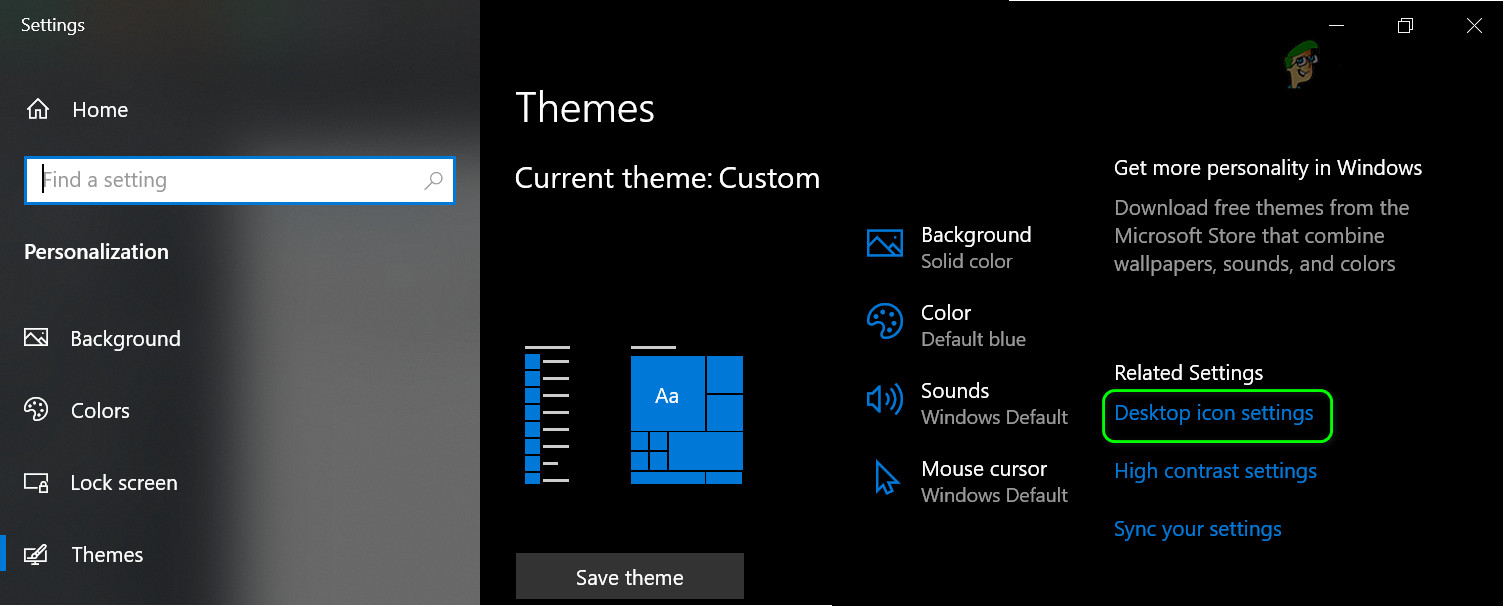
Open Desktop Icon Settings - Then check if the grey X’s have been removed.
Enable Hidden Items
- Hit the Windows key and type File Explorer Options. Then open File Explorer Options.
- Now navigate to the View tab and select the option of Show Hidden Files, Folders, or Drives.
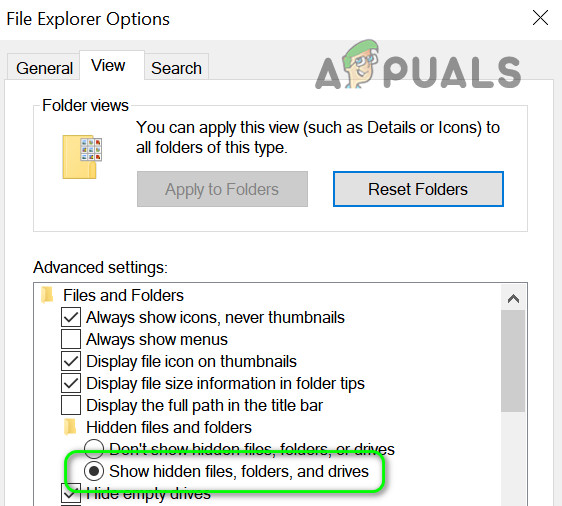
Show Hidden Files, Folders, or Drives - Then click on Apply/OK and check if the icons are clear of the grey X’s.
Restart Explorer from the Task Manager
- Right-click on the Taskbar of your system and in the context menu, select Task Manager.
- Now right-click on the process of Windows Explorer (in the Processes tab) and in the menu shown, choose Restart.
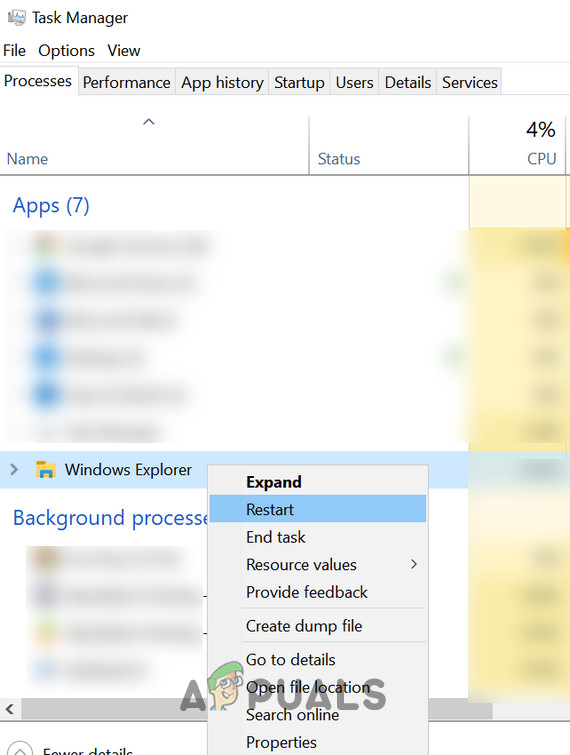
Restart the Windows Explorer - Upon restart of Explorer, check if the grey X’s have been removed.
Solution 2: Edit the Power Settings of Your Network Card
The grey X’s on the icons could be caused by the wrong configuration of the power settings of your network card as it can suspend different network (especially cloud services) related operations and thus cause the issue. In this scenario, changing the power settings of your network card may solve the problem.
- Right-click on the Windows button (which will launch the Power User menu) and select Device Manager.
- Now expand the option of the Network Adapters and then right-click on your network card.
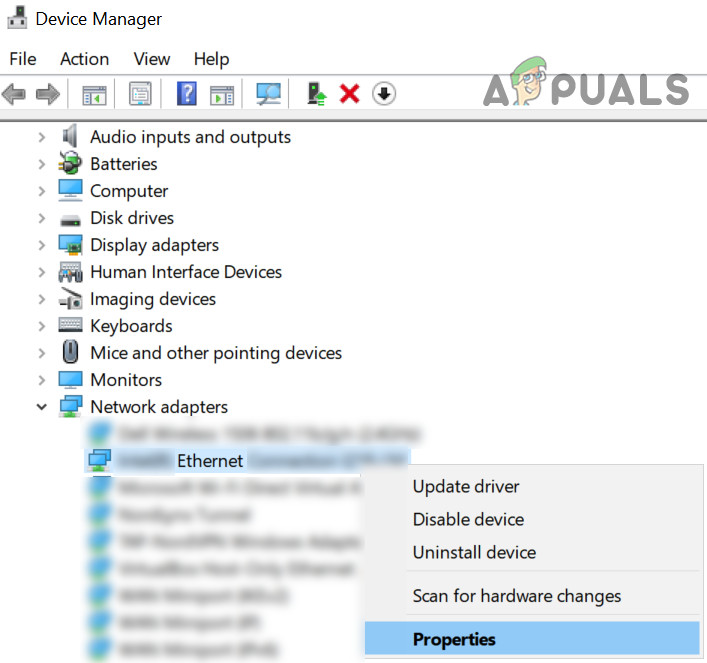
Open Properties of the Network Card - Then, in the menu shown, click on Properties and steer to the Power Management tab.
- Now uncheck the option of Allow the Computer to Turn Off This Device to Save Power and click on Apply/OK.
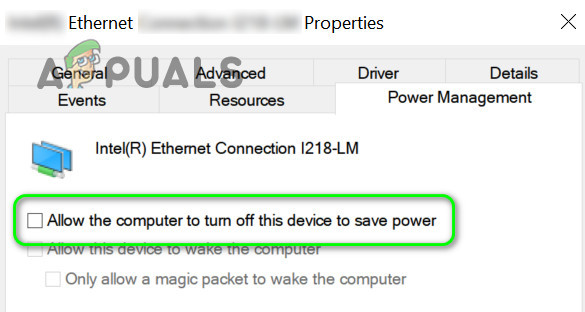
Disable Power Management of the Network Card - Then check if the grey X’s from the icons are removed.
Solution 3: Change the File/Folder Permissions
The icons issue could be a result of invalid permissions and editing the files/folders permissions may solve the problem.
Warning: Proceed with caution as editing the files/folders permission can cause some serious issues for you.
- Right-click on the file/folder having the grey icon’s issue and select Properties.
- Now in the General tab, click on Unblock in front of Security (if present) and click on Apply/OK.
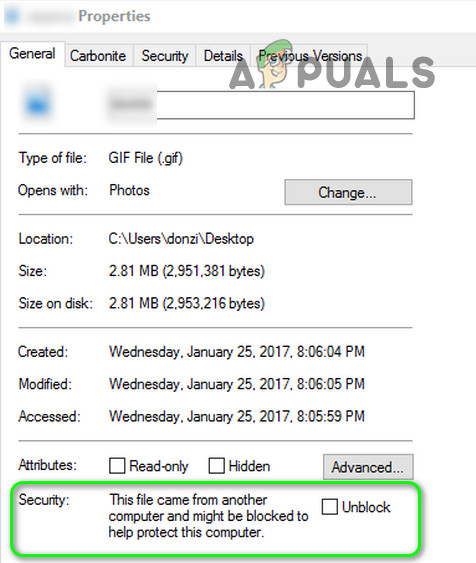
Unblock Security of the File - Then check if the grey X’s issue is resolved.
- If the option is not there or it did not solve your issue, then open the Properties of any of the problematic files/folders (step 1).
- Now steer to the Security tab and click on the Advanced button (near the bottom of the screen).
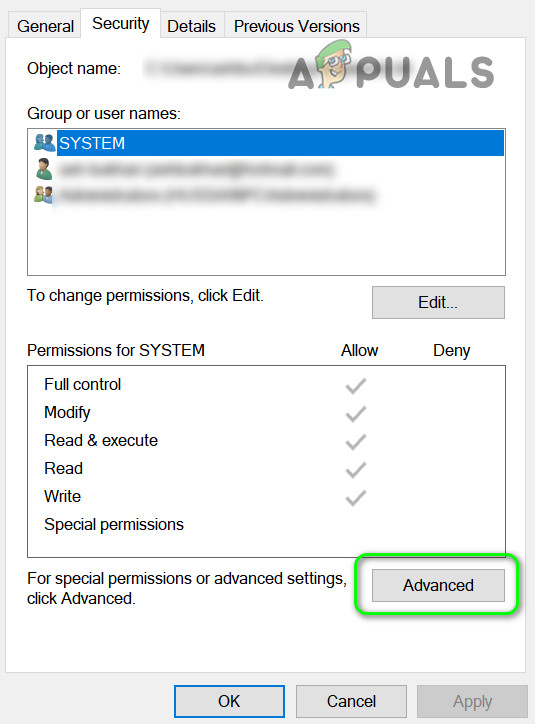
Open Advanced Security - Then click on the Disable Inheritance button and wait for all the permissions to apply.
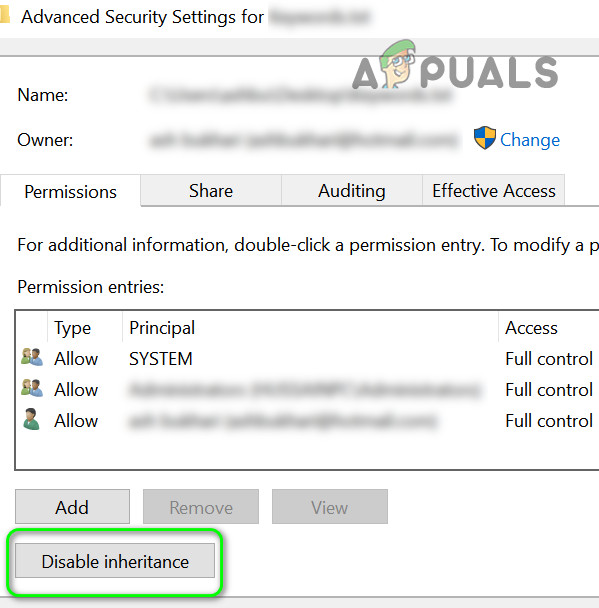
Disable Inheritance - Now check if the grey X’s issue is resolved.
If not, then check if changing a default app for any of the problematic files/folders resolve the issue.
Solution 4: Delete the IconCache Files
The icons may show grey X’s if the icon cache of your system is corrupt. In this case, rebuilding the Icon Cache may solve the problem. But keep in mind this may impact computer performance till the icon caches are rebuilt and indexed.
- Right-click on the Windows button and in the Power User menu, choose Run.
- Now navigate to the following in the Run box:
%LocalAppData%/
- Then delete the IconCache.DB file and reboot your PC.
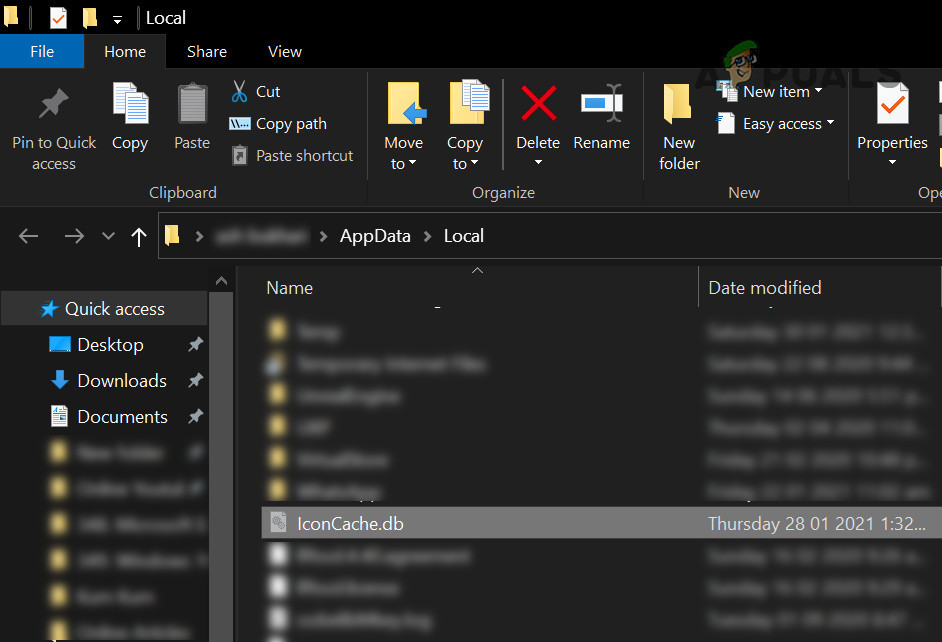
Delete the IconCache.DB File - Upon reboot, check if the grey X’s issue is resolved.
- If not, then navigate to the following path in the Run box:
%userprofile%\AppData\Local\Microsoft\Windows\Explorer
- Now delete the following files:
iconcache_16.db

iconcache_256.db

iconcache_32.db

iconcache_48.db

iconcache_idx.db
- Then repeat steps 1 to 3 to delete the IconCache.DB file and reboot your Pc.
- Upon reboot, check if the grey X’s issue is resolved.
If the issue is still there, then you may try the undermentioned commands to solve the problem. But make sure to close down all other applications as your system will immediately restart after these commands.
- Right-click the Windows key and open Run.
- Now type CMD and simultaneously press Ctrl + Shift + Enter keys to launch an elevated Command Prompt.
- Now execute the following one by one but make sure to press the Enter key after each command (make sure to note down these commands as your system’s screen may go blank during the execution, if so, then run a New Task of Explorer.exe in the Task Manager):
ie4uinit.exe -show

taskkill /IM explorer.exe /F

DEL /A /Q "%localappdata%\IconCache.db"

DEL /A /F /Q "%localappdata%\Microsoft\Windows\Explorer\iconcache*"

shutdown /r /f /t 00
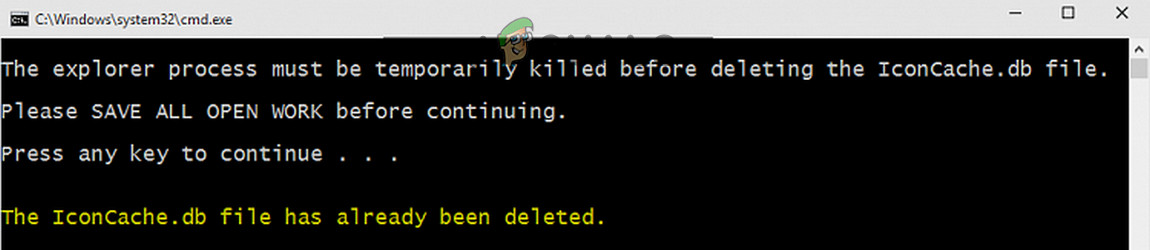
Delete the Icon Cache - Now your system will reboot and upon reboot, check if the icons issue is resolved.
Solution 5: Edit the Overlay Applications
The issue could a result of a conflict between the overlay applications (mainly the cloud services) to run their respective icons’ overlays. In this context, editing the overlay applications or removing the conflicting ones may solve the problem. It is practically impossible to cover-up all the scenarios, so, we will only discuss some applications for illustration and you have to take similar steps with the application you are using. But before trying any of the under mentioned steps make sure all the applications (Dropbox, Boxcryptoer, Carbonite, OneDrive, Google Backup & Syne, etc.) are updated.
Pause and Resume Sync (OneDrive):
- Right-click on the OneDrive icon (in the system’s tray) and expand Pause Syncing.
- Then select a time duration (e.g., 2 hours).
- Again, right-click on the OneDrive icon and choose Resume Syncing.
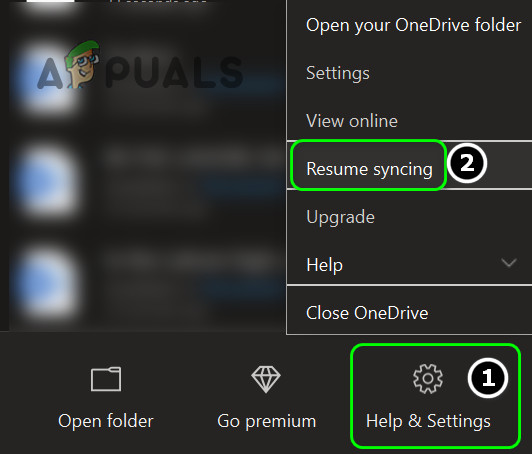
Resume Syncing of OneDrive - Then check if the grey X’s issue is resolved.
Disable File Sync Status (Norton)
- Launch Norton and open its Settings.
- Then select Backup Settings and toggle off the switch of Backup Status Overlays.
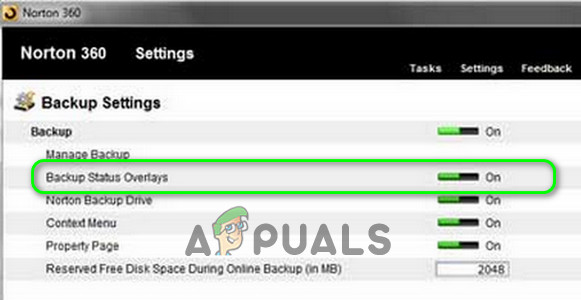
Disable Backup Status Overlays - Now click on Apply and then check if the icons issue is resolved.
If not, then check if removing the desktop from the backup of your cloud application resolves the issue.
Disable Files On-Demand (OneDrive)
- Right-click on the OneDrive icon (in your system’s tray) and select Help & Settings.
- Now open Settings and then uncheck the option of Save Space and Download Files as You Use Them.
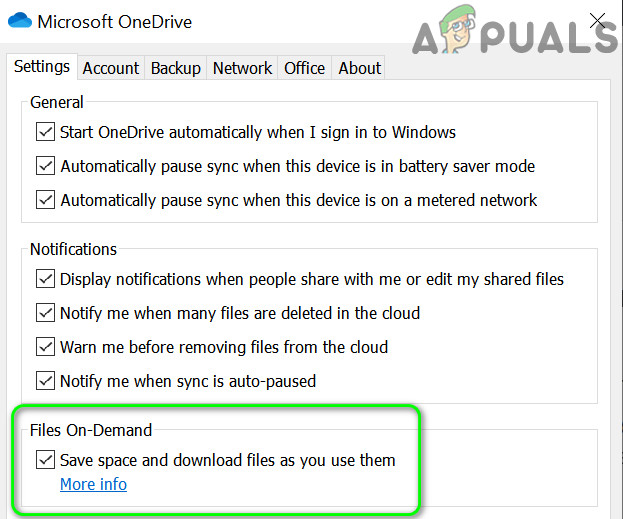
Disable Files on Demand in the OneDrive Settings - Then click on Apply/OK and check if the icons issue is resolved.
- If not, then open the OneDrive folder and right-click on the problematic files/folders.
- Now select Always Keep on This Device and check if the icons issue is resolved.
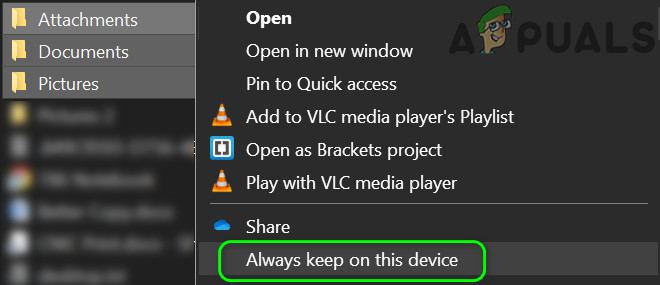
Select Always Keep on This Device
Repair/Reset the Installation (Malwarebytes)
- Press the Windows key and in the search box, type Control Panel. Now select Control Panel.
- Now open Uninstall a Program and then right-click on Malwarebytes.

Repair Malwarebytes - Then choose Repair and follow the prompts to complete the repairing of the installation.
- Now check if the icons are clear of the Xs.
If not, then check if resetting the OneDrive resolves the issue.
Reconnecting and Reinstalling Cloud Applications (OneDrive)
- In the system’s tray, right-click on the OneDrive icon and choose Help & Settings.
- Now open Settings and then steer to the Account tab.
- Then click on Unlink This PC and then confirm to Unlink Account.
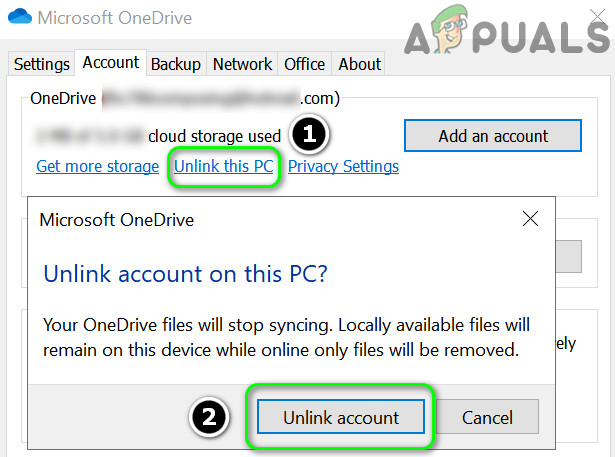
Unlink Your PC in the OneDrive Settings - Now reboot your PC and sign-in OneDrive (make sure to point it to the default location).
- Then check if the icons issue is resolved.
If not, then you may have to repeat the same with other cloud applications. If the issue persists, then you may have to uninstall all the cloud storage and then install one by one (till you find the problematic one).
Solution 6: Use the Registry Edits
If none of the solutions has resolved the icons issue so far, then some registry edits may let you solve the problem.
Warning: Advance at your own risk as editing your system’s registry requires a certain level of knowledge/proficiency and if done wrong, you may cause undying damage to your data/system.
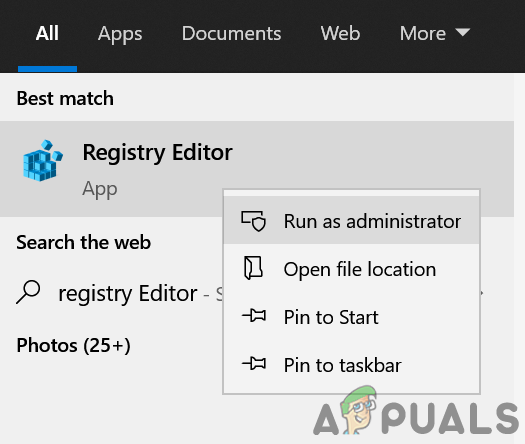
Launch the Registry Editor with administrative privileges and make the following edits one by one to check if that resolves the issue. Before moving on with the edits, make sure to back up your system’s registry.
Set Shell Icons Value to the Defaults:
- Navigate to the following path:
Computer\HKEY_LOCAL_MACHINE\SOFTWARE\Microsoft\Windows\CurrentVersion\Explorer
- Now, in the left pane, right-click on Explorer and select New >> Key.
- Then name the Key as Shell Icons and in the right pane, create a New >> String Value.
- Now name it as 29 and double-click on it.
- Then set its value to %windir%\System32\shell32.dll,-16769 and reboot your PC.
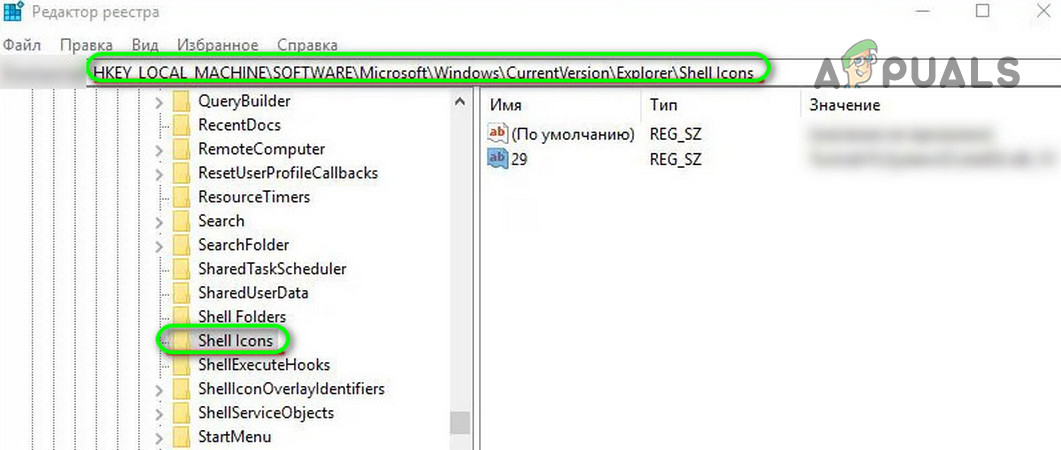
Set ShellIcons Value to Default - Upon reboot, check if the grey X’s have been removed.
Force Autoreconnect of Offline Files:
- Navigate to the following path (make sure to back up the unsynchronized files otherwise the files will be lost after performing the steps below):
HKEY_LOCAL_MACHINE\Software\Microsoft\Windows\CurrentVersion\NetCache
- Now right-click in the white area (in the right pane) and choose New >> Dword (32-bit) Value.
- Now name it as SilentForcedAutoReconnect and double-click on it.
- Then set its value to 1 and close the Registry Editor.

Set SilentForcedAutoReconnect Value to 1 - Now reboot your PC and upon reboot, check if the icons are clear of the grey X’s.
Reinitialize the Cached Offline Files:
- Navigate to the following path:
Computer\HKEY_LOCAL_MACHINE\SYSTEM\CurrentControlSet\Services\CSC
- Now, check if there is a “Parameters” key. If so, then proceed to step 4.
- If not, right-click on the CSC (in the left pane) and click on New >> Key. Then name it as Parameters.
- Now right-click on Parameters and choose New Dword (32-bit) Value.
- Then name it as FormatDatabase and double-click it.
- Now set its value as 1 and close the Registry Editor.
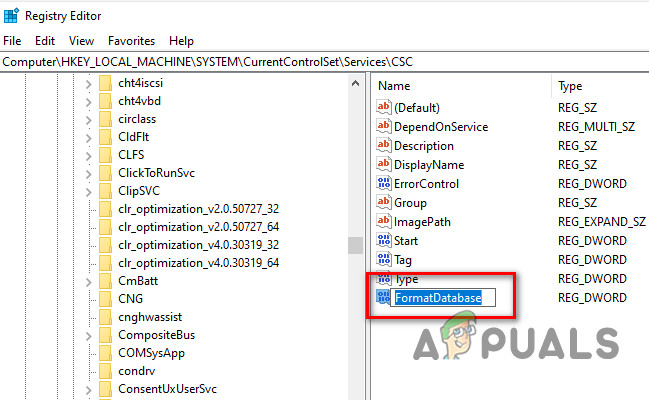
Set FormatDatabase Value to 1 - Then reboot your PC and check if the icons issue is resolved.
Rename/Remove the ShellIconsOverlays:
- Navigate to the following path:
HKEY_LOCAL_MACHINE\SOFTWARE\Microsoft\Windows\CurrentVersion\Explorer\ShellIconOverlayIdentifiers
- Now, in the left pane, check the icons overlays. If they are more than 15 (until now, Windows only supports only 15 icon overlays), then you may have to rename/delete the overlays that are not required because the overlays are prioritized by the order they appear in the system’s registry.
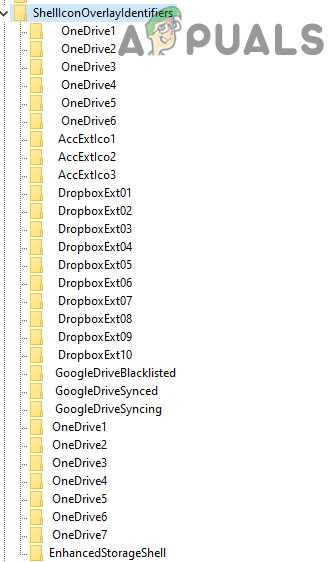
Delete or Rename Shelloverlay Keys - To rename an overlay key, right-click on it and select Rename. Then enter the name for the key. For example, if you want OneDrive to display its Overlay, then you may have to move its keys up by renaming (place Z at the start of the Dropbox keys to move them down the list) or deleting the Dropbox keys.
- After renaming/deleting the overlay keys that are not required, reboot your PC, and upon reboot, check if the icons are clear of the grey X’s.
If the issue persists, check if creating another user profile resolves the issue. If not, then use Autoruns to check which of the application is causing the issue or you may try a 3rd party application to manage the shortcut icons.


refreshing the desktop worked for me, good thing it’s the first suggestion here. thanks.