Google Play Services Keeps Stopping? Try these fixes
Various Android users have been getting an annoying message pop up while using their smartphones. As it turns out, the “Unfortunately, Google Play Services has stopped” message is displayed continuously and it keeps on going even if you close out all of the apps that you might be using. The problem in question can occur when the Google Play Services app on your phone has corrupted cache or data, or due to a recently installed update. In this article, we are going to show you how to resolve the repetitive message so just follow through with the guidelines.

As it turns out, Google Play Services plays a vital role on any Android device as it allows the third-party apps on your phone to communicate and exchange information with Google. Thus, in essence, Google Play Services acts as the middleman between Google and the apps on your phone. The reason that you keep on getting the message mentioned above can sometimes vary, but it is usually limited to either the local data or recent updates. Before we get started with the methods that you can use to resolve the issue, let us go through the different causes of the problem to establish a better understanding.
Now that we have gone through the possible causes of the issue in question, let us get started with the various methods that you can use to fix it. So, without further ado, let us jump right into it.
Clear Google Play Services Cache
The first thing that you should do when you encounter the problem in question is to try clearing out the cache of the Google Play Services app on your phone. As it turns out, the locally stored data and cache can sometimes get corrupted or damaged due to which the service is not able to function properly.
If this case is applicable, clearing out the data and cache should resolve the issue. To do this, follow the instructions that are provided down below:
- First of all, open up the Settings app on your phone.
- In the Settings app, make your way to Apps.
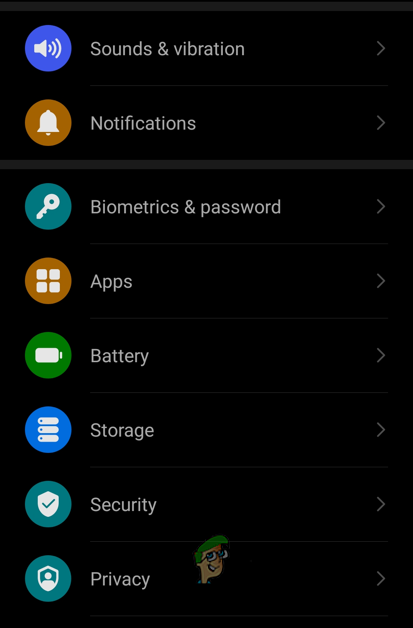
Android Settings - Once you are there, locate the Google Play Services app and tap on it.
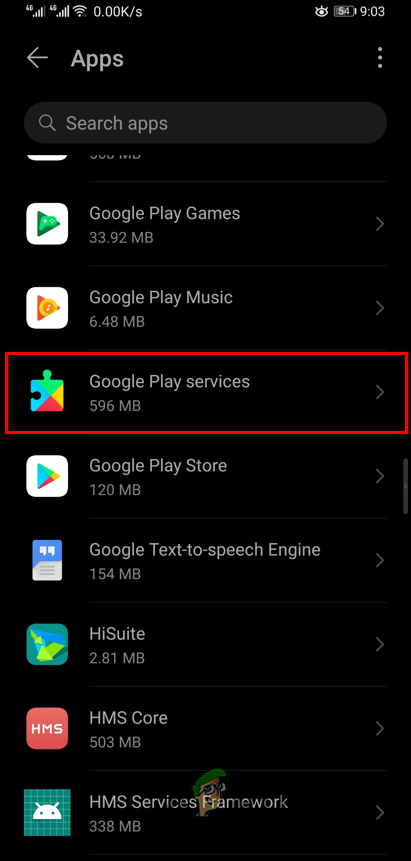
Navigating to Google Play Services Info - On the App info screen, go to Storage.
- Once you are there, tap the Clear Cache button provided.
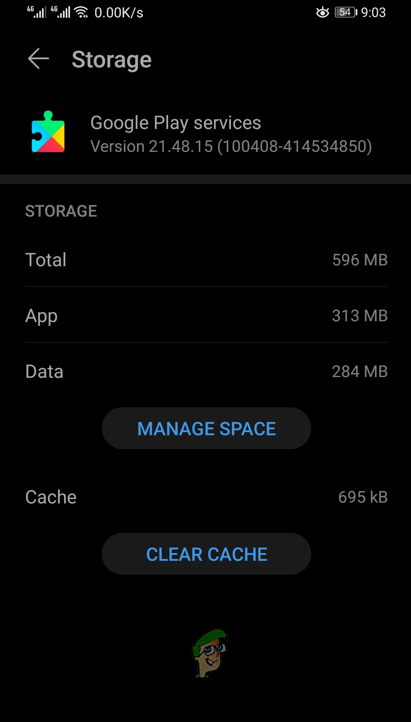
Clearing Cache - With that done, see if the problem still persists.
Reset App Preferences
As it turns out, another way that you can possibly solve the issue mentioned above is by resetting the app preferences on your phone. When you reset your app preferences, you are essentially resetting all the disabled apps, any notifications restrictions that you may have imposed along with permission restrictions, and more. Many users have reported that doing so fixed the problem for them. Follow the instructions down below to reset app preferences on your phone:
- To start off, make your way to the Settings app on your phone.
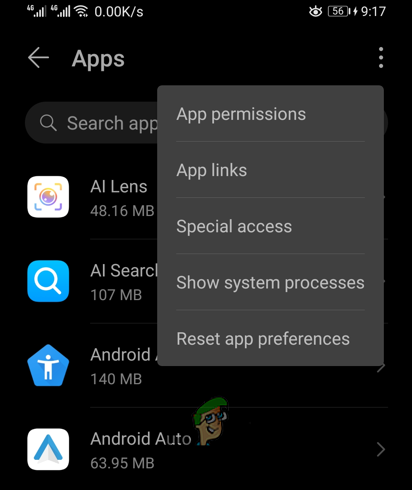
- In there, navigate to the Apps section.
Android Settings - Depending on your phone, locate the More menu (three dots).
- From there, tap on the Reset app preferences option provided.
Resetting App Preferences - On the confirmation pop up, tap the Reset option.
- Once you have done that, go ahead and restart your device.
- See if the issue occurs again after your phone boots up.
Uninstall Google Play Services Updates
As we have mentioned above as well, one of the main reasons that the problem in question may occur is due to a recently installed Google Play Service update. This can happen when a recent to the app does not go well with your phone and as such the service runs into various issues. If this case is applicable, you can uninstall the updates that have been installed and revert the app back to the version it was shipped with. Doing this will likely isolate the issue and you will be good to go. To do this, follow the instructions given down below:
- First of all, open up the Settings app on your device.
- In the Settings app, make your way to Security.
Android Settings - There, tap on the Device administrators or Phone administrators option. On some phones, it might be located under More settings or something similar.
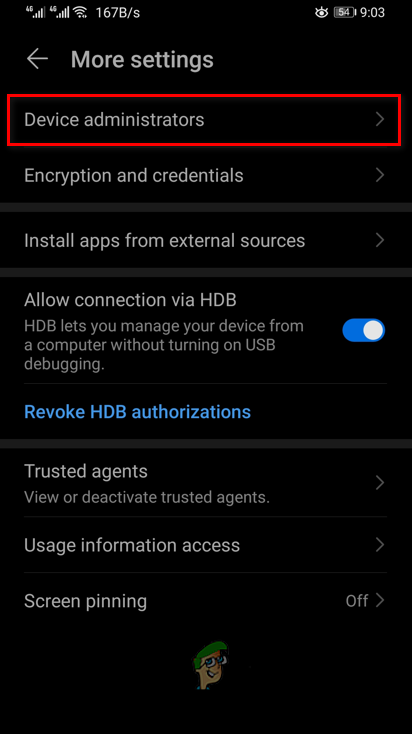
Navigating to Device Administrators - Inside the Device administrators menu, tap on the Find my Device option.
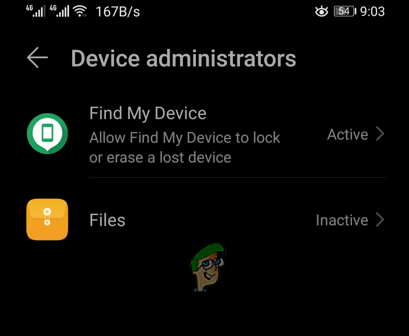
Navigating to Find my Device - Once you are there, tap the Deactivate button.
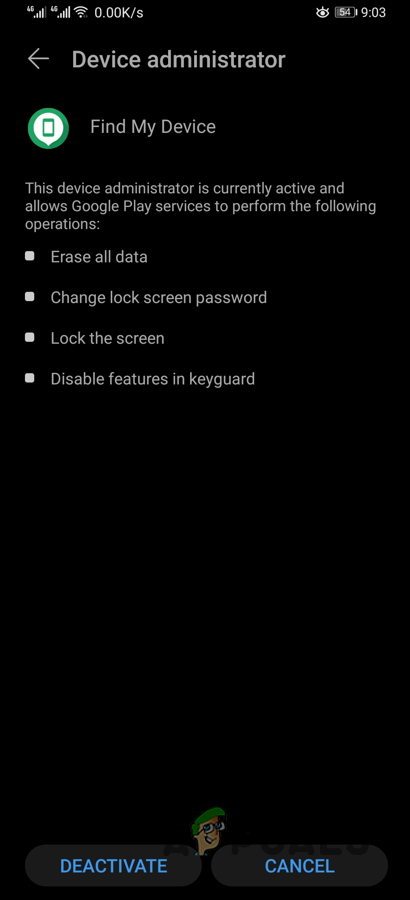
Deactivating Find My Device - After doing that, go back to the main screen of the Settings app and go to Apps.
Android Settings - There, search for Google Play Services and tap on it.
Navigating to Google Play Services Info - At the top right-hand corner, tap on the three dots provided.
- Then, tap the Uninstall updates option provided.
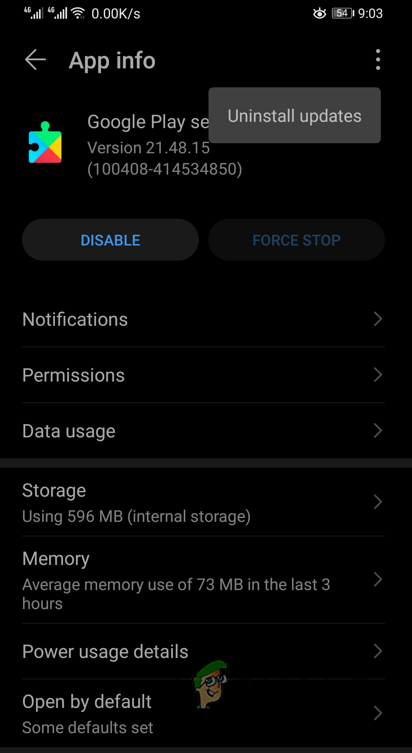
Uninstalling Updates - With that done, go ahead and enable Find my Device again.
- Finally, restart your device. Once it boots up, see if the problem is still there.
Factory Reset
Finally, if none of the methods above has fixed the problem for you, then it is very likely that the only option that you have is to perform a factory reset. In case you don’t already know, performing a factory reset will get rid of all of your data so it is recommended to backup anything important that you may have. Follow the instructions down below to perform a factory reset:
- On your phone, open up the Settings app.
- Then, in the Settings app, make your way to System.
- There, tap on the Reset option provided.
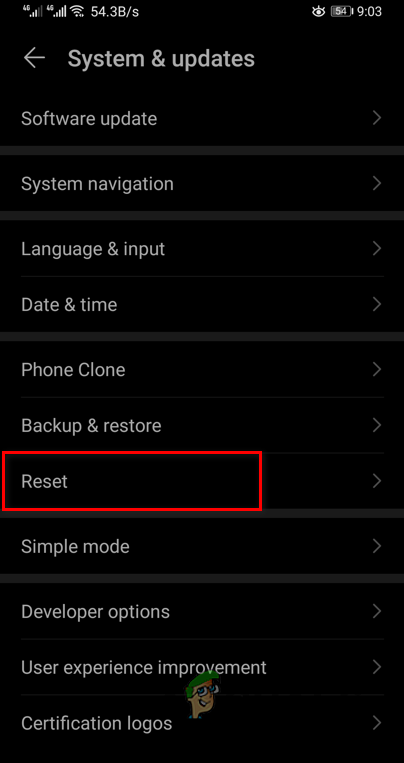
Navigating to Reset - From there, tap on the Factory reset or Reset phone option provided.
- Once you do that, the problem should go away.


