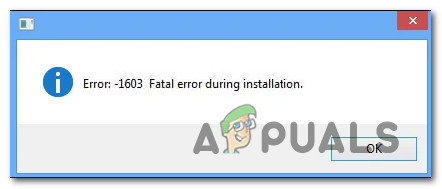
[FIX] Google Earth PRO Installation Error 1603
Some Windows users are encountering the 1603 error when trying to install the desktop version of Google Earth on their computer. In most cases, this error code is accompanied by the message “Fatal error during installation – Consult Windows Installer Help (Msi.chm) or MSDN for more information“. This issue is commonly reported to occur on Windows 10.
After investigating this particular issue thoroughly, it turns out that there are several different causes that might prompt the apparition of this error code during the installation of Google Earth. Here’s a shortlist of potential culprits that might be responsible for this issue:
- Missing admin permissions – According to several affected users, you might expect to see this error when installing Google Earth because the installer doesn’t have the required permissions to modify a couple of dependencies. In this case, forcing the installer to open with admin access should fix the issue swiftly.
- OS drive contains remnants of a previous installation – One of the most common causes that will produce this error is a situation in which a silent installer actually installed the program on your PC despite the error message or a scenario in which remnant files from a previous installation of Google Earth is presenting the newer build from being installed.
- Broken auto-update function – If you see this error message while the auto-update function on Google Earth is trying to update to the latest version, you should be able to circumvent the error message with the manual approach. Try and download the latest version of the direct installer and see if it allows you to complete the installation without errors.
- Logical error on the OS drive – As it turns out, this error code can also occur if the Windows installer component is affected by a logical error. In this case, running the Disk Cleanup utility should fix the problem and allow you to install this program.
- System file corruption – It’s also possible that Windows installer is affected by some type of system file corruption that’s preventing it from installing new programs. This is way more likely if you’re encountering a similar behavior when trying to install different programs. In this case, running SFC and DISM scans is typically enough to fix the problem.
Now that you have your list of culprits, here are all the fixes that affected users have successfully used to fix the 1603 error when installing Google Earth:
Method 1: Grant Admin Access to the Installer
As it turns out, one of the most common causes that will cause the installation of Google Earth to fail with the 1603 error code is an instance in which the installer doesn’t have admin access to make the required changes.
Other affected users are suspecting that the installer needs special permissions to complete the installation which might be denied by default on Windows 10 (this is only reported to occur with older Google Earth builds).
In this case, you should be able to fix the problem swiftly by right-clicking on the installer executable and choosing Run as Administrator from the context menu.

When you are prompted by the UAC (User Account Control), click Yes to grant admin access, then complete the installation normally and see if the operation is interrupted by the same 1603 error.
In case the same problem is still persisting, move down to the next potential fix below.
Method 2: Removing Remnants of a Previous Installation
According to the official support team of Google, the 1603 error code when installing Google Earth is typically a sign that some version of Google Earth is already installed. Keep in mind that the Google Earth installers are silent and perfectly capable of installing or updating the current version of Google Earth without you realizing it.
There are 2 scenarios that will cause this type of error if the problem is being caused by an existing installation:
- Your computer contains an older build of Google Earth that cannot be updated by the installer.
- Your computer contains a remnant of a previous installation of Google Earth that was not removed properly.
Depending on the scenario that you find yourself in, the exact instructions on fixing this problem will be different. Start by following sub-guide A to see if your computer already has Google Earth installed and if you confirm that’s not the case, follow sub-guide B for instructions on removing remnants of a previous installation:
A. Uninstalling the older Google Earth Version
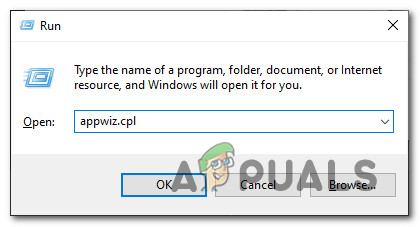
- Press Windows key + R to open up a run dialog box. Next, type ‘appwiz.cpl’ and press Enter to open up the Programs and Features menu.
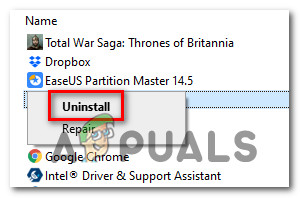
Opening the Programs and Features window via Run command - Once you’re inside the Programs and Features menu, scroll down through the list of installed programs and locate your existing installation of Google Earth. When you see it, right-click on it and choose Uninstall from the context menu.
Uninstalling the Existing version of Google Earth - Inside the uninstallation screen, follow the on-screen prompts to complete the operation and remove the existing version of Google Earth from your computer.
- Once the procedure is complete, restart your computer and wait for the next startup to complete.
- Finally, once your computer boots back up, open the Google Earth installer (with admin rights) and see if the installation completes successfully this time.
B. Using CCleaner to Remove Remnant Files from an Older Google Earth Installation
- Open your default browser and visit the official download page of CCleaner.
- Once you’re inside, the download should start automatically after a couple of seconds. If this doesn’t happen, click on the start the download hyperlink.
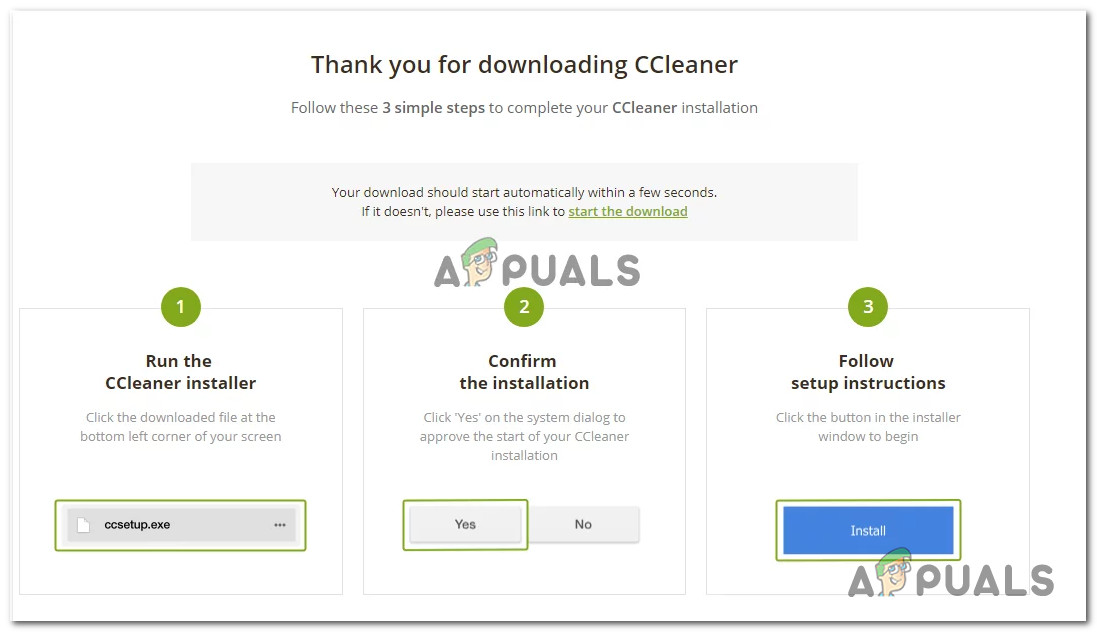
Downloading the csetup executable - Once the Ccleaner installer is successfully downloaded, double-click on it, click Yes at the User Account Control prompt, then follow the on-screen prompts to complete the uninstallation.
Installing Ccleaner - After the installation is finally complete, open it and click on the Registry icon (from the left-hand side of the screen). Next (from the registry tab), click on Scan for issues.
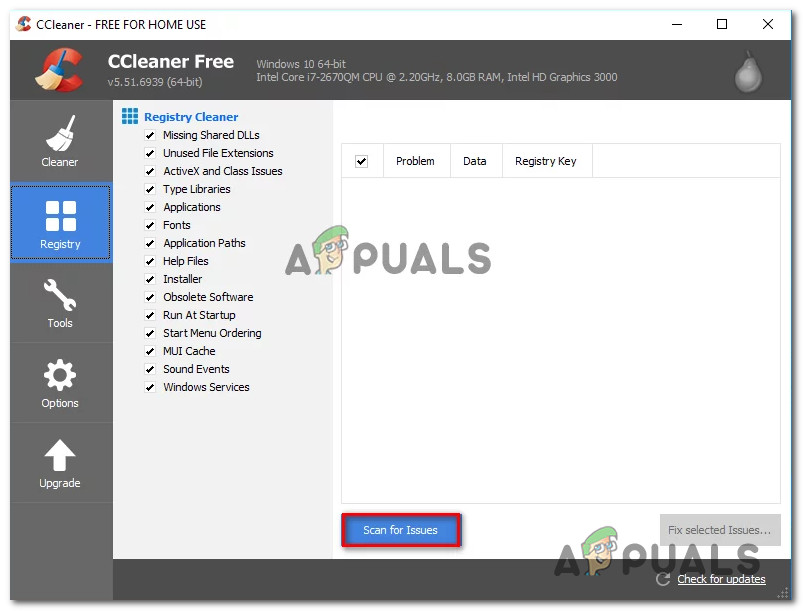
Running a Registry clean with Ccleaner Note: This type of cleanup will ensure that the old installation of Google Earth didn’t leave behind any registry keys that are conflicting with the new installation.
- Once the Registry scan is completed, click on Cleaner (from the menu on the left-hand side) and ensure that there any leftover files from the leftover installation.
- Retry the installation once again and see if the issue is now resolved.
If the installation of Google Earth ends with the same 1603 error, move down to the next potential fix below.
Method 3: Installing using the Direct Installer
In case you see the 1603 error while trying to install Google Earth using the auto-update function, you might be able to circumvent the apparition of this error code by using the direct installer to manually update to the latest version available.
Several affected users encountering the same problem have confirmed that they managed to install the latest version of Google Earth without seeing the same error code by using the direct installer.
If you haven’t tried this yet, follow the instructions below to learn how to do it on your Windows computer:
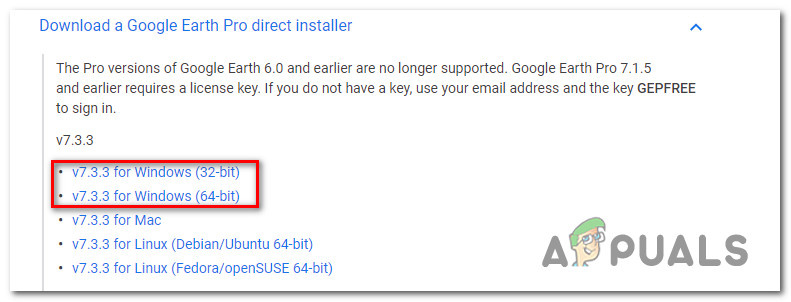
- Visit the download page of Google Earth Pro for desktop from your default browser.
- Once inside, expand the drop-down menu associated with Download a Google Earth Pro direct installer, then click on the most recent version that’s compatible with your OS architecture (32-bit or 64-bit).
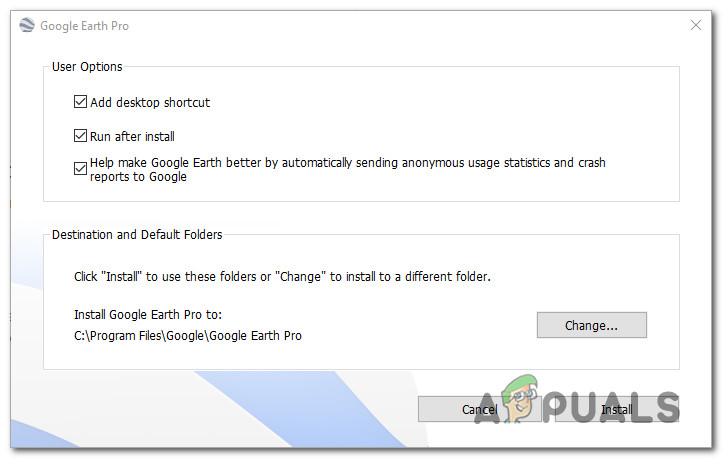
Downloading the latest version of Google Earth - Once the installer is successfully downloaded, double-click on it and click Yes when prompted by the UAC (User Account Control) window.
- Next, follow the on-screen prompts to complete the installation, then restart your computer if the error 1603 no longer appears.
Installing Google Earth using the standalone installer If the same error code is still occurring, move down to the next potential fix below.
Method 4: Running a Disk Cleanup Scan
If none of the fixes above have worked for you, it’s very likely that the error you are seeing is not actually caused by Google Earth – It’s likely that you’re actually dealing with a Windows installer error. This is even more likely if you’re also encountering similar issues with other installations that you’re trying to complete.
If you’ve gotten to this point, there are really just 2 possibilities left:
- The windows installer component is affected by a logical error or a different type of issue with your OS drive.
- Your OS drive is affected by some type of system file corruption that’s affecting the Windows installer component.
To troubleshoot the first potential cause of the issue, follow the instructions below:
- Press Windows key + R to open up a Run dialog box. Next, type ‘cleanmgr’ in the text box and press Enter to open up the Disk Cleanup utility. When you are prompted by the UAC (User Account Control), click Yes to grant admin access.
- Once you’re inside the Disk Cleanup utility, use the drop-down menu under Drives to select your oS drive (most commonly C:). When the correct drive is selected, click Ok to save the changes.
Note: The OS drive has a Windows icon next to it. - Inside the Disk Cleanup window, check the boxes associated with Temporary files and Temporary Internet Files.
- Once the utility is finally configured and ready to go, go ahead and click on the Clean up system files button and confirm at the UAC prompt.
- After a couple of seconds, you should be prompted again by the final window. When this happens, click on Delete files and wait for the operation to complete.
- When the operation is complete, restart your computer once again and retry the installation to see if the problem is now fixed.

If the same issue is still persisting, move down to the next potential fix below.
Method 5: Running SFC and DISM Scans
If you’ve ruled out the possibility of the issue being caused by a disk error, you should switch focus towards resolving some type of System fIle corruption that is affecting the Windows installer component.
In this case, you have two built-in utilities (DISM and SFC) that are known to be effective when dealing with system file corruption.
If you want to go this route, you should start with a System File Checker scan. This tool uses a locally cached archive to replace corrupted instances with healthy equivalents, so it doesn’t require a stable Internet connection.

Once the SFC scan is complete, restart your computer and see if the problem is fixed. If it isn’t, move forward with a DISM scan.
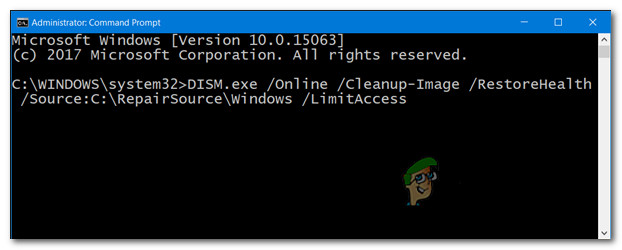
Note: This type of system file scan will require a reliable Internet connection since this tool uses Windows Update to download healthy equivalents for the corrupted files that need to be replaced.
Once the DISM scan is complete, restart your computer once again and see if you’re able to complete the installation of Google Earth without the same 1603 error once the next startup is complete.


