Fix: Glyph Launcher Error 1034
Glyph launcher shows error 1034 mainly due to the ISPs restrictions. This error can also be caused by an outdated version of the Glyph or a corrupted DNS cache. The error message 1034 primarily indicates that Glyph cannot communicate with the server and is having problems accessing the internet.
According to Glyph officials, this error message occurs because of bad network connectivity but user responses are quite different. Nonetheless, this error doesn’t have anything to do with the system’s core operations or files.
What Causes Glyph Launcher Error 1034?
- Network Restrictions: Glyph needs unrestricted access to different network resources and features. If any of your ISP’s have deployed techniques to control web traffic are blocking any essential resource/feature, then Glyph may show the error 1034.
- Blockage by Antivirus/Firewall: Antivirus/Firewall plays a vital role in the security of a system. If your antivirus/firewall is not letting certain Glyph files communicate with the server, then Glyph will show the error under discussion.
- Non-Availability of Administrator Rights: Glyph Launcher may show error 1034 if Windows does not allow Glyph to unrestrictedly access certain files/services with administrative privileges.
- Outdated Version of Glyph: Software applications are usually updated to improve performance and patch the loopholes. If you are using an outdated version of Glyph, then you are inclined to many issues including the error 1034 of Glyph.
- Conflicting Applications: Sometimes Software applications simply cannot co-exist with each other. If your system has an application that conflicts with Glyph and creates hurdles in the proper operation of the Glyph, then Glyph may show the current error message.
- Conflicting System’s Junk: Junk files are not used by the system actively. Sometimes these files conflict with the current system’s settings and thus cause many issues including the one at hand.
- Corrupted Glyph Installation: If your Glyph installation itself has corrupted, then you are prone to many errors.
Before trying any solution
- Restart your PC and router.
- If you are using any VPN, then disconnect that VPN so that you can be patched from the closest hosted server.
- Do not use wifi, rather use a direct connection to Modem/Router.
- Make sure that you have installed Glyph on the default folder location.
- If you are using Glyph through Stream interface, then use the standalone Glyph.
1. Clean-Up System’s Junk Files
Junk files are old configurations files of the system which get accumulated after being used or not needed anymore. It also includes old web browser data like cookies etc. Microsoft’s store also deposits junk files with time. Although junk files are not used by the system, there can be instances where these files conflict with the current settings/configuration of applications or even with the OS itself. In that case, Glyph may show the error 1034. Cleaning these files may solve our problem. Windows has a built-in utility called Disk Cleaner to clean up junk files from your system; we will be using that.
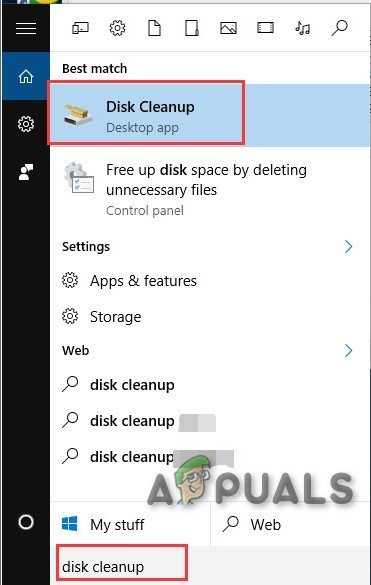
- Click on the Windows button and then, in the search bar, type “disk cleanup”. Now in the list displayed click on the Disk Cleanup.
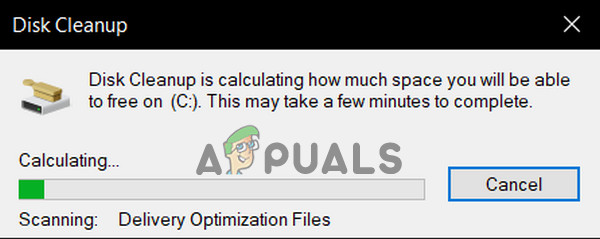
Open Disk Cleanup - Wait for a little while so Windows can scan all your system files and see which files qualify as junk.
Calculating For System’s Junk File - In the Disk Cleanup Window, scroll down a bit to locate Temporary files. Check the checkbox of Temporary Files and click OK.
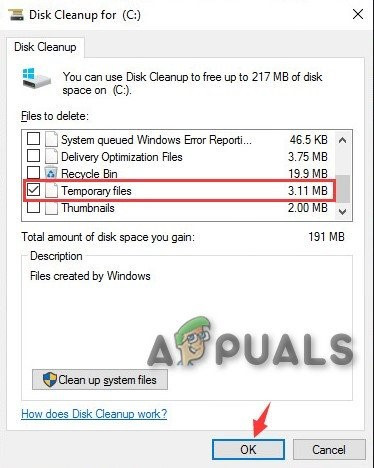
Select Temporary Files in Disk Cleanup - You can also clean other types of files by selecting their respective checkboxes. You must know what you are cleaning.
- Wait for the completion of the cleaning process, and then restart your system and Launch Glyph and check if it is functioning without any problems.
2. Flush DNS
DNS Cache entries get corrupted over time which can cause Glyph to show error 1034. The error at hand also indicates there is some hindrance in accessing the internet. In that case, flushing the DNS cache can solve the problem. Even though Glyph only uses DNS occasionally, it still requires them in its handshake.
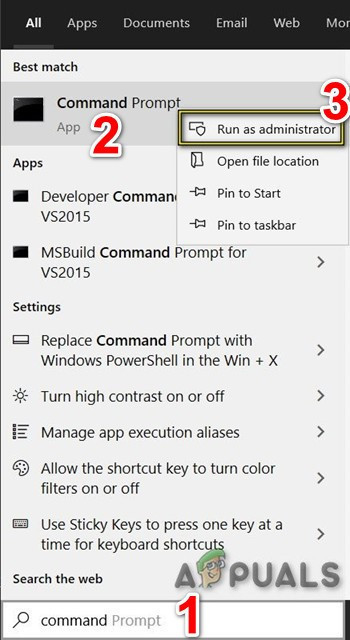
- Press Windows key and type Command Prompt in the search bar.
- In the resulting list right-click Command Prompt and click on Run as administrator.
Open Command Prompt as Administrator - Type the following commands and press Enter after each one of them.
ipconfig /flushdns
ipconfig /release
ipconfig /renew
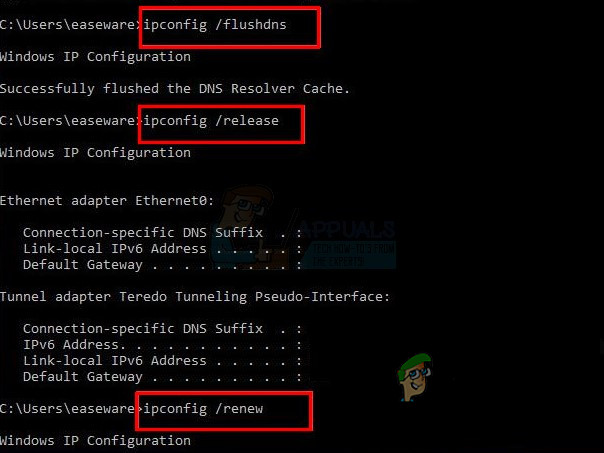
Run ipconfig in Command Prompt - Type exit and press Enter
- Launch Glyph after restarting your computer and check if it is functioning properly.
3. Run Glyph as Administrator
Glyph needs unrestricted access to certain files/services on your system. If Windows security is restricting Glyph’s access to certain files/services, then Glyph will show the error 1034. Normally, frequent Windows updates can also lower the permissions of Glypth automatically because of updated definitions.
- Open Windows File Explorer and navigate to the Glyph installation directory which is usually:
C:\Program Files (x86)\Glyph
- Now find GlyphClient.exe, then Right-click on it and click on Properties.
- Go to the Compatibility tab and check the checkbox of “Run this program as an administrator” box.
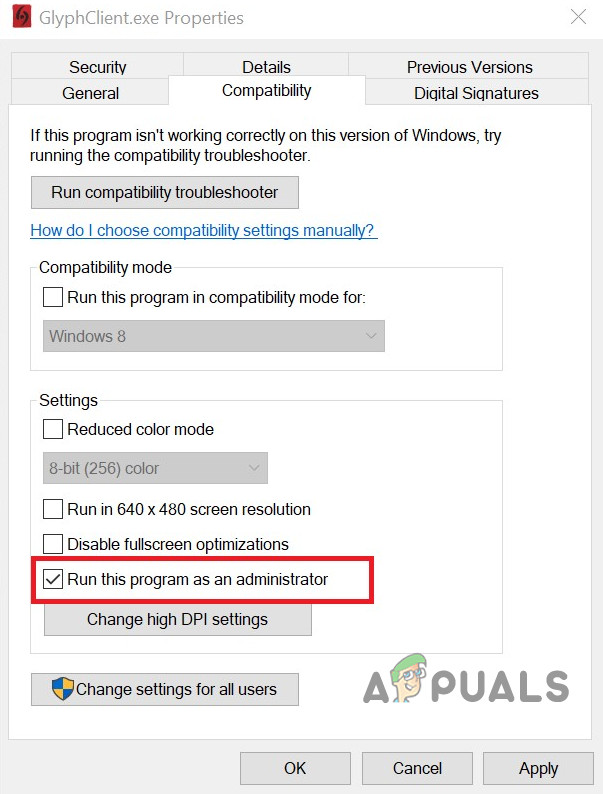
Run as Administrator in Compatibility Settings of Glyphclient - Then click on Apply and OK.
- Now launch Glyph and check if Glyph is clear of the error 1034.
4. Clean Boot Windows or Use Windows Safe Mode with Networking
The error 1034 of the Glyph launcher can occur due to conflicting applications that interfere in its operation. To rule out this out, either clean boot Windows or use Windows Safe Mode with Networking. Using this, you will be able to identify the problematic application that was causing the issue and then either uninstall it or disable it for good.
- Boot Windows in Safe Mode with Networking or Clean Boot Windows.
- Launch Glyph and check if it is functioning without any issue.
If Glyph is functioning properly, then find out the problematic application and sort out the issue between the application and Glyph.
5. Change Network Connection
To control internet traffic and restrict several applications, ISPs deploy different techniques to restrict access to different network features and resources. If your ISP is restricting access to a service/feature which is essentially required for Glyph to operate, then Glyph may show the error 1034. It will be a good idea to temporarily switch to another network and check if ISP’s restrictions are causing the said error.
- Connect to another network. You may use your mobile phone’s hotspot but keep in view the download size of the update. Also, you can use a VPN to check if there are any network restrictions by ISP that are interfering in the web traffic between Glyph and its server.
- Now Launch Glyph and check if it is functioning properly.
6. Temporarily Disable Antivirus and Firewall
Antivirus and Firewall help us in protecting our systems from security threats. Sometimes these applications block the legitimate operation of genuine software. If your antivirus/firewall is blocking certain operations of Glyph then Glyph may show the error 1034. In that case, disabling Anti-virus and firewall (temporarily) may solve the problem. But before that, check quarantine files of your antivirus to make sure that any of Glyph files are not there. Do not forget to enable Anti-Virus and Firewall afterwards.
Warning: Disable your antivirus or firewall settings at your own risk as this step will make your system more vulnerable to fraudulent, viral or malicious attacks.
- Disable Anti-Virus.
- Disable Firewall.
- Now Launch Glyph.
If Glyph is functioning properly, then add an exception for GlyphClient. GlyphDownloader, GlyphInstall-9999-1001, and GlyphInstall-0-131 in your antivirus/firewall.
7. Update Glyph to the Latest Version
Glyph launcher is updated regularly to improve performance and patch loopholes in it. If the error you are currently facing is the result of a known bug, which has already been patched in the latest version, then updating to the latest version will solve the problem.
- Launch Glyph and click on
- Click on the General tab and check the version information at the bottom.
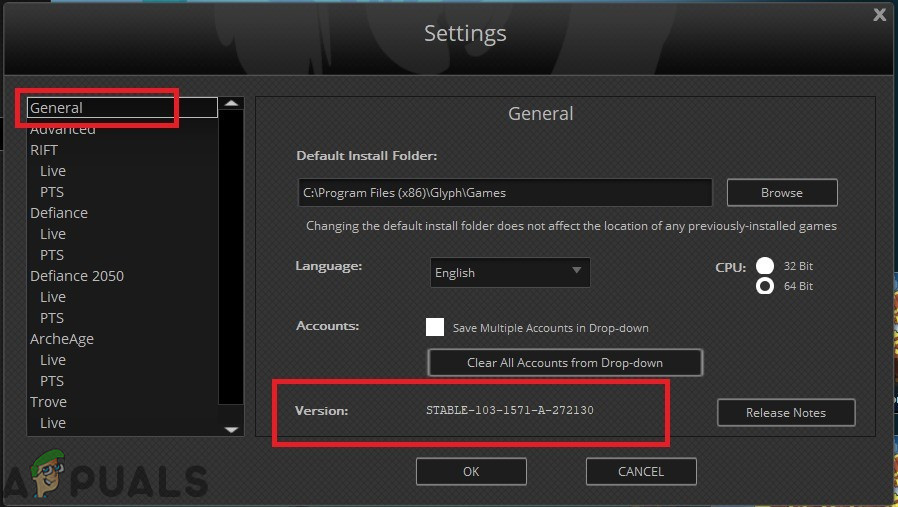
Check Version of Glyph - Now compare the information with the latest version of Glyph and if your version of Glyph is not the latest one, then uninstall the Glyph and install the newer version manually after downloading from the internet.
8. Repair Glyph Installation
If your Glyph installation itself is somehow incomplete or corrupt, we can try repairing it before we completely reinstall it. Reinstalling will cause loss of all your user-profiles and personal preferences. In the repair process, a manifest will be compared with your local files.
- Download Glyph from the official website.
- Launch the GlyphInstaller.exe.
- Choose the option to Repair the installation.
- After the completion of the repair process, Log in your account normally to check if Glyph has started to function without any issues.
9. Reinstall Glyph
If nothing has helped you so far, then it is time to move to the last resort of uninstalling and then reinstalling Glyph from scratch. Save all your important work before proceeding.
- Press Windows Key and type Control Panel. In the resulting list click on Control Panel.
Open Control Panel - In Control Panel, click on Uninstall a Program.
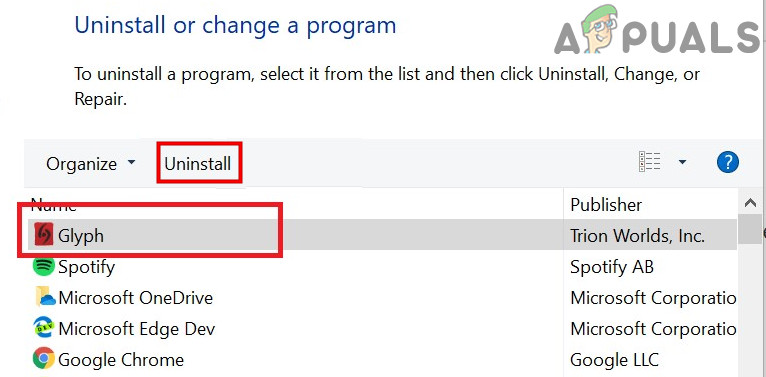
Open Uninstall a Program in Control Panel - Select “Glyph” and click on Uninstall and then follow the instructions displayed on the screen to complete the uninstallation process.
Uninstall Glyph in Control Panel - Also, find all entries with “Glyph” in the name and click ‘Uninstall after one another.
- After completion of the uninstallation process, Open File Explorer and navigate to the following location:
C:\Users\USERNAME\AppData\Local
- Find and delete the Glyph folder.
- Now delete the installation directory folder of Glyph, usually, it is:
C:\Program Files (x86)\Glyph
- Restart PC.
- Download Glyph from the official website.
- After completion of the download, Launch Glyphclient.exe and follow the instructions displayed on the screen to complete the installation process.
- Launch Glyph and see if the error message has been resolved for good.


