Red Light on Motherboard? [Explained + Fixes]
The Red light on the Motherboard usually occurs when there is an issue with your system. The Motherboard flashes a red light when any hardware is either misplaced or is working incorrectly. However, different users get a red light on Motherboard under different scenarios. Some may get when there is a problem with RAM, and some encounter red light when there is an issue with the hardware.

What does Red Light on Motherboard Means?
The motherboard Red LED issue indicates there are various issues like loose connection and seating and various major hardware damages. In some cases when the red light starts blinking with the beeping sound whereas sometime you won’t see the display. All these problems show that some serious problems occur with the system and needed to be fixed.
Well, the situation is quite serious and needs to be fixed as soon as possible. Hereby, we have presented this article that will throw light upon this scenario thereby giving you the best solutions to deal with such a problematic situation.
But before diving directly into the fixes, let’s have a quick override through the causes that trigger red light to flash on your Motherboard.
What Causes Red Light on Motherboard Problem?
- Damaged hardware- If any of your hardware is damaged or corrupted then you may encounter this red-light issue. Hereby, check for the faulty hardware and try fixing the problem by repairing or replacing the affected hardware.
- Lose or broken power supply cable- Another reason triggering such an issue on your Motherboard is a loose power supply cable connection or damaged cable. So, if found the power cable to be the culprit behind this problem then try dealing with the situation by replacing the damaged cable or plugging it properly in case of a loose connection.
- Misplaced GPU or CPU- Sometimes, your misplaced GPU or CPU may trigger red light issue on Motherboard. Therefore, when such a scenario appears, check if the CPU/GPU is placed properly on the Motherboard. In case found improperly placed, try tackling the situation by placing it back properly in its place.
- Overheated CPU- At most times, running your system for a long time may overheat your CPU which can further result in showing the red light issue on your Motherboard. Therefore, such a situation can be handled by cooling down your CPU or system by substituting the hot air with the cool air.
- Drained CMOS battery- If the CMOS battery you are using is drained out completely or gets dead then you may get into this problem. So, when such is the reason behind your problem case, try treating the issue by replacing your CMOS battery with a new one.
- Damaged or Misplaced RAM- Another possible reason causing this issue to occur is damaged or misplaced RAM. If the RAM is not properly seated or is damaged then you may face this red-light issue. Hereby, check for the RAM. If found misplaced, reseat it properly to fix the problem. In case damaged, try replacing the RAM with a new one.
- The issue with the hard drive- In most cases, an issue with your hard disk may drive you into such problems. So, when such is the cause found behind your problem scenario, try dealing with the issue by replacing your hard drive.
- BIOS issue- An issue with the BIOS can also cause the red light to appear on the Motherboard. If the BIOS is wrongly configured then it can trouble you with this problem. Therefore, when found fault in BIOS, try resetting it correctly to get rid of the issue.
- Faulty Motherboard- If the Motherboard itself is at fault, then also you may encounter a problem with the motherboard. In such a case, you need to replace the faulty Motherboard with a new one to fix the problem.
Above are some reasons that trigger the red light on the Motherboard issue. Now as you know the causes, you’ll be able to also the problem with the most effective solutions among various mentioned in no time.
1. Replace or Repair the Damaged or Affected Hardware
The hardware issue is the main culprit found behind this problem. Hereby the first thing you need to do is to check if there is any hardware issue. You need to first clean the seated dust on your Motherboard. Then inspect all the hardware properly. Also, check all the connectors and sockets to ensure there is no loose connection or damaged sockets.
To check for any hardware issue, you need to remove all the attached hardware and disconnect every connection one by one, and then reseat them back to their original place to know which of the hardware is causing the issue.
If found any hardware, connection or socket faulty, try repairing or replacing them with a brand new one to resolve the current problem scenario.
2. Replace or Reconnect the Power Supply Cable
Another reason causing this issue is damaged or loose connected power supply cable. If the power supply cable is broken or damaged then you may encounter this problem. As damaged power cable fails to supply sufficient power to the motherboard which further ends up giving you this red light issue on Motherboard. Also, using cheap or ordinary cable might lead you to such a scenario.
Hereby, if found the power cable is at fault, try replacing it with a new or official cable to resolve the issue.
3. Check the PSU
PSU (Power Supply Unit) is the case where all the connectors are attached and also it has a specific cable that supplies power to the Motherboard. Since PSU supplies power to the Motherboard, hence if PSU is at fault then it might cause the Motherboard to flash red light. So at first, you need to reconnect all the power cables, if the problem won’t resolve, then try checking the PSU. For this, follow the below instructions below:
- Unplug all the connections and open the system’s case.
- Next, detach all the cables connected to the Motherboard & hardware from the PSU.
- Now, unscrew the PSU and remove it from the system and place it on the working PC to check whether working properly or not.
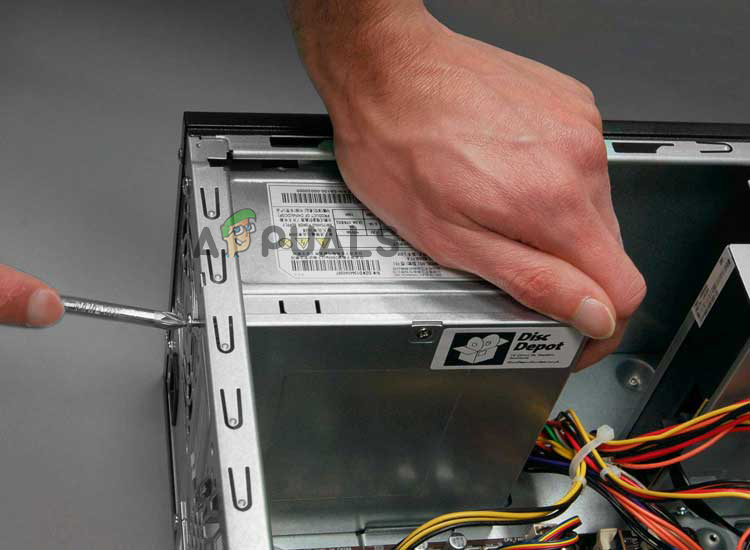
Unscrew the PSU - If not then, replace it with a new PSU unit and assemble it properly on the system.
4. Reseat your GPU & RAM
It has been already mentioned that wrongly placed GPU & RAM might cause this problem to arise. As wrongly placed GPU or RAM might not be detected by your system. Therefore, check whether your GPU or RAM is properly seated or not. If not placed properly, try placing them correctly to fix the problem. Also, if you have more than one RAM, then check the functioning of both RAMs.
To check whether the RAMs are working properly or not, you need to follow the quick guide below:
- Open the system’s case after disconnecting the power connections.
- Look over the Motherboard for the RAM slots.
- Next, take out the RAMs from the slots.
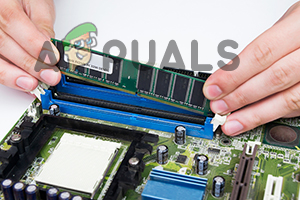
Take out the RAMs from the slots - Then, clean the slots and the RAM using a soft cotton cloth or brush.
- Once cleaned properly, place them back into their slots correctly one after another.
After each RAM placement, check for the red-light issue is resolved to know the culprit.
5. Reconnect Storage Drives
At times, issues on storage devices might force the Motherboard to blink red light. So, if your SSD or HDD won’t be detected by Motherboard, it might up give red light issue. So, for fixing this case, you need to make sure that there should be a strong connection between your Motherboard & HDD or SSD. Follow the steps guide below to do so:
- Open the case after disconnecting all the power supply cables.
- Next, detach SATA cables from the storage drive.
- Now, wipe the dust from the drive using a soft cotton cloth or brush and attach the cables back to the SATA port tightly.
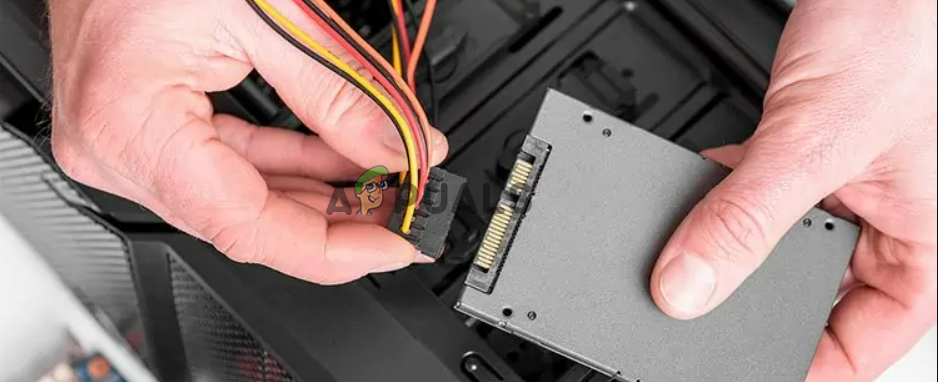
Reconnect the cables safely - Lastly, check for the problem with the motherboard is resolved.
6. Cool Down your CPU
Running your system for a long duration might cause your system to shut down randomly thereby flashing red light on your Motherboard. This could be because your system is getting overheated due to continuously running out. So, here you need to limit your CPU usage of programs to cool down your CPU to fix the red light problem. For this, you need to follow the below set of instructions:
- Place your system on a solid surface.
- Wipe the dust from the CPU’s fan with a soft cloth or brush.
- Check if the fan cable is properly connected to the Motherboard or not.
- Verify that fans are working properly or not.
7. Reset BIOS or Update BIOS
Faulty or wrongly BIOS settings might give you a hard time by blinking red light on Motherboard. Since BIOS is the firmware that coordinates your Motherboard with hardware and OS, hence wrongly configured settings might damage the whole functioning of the system thereby indicating the problem by flashing red light on the Motherboard.
So, when found is the cause behind your problem scenario, try dealing with the situation by resetting or updating your BIOS. Follow the below instructions to perform BIOS reset:
- First, reboot your PC.
- Press the F12/F2/Del/Esc key just after your BIOS boot.
- Press the key associated with Load Defaults.
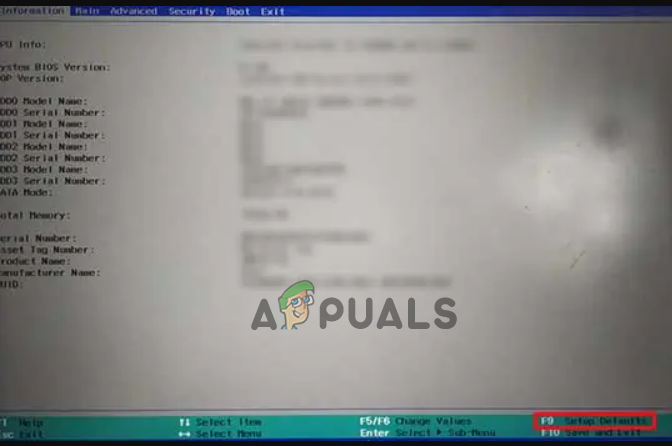
Press the keys related to Load Defaults - Next, tap the key for the Save & Exit option.
Click on Save and Exit - Now, click OK and wait for your system to restart. This will reset your BIOS.
8. Replace & Reset the CMOS battery
If the CMOS battery on your Motherboard got fully dead, drained or damaged then you may get into this problematic situation. So, if your CMOS battery got drained or damaged it won’t load BIOS firmware. Hereby, such a scenario can be dealt with just by resetting or replacing the CMOS battery. Follow the below steps to reset your CMOS battery:
- Take out the CMOS battery and let the system sit idle for 10-15 minutes
- Next, place the battery back in its place.
- Or you can use a CMOS jumper to reset BIOS. It is located on the motherboard just beside your CMOS battery.
- Find it and remove the jumper from its place for a few seconds and then place it back.
If resetting the CMOS battery won’t fix your issue then it may be because your CMOS battery is probably drained or dead and you’ll have to replace it.
To replace the CMOS battery, follow the below steps as guided:
- Detach all the power cables and open the case.
- Look for the CMOS battery on your Motherboard.
- Once located, unlock the hinge and take out the battery.
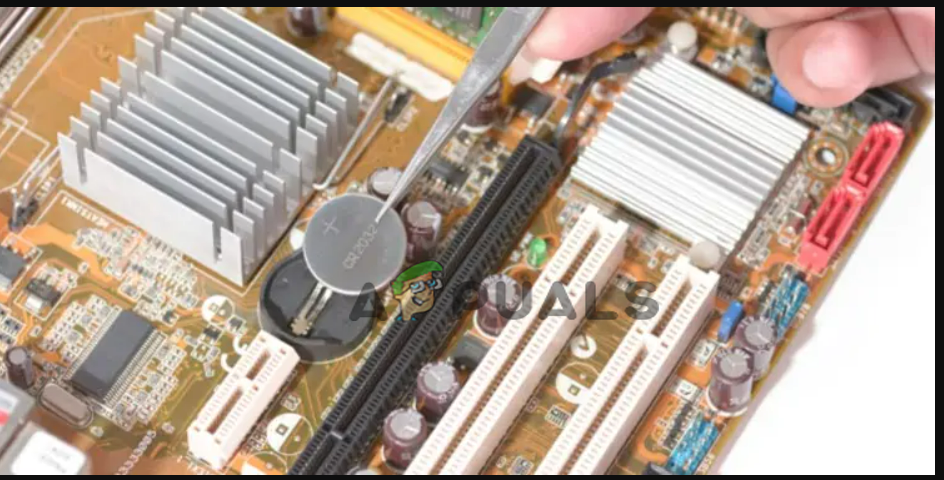
Remove the battery - Put the new battery and lock the hinge.
- Attach the cables again and run your system to check for the red light problem.
9. Replace the Motherboard
Lastly, if none of the above fixes works for you, then it may be because your Motherboard itself is faulty. So, when such is the case, you can do nothing but replace your Motherboard with a new best Motherboard.
So, these are some effective fixes that will solve your red light on the Motherboard issue. I hope the article serves you well thereby helping you fix the problem in no time with these workable solutions.