Fix: Windows Update Error 80240016
Windows Update errors are a difficult thing to deal with when you are a Windows users but it appears that Windows pretty much abandons you if you don’t update your system regularly. Various different problems begin to appear and they magically get resolved after you install the latest Windows update.
One of the rarest Windows update error codes is definitely the 80240016 which has only several working methods and all of them require quite a chunk of your attention and you will need to follow the instructions quite carefully. Follow the article and good luck on solving your problem!
Solution 1: Reset Windows Update Components
This solution helped plenty of users deal with their Windows 10 Update issue so it’s recommended that you check this out. This method may turn out to be sort of advanced for casual users, but if you follow the instructions carefully, you may fix your issue in no time.
Before proceeding with this solution, it’s recommended that you close all running programs and it’s advisable to backup your registry just in case something goes wrong while you edit it. Backup your registry by following the instructions in our backup and restore registry.
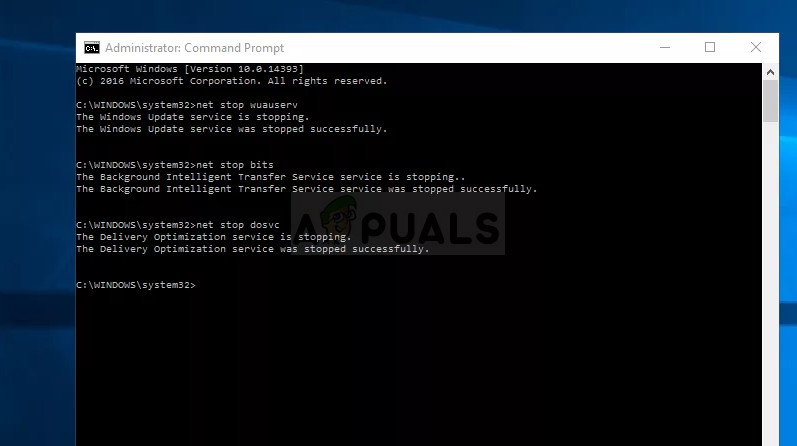
- Let’s proceed with the solution by killing the following services which are the core services related to Windows Update: Background Intelligent Transfer, Windows Update, and Cryptographic Services. Disabling them before we start is crucial if you want the remainder of the steps to perform smoothly.
- Search for “Command Prompt”, right-click on it, and select the “Run as administrator” option. Copy and paste the following commands and make sure you click Enter after each one.
net stop bits
net stop wuauserv
net stop appidsvc
net stop cryptsvc
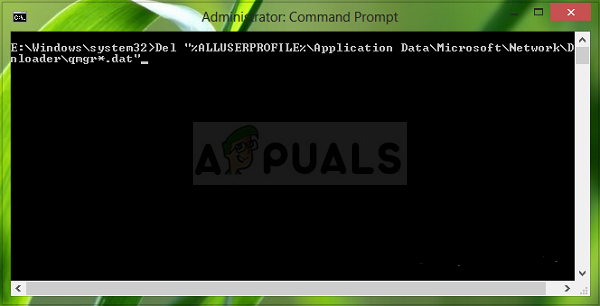
- After this, you will have to delete some files which should be deleted if you want to continue with resetting the update components. This is also done via Command Prompt with administrative privileges.
Del “%ALLUSERSPROFILE%\Application Data\Microsoft\Network\Downloader\qmgr*.dat”
- The following step can be skipped if this is not last resort. This step is considered to be the aggressive approach but it will definitely reset your updating process from its very core. So we can recommend that you try this out. It has been suggested by a lot of people on online forums.
- Change the name of the SoftwareDistribution and catroot2 folders. In order to do this, at an administrative command prompt, copy and paste the following commands and click Enter after copying each one.
Ren %systemroot%\SoftwareDistribution SoftwareDistribution.bak
Ren %systemroot%\system32\catroot2 catroot2.bak
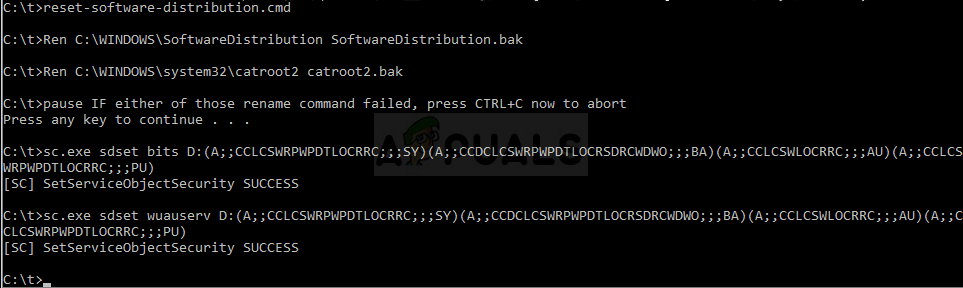
- The following commands will help us reset the BITS (Background Intelligence Transfer Service) and the wuauserv (Windows Update Service) to their default security descriptors. Make sure you don’t modify the commands below so it’s for the best if you simply copy them.
exe sdset bits D:(A;;CCLCSWRPWPDTLOCRRC;;;SY)(A;;CCDCLCSWRPWPDTLOCRSDRCWDWO;;;BA)(A;;CCLCSWLOCRRC;;;AU)(A;;CCLCSWRPWPDTLOCRRC;;;PU)
exe sdset wuauserv D:(A;;CCLCSWRPWPDTLOCRRC;;;SY)(A;;CCDCLCSWRPWPDTLOCRSDRCWDWO;;;BA)(A;;CCLCSWLOCRRC;;;AU)(A;;CCLCSWRPWPDTLOCRRC;;;PU)
- Let’s navigate back to the System32 folder in order to proceed with the solution at hand.
cd /d %windir%\system32
- Since we have completely reset the BITS service, we will need to reregister all of the files necessary for the service to run and operate smoothly. However, each of the files requires a new command in order to make it reregister itself so the process may end up being lengthier than what you are used to. Copy the commands one by one and make sure you don’t leave out any of them. You can find the complete list if you follow this link.
- Some files may have been left behind after these processes so we are going to look for them in this step. Open the Registry Editor by typing “regedit” in either the search bar or the Run dialog box. Navigate to the following key in Registry Editor:
HKEY_LOCAL_MACHINE\COMPONENTS
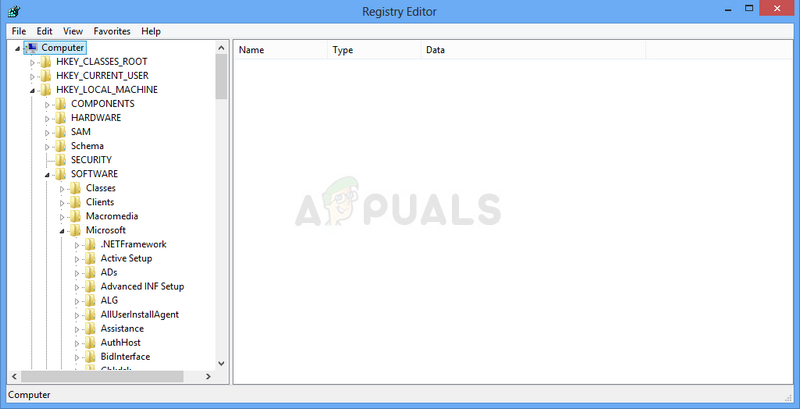
- Click on the Components key and check the right side of the window for the following keys. Delete them all if you locate any of them.
PendingXmlIdentifier
NextQueueEntryIndex
AdvancedInstallersNeedResolving
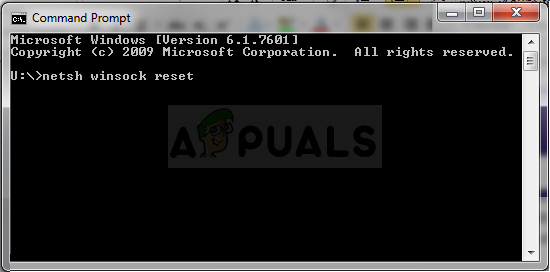
- The next thing we are going to do is reset Winsock by copying and pasting the following command back into the administrative Command Prompt:
netsh winsock reset
- If you are running Windows 7, 8, 8.1, or 10, at a command prompt, copy the following command, and tap the Enter key:
netsh winhttp reset proxy
- If all of the steps above have gone through painlessly, you can now restart the services you killed in the very first step by using the commands below.
net start bits
net start wuauserv
net start appidsvc
net start cryptsvc
- Restart your computer after following through with all of the steps which are listed.
Solution 2: Use the Built-In Windows Update Troubleshooter
Windows comes prepared when it comes to solving issues related to different aspects of your computer. Troubleshooters which are preinstalled on your computer are not certain to solve your issue but they can definitely help you at least to figure out what the problem is so that you can possibly submit it to Microsoft or that you can explain to someone more experienced.
Additionally, if the problem’s solution is obvious, troubleshooter may suggest a solution or it may even try to fix the problem automatically which is a great thing, especially for inexperienced users.
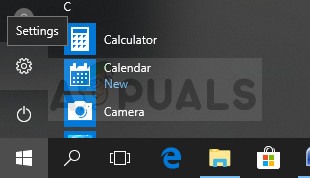
- Open the Settings app by clicking on the Start button and then the gear icon just above. You can also search for it.
- Open the Update & Security section and navigate to the Troubleshoot menu.
- First of all, click on the Windows Update option and follow the instructions on screen to see whether there is something wrong with Windows Update services and processes.
- After the troubleshooter finishes, navigate to the Troubleshoot section again and open the Internet Connections troubleshooter.
- Check to see if the problem is solved.


Are all of these steps viable for Windows 7 as well?