How to Fix ‘Error Code: 0x80073712’ When Updating Windows
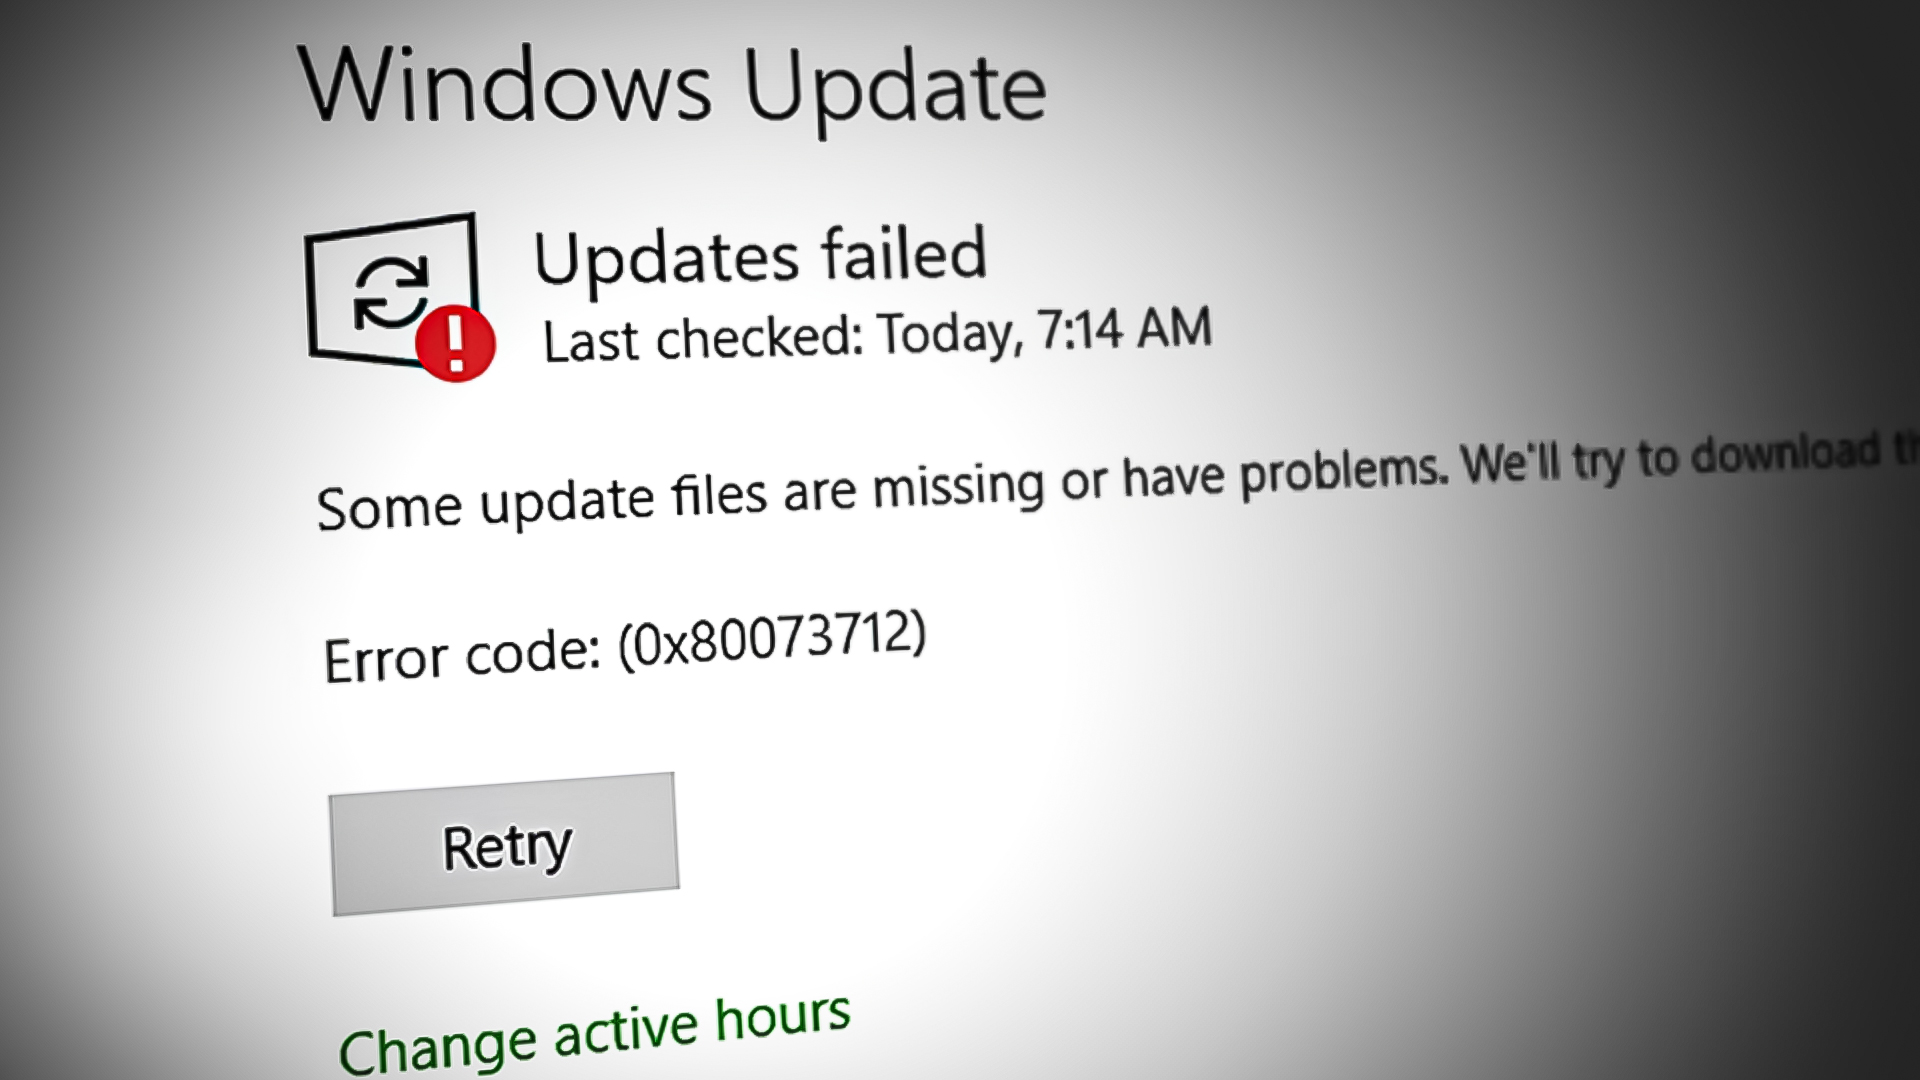
Some Windows users are experiencing an issue where every cumulative and security update that’s waiting to get installed is failing with the same 0x80073712 error code. This issue is most prevalent on Windows 10, but we’re starting to see new user reports where the same problem is starting to occur on Windows 11.
After investigating this particular issue thoroughly, it turns out that there are several different underlying causes that might be responsible for this issue. Here’s a list of possible culprits that might be responsible for the apparition of the 0x80073712 when installing a cumulative or security update on Windows 10 or Windows 11:
- Common WU inconsistency – Keep in mind that this is an old issue that Microsoft is already aware of. A lot of the fixes that can be used to resolve this problem and install the pending updates normally can be enforced simply by running the Windows Update Troubleshooter and applying the recommended fix.
- Corrupted temporary WU Files – When installing these cumulative and security updates, Windows Update also downloads a lot of temporary files that are prone to becoming corrupted under certain circumstances. These files cannot be deleted conventionally, so you’ll have to run a series of commands before you’ll be able to clear the temp files from the Catroot 2 and SoftwareDistribution folders.
- System File Corruption – Another possibility is a scenario in which you’re current Windows installation has some corrupted dependencies that end up affecting the installation of pending updates. If this scenario is applicable, you should start by deploying SFC and DISM scan and work your way to a clean install or repair install if the problem is still not resolved. Additionally, you can also circumvent the local Windows Update component entirely by side-loading the update that is failing using the Microsoft Update Catalog.
Now that you are familiar with every potential root cause with the potential of triggering this issue, let’s go over a series of fixes that other users that found themselves in a similar situation have successfully used to get around the 0x80073712 error:
Run the Windows Update Troubleshooter
Given that the issue is quite old, Microsoft had the time to develop a series of automated repair strategies that should be able to resolve (for the most part) the majority of issues that might cause the 0x80073712 error.
To take advantage of these automated fixes, you will need to run the Windows Update Troubleshooter (from the Settings menu) and apply the recommended fix.
This is not guaranteed to work, but it’s a good way to start troubleshooting this issue and see if you can fix the issue in the easiest manner possible.
Follow the instructions below to run the Windows Update troubleshooter on Windows 8.1, Windows 10 or Windows 11 and apply the recommended fix:
- Press Windows key + R to open up a Run dialog box. Next, type ‘ms-settings-troubleshoot’ inside the text box and press Enter to open up the Troubleshooting tab from the Settings app.
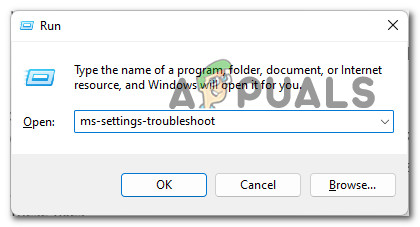
Running the Troubleshooting tab Note: This command will work on every recent Windows version.
- Once you’re inside the Troubleshooting tab, move over to the right-hand section of the screen and scroll all the way down to the Get up and running section.
- Next, scroll down inside the Get up and running section and click on Windows Update. Next, click on the newly appeared Run the troubleshooter button.
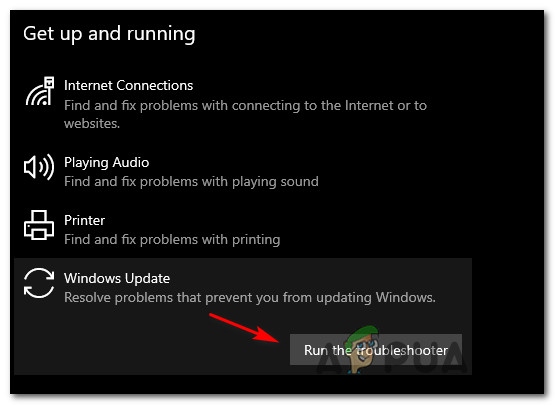
Running the Windows Update troubleshooter - After you first open the troubleshooter, you’ll need to wait patiently until the initial scan is complete (it might take a while).
- If a viable fix is identified, click on Apply this fix and wait until the automated repair strategy is enforced.
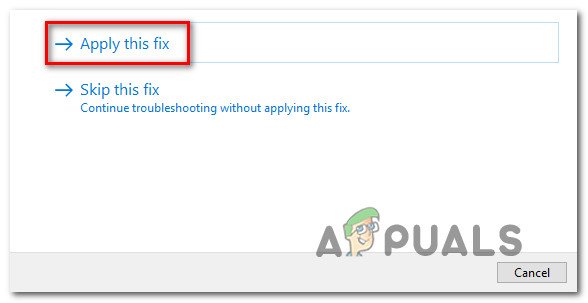
Applying the recommended fix Note: Depending on the fix that ends up recommended, you might (or might not) be required to follow a series of manual steps.
- Once the fix is successfully applied, reboot your PC and see if the Windows Update 0x80073712 error is resolved after the next startup is complete.
If you’re still dealing with the same kind of issue even after running the Windows Update troubleshooter, try the next fix below.
Delete Temporary Windows Update files
If the first method was not effective in your case as running the WU Troubleshooter did nothing, the next thing you should do is make sure that no temporary files are actually causing this behavior.
Some Windows 10 users that we’re also facing this issue have confirmed that the issue was entirely resolved after they successfully reset every Windows Update component.
This operation will effectively disable every service involved in the process of identifying and installing new updates before clearing the directories that are used to store temporary files related to Windows Updates.
Follow the instructions below for a step-by-step guide on resetting every Windows Update component and clearing the temporary files that might be responsible for causing the 0x80073712 error:
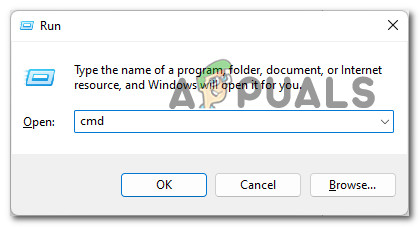
- Press Windows key + R to open up a Run dialog box. Next, type ‘cmd’ inside the text box, then press Ctrl + Shift + Enter to open up an elevated Command Prompt.
Opening up an elevated CMD prompt - When you’re prompted by the User Account Control, click Yes to grant admin access.
- Once you’re inside the elevated Command Prompt, type the following commands in order and press Enter after each one to effectively disable every Windows Update-related service:
net stop wuauserv
net stop cryptSvc
net stop bits
net stop msiserver
Note: These commands will effectively stop the following services: Windows Update Services, MSI Installer, Cryptographic services, and BITS services.
- Once every WU service has been effectively stopped, run the following commands (in whichever order) to rename the SoftwareDistribution and Catroot 2 folders.
ren C:\Windows\SoftwareDistribution SoftwareDistribution.old
ren C:\Windows\System32\catroot2 Catroot2.old
Note: Keep in mind that these two folders fall in the ‘protected’ category, which means they can’t be deleted conventionally. Instead, what we can do is rename them – this will force your Windows installation to create new folder equivalents that will take the place of the old (allowing you to bypass a potential case of temp file corruption).
- Once you manage to run both of the commands mentioned above, all you need to do is run the following commands to restart the services that you previously stopped at step 3:
net start wuauserv
net start cryptSvc
net start bits
net start msiserver - Once every service is restarted, attempt to reinstall the Windows Update that was previously failing and see if the problem is now resolved.
In case your attempt at installing the security or cumulative update results in the same 0x80073712, move down to the next potential fix below.
Deploy SFC and DISM Scan
Superficial system file corruption can also be responsible for this particular issue, especially if you’ve only started to encounter this issue after an unexpected system startup or after your AV suite ended up quarantining some files.
In a scenario like this, you should take the time and run a series of scans with two built-in utilities that you’ll find on every recent Windows version – System File Checker (SFC) and Deployment Image Servicing and Management (DISM).
Both of these utilities are capable of replacing corrupted system files with healthy equivalents, but they do it differently enough to justify running them both in quick succession.
You should start with a simple SFC scan operation, but make sure you do it from an elevated command prompt.
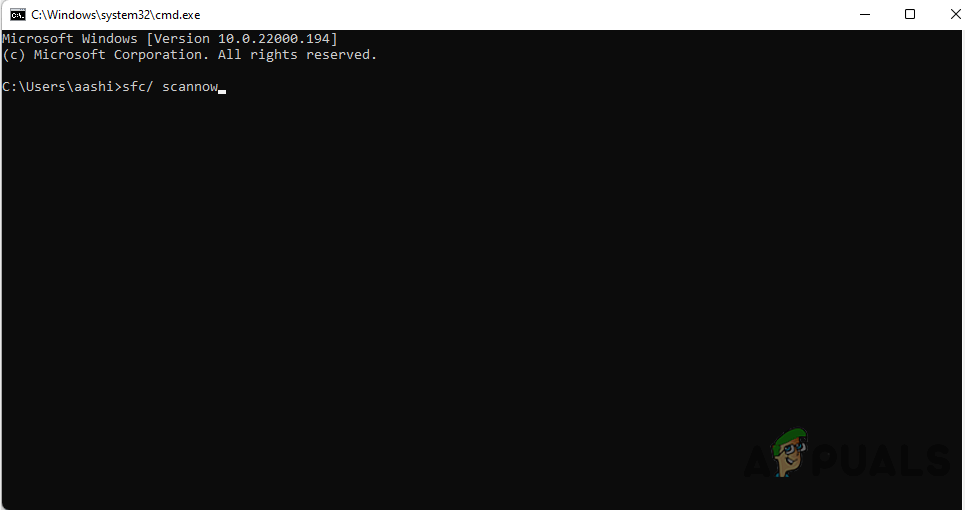
Note: This utility will replace any corrupted system file it finds with a healthy equivalent retrieved from a locally cached archive.
Once the SFC scan is complete, reboot your PC and wait for it to boot back up before initiating a DISM scan.
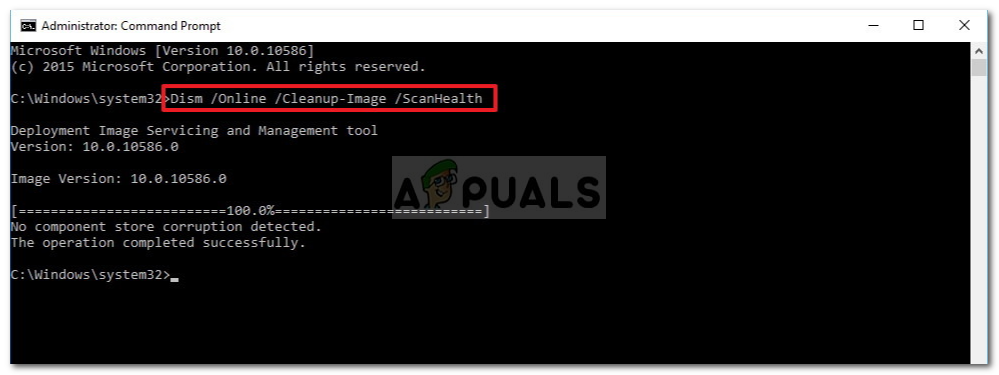
Note: Keep in mind that DISM ‘borrows’ a sub-component of Windows Update to download healthy equivalents for the corrupted system files that need to be replaced. Because of this, you need to ensure that you have a stable connection to the internet before deploying a DISM scan.
Once both SFC and DISM scans are complete, do one final restart before attempting to install the failing update once again. If the new attempt to install the problematic Windows Update fails with the same 0x80073712 error, move down to the next method below.
Install the failing update manually
In case none of the methods featured in this article worked for you and you’re trying to avoid doing a clean install or repair install procedure, you can try circumventing the local Windows Update component entirely by manually installing the failing updates.
This can be achieved by using the Microsoft-maintained Microsoft Update Catalog.
Note: This will not work for you if the Windows installer component is also busted, but should work in those situations where only the Windows Update services and processes are affected by system file corruption.
If you want to give this method a go, follow the instructions below to learn how to ‘sideload’ a pending Windows update (cumulative or security) that is failing with the 0x80073712 error.
Here’s what you need to do:
- Open your browser and visit the root directory of the Microsoft Update Catalog.
- Next, use the search function (top-left corner of the screen) to search for the update that is failing with the 0x80073712 error.

Installing the failing update manually Note: You can discover the code of the update that is failing inside the Windows Update screen (after the error message is displayed)
- Hit Enter to generate the results, then cycle through the newly generated list and decide which listing is compatible with your system by looking at the Windows version and the OS architecture.

Installing the update that is compatible - After you identify the correct update, click on the Download to download the files of the update locally.
- Once the files of the failing Windows Update are downloaded locally, navigate manually to the location where there are installed, then right-click on the .inf file and choose Install from the context menu.
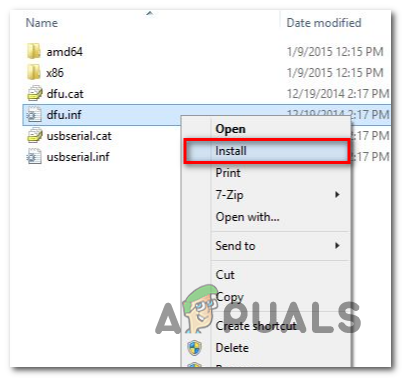
Installing the failing Update via the .inf file - Follow the remaining installation promotes to complete the installation, then reboot your PC and see if the error code is finally resolved.
In case the same kind of error code is popping up when you try to install a security or cumulative Windows update, move down to the next potential fix below.
Refresh every Windows Component
If none of the methods above have proven to be effective in your case, it’s almost certain that you’re dealing with some kind of system corruption that cannot be resolved conventionally.
In case you find yourself in this particular scenario, the only viable fix at this point is to deploy a procedure that will replace every potentially corrupted system file with a healthy equivalent.
You can either do this selectively by repair installing (in-place repairing) or you can erase everything and start from scratch by going for a clean install procedure.
Note: Keep in mind that a repair installing procedure will only touch your OS files while leaving everything else intact. This is the ideal procedure if you want to get this issue resolved without losing any sensitive data that’s currently being stored on the same drive as your OS.
Hello yeach like i tryed first method didn’t helped then i tryed the secon one and acces was denied on both commands