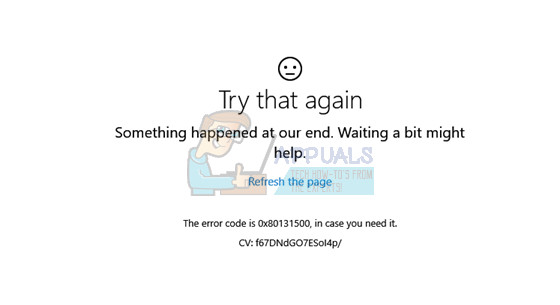
Fix: Windows Store Error Code 0x80131500
Windows Store error codes are numerous and there are quite a few ways in which you can affect it and prevent your apps from downloading or updating. The Store is a useful Windows 8, 8.1, and Windows 10 feature and it’s similar to the concept you can see on smartphones. However, users have experienced the fact that the errors appear on random occasions without a known cause.
These errors can be fixed easily if you follow the instructions carefully but first, let’s get to know the error code which appears in this particular scenario.
How to Fix Windows Store Error Code 0x80131500
This error code does not allow users to download or to update the apps they have already installed. This can be quite annoying when you consider the fact that apps on the Windows Store are updated regularly and that new updates usually bring loads of new features.
There are several solutions to this particular problem so make sure you follow them one by one in order to come out on top and get rid of this error code once and for all.
Solution 1: Reset the Windows Store Cache
If the Store’s cache is experiencing some issues, make sure you reset it with this simple command. Resetting the cache usually solves similar issues because they are caused when the Store is used excessively and its cache becomes larger than recommended. This may cause issues both with your Windows Store and the Windows Update service which can lead to the particular message being displayed often.
- Click on your Start menu and type the “wsreset” command. As soon as you type this in, the first result at the top should be “wsreset – Run command”.
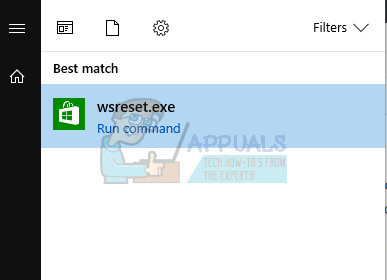
- Click on this in order to reset the Store’s cache.
- Restart your computer in order to apply these changes and open Store to see if your downloads and updates are working again.
Solution 2: Use Store Apps Troubleshooter
Microsoft has uploaded a useful app troubleshooter on their main support website so that you can download it and use it to fix various issues regarding the Windows Store and the apps related to it. Follow the instructions below in order to learn more.
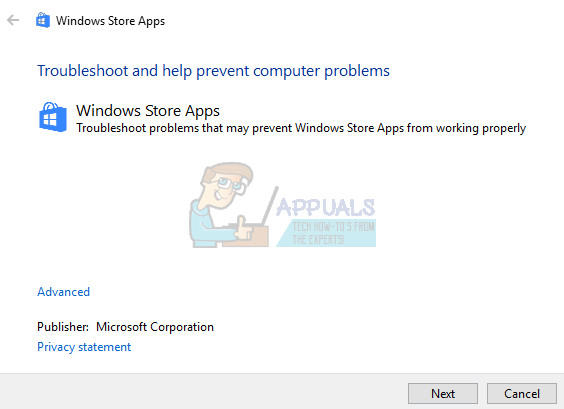
- Follow this link in order to download and run the troubleshooter for Windows apps.
- Run it and follow the instructions on the screen in order to complete the process. The troubleshooter should fix the issues it’s able to fix automatically and without your intervention.
Solution 3: Create a New User Account On Your PC
Creating a new user account usually helped users solve the issue regarding their accounts. As it appears, the user account they were using to access Store in the first place became corrupt and now the users are not able to download or update any apps at all. They have also came forward to say that creating a new account was able to fix their issue.
Creating a Microsoft Account:
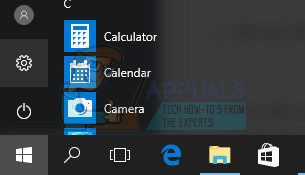
- Open Settings either by clicking on the gear icon which is located just above the power button in the Start menu or by searching for it in the search bar.
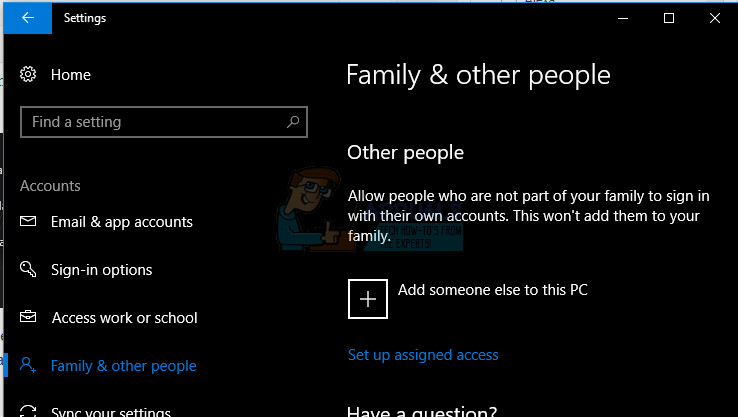
- Open the Accounts section in Settings and select the Family and other people option.
- Choose the Add someone else to this PC option located there.
- You will need to provide info about the account you are about to add in this process by doing it according to the instructions below:
- If the account you’re adding already exists under a Microsoft email, enter it now.
- If the account you’re adding is not a Microsoft account, enter the email you wish to use for it. Make sure you choose a valid email
- If you want to create a new email address straight from the Add an account menu, click Sign up for a new email address.
- Add a child’s account is useful if the user you are creating the account for is a child.
- Follow the instructions to finish setting up the account.
Creating a Local Account
- Open Settings either by clicking on the gear icon which is located just above the power button in the Start menu or by searching for it in the search bar.
- Open the Accounts section in Settings and select the Other accounts option.
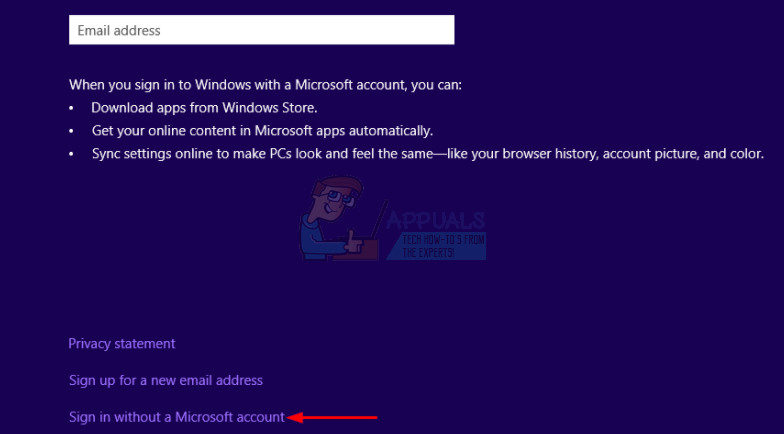
- Choose the Add an account option located there, and then click on the Sign in without a Microsoft account option which is usually not recommended.
- Create a Local account and proceed.
- Enter a username for this new account.
- If you want this account to be password-protected, you can add a character password, a password hint, and proceed by clicking Next.
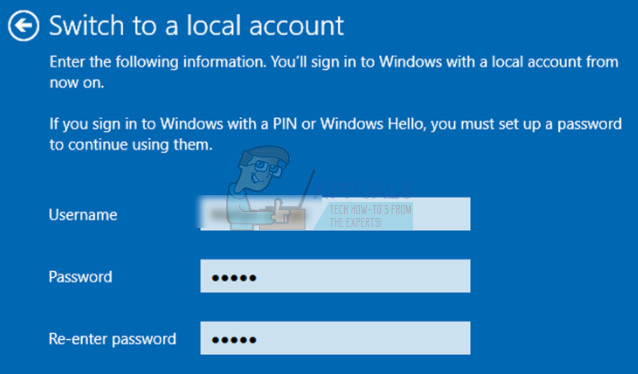
- Click the Finish button in order to finish creating a new account.
Solution 4: Change the Location of Your Computer
Other people have reported that changing the location of your computer in your settings enabled the use of the Store. It turns out that new updates have disabled Store from certain parts of the world and there are users who were using a fake location who are now unable to connect to Store services at all. Follow the instructions below in order to change your location.
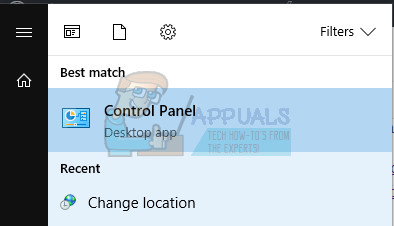
- Open Control Panel by searching for it in the search bar located at the taskbar or in the Start menu.
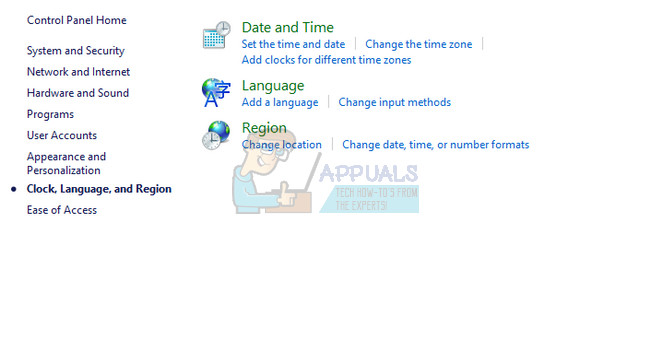
- Set the View by option in Control Panel to Category and choose the Clock, Language and Region section from the list.
- Under this section, locate the Region subsection and choose the Change location option located underneath.
- Choose your real location or at least the one which is stated in the email you used for your Microsoft account.
You should also check your time and date settings since these settings may cause plenty of issues if they are left under the wrong value. Follow the instructions below in order to reset your date & time settings:
- Open Date and Time settings by opening the Start menu, opening the Settings app by clicking on the gear icon above the power icon, choosing the Time & language option, and navigating to the Date & Time tab.
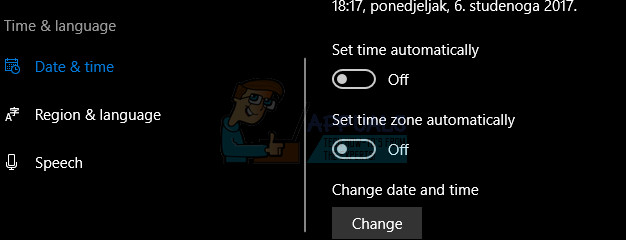
- In the Date and Time tab, make sure that your computer’s date and time are aligned with the location you chose for your computer. If the time is not correct, you can try turning the Set time automatically option off.
- Choose the correct time zone from the dropdown list in order to wrap up the process. After you have finished, restart your computer and try opening the Windows Store again.
Note: If the Store still won’t work for your real location, try setting your location and your time zone to the United States.
Solution 5: Change Your DNS Settings
If the updating process failed because of your ISP (Internet Service Provider), you can simply change the default DNS server to a public one in order to install the update successfully. You can reverse the process quite easily if something goes wrong.
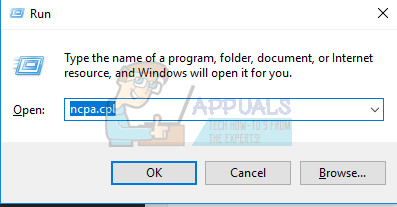
- Open the Run dialog box by pressing the Windows logo key + R key together. Then type “ncpa.cpl” in it and click OK.
- Now that the Internet Connection window is open, double-click on your active Network Adapter.
- Then click Properties and double-click on Internet Protocol Version 4 (TCP/IPv4).
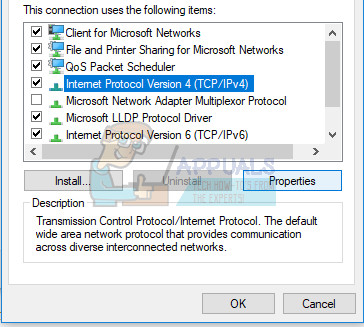
- Locate Use the following DNS server addresses option.
- Set Preferred DNS server to be 8.8.8.8
- Set Alternate DNS server to be 8.8.4.4
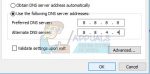
Note: That’s Google’s public DNS server addresses.
- Now try to install Windows Updates again.
Solution 6: Checking for Downtime
If none of the above methods worked, it is very likely that Microsoft is experiencing downtime itself. If the Store application cannot communicate with its servers, it will not be able to connect and hence display the error message. Here, you can check third-party websites who monitor the downtime of Store and see if there are issues going on.
You should also check forums if other users have recently posted the same issue. If there is indeed downtime, you should wait a while before the servers get up again.
Solution 7: Enabling TLS 1.2
TLS (transport layer security) is a security architecture that dictates the type of security to be implemented over the network. Your computer has different TLS options available to be implemented. We came across numerous instances where if a TLS 1.2 was not enabled on the computer, the computer was not able to communicate properly with Microsoft Store and hence cause problems like the one under discussion. Here, we will navigate to your internet settings and see if this does the trick.
- Press Windows + R, type “inetcpl.cpl” in the dialogue box, and press Enter.
- Now, navigate to the Advanced tab and scroll down. Locate TLS 1.2 and enable it.
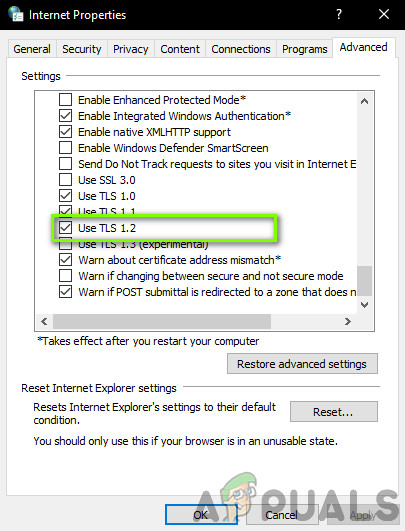
Enabling TLS 1.2 - Save changes and exit. Restart your computer and see if the issue is resolved.
Solution 8: Resetting the Store Application
If none of the above methods work, our last resort is to reset the Windows Store application itself. Store, like any other application, Store has temporary configurations and settings in place. If any of these get corrupt or have bad data stored, you will experience the error 0x80131500. Here, we will navigate to the Store settings and reset the application to default and see if this makes any difference.
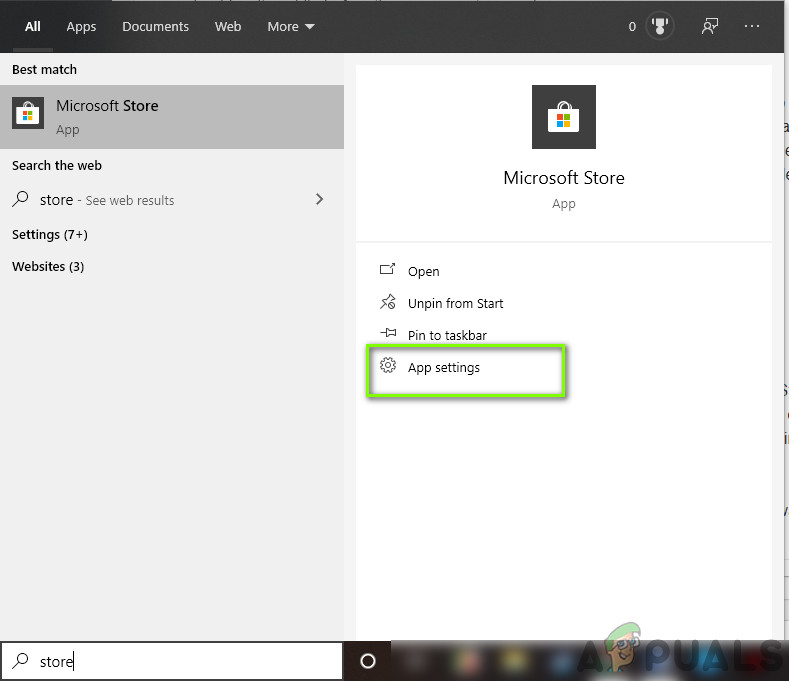
- Press Windows + S, type “store” in the dialogue box. When the application comes forward, click on App settings.
Store Settings - Now, navigate down and press the Reset button.
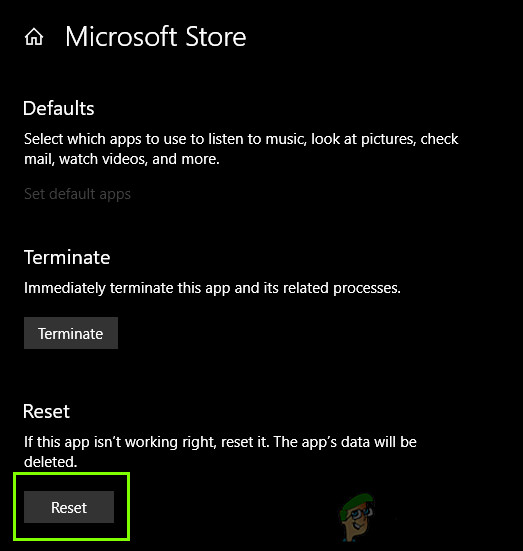
Resetting Store Application - After the reset process is complete, restart your computer and see if the problem is resolved for good.
One way to fix it without doing all that. Go close your Microsoft account. It has a delay on actually closing it. Give a few minutes after attempting to close, and then reoping the account. Change back from one you created or if you have two just switch back to the main one and try to use Microsoft Store app, and it worked for me. Just remove account on Windows 10 and remove off the Microsoft site, and the add it all back again. You might have to reinstall some software again, but sure worked for me after a fresh install of Windows 10 Pro.