Fix: Windows 10 Start Menu Flickering
Microsoft released its latest and the most awaited version of their operating system series; Windows 10 on July 29th, 2015. There were major changes in the latest OS based on the appearance, services, ease of access, and GUI. Around 14 million people upgraded to Windows 10 with 24 hours of the launch.
At the same time, people started reporting that their Start Menu was flickering along with several other utilities as well. The flickering is usually caused by an incompatible application or an outdated/incompatible display driver. We have listed a series of steps on how you can troubleshoot what is causing the problem and fix it accordingly.
Checking what is causing the problem
There is a method which can determine the flickering problem is caused by an application or a driver. This is done by checking the task manager. If it flickers, it means that the problem lies with the display driver. If it doesn’t, it means that an application is the root of the problem.
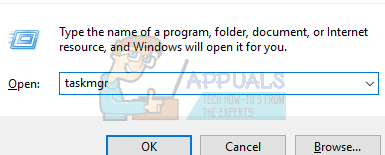
- Press ctrl+shift+esc simultaneously to launch the task manager. If this doesn’t launch the utility, press Windows + R, type “taskmgr” in the dialogue box and hit Enter.
- Now check if the task manager is flickering. If it is, scroll down to the section where we guide you on how to display drivers. On the other case, check out the next solution on how to uninstall an application which may be causing the problem.
Solution 1: Uninstalling an incompatible application
Programs are known to cause display problems in Windows 10. Some of these applications are Norton AV, iCloud and IDT Audio etc. Check your third party applications installed and determine which might be causing the problem.
In the case of Norton, the developed has officially acknowledged the problem and released as a specific fix for it. Head over to their official web page and follow the instructions to fix the problem.
Before resorting to uninstalling the applications, make sure that all the applications are updated to their latest and their latest patches installed.
- Press Windows + R to launch the Run Type “control panel” in the dialogue box and hit Enter.
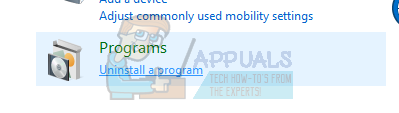
- Once the control panel is in front of you, navigate to the subheading of Programs and Features and click on “uninstall a program”.
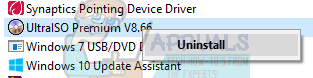
- A new window will come in front of you. Select the application you want to uninstall and right click Click on the option of “uninstall” and follow the on-screen instructions.
- Restart your computer and check if the problem gets fixed.
Solution 2: Updating your Display Drivers
We will start your computer in Safe Mode and delete the currently installed drivers of your display card. Upon the restart, the default display drivers would automatically be installed upon the detection of your display hardware.
- Follow the instructions on our article on how to boot your computer in safe mode.
- Once booted in the safe mode, right click on Windows key and select Device Manager from the list of options available.
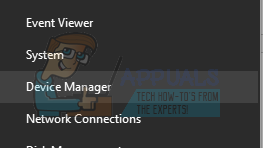
Another way to launch the device manager is by pressing Windows + R to launch the Run application and typing “devmgmt.msc”.
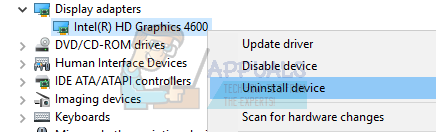
- Once in the device manager, expand the Display adapters section and right click on your display hardware. Select the option of Uninstall device. Windows will pop a dialogue box to confirm your actions, press Ok and proceed.
- Restart your PC. Press Windows + S button to launch your start menu’s search bar. In the dialogue box type “Windows update”. Click the first search result which comes forward.

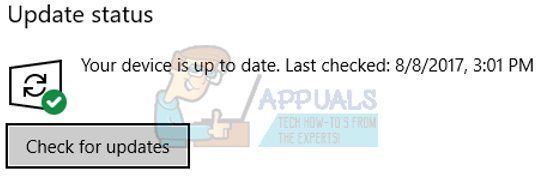
- Once in the update settings, click on the button which says “Check for updates”. Now Windows will automatically check for updates available and install them. It may even prompt you for a restart.
- After updating, check if your issue got fixed.
Windows Update always tries its best to deliver the latest drivers available for your hardware. But it also doesn’t mean that they are the latest ones available. Alternatively to the Windows Update, you can also head over to your graphic card’s manufacturer website and download the latest drivers manually.
If the latest drivers also don’t solve the problem in question, you can try downloading and installing an older driver for your hardware. Manufacturers have all the drivers listed according to date and you can try installing them manually. Follow the instructions below to install the drivers manually.
- Open your Device manager as explained above in the solution and right click on your driver and select “Update Driver”.

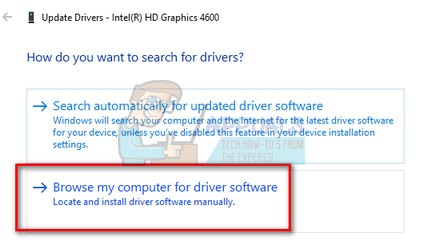
- Now a new window will pop up asking you to whether update the driver manually or automatically. Select “Browse my computer for driver software”.
- Now browse through the folders to where you downloaded the drivers. Select it and Windows will install the required drivers. Restart your computer and check if the problem got solved.
Solution 3: Ending Windows Shell Experience Service
Windows shell experience is responsible for presenting universal applications. It handles several graphical elements of the interface like the start menu or the taskbar’s transparency etc. A lot of people reported that stopping the service fixed the flickering problem for them instantly.
- Press ctrl+shift+esc simultaneously to launch the task manager. If this doesn’t launch the utility, press Windows + R, type “taskmgr” in the dialogue box and hit Enter.
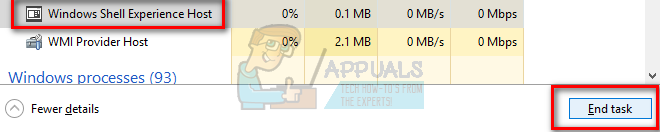
- Navigate to the Processes tab and scroll down until you find the process of “Windows Shell Experience Host”. Select it and click on End process button present at the bottom right side of the screen.
- Now open your start menu again and hopefully, the issue will be resolved.
Solution 4: Update your Windows
Windows roll out important updates targeting the bug fixes in the operating system. One of the bugs is our case; the flickering issue. If you are holding back and not installing the Windows update, we strongly recommend that you do. Windows 10 is the latest Windows operating system and new operating systems take a lot of time to get perfect in every regard.
There are a lot of issues still pending with the OS and Microsoft rolls out frequent updates to target these issues.
- Press Windows + S button to launch your start menu’s search bar. In the dialogue box type “Windows update”. Click the first search result which comes forward.
- Once in the update settings, click on the button which says “Check for updates”. Now Windows will automatically check for updates available and install them. It may even prompt you for a restart.
- After updating, check if your issue got fixed.