(9 Fixes) Can’t Type in Windows Search Bar – Updated Guide!
If you can’t type in the Window search bar, it is probably due to the Ctfmon.exe process, which gets eliminated from running in the background. Ctfmon.exe is responsible for taking input from the keyboard and other input devices used for speech recognition, handwriting recognition, etc. When the ctfmon.exe gets eliminated for any reason, you won’t be able to type in the Windows search bar.

You can also face this issue if the Windows search service is not running in the background. Hence, you can try restarting your computer, which basically is the best way to restart all the essential Windows services that are responsible for executing the various different tasks. However, restarting the computer might not fix this issue permanently, so it is recommended to follow the methods listed in this article.
| ⚠️Occurs When: | Typing in search bar |
| ✅ Solutions: | Solutions 9 |
| ❌ Caused by: | Not running ctfmon.exe |
| 👾 Symptoms: | Can't see or type in search bar |
1. Add Ctfmon.exe to the startup programs
CtfMon.exe, also known as Collaborative Translation Framework Loader, is an essential background process that allows input devices such as a keyboard, touchpad, and many others to take input for speech recognition, handwriting recognition, etc. If this process is not starting at the startup of Windows, adding it to startup programs will fix this issue.
To add Ctfmon.exe to the startup programs:
- Launch File Explorer by pressing Win + E on your keyboard.
- Navigate to the following directory and find the ctfmon.exe.
C:\Windows\System32
- Hold the Shift key and right-click the Ctfmon.exe.
- Hover over Send to and click Desktop to create a shortcut.
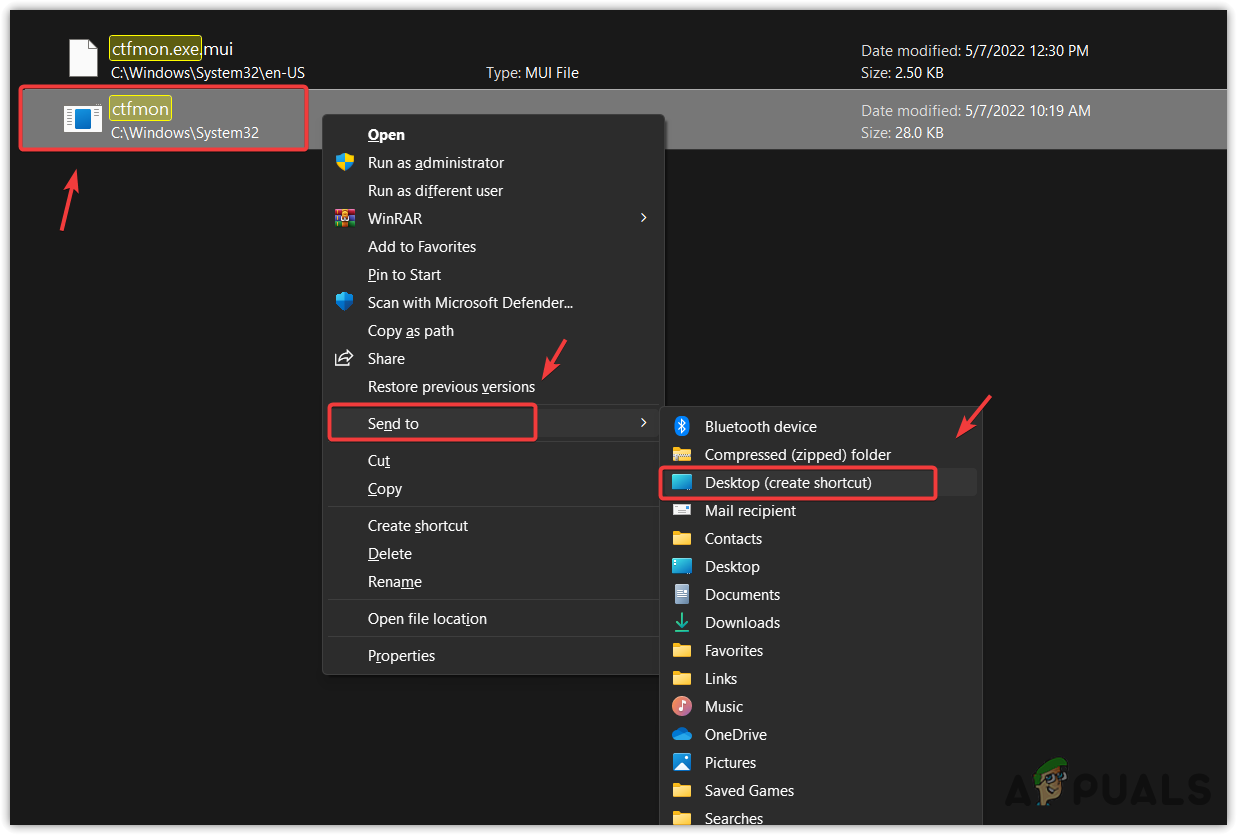
Creating a ctfmon.exe shortcut - Once done, press the Windows + R keys to launch Run Program.
- Enter the following command and hit Enter to open the startup programs directory.
shell:startup
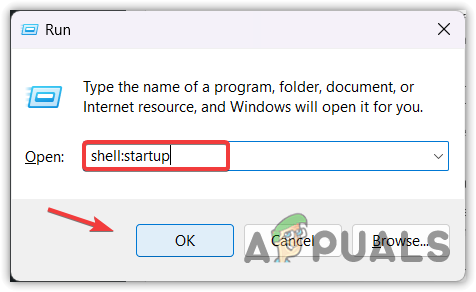
Opening Startup Programs directory - Now drag the ctfmon.exe shortcut from the desktop to the startup programs folder.
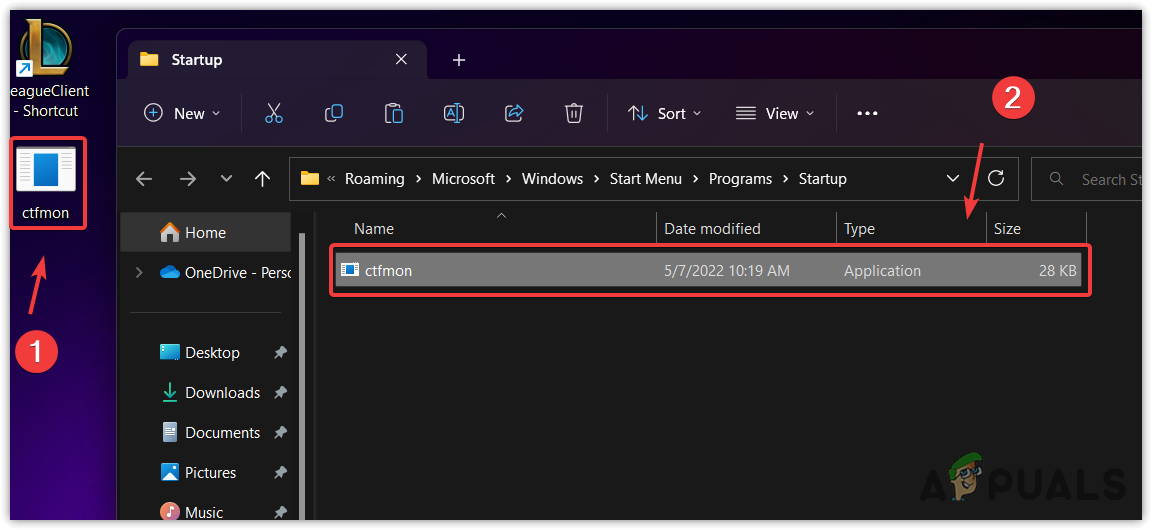
Dragging ctfmon.exe to the startup programs folder - Once done, additionally, make sure that the CTF Loader is not disabled from the startup apps in the task manager. For that, right-click the taskbar and select Task Manager.

Opening Task Manager - Once it is opened, go to startup apps from the left pane.
- Then, check if the CTF Loader or ctfmon is disabled or not. If it is, then right-click on it and select Enable.
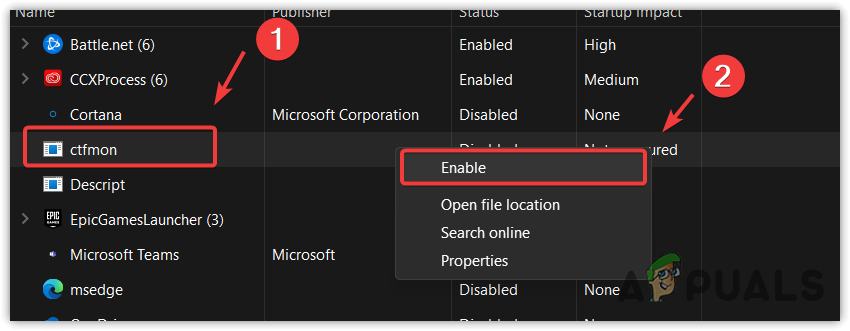
Enabling Ctfmon or CTF Loader from the startup - Once done, restart your computer to start the ctfmon.exe process. If you don’t want to restart your system, you can manually start the ctfmon.exe process. For that, just press the Win + R keys and type the following command to ruin the Ctfmon.exe process.
C:\Windows\system32\ctfmon.exe
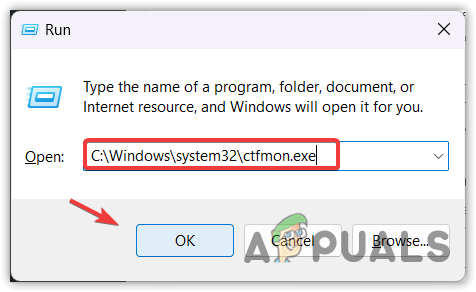
Starting ctfmon process - Once done, try to type something in the start menu to see if the issue is fixed or not.
2. Restart the Windows Search service
Windows search service is responsible for giving the search results of documents, applications, and among others. It also provides content indexing and property caching. Thus, if this service is not running or set to manual or disabled, you cannot be able to type or search in the Windows search bar. Therefore, it is important that the Windows search service is running properly in order to use Windows search.
To restart the Windows search service:
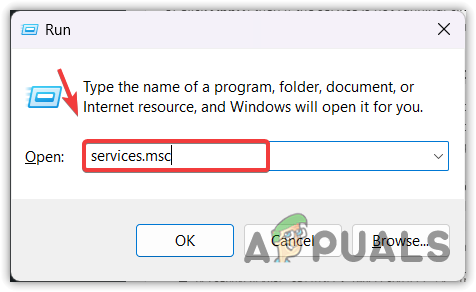
- Hold the Windows key and press the R keys to open Run Window.
- Type services.msc in the input box and hit Enter to open the services Window.
Opening Services Window - Now find the Windows Search service and right-click on it to select Properties. You can press the W on your keyboard to find Windows search quickly.

Opening Windows update service properties - Once you open the service properties, select Automatic from the start type.
- Click Apply, then if the service is not running, click the Start button to start the service.
- Finally, click OK and check if the issue is fixed or not.,
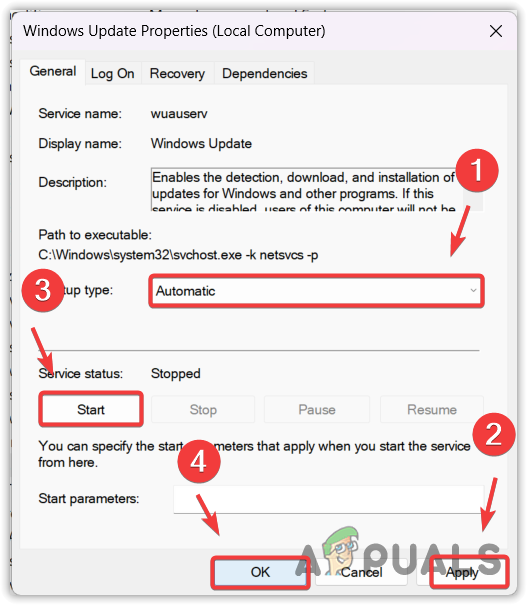
Restarting the Windows update service
3. Re-register and Reinstall Appx Packages
Appx packages contain the list of applications and programs that Windows requires for the necessary features to run properly, such as the Start Menu. You can get your Windows search in a working state if you reinstall or reregister Appx Packages. Therefore, try reinstalling or registering the Appx packages by following the steps.
- To do so, right-click the Start Menu and select Terminal (Admin) or Windows PowerShell (Admin) to open.
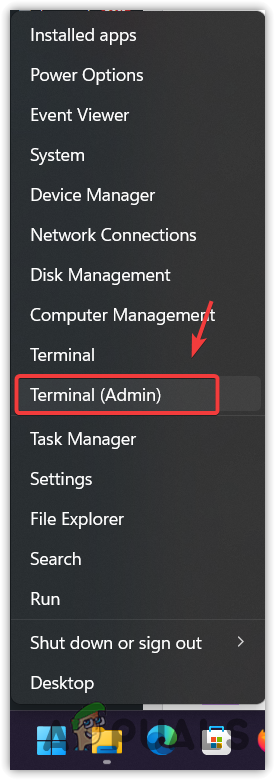
Opening PowerShell from right-click start menu - If you cannot see either of the options on the right-click context menu. Then type the Command Prompt from the start menu and run it as administrator, and once it is opened, type PowerShell and hit Enter to covert Command Prompt into Powershell.
- Once the PowerShell is opened, type the following commands to reinstall or reregister Appx Packages.
Get-AppXPackage -AllUsers |Where-Object {$_.InstallLocation -like "*SystemApps*"} | Foreach {Add-AppxPackage -DisableDevelopmentMode -Register "$($_.InstallLocation)\AppXManifest.xml"}
$manifest = (Get-AppxPackage Microsoft.WindowsStore).InstallLocation + '\AppxManifest.xml' ; Add-AppxPackage -DisableDevelopmentMode -Register $manifest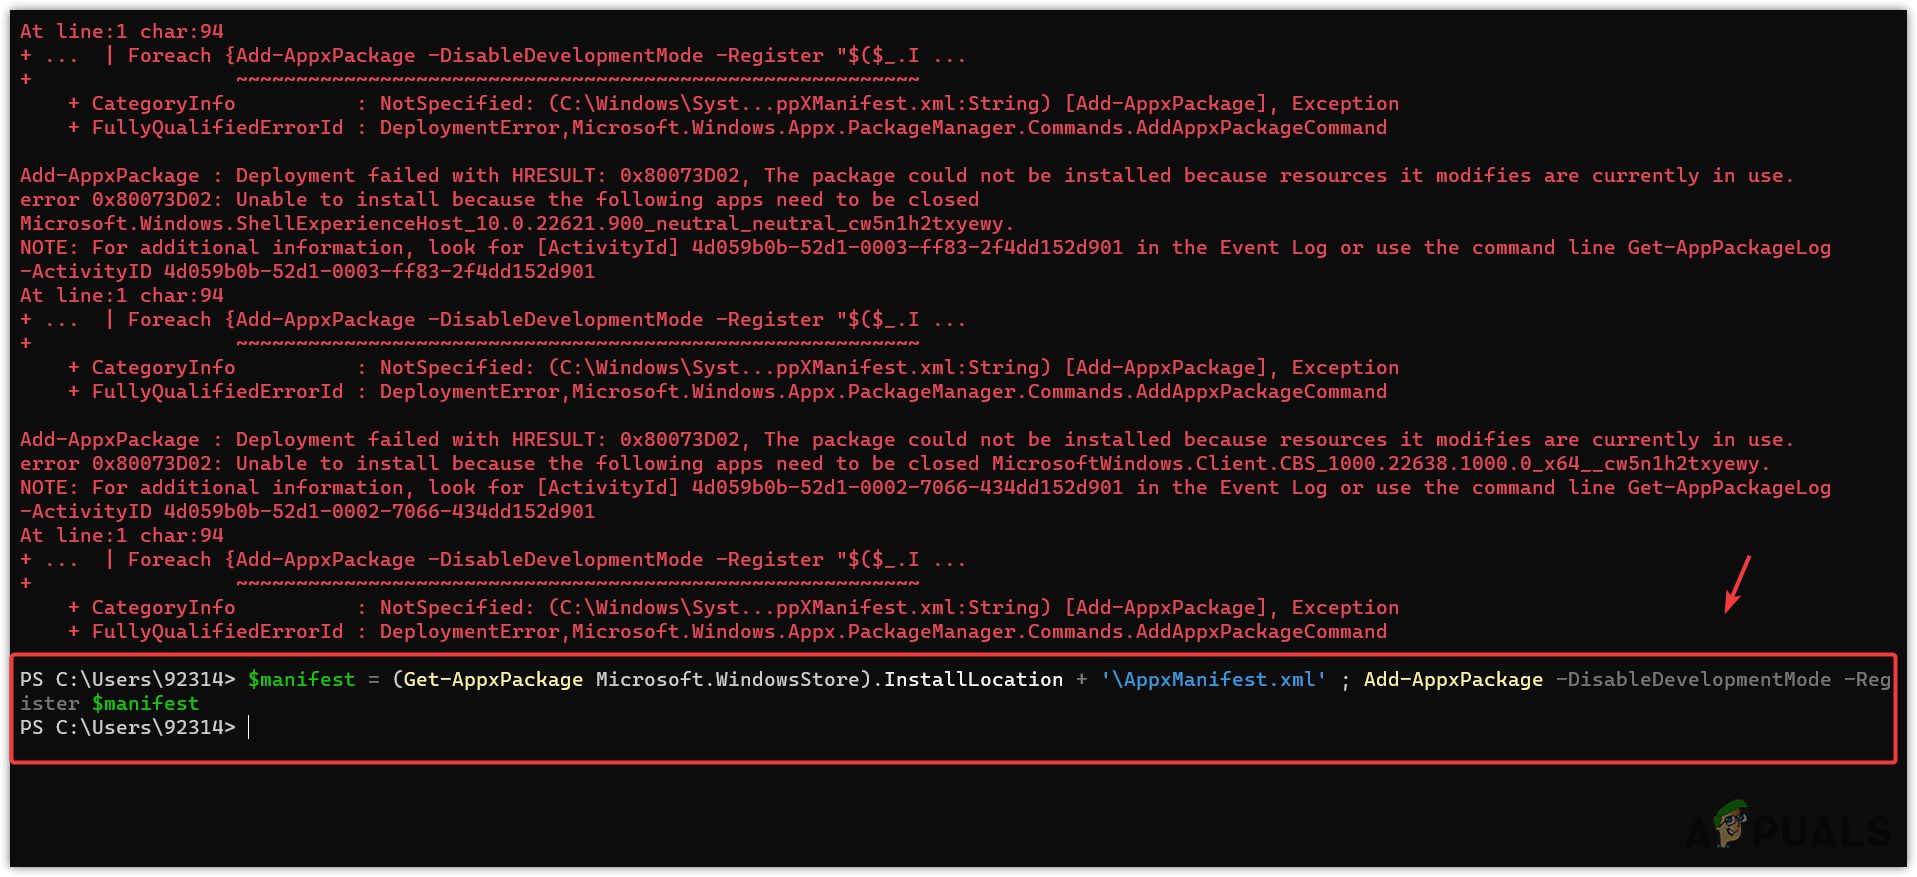
Re-registering and Reinstalling Appx Packages - Ignore the warnings written in red.
- Once done, check now if you can type or use the Windows search bar.
4. Rebuild Your Start Menu index
Rebuilding indexing means you are going to delete the whole database of Windows search and create a new one by triggering the search indexing services. This will take all the data from your drives and makes a new database. This often fixes issues where the start menu Windows search stops responding suddenly.
To rebuild the indexing, follow the steps:
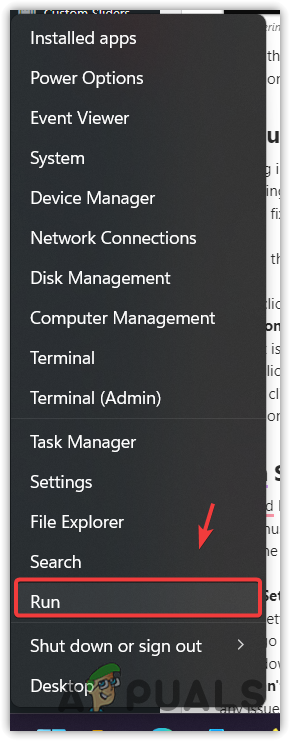
- Right-click the Start Menu and select Run from the given options.
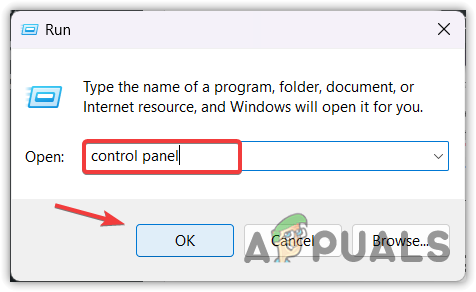
Opening Run Program - Type Control Panel and hit Enter to open the control panel.
Opening Control Panel using Run Program - Once it is opened, change the View by from Category to Larg icons or Small icons.
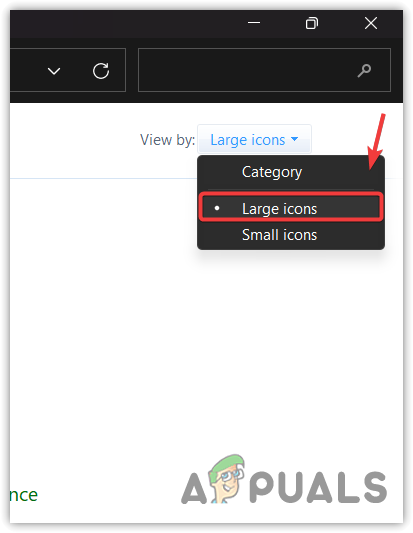
Changing View By to Large icons - Then, click on the Indexing Options, then click Advanced to open the advanced indexing options.
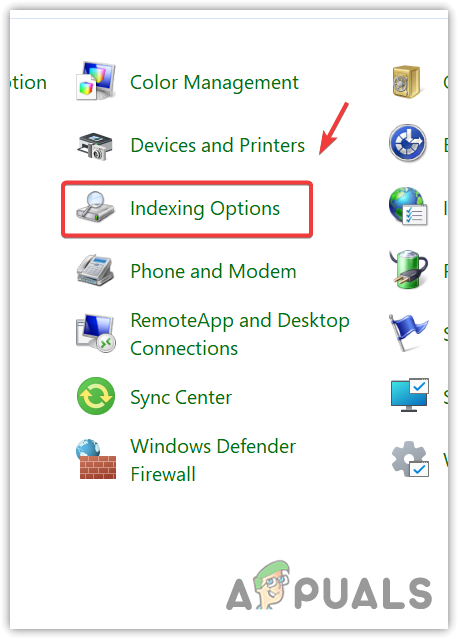
Opening Indexing Options - Finally, click on Rebuild and click OK to start rebuilding the database.
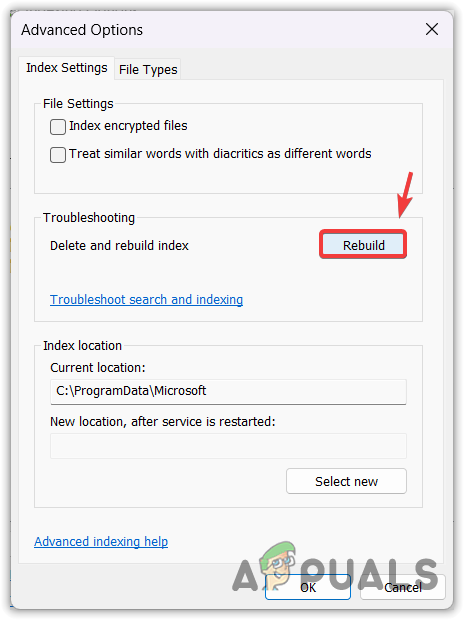
Rebuilding the database of Windows search results - Once done, check if the Windows search is fixed or not.
5. Run Search and Indexing Troubleshooter
Search and Indexing troubleshooter will automatically fix the problems by resetting Windows search to their default. Thus, if there is a problem in Windows search services, it will be automatically fixed. Therefore, try running the Search and Indexing troubleshooter by following the steps:
- Go to Settings by pressing Win + I simultaneously.
- Once the Settings is opened, scroll down to Troubleshoot and navigate into it.
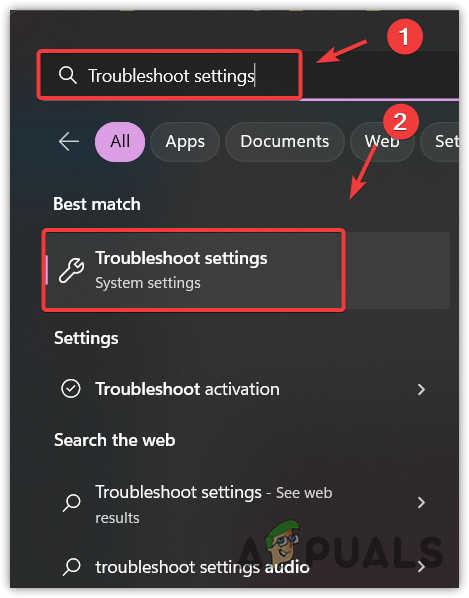
Opening Troubleshooting Settings by searching it from the start menu - Then, go to Other troubleshooters.
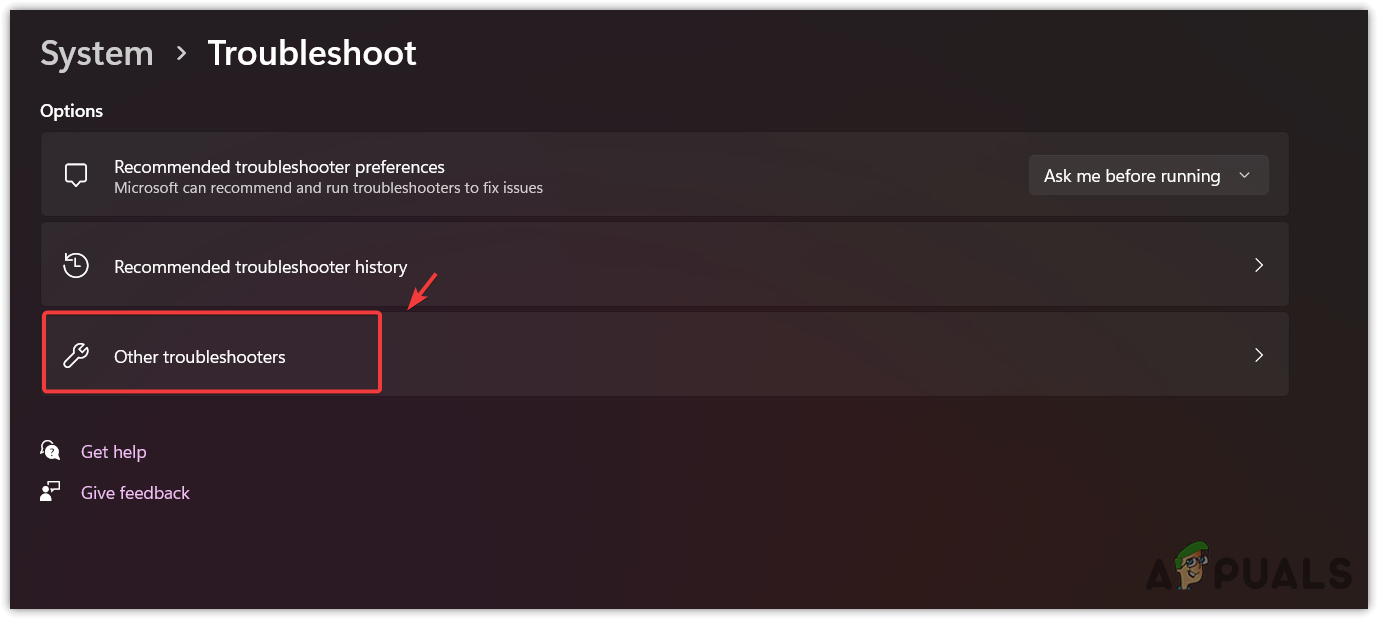
Navigating to other troubleshooters - Scroll down to the bottom and run the Search and Indexing Troubleshooter.

Running Search and Indexing - Tick Can’t start a search or see results from the options and click Next. Now If the troubleshooter detects any issues, it will tell you to fix them by offering Yes or No option.
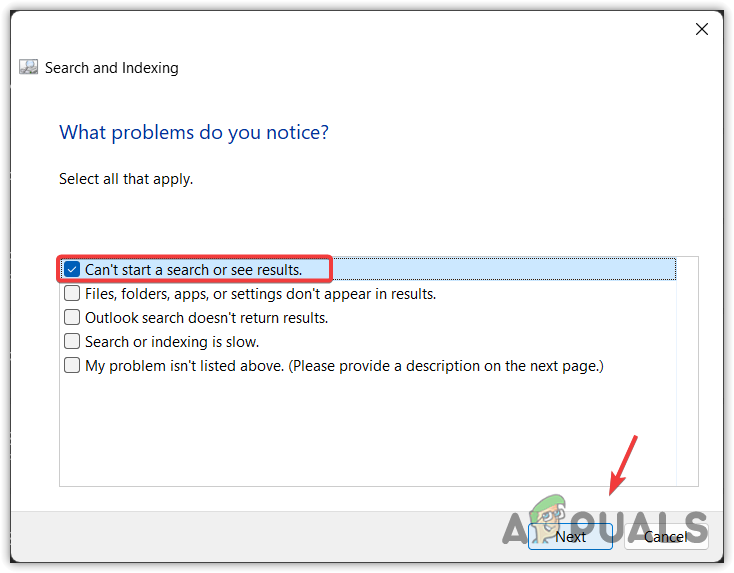
Fixing Windows search bar using Search and Indexing troubleshooter - Once done, check if the problem is fixed or not.
6. Run the System File Checker
Since the ctfmon.exe process is essential for Windows search to work properly and is located under system32, we can try deleting and restoring it using System File Checker. System File Checker or SFC is a command that is used to restore and fix corrupted files from the cache folder located in %WinDir%\System32\dllcache, such as DLL files.
First, we will delete the ctfmon.exe file. Since it is located in system 32, we will need to take permission from a trusted installer to delete the file. Once you have the permissions, you will be able to remove the ctfmon.exe file. To do so, follow the steps:
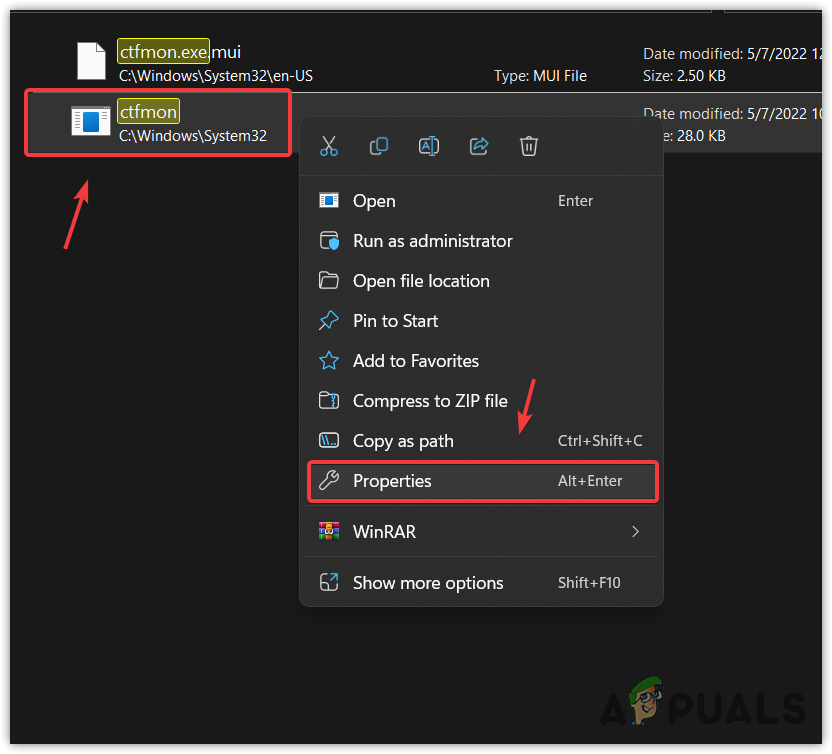
- Open Windows Explorer and navigate to the following directory.
C:\Windows\System32
- Find the ctfmon.exe by searching it. Once you find it, right-click on it and go to its Properties.
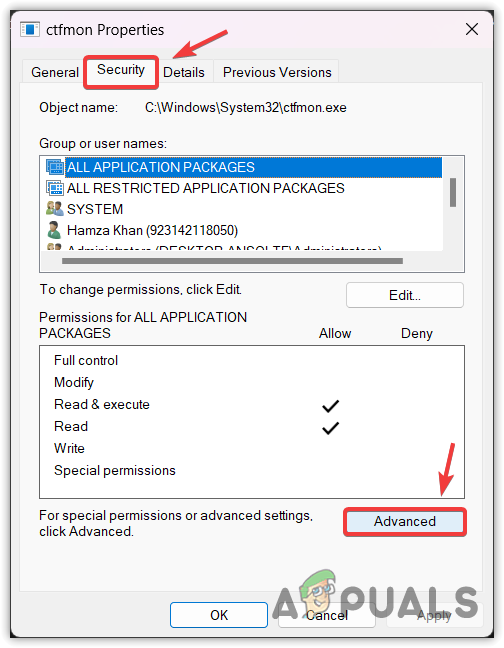
Opening ctfmon file properties - Then, go to Security and click Advanced.
Opening Advanced Security settings - Then, click Change, enter your local account name, and click Check Names to select the account name.
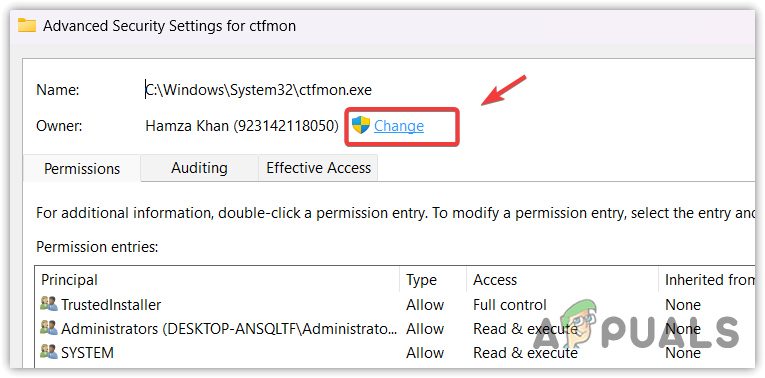
Proceeding to change the ownership - If it says, it cannot find the user or group. Then, click Advanced, click Find Now, select the user name of your account from the results, then click OK. Again, click OK to close the Window.
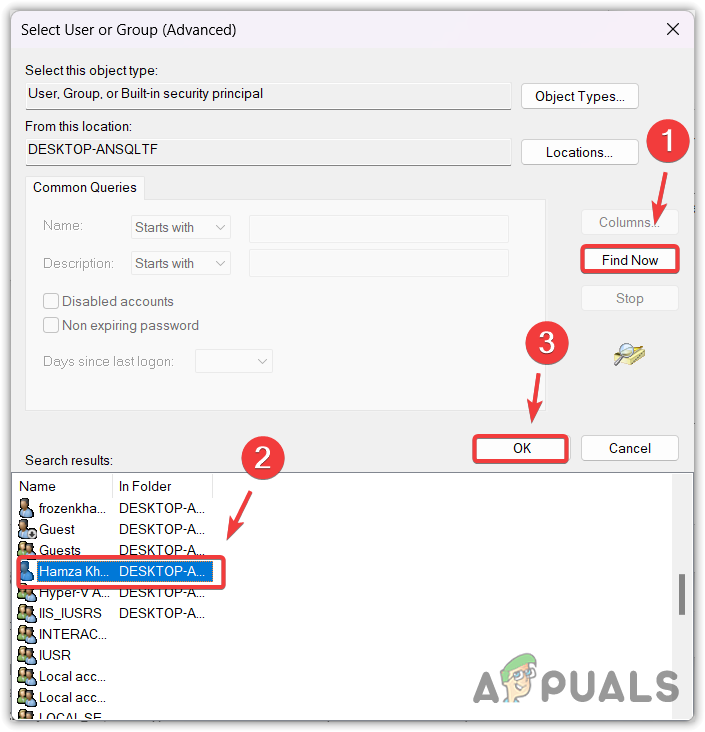
Selecting a user account from the result - Once you have changed the ownership, it’s time to take full control over a file for your local account. To do so, click the Add button, then click on Select a principal, and type the user name of your account.
- Then, click Check Names and click OK to select a username. If it says it can’t find it, repeat step 5. Once done, tick all the options listed under Basic Permissions and click OK.
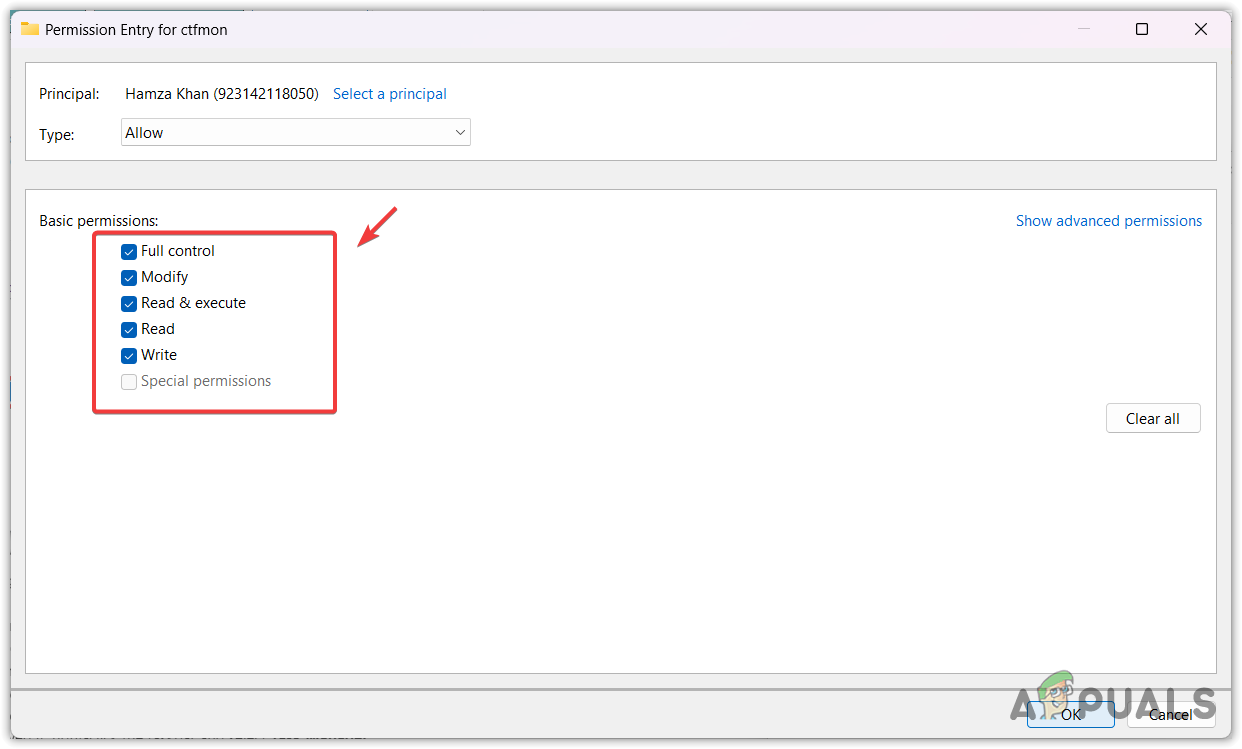
Taking full control over a file - Finally, click Apply and click Yes and click OK.
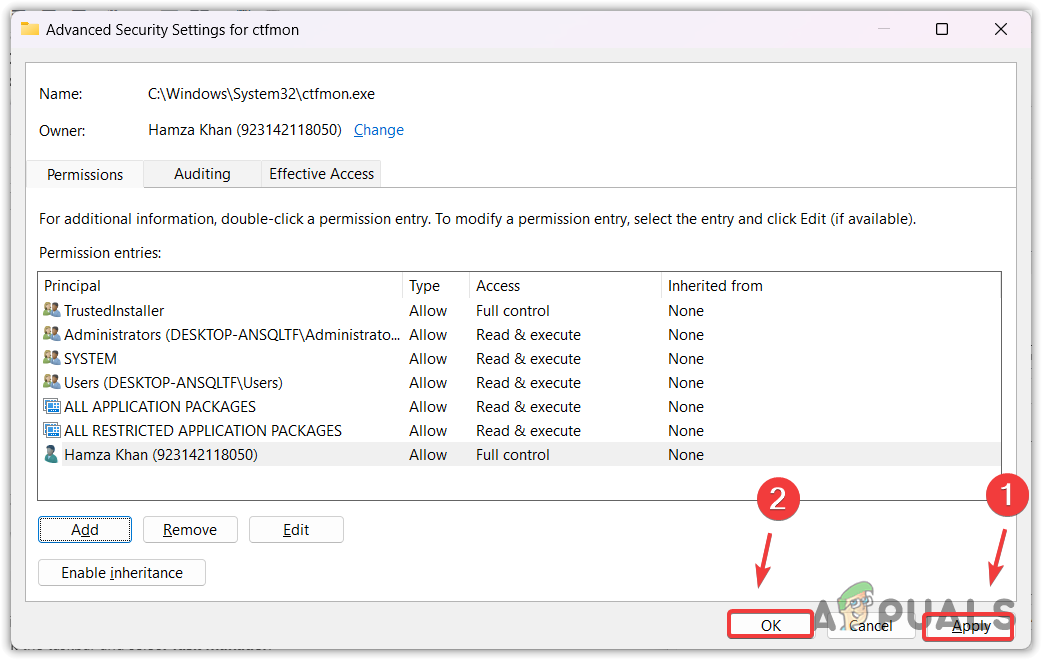
Applying permissions settings - Again, click OK to save the changes. Now click OK to close the Window.
- Once done, delete the ctfmon.exe file.
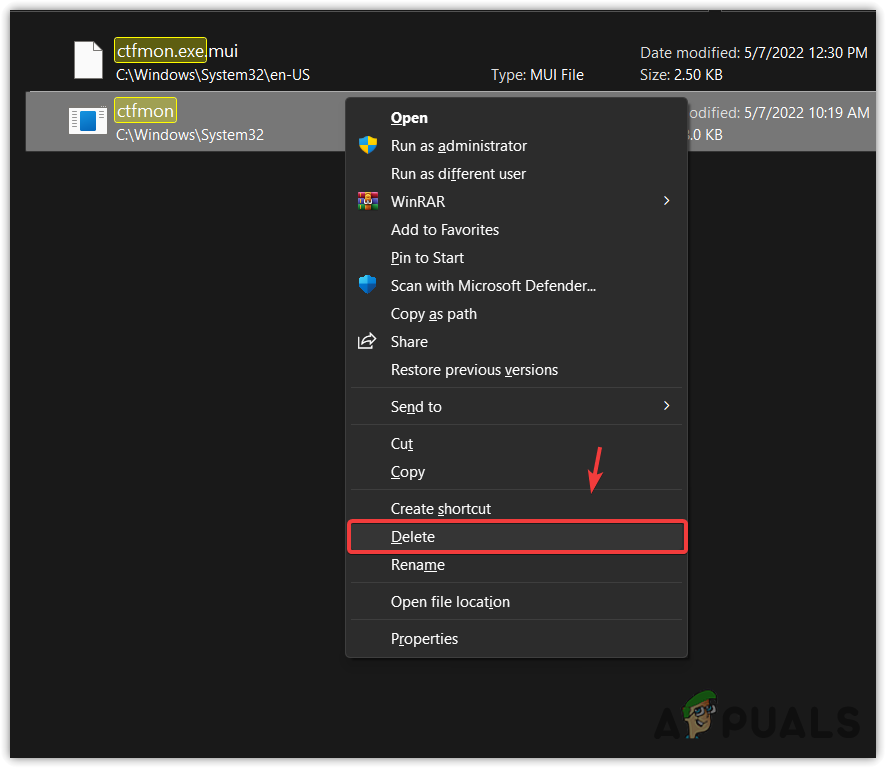
Deleting ctfmon file - Once you have removed it, right-click the taskbar and select Task Manager.

Opening Task Manager by right-clicking the taskbar - Click Run new task to open Run Program.
- Tick Create this task with administrative privileges, then type cmd and click OK to open Command Prompt as an administrator.
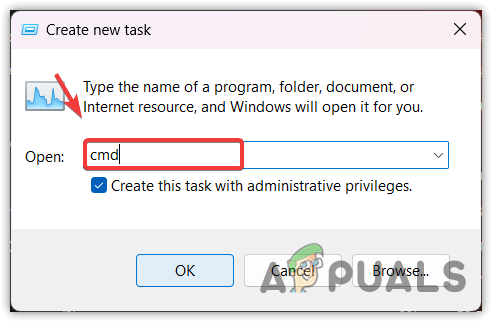
Opening Command Prompt with administrator privileges - Once the command prompt is opened, enter the following command and wait for the verification to be finished.
sfc /scannow
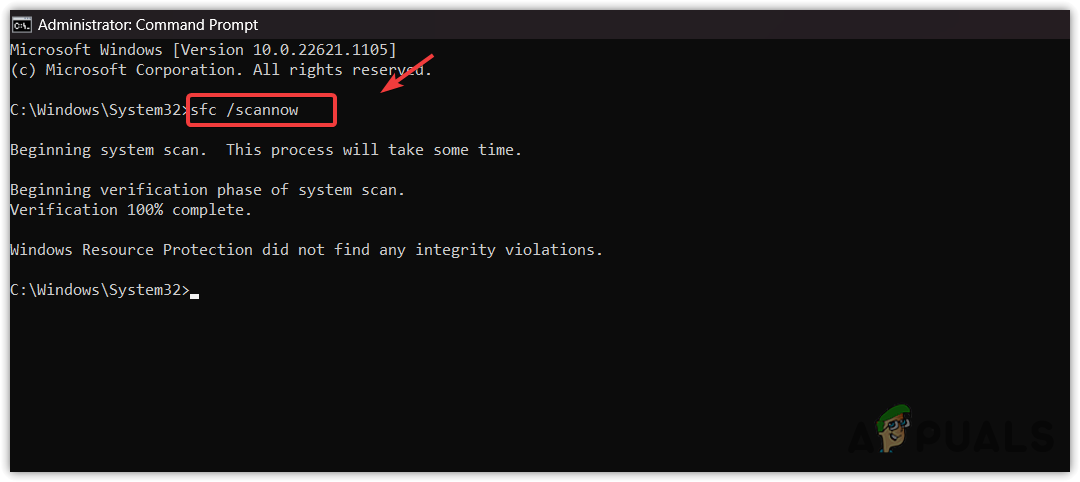
Running system file checker to repair ctfmon file - Once done, now check the Windows search to see if the problem is resolved or not.
7. Create a New Windows User Account
If you still cannot type in Windows search, you can try creating a new user account which will recreate all the necessary system files for a new profile. Hence, if there are corrupted system files preventing you from typing in the Windows search bar, creating a new user profile will help fix this issue. After creating a new user account, you can transfer the data from the old account to the new one if the issue is fixed.
To create a new user account:
- Right-click the Start Menu and select Settings to open it.
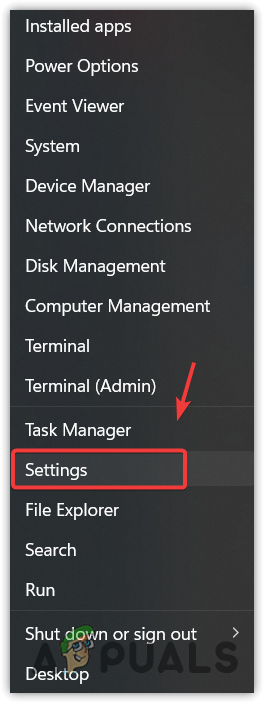
Opening Settings by right-clicking the start menu - Go to Accounts from the left sidebar.
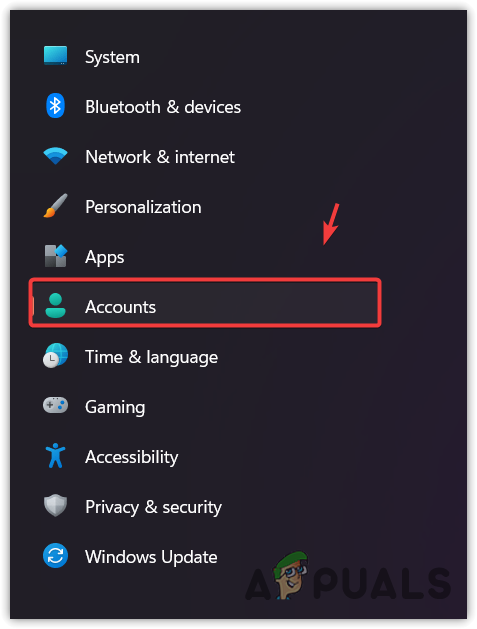
Navigating to Accounts - Then, navigate to Other users settings.
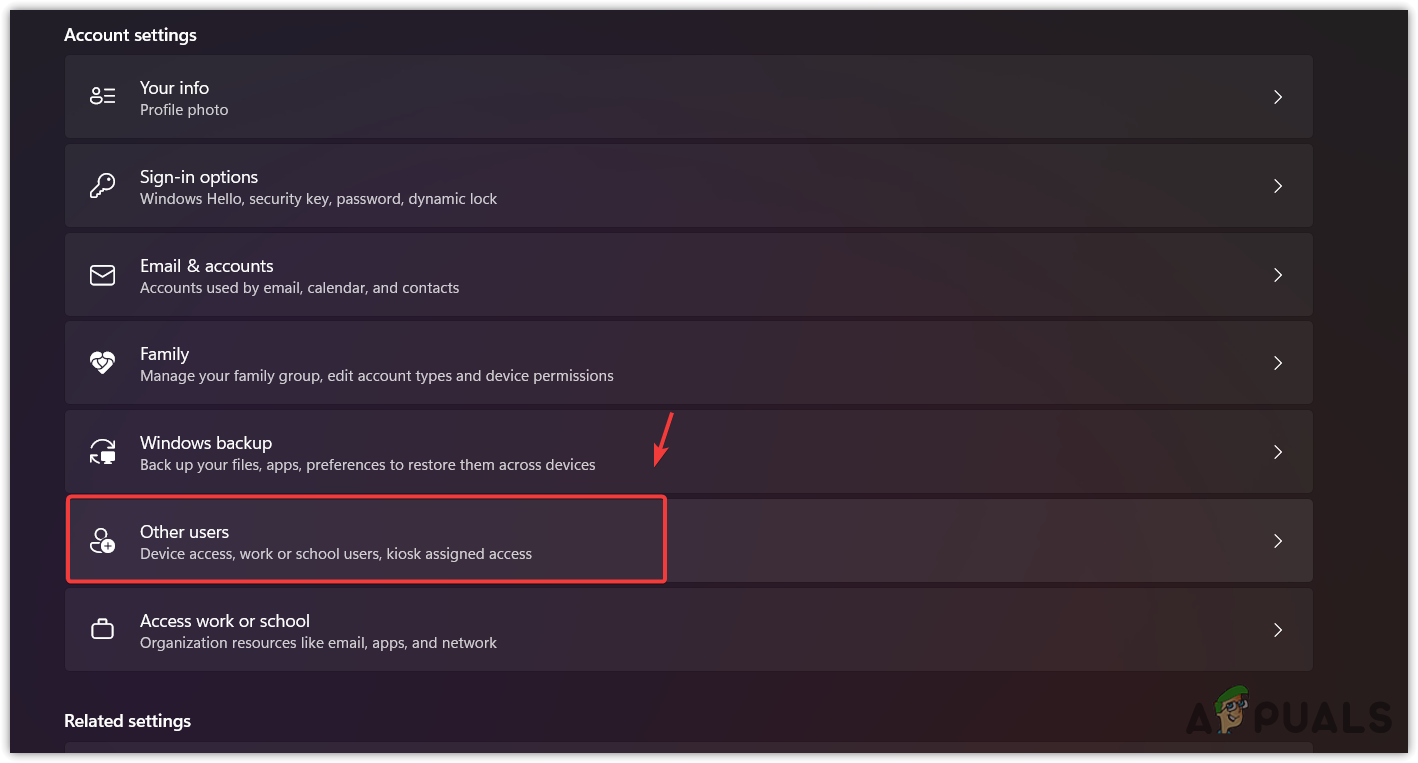
Navigating to Other users - Click Add account.
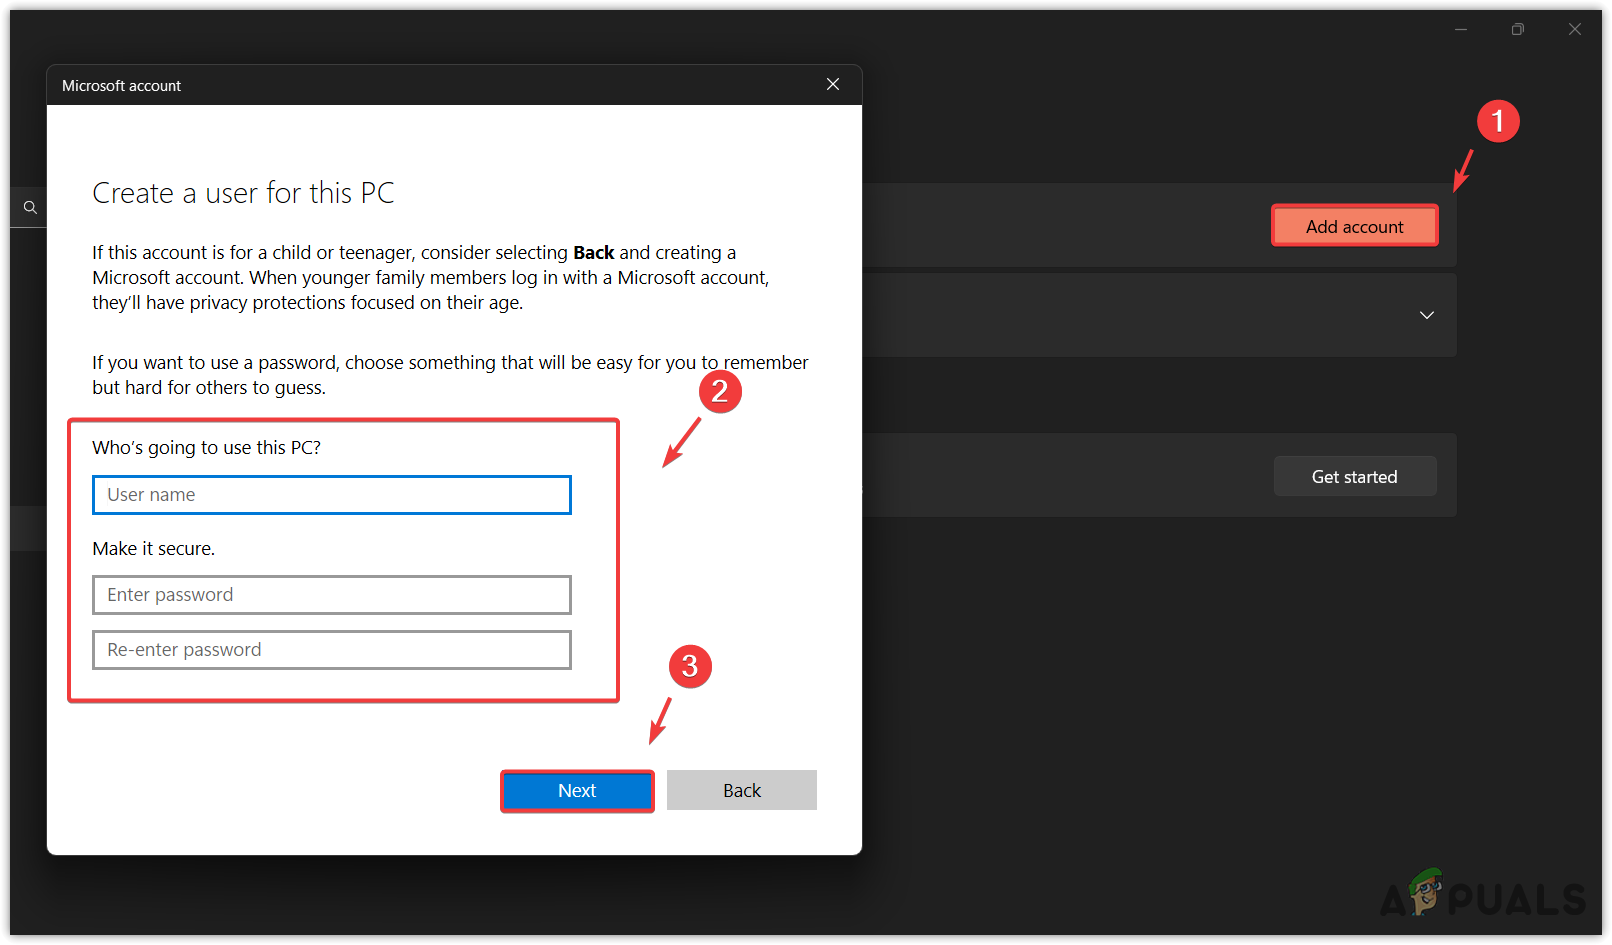
- Then, click I don’t have this person’s sign-in information.
- Click Add a user without a Microsoft account. Now give the necessary details and click Next to create a local account. If you don’t want to put a password on your account, leave it blank.
Creating a local account - Once the account is created, sign in to the account and check if Windows search is working or not.
8. Use a System Restore Point
Since ctfmon.exe is located under system32, it can be restored by using a system restore point. If you have created a system restore point in the past, then you can restore the previous version of Windows to fix this issue. But, if you haven’t created a restore point, we recommend checking the restore point, as it can be created by a third-party application or Microsoft redistributables such as visual C++.
System Restore utility creates a restore point to save the current state of Windows by taking a snapshot of system files such as drivers, registry files, and crucial system files. Thus, if you restore Windows using a system restore point, you will be able to restore the ctfmon.exe file.
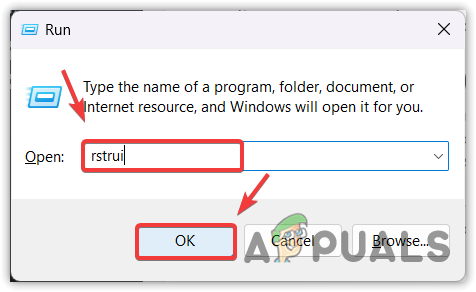
- To do so, open Run Program by holding the Win key and pressing the R key.
- Enter rstrui in the input box and click OK to use a system restore utility.
Running System Restore utility - Click Next to select a restore point.
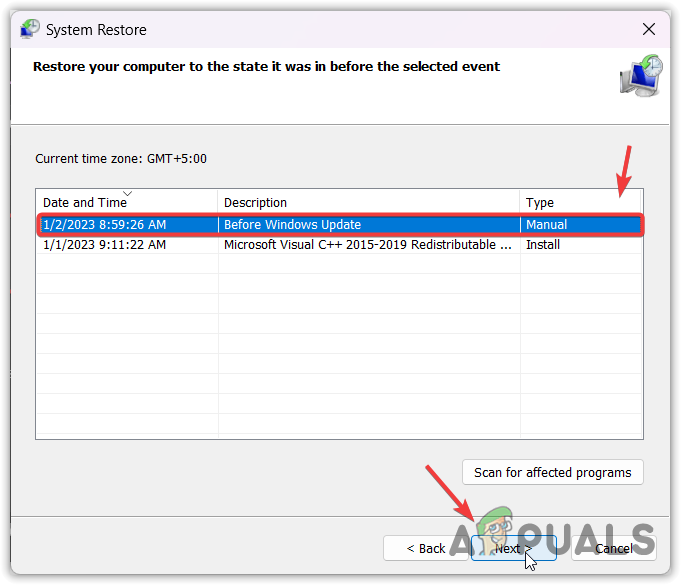
Selecting a restore point - Once you have selected a restore point, again click Next.
- Finally, click Finish to restore your Windows to a previous state.
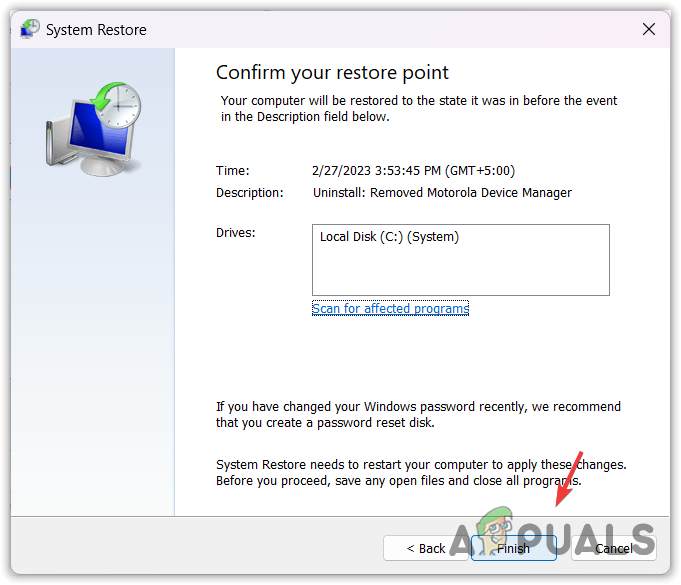
Restoring Windows to a previous state - Once done, check if your Windows search bar is functioning or not.
9. Reset or Reinstall Your Windows
If you don’t have a restore point, you can try resetting or reinstalling your Windows. Resetting or reinstalling Windows is the final way to get your Windows search bar working. If you plan to reinstall Windows, visit Install Windows on your PC, but if you want to reset Windows, then follow the steps.
- To reset Windows, go to Settings by pressing Win + I on the keyboard.
- Scroll down to the Recovery option, and click the Reset PC option.
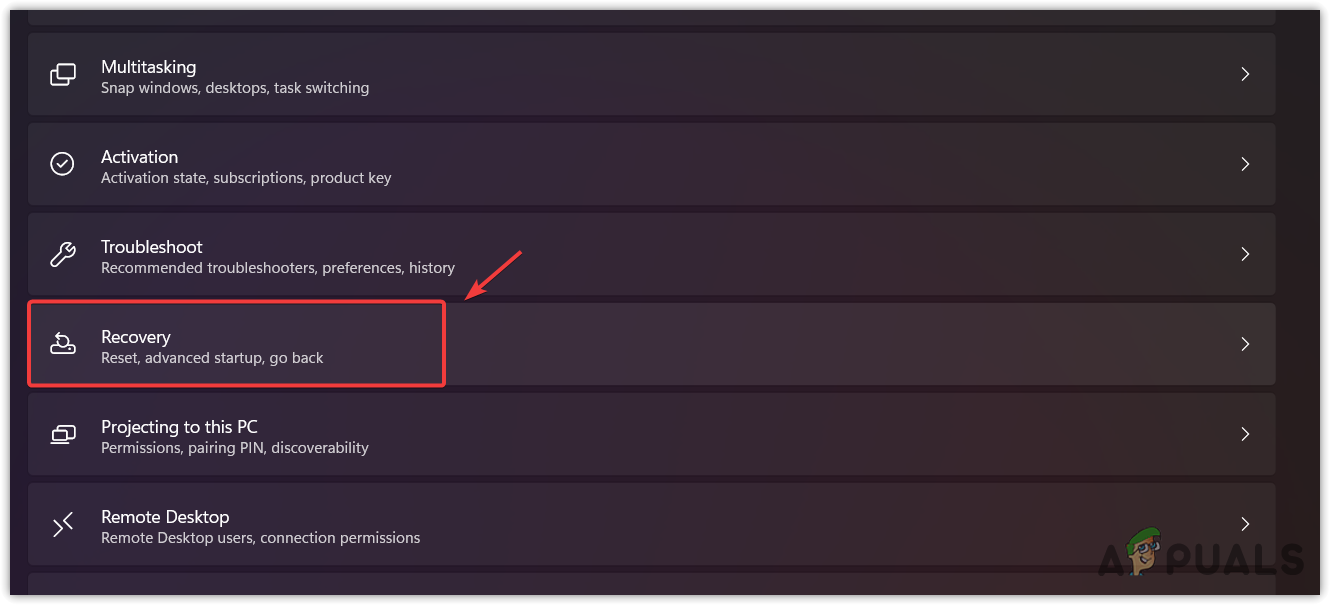
Navigating to Recovery settings - Select the Keep my files option, then click Local Reinstall.
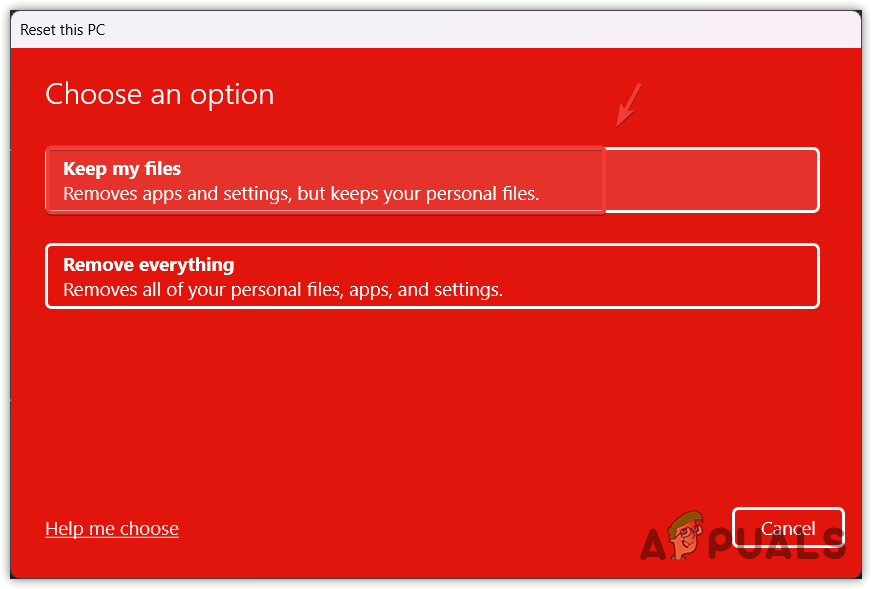
Selecting keep my files - Now click Next and click Reset to reset your Windows.
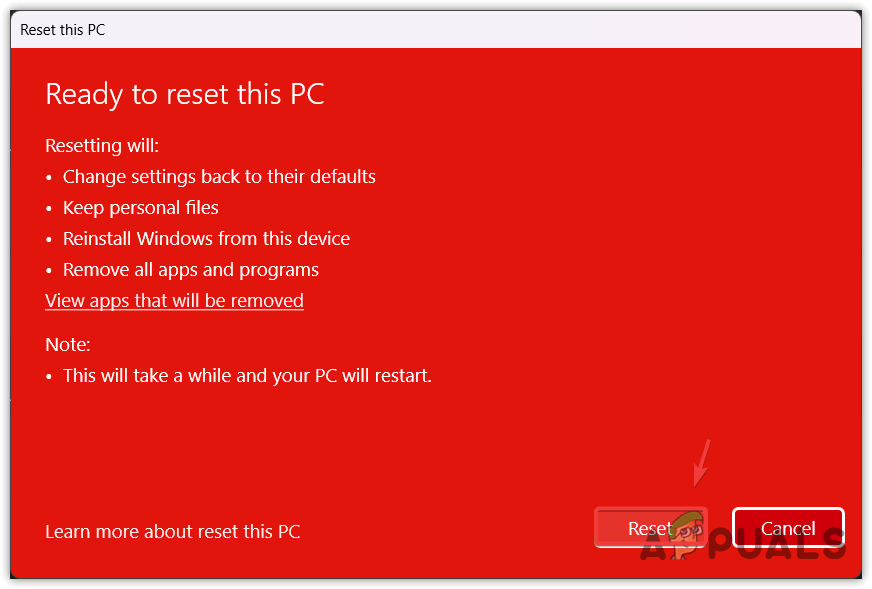
Resetting Windows - Once done, your Windows search bar is now fixed.
-Can't Type in Windows Search Bar FAQs
To fix your Windows search bar, press the Windows + R keys together and type C:\Windows\system32\ctfmon.exe to start the ctfmon process, which is required for the Windows search bar to function properly. However, to permanently fix this issue, you need to add Ctfmon.exe to the startup programs
Your Windows search bar not typing because the ctfmon.exe process has stopped running from the background. Ctfmon.exe is used to take input from the devices such as the keyboard, touchpad, and other technologies.


C:Windowssystem32ctfmon.exe (from an elevated command prompt) did it for me…Thank You!