How to Fix “We couldn’t complete the updates” Error?
We Couldn’t Complete the Updates Undoing Changes is an error that can occur when Windows update files are corrupted and cannot be installed on your computer. Later on, when the computer restarts to complete the Windows update installation, the error can prevent the usual operation of your computer, displaying the error message on the screen.
Simply restarting your computer will not resolve this issue since the Windows update process is stuck midway. To resolve this, you must boot Windows in Safe Mode to carry out troubleshooting procedures.
Here are a few possible reasons as to why you may be facing this error:
- Corrupt Windows Update: It’s possible for a Windows update delivered from Microsoft to become corrupted locally, especially if the feature designed to speed up the update process is enabled by default.
- Corrupted Data in Software Distribution Folder: If files within the software distribution folder are corrupted, various errors can occur. This folder contains temporary Windows update data necessary for a successful installation.
- System File Corruption: Corrupted system files can result in errors during Windows updates. It’s advisable to repair all system files, as they might be the underlying cause of this issue.
- Windows Update Gets Broken: A broken Windows Update can be due to interrupted internet connectivity or insufficient storage space. This problem might occur if the update is halted during the download process or if the computer is unintentionally restarted.
- Bad Internet Connection: A poor network connection could disrupt the Windows Update download. Ensure a stable internet connection to download the update; otherwise, the corrupted updates need to be removed to allow Windows to boot normally.
Now, let’s explore the potential solutions:
Boot Windows in Safe Mode
Booting Windows in Safe Mode initiates Windows with only essential drivers and services. This approach is invaluable when errors or other issues prevent Windows from starting normally. Safe Mode is particularly useful when troubleshooting startup issues. To perform the upcoming corrective steps, you’ll need to boot into Safe Mode.
Learn how to boot into safe mode in Windows 10 and safe mode in Windows 11.
1. Clear Software Distribution Folder
The Software Distribution folder holds temporary files necessary for Windows updates to install correctly. When this folder piles-up corrupted or incomplete files, it can block the update process. By clearing it out, we remove these blocks, allowing Windows Update to retrieve a new set of files and, hopefully, going through the installation without any issue.
- Open the Run dialogue by pressing Windows + R.
- Enter this path:
C:\Windows\SoftwareDistribution
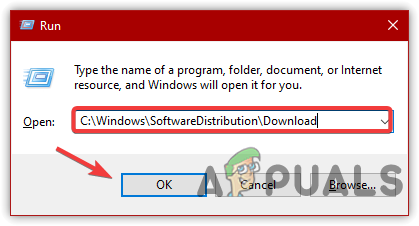
Navigating the Software Distribution Folder - Press OK.
- Select all the files by pressing Ctrl + A.
- Delete the selected files by pressing the Delete key on your keyboard.
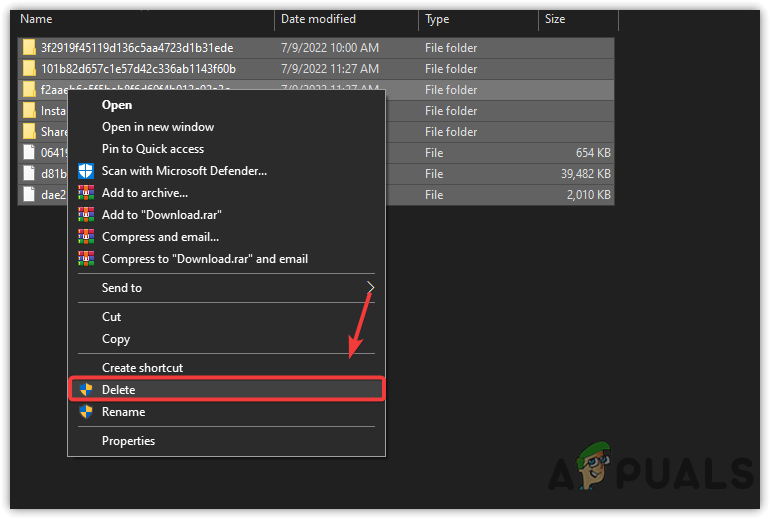
Removing Software Distribution files - Restart your computer to check if the problem is resolved.
2. Rename Software Distribution Folder
When you rename the Software Distribution folder, Windows is tricked into thinking that the folder doesn’t exist, prompting it to create a new one. This new folder is free from the corruption of the old, allowing the update process to start freshly, potentially avoiding the issue that was causing the update failure.
However, since it contains data related to Windows updates, you must first stop the Windows update services before renaming the folder.
- Open the Command Prompt with administrator privileges.
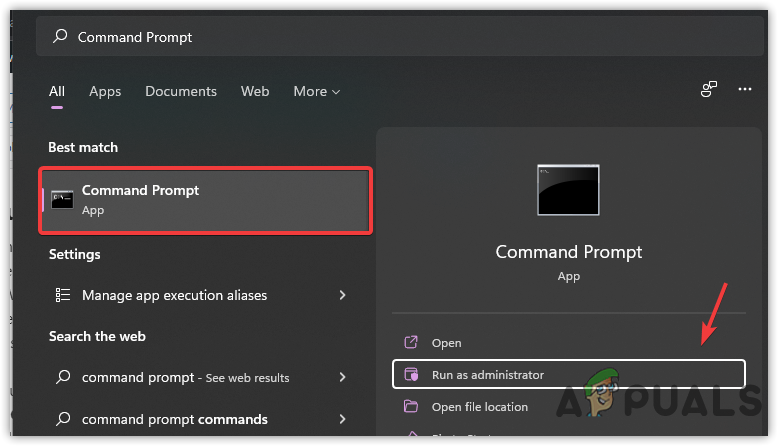
Open Command Prompt with Administrator Permissions - Execute the following commands:
net stop wuauserv
net stop bits
rename c:\windows\SoftwareDistribution
SoftwareDistribution.bak
net start wuauserv
net start bits
- Restart your computer to determine if the issue has been resolved.
3. Perform Windows Update Troubleshooter
The Windows Update Troubleshooter is designed to diagnose and fix common problems that block the update process. When activated, it scans your system for inconsistencies related to Windows Update, applying fixes automatically where possible, or offering actionable recommendations.
- Press and hold the Windows key, then press I to open the Windows Settings app.
- In the Settings app, navigate to Update & Security.
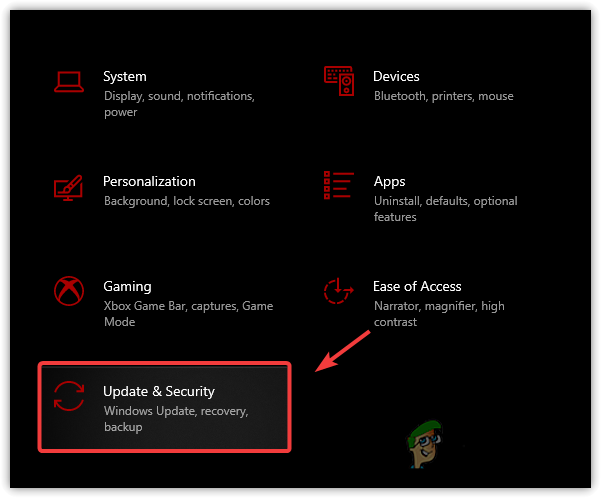
Go to Windows Update & Security - Click on Troubleshoot from the left sidebar.
- Select Additional troubleshooters.

Navigating to Additional Troubleshooters - Choose Windows Update and click Run the troubleshooter.
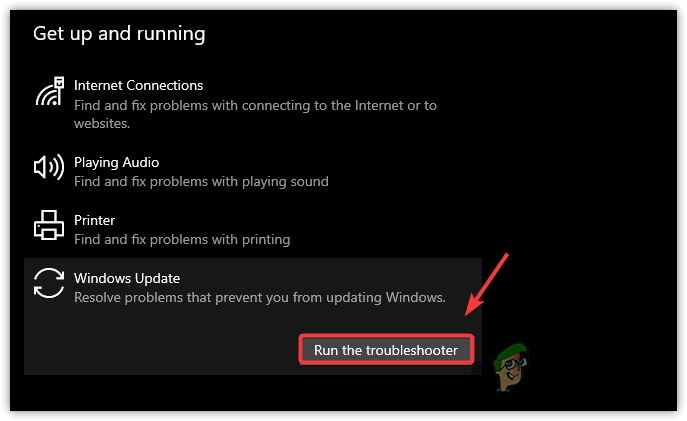
Utilizing Windows Update Troubleshooter - After completion, restart your computer to see if the issue has been resolved.
4. Uninstall Windows Update
Sometimes, an update may contain bugs or compatibility issues that cause system instability or errors such as the one you’re facing. By removing the problematic update, you’re essentially rolling back your system’s state to a point before these issues were introduced, which can resolve the error and allow you to use your computer normally again.
Once uninstalled, you can wait for a revised update from Microsoft or attempt to reinstall the update manually with the potential fixes applied.
- Launch the Run Program by pressing Windows + R.
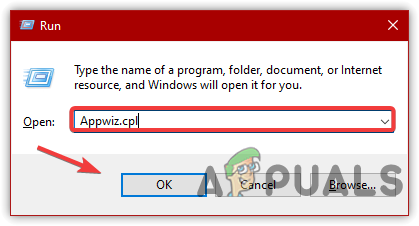
- Type Appwiz.cpl and click OK.
- From the left pane, click View installed updates.
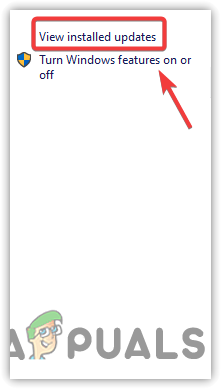
Click View Installed Updates - Right-click the most recently downloaded Windows update.
- Select Uninstall.
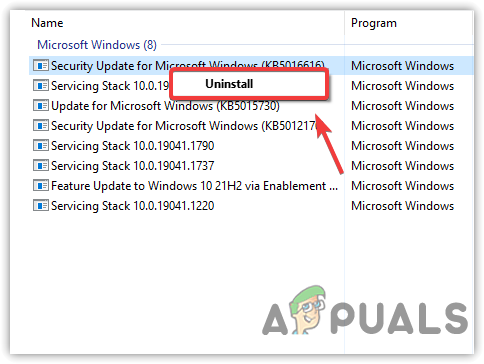
Uninstalling Windows Update - Restart your computer and check for resolution.
5. Manually Install Windows Update
Manually installing Windows updates avoids any glitches encountered by Windows Update components by allowing you to directly download and apply the necessary updates from Microsoft’s repository. By doing so, you make sure that your system receives the correct updates without the interference of errors or corrupted update files that could be causing the issue.
- Begin by uninstalling the troubled Windows update, as per the previously outlined method.
- Visit the official Microsoft Update Catalog website.
- Search for the required update. You can identify the update details from the Programs & Features section in the Control Panel.
- Download the appropriate update based on your system’s architecture and Windows version.
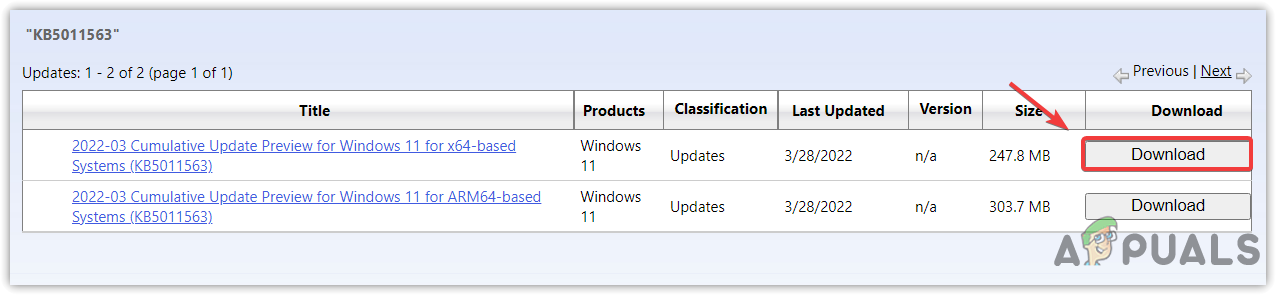
Downloading Windows Update - Run the downloaded update by double-clicking on it.
- After the installation, reboot the computer and verify if the error is resolved.
6. Create Some Space
When your system’s primary drive runs low on space, it can block the installation of updates, as these processes require temporary storage to download and unpack files.
By cleaning up unnecessary files, such as temporary data, old system restore points, or unused programs, and moving large files to an external drive or cloud storage, you provide the operating system with the breathing room it needs to successfully apply updates and function optimally.
7. Execute Repair Commands
There are commands you can use to repair corrupted system files due to malware infections or other reasons. These powerful tools scan for any corruption within Windows system files, which are needed for running the operating system smoothly.
If any files are found to be damaged or missing, these commands automatically repair or replace them, potentially eliminating update-related errors and restoring system stability without affecting personal data or installed applications.
- Open Command Prompt with administrator access.
- Run the following commands and wait for the processes to complete:
sfc /scannow
DISM /Online /Cleanup-Image /RestoreHealth
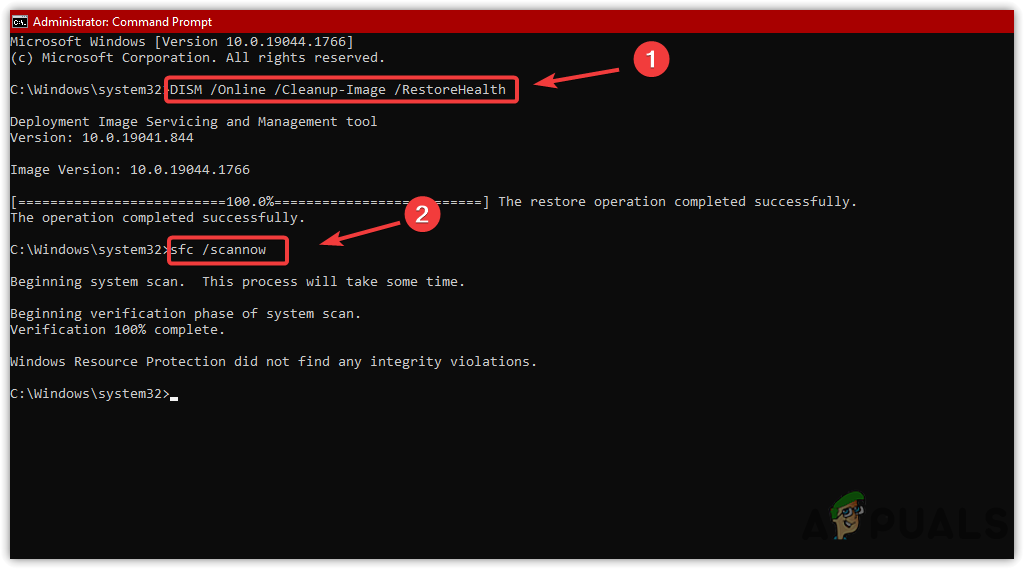
- Once completed, restart your computer and see if the error is resolved.
8. Use System Restore
Using system restore transports your computer’s system files, installed applications, Windows Registry, and system settings to a previous point in time, avoiding any recent system changes that may have caused the updating errors. This process can effectively reverse any damage caused by faulty updates or system irregularities without affecting your personal files.
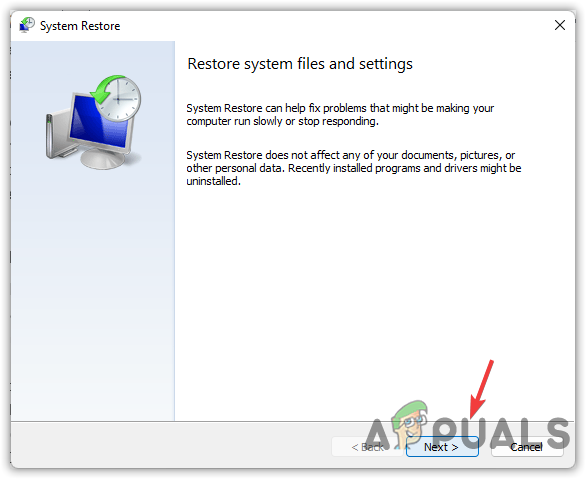
- Type rstrui into the Start menu to access the System Restore settings.
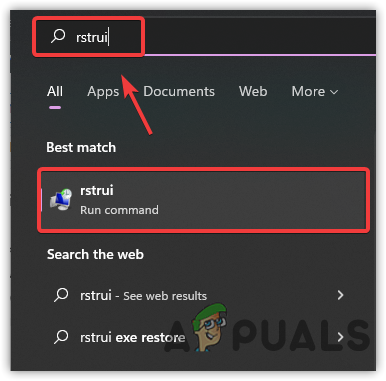
Open System Restore - Click Next to proceed.
Click Next to Proceed - Choose the desired restore point and then click Next.
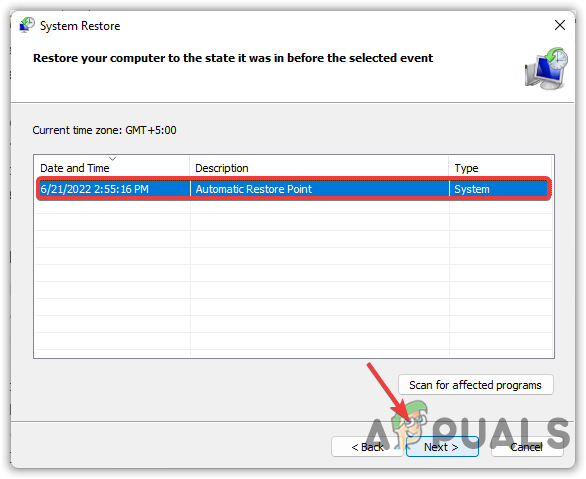
Select Restore Point - Confirm the restore process by clicking Finish.
9. Reset Your Computer or Reinstall Windows
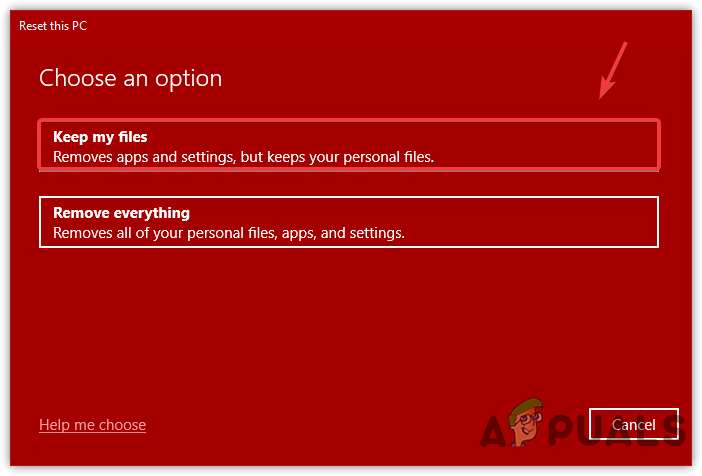
When you reset Windows, it reinstalls the operating system, which can eliminate software conflicts or corrupted files that may be causing the update error. If you choose to keep your files during the reset, your personal data is preserved while system files are refreshed, which is often enough to solve the problem.
Reinstalling Windows, on the other hand, offers a fresh start by completely erasing all data and installing a fresh version of the OS, effectively wiping out any bugs or system errors. Both options rebuild the operating system environment, potentially eliminating the error.
- Search for Reset This PC in the settings and open it.
- Click on Get Started and proceed with the reset process.
- Choose Keep My Files if you wish to preserve personal data.
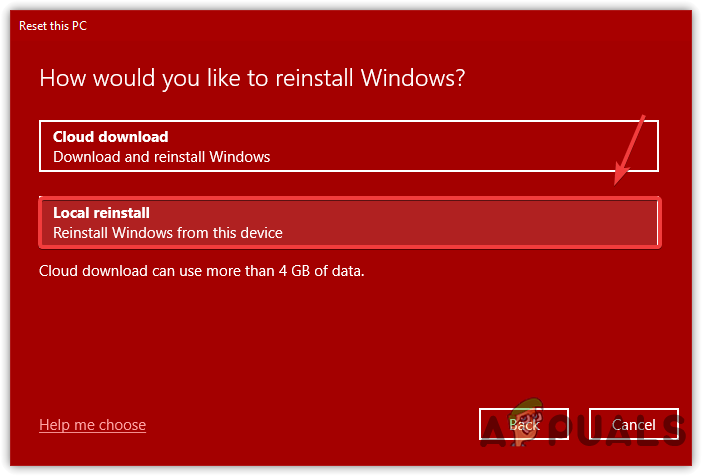
Select Keep My Files - Select Local Install for the reinstallation source.
Select Local Reinstall - Click Next, then Reset to commence the reset process.
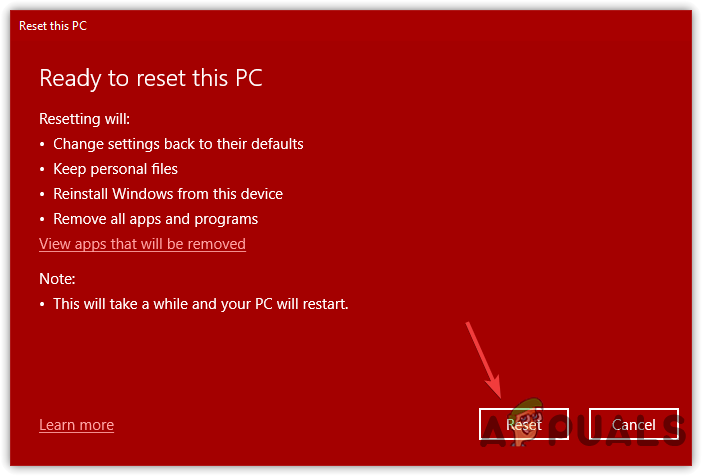
Click to Reset Windows - Upon completion, the issue should be resolved.
Alternatively, follow the provided link to reinstall the Windows operating system. Your choice between resetting or reinstalling will depend on your specific needs.


Hi! I’m having this problem. F8 brings me to boot options, but none of them look promising (I have P6: HL-DT-ST BD-RE WH16NS40, Generic 2.0 Reader -0, Generic 2.0 Reader, -1, P4: ST2000DM001-9YN164 (1907729MB), P2: ST32000542AS (1907729MB), and Enter Setup (this is the BIOS). The only other F key that works is F2, which takes me to the BIOS. I’ve tried all and the ESC key, but none of them take me to the troubleshoot options. I do have two hard drives, but only one of them is bootable. The other one is storage only, no OS. I don’t see anything useful in the BIOS set up, even in Advanced Mode.Any help would be appreciated.