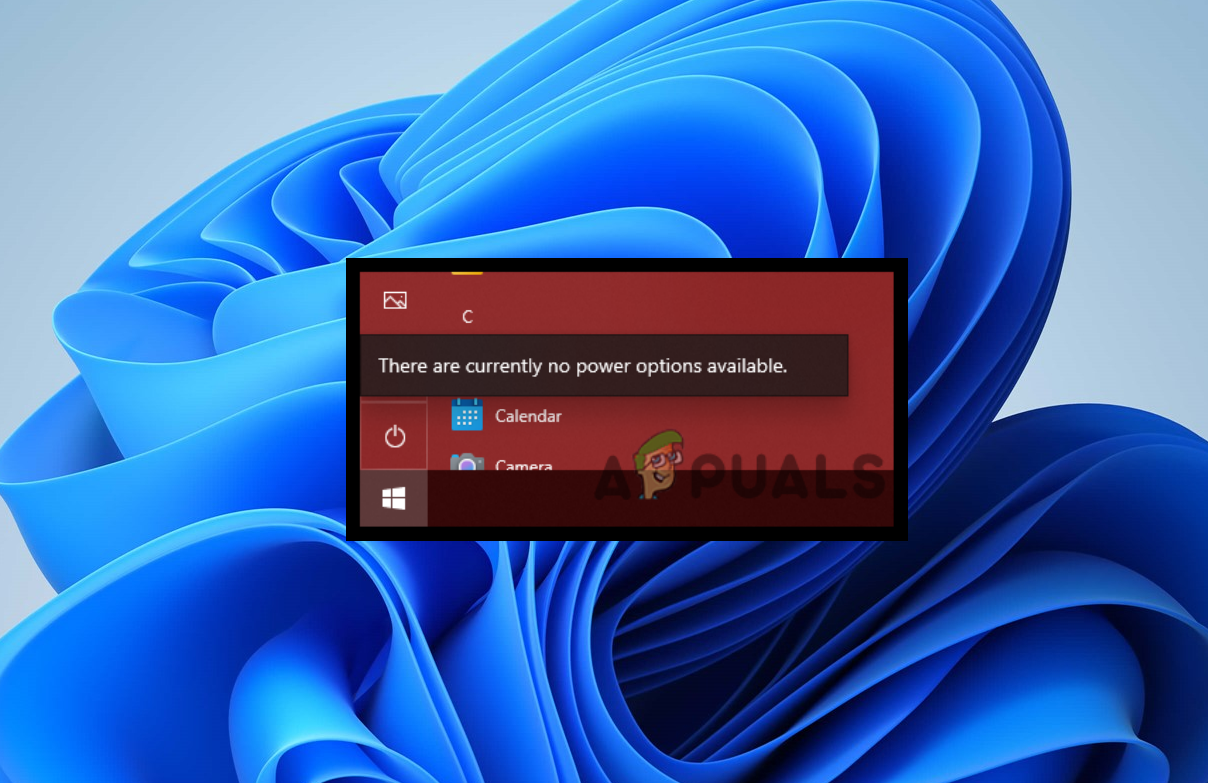
How to Fix ‘There are currently no power options available’ Issue?
When you encounter the error “There are currently no power options available” on a Windows system, it typically means that the options to shut down, restart, or put the computer to sleep are missing from the Start menu.
This issue often occurs due to corrupt system files or changes in system policies, particularly after certain updates or third-party software installations like Lockdown Browsers, which restrict these options for security reasons.
Below, we detail the primary causes along with their solutions that might be responsible for this error in your situation.
1. Use Local Group Policy Editor
This issue may occur from a disabled feature in the Local Group Policy Editor. Within the Editor, there’s a policy named Remove and Prevent Access to the shutdown, which, when enabled, quite literally does what it says – it prevents shutdown options from appearing. By toggling this policy to Disabled, you can restore the regular functioning of your power options, thereby fixing the error message.
Note: The Local Group Policy Editor isn’t available in Windows Home edition. However, you can enable it by following the methods in this article, “Enable GPEdit.msc on Windows 10/11 Home.”
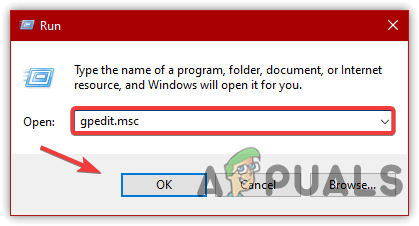
- Press Win + R to launch the Run dialog.
- Type gpedit.msc and click OK.
Open Local Group Policy Editor - Navigate to the following path:
Administrative Templates > Start Menu and Taskbar
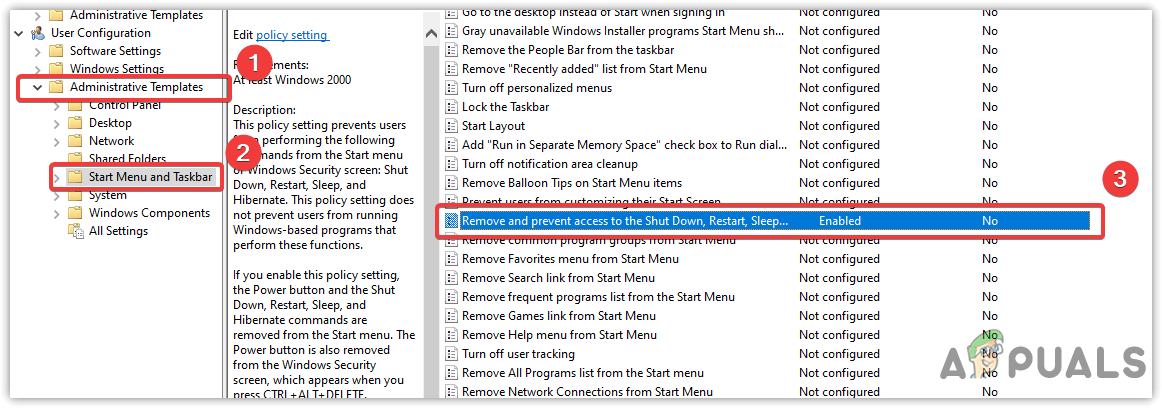
Navigating to Start Menu and Taskbar Settings - Double-click on the setting and select Disabled.
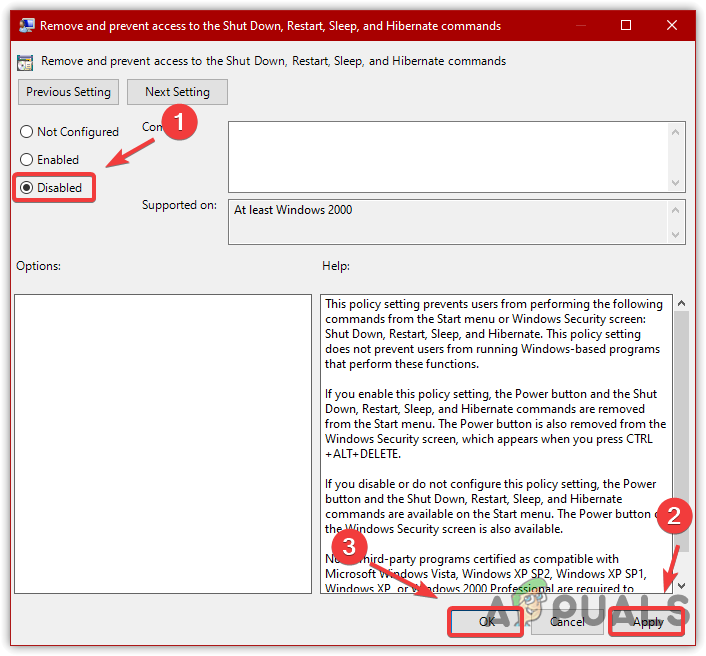
Disabling Remove and Prevent Access to Shut Down - Apply the changes.
2. Use Windows Power Troubleshooter
The Windows Power Troubleshooter is specifically designed to scan for and automatically repair problems associated with your computer’s power settings. By using the troubleshooter, you allow Windows to identify and potentially resolve any improper configurations or system glitches preventing the power options from appearing — all with minimal user intervention.
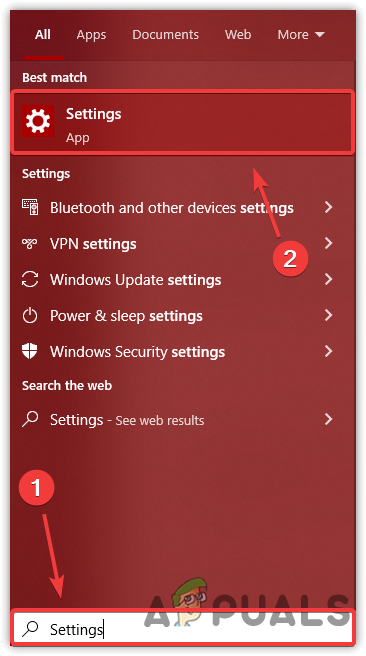
- Right-click on the Start menu and select Settings.
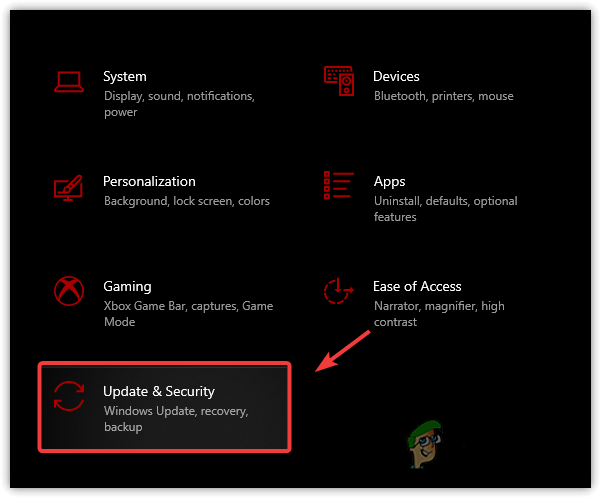
Open Settings - Go to Update & Security.
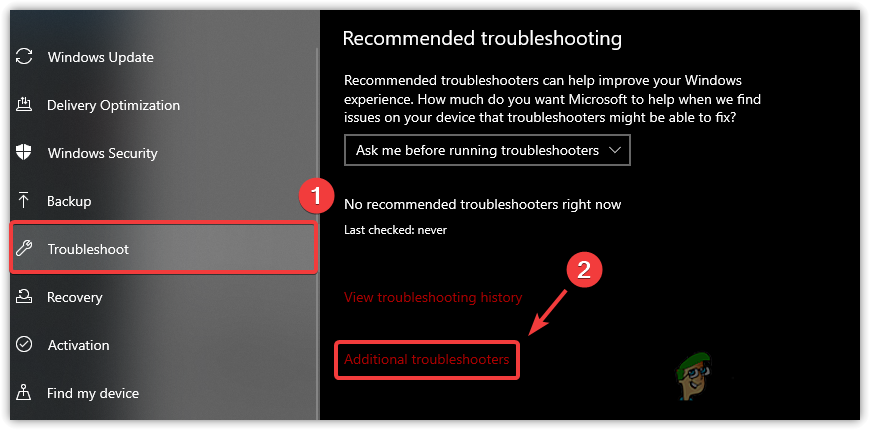
Go to Windows Update & Security - Select Troubleshoot from the left pane.
- Click on Additional troubleshooters.
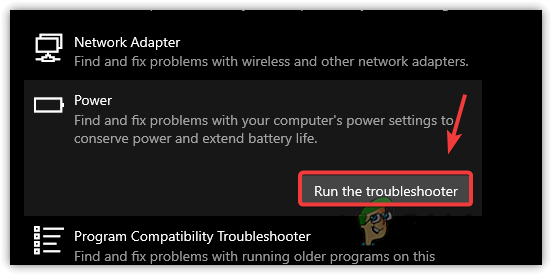
Navigating to Additional Troubleshooters - Scroll down to find the Power troubleshooter.
- Select it and click on Run the troubleshooter.
Run Windows Power Troubleshooter - If the troubleshooter identifies any problems, it will attempt to fix them automatically.
3. Create Additional Power Options
If the options are still missing, it may indicate an issue with your Windows power plan. This can be resolved by utilizing some commands that allows you to add new power plans. We are going to use these commands to refresh the default power plan options available in Windows.
- Press Win + R to open the Run dialog.
- Type powercfg.cpl and click OK.
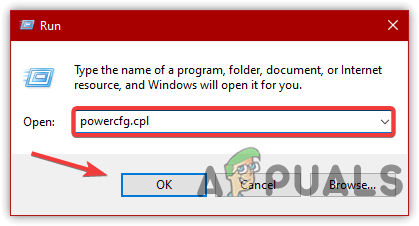
- Check which power plan is currently selected.
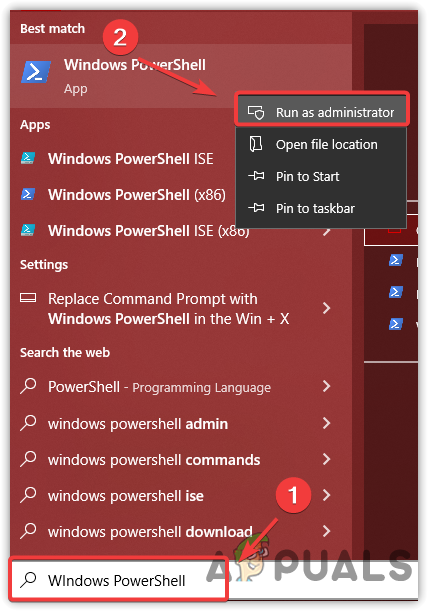
- Open the Start Menu and type Windows PowerShell.
- Right-click on PowerShell and select Run as administrator.
Run PowerShell as Administrator - In PowerShell, enter the following commands for all the power plans except the one currently selected:
Ultimate Performance powercfg -duplicatescheme e9a42b02-d5df-448d-aa00-03f14749eb61
High Performance powercfg -duplicatescheme 8c5e7fda-e8bf-4a96-9a85-a6e23a8c635c
Balanced powercfg -duplicatescheme 381b4222-f694-41f0-9685-ff5bb260df2e
Power Saver powercfg -duplicatescheme a1841308-3541-4fab-bc81-f71556f20b4a
- Once you have run the commands, press Win + R, type powercfg.cpl, and click OK.
- Select a power plan according to your preferences.
Attempt to use the power options again to verify if the error has been resolved.
4. Using Registry Editor Policy (Lower Versions)
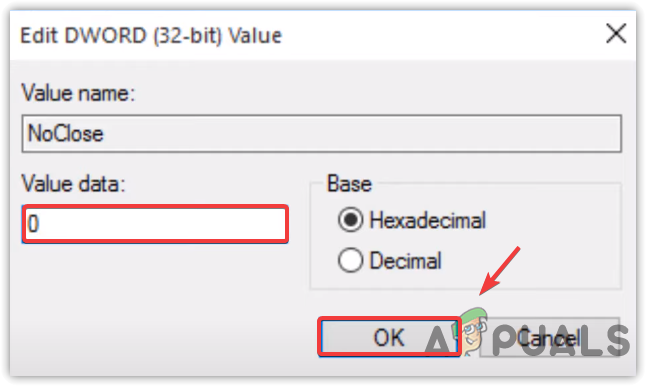
In older versions of Windows, certain power options are governed by registry settings. The NoClose entry, specifically, tells the system whether the shutdown option should be accessible to the user. When this value is set incorrectly, it can remove your ability to shut down the computer using the Start menu or other normal methods.
By resetting the NoClose value to 0, you basically restore the default functionality, allowing the shutdown, restart, and sleep options to reappear, thereby potentially resolving the issue.
Note: Always remember to back up the registry before making any changes to make sure you can revert back if needed.
- Press Win + R to open the Run dialog.
- Type regedit and click OK.

Open Registry Editor - Navigate to the following path:
HKEY_CURRENT_USER\Software\Microsoft\Windows\CurrentVersion\Policies\Explorer
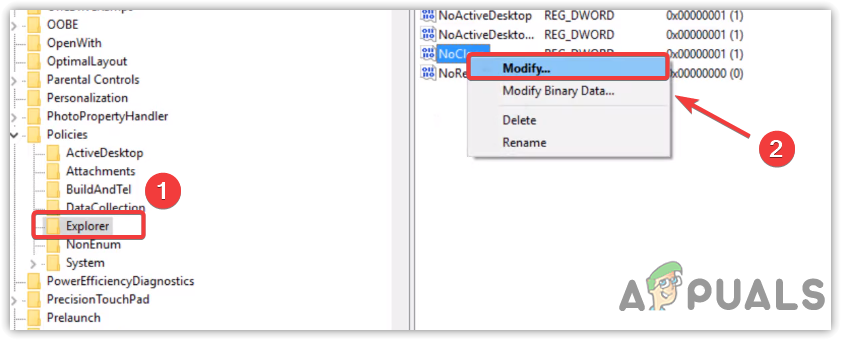
- Look for the NoClose entry and double-click it.
Navigating to Registry Files - Set its value data to 0 and click OK.
Change the Value Data to 0 - Restart your computer and check to see if the issue has been resolved.
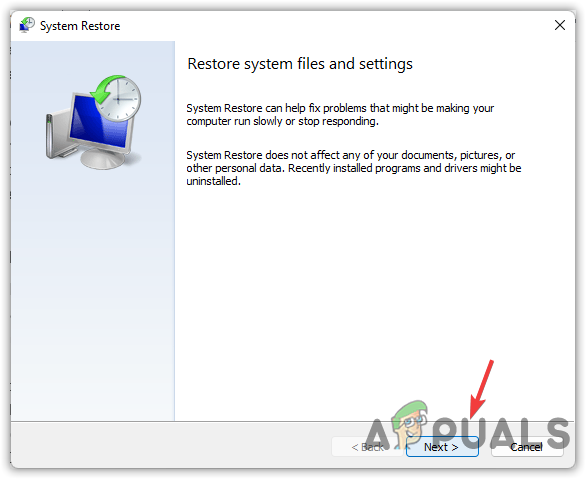
5. Use a System Restore Point
When you set a restore point, your computer takes a snapshot of your system files and the Windows registry. If a change, like a recent update or driver installation, leads to an unexpected issue with your power settings, reverting to a previous state using System Restore can potentially wipe away the problem, leaving you with a system that worked fine before the issue occured.
This step can effectively roll back any conflicting modifications that might have caused the error, restoring order to your kingdom of computing with minimal fuss.
- Click on the Start Menu and type rstrui.
Launching System Restore Settings - Open System Restore Settings and click Next to proceed.
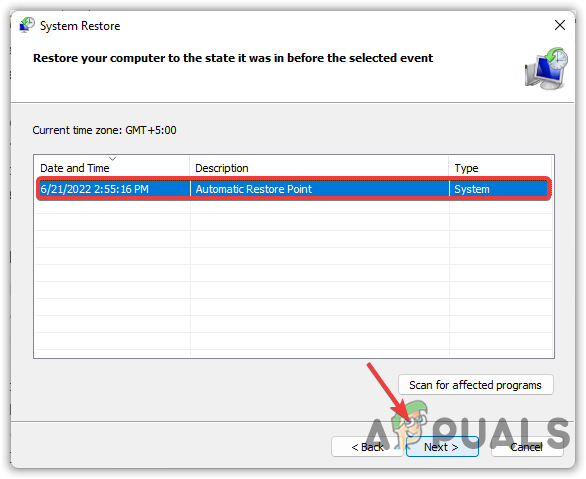
Click Next - Select the appropriate restore point and click Next.
Selecting the Restore Point - Confirm your choice by clicking on Finish.
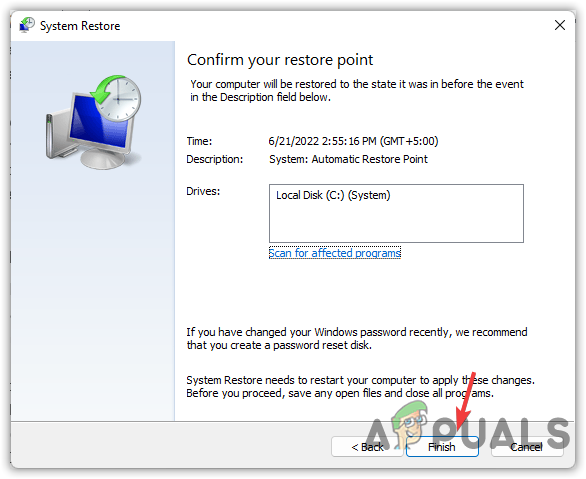
Finalizing System Restore - After completion, check if the error has been fixed.
6. Change the Current Power Option Name
The system internally refreshes its policies and settings related to the power options when a change is detected. This refresh can clear out any glitches or misconfigurations that were causing the error, restoring normal functionality. So by executing this minor tweak, you could set things right without going into more complex troubleshooting techniques.
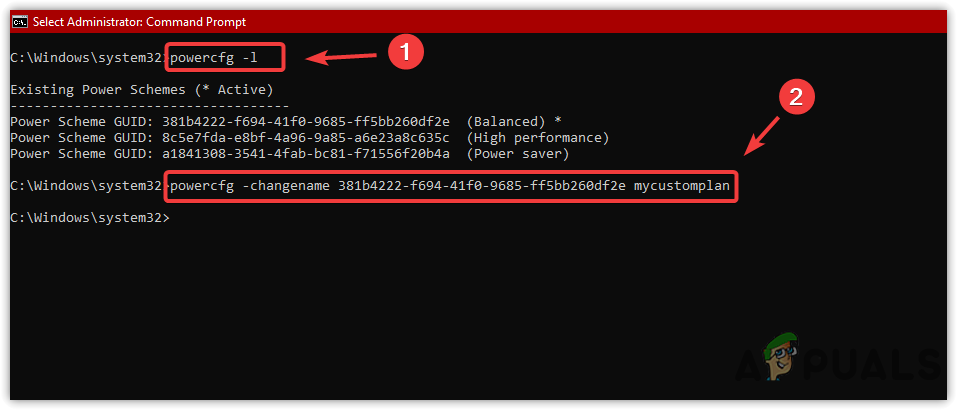
- Click on the Start Menu and type Command Prompt.
- Right-click on CMD and select Run as administrator.
Opening Command Prompt with Administrator Privileges - Type in the following command to display all power options:
powercfg -l
- Identify the currently selected power option (marked with an asterisk) and note down its ID.
- Type in the following command, replacing with the noted ID and ‘any custom plan’ with your desired name.
powercfg -changename "any custom plan"
Note: Replace the placeholders accordingly.
Renaming the Power Plan - Hit Enter to apply the change. Verify if the error has been resolved.
7. Restore Power Options
Incorrect power options settings may be causing this issue. By executing a command that resets all power schemes to their default settings, any customized configurations that might have gone wrong and led to errors get swept away. This is similar to giving your power settings a fresh start, potentially eliminating any glitches that were causing the issue.
- Press Win + R to open the Run dialog.
- Type cmd and click OK.
- Copy and paste the following command and press Enter:
powercfg –restoredefaultschemes
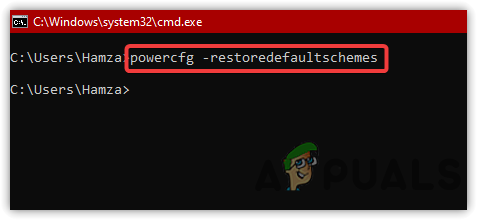
Restoring Power Plan to Default Settings - Afterwards, check if the power options issue has been resolved.
8. Run DISM And System File Checker
DISM repairs the Windows system image and prepares the groundwork for SFC, which scans and repairs any corrupt or missing system files that could be causing the power options error.
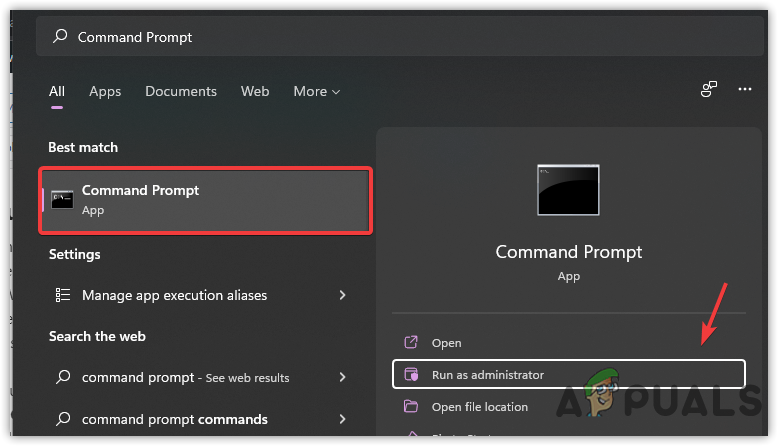
- Open the Start Menu and search for Command Prompt.
- Right-click on Command Prompt and select Run as administrator.

Opening Command Prompt with Administrator Permissions - Input the following commands, hitting Enter after each one:
DISM /Online /Cleanup-Image /RestoreHealth
sfc /scannow

Running DISM and SFC Commands - Once both scans are complete, check if the issue with the power options has been resolved.


When I type this step “Press Windows key + R to open up a Run dialog box. Then, type “cmd” and press Ctrl + Shift + Enter to open up an elevated Command prompt. When prompted by the UAC (User Account Control), click Yes to add administrative privileges” – When I go to do this I don’t get prompted by the UAC (User Account Control) Please help, I really need to fix this. I am afraid it is causing other problems to my laptop