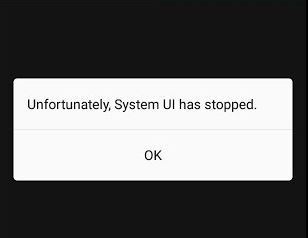
Fix: System UI has Stopped Working
All smartphone manufacturers put their UI on top of the stock Android software to add custom features developed by themselves. These features might include custom AI software, messaging, call and connectivity applications. This UI pretty much handles all the basic functions of the mobile phone. However, quite recently a lot of reports have been coming in of a “System UI Has Stopped Working” error on many Android devices.
In this article, we will discuss some of the reasons due to which this error can be triggered and provide you with viable solutions to ensure complete eradication of the problem.
What Causes the “System UI has Stopped Working” Error?
There is no specific cause to an error and it can arise due to many reasons, however, some of the most common ones are listed below.
- Google Application: Sometimes the Google application on your mobile can interfere with the phone’s UI and prevent it from functioning properly.
- Outdated Software: Phone Manufacturers often provide updates to the Android software which also updates certain features in the System’s UI and also provides many bug fixes. The error may occur due to a bug in the software and it was fixed a software update that has not been applied to your device.
- Cache: Cache is stored by applications on the device to decrease the loading time and provide users with a smoother experience. Over time this cache might get corrupted and cause issues with certain elements of the system and prevent it from working properly.
Now that you have a basic understanding of the nature of the problem we will move on towards the solutions. Make sure to implement these solutions in the specific order in which they are listed to avoid any conflicts. Also, make sure that you have a valid internet connection.
Solution 1: Uninstall the Google Application
Google and its related applications might be interfering with certain elements of the System UI and causing this issue. Therefore, in this step, we will be uninstalling all the Google related applications. For that:
- Unlock the phone and open the “Google Play Store” app.
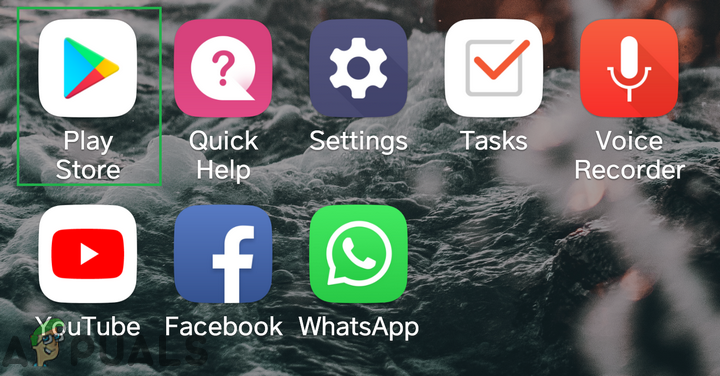
Opening the Google Play Store application - Tap the Menu button on the top left corner and select the “My Apps & Games” option.
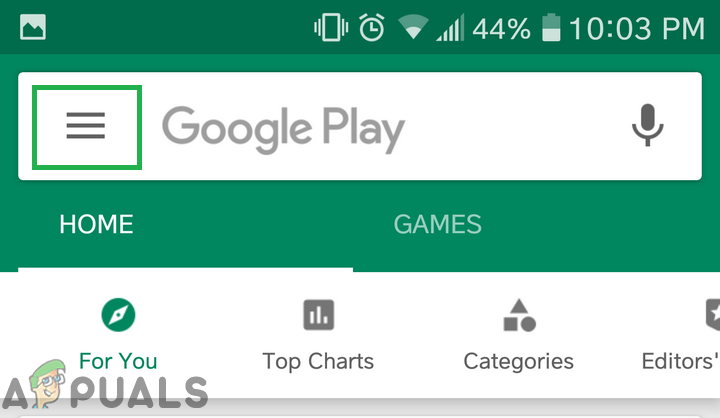
Clicking on the Menu button on the top left corner - Click on the “Installed” tab and scroll down to click on “Google“
- Tap on the “Uninstall” button and select “OK” on the message prompt.
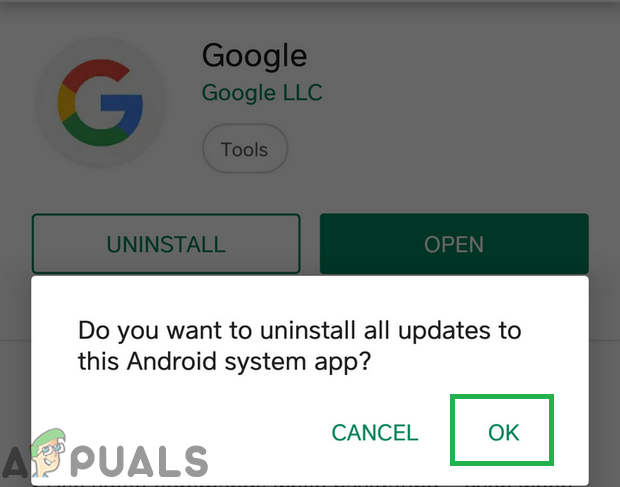
Clicking on Uninstall and then tapping on “OK” - Repeat this process for all the “Google” applications on the list.
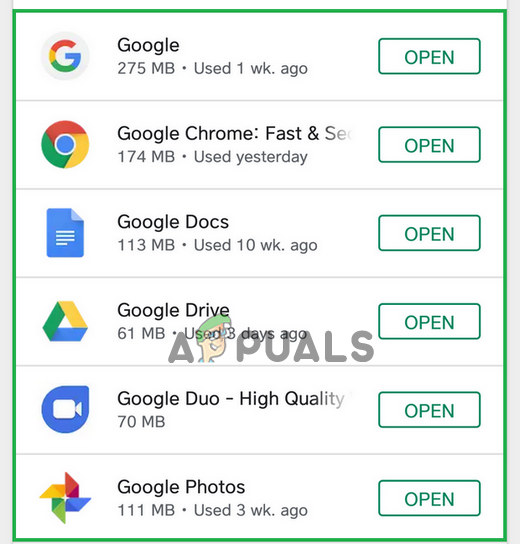
Rest of the Google applications that need to be uninstalled - Restart the Mobile and check to see if the issue persists.
Solution 2: Check For Software Updates:
Phone manufacturers often provide updates to the Android software which also updates certain features in the System’s UI and also provides many bug fixes. Therefore, in this step, we will be checking to see if any Software Updates are available for the device. For that:
- Unlock the phone and open the settings.
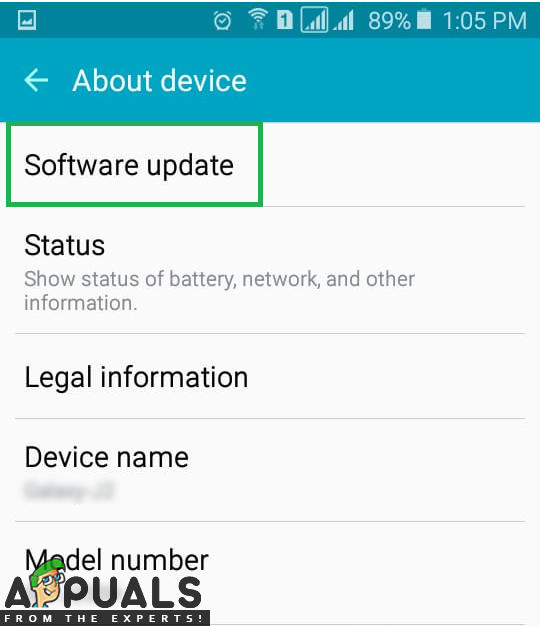
- Scroll down to the bottom and tap on the “About Device” option.

Scrolling down to the bottom and clicking on the “About Device” option - Click on the “Software Update” and select the “Check for Updates” option.
Clicking on the “Software Update” option - If a new software update is available, click on the “Download Updates Manually” option that appears after the checking process has finished.
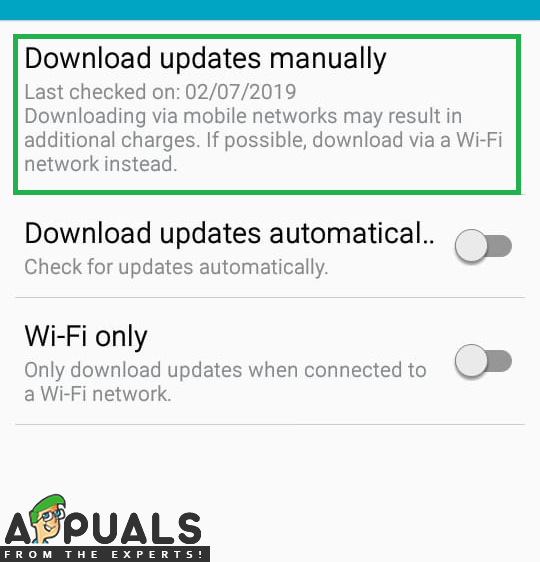
Tapping the Download Updates Manually option - After the phone finishes downloading the update, it will prompt you to confirm the installation of the update select “Yes” and the phone will now be restarted.
- The update will be installed and the phone will launch back into the normal mode, check to see if the issue persists.
Solution 3: Wipe the Cache Partition
If the cache stored on the device by applications is corrupted it can cause issues with the System UI as it interferes with certain elements of the Operating System. Therefore, in this step, we will be wiping the cache partition. For that:
- Hold down the power button and select “Switch OFF“.
- Hold the “Home” button and “VolumeUP” buttons simultaneously and then press and hold the “Power” button as well.

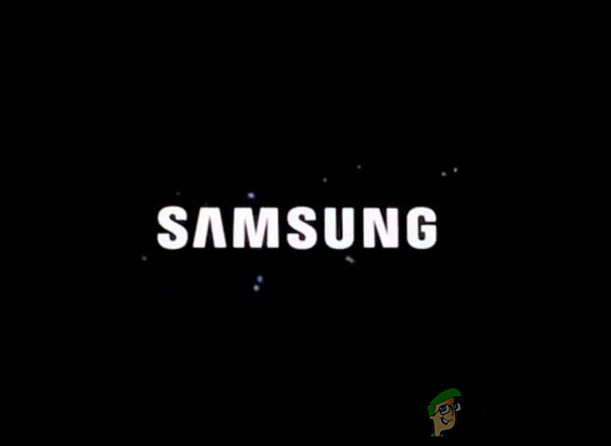
The button allocation on Samsung Devices - When the Samsung Logo screen appears, release only the “Power” key.
Samsung Animation Logo while starting the device - When the Android logo screen shows to release all the keys the screen might show “Installing System Update” for a couple of minutes before showing the Android Recovery Options.
- Press the “Volume down” key until the “Wipe Cache Partition” is highlighted.
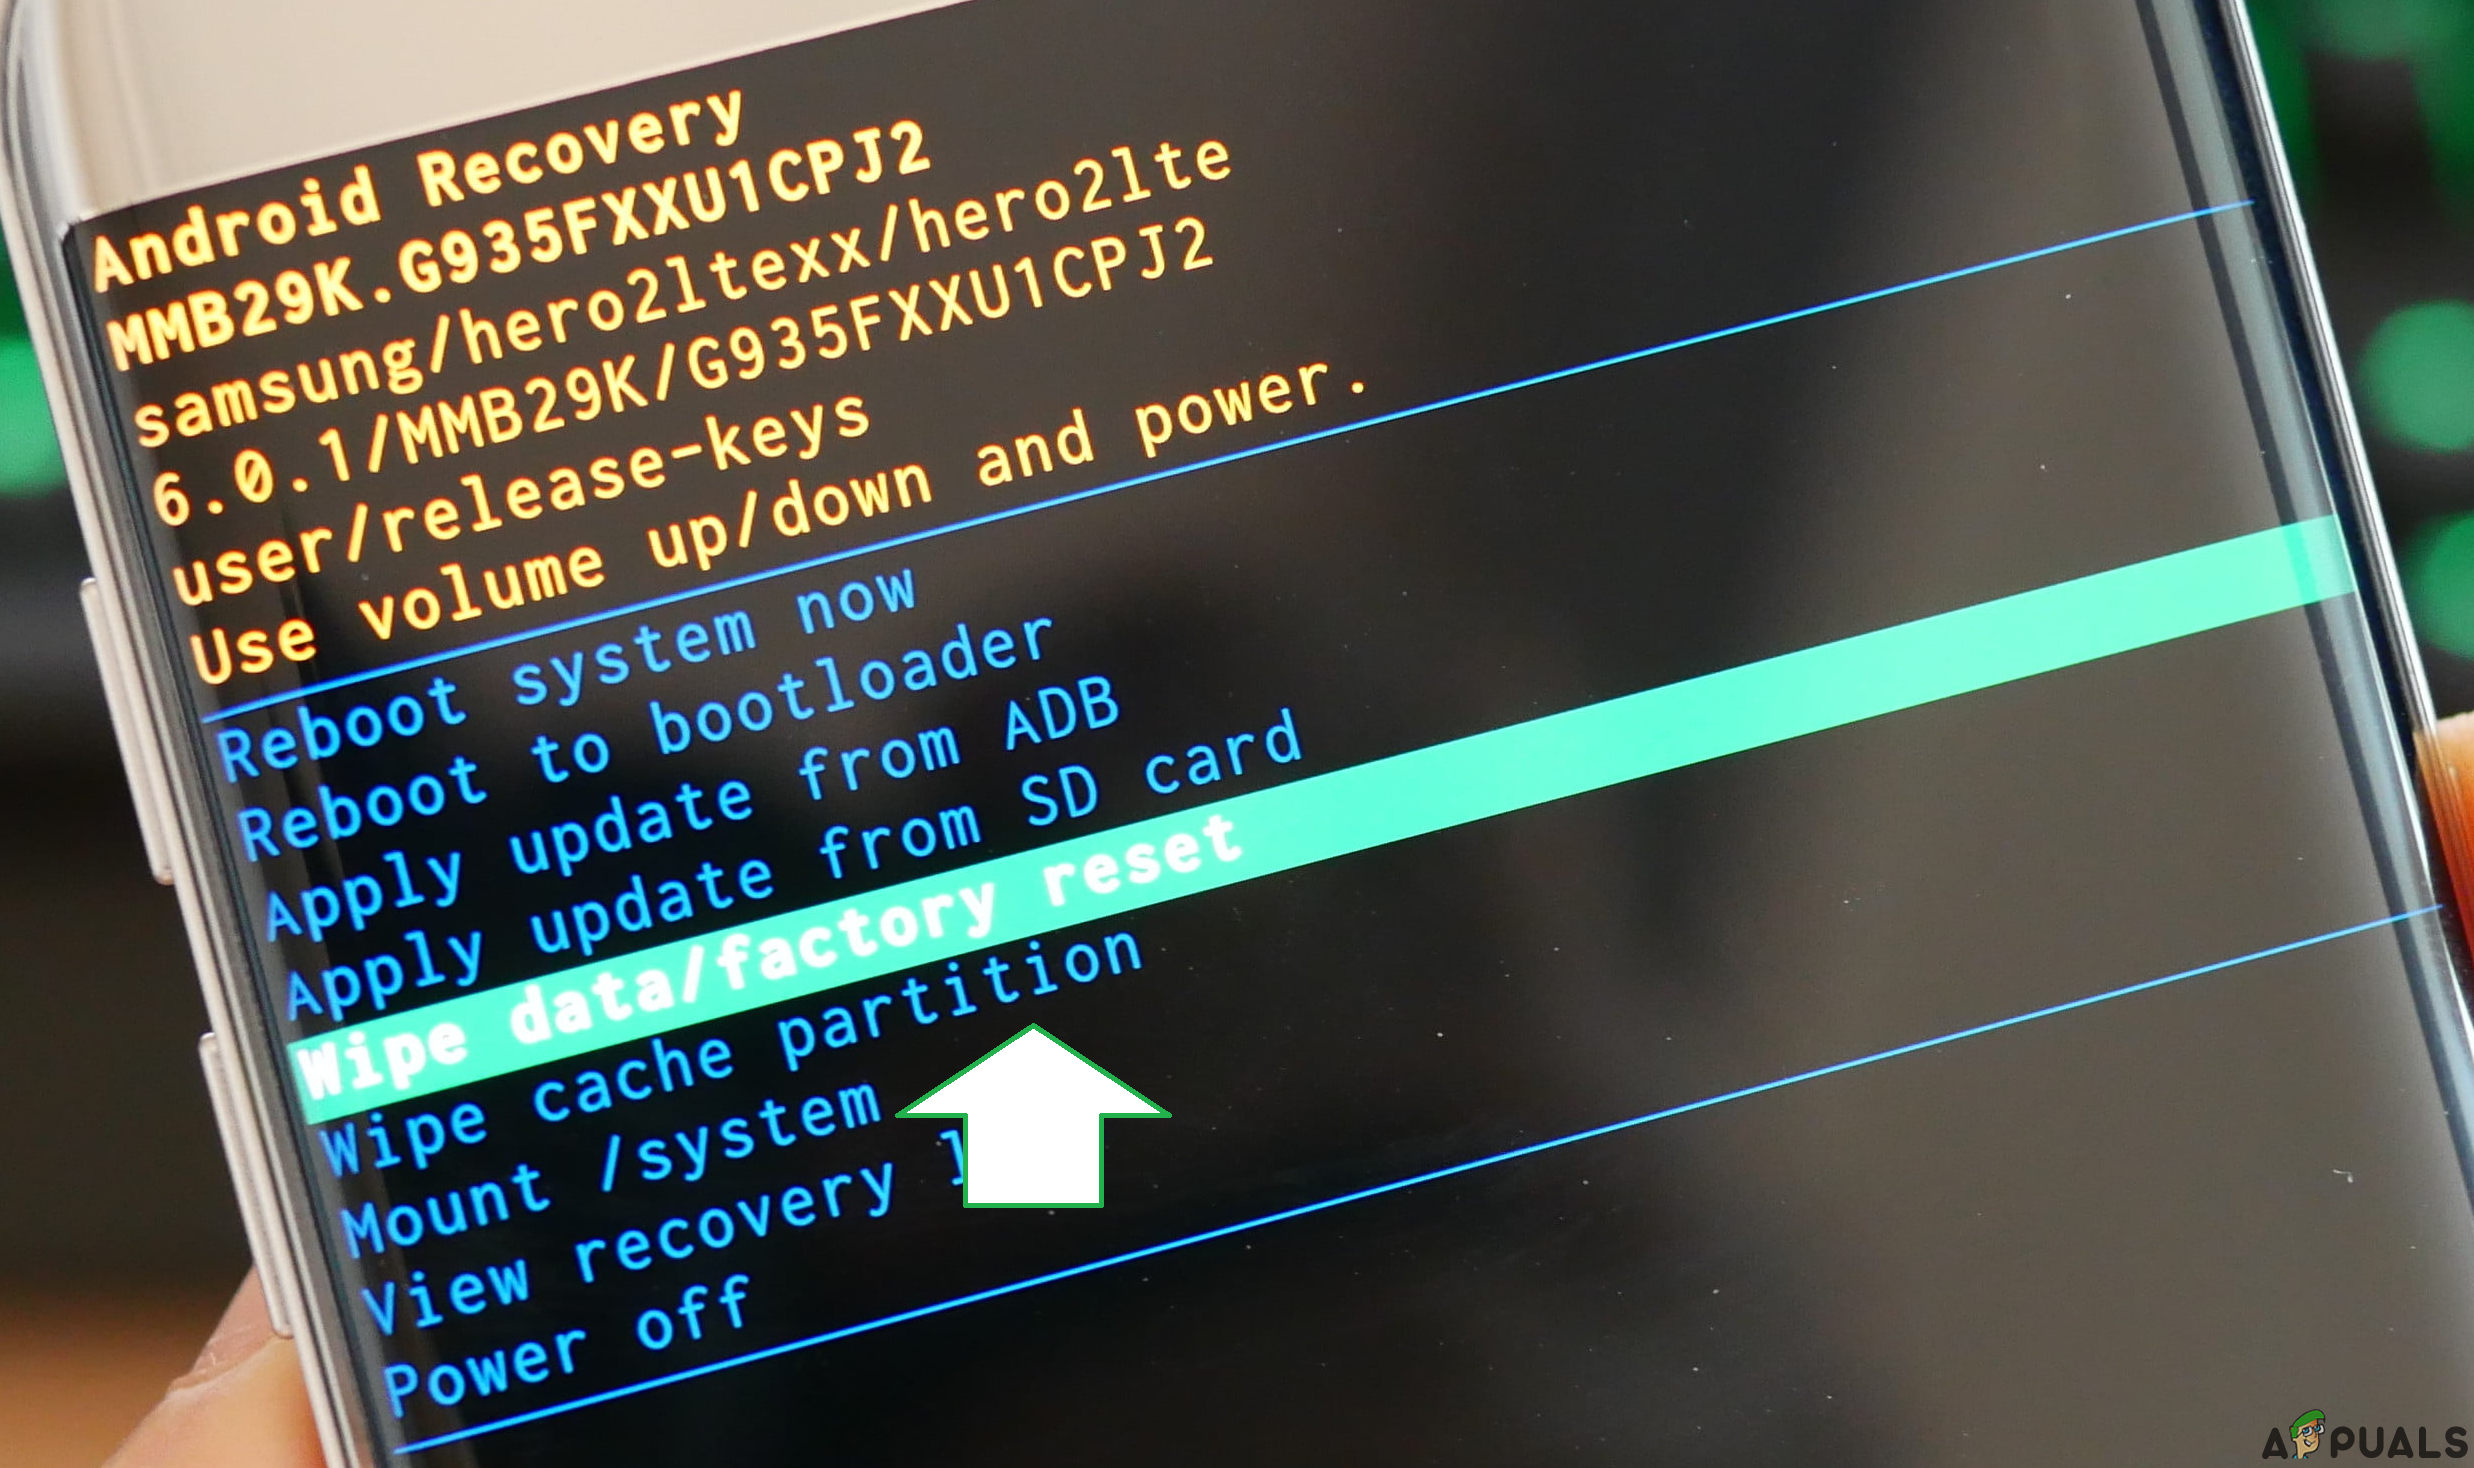
Navigating down to the “Wipe Cache Partition option” - Press the “Power” button and wait for the device to clear the cache partition.
- When the process is completed, navigate down the list through the “Volume Down” button until “Reboot System Now” is highlighted.
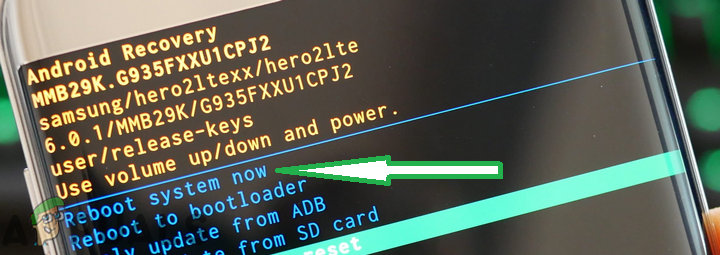
Highlighting the “Reboot System Now” option and pressing the power button - Press the “Power” key to select the option and restart the device.
- Once the device is restarted, check to see if the issue persists.
Warning: Proceed at your own risk and be very careful with this step because even a simple mistake can cause the phone’s software itself to be deleted or even bricked.


