Fix: Star Wars Battlefront 2 Error Code 721 / 1017
Several Star Was Battlefront 2 players have been encountering the Error Code 721 / 1017 when trying to connect online. This particular error is not restricted to a particular system since it’s confirmed to occur on PC, PS4 and Xbox One. This is a major inconvenience for most players since the majority of the Star Was Battlefront 2 user base only cares about the multiplayer component.
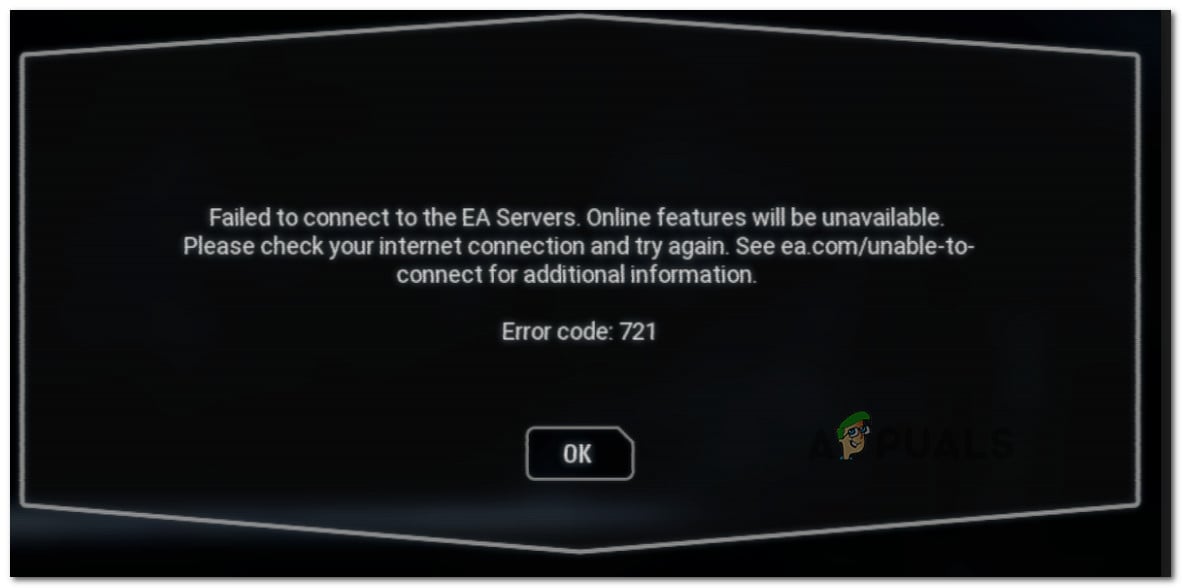
Note: There’s another variation of this particular error- Error Code 1017
What is causing the Error Code 721 /1017?
We investigated this particular error by looking at EA’s official response, user reports and at the repair strategies that most affected users successfully deployed to resolve the issue. Based on what we gathered, there are multiple scenarios that will end up triggering one of these two error codes:
- DDOS (Distributed Denial of Service) attack – EA has a long and painful history with coordinated DDoS attacks that ended up affecting their servers. If the issue started appearing out of nowhere, you should check if other users are encountering the same issue. If the error code is widespread, there is no other fix but to wait for the issue to be resolved by EA’s software engineers.
- Cached data is causing the issue on consoles – Some people have managed to get this particular issue sorted by power cycling their console. This seems to suggest that there’s an issue with how some data is being cached that ends up breaking the online functionality of Star Wars Battlefront 2.
- Corrupted installation – This issue might also occur due to corrupted installation on PC. Uninstalling the game using the Programs and Feature window and then reinstalling it from Steam or Origin seems to have fixed the problem for some affected users.
- IP Configuration Problems – A lot of users with Dynamic IPs report that the issue occurs regularly for them (mostly reported to occur on PC). They are able to alleviate the issue temporary by releasing and Renewing the IP configuration using an elevated Command Prompt.
- UPnP is enabled – Opposed to most of the other games with multiplayer components, Star Wars Battlefront 2 seems to be acting up when Universal Plug and Play is enabled. Several affected users have reported that the issue is no longer occurring when UPnP is disabled.
- Unstable default DNS – This particular issue can also occur in those instances where the default DNS is unstable or incompatible with EA’s servers. People in this situation have managed to get the issue resolved by switching the default DNS with Google’s DNS.
If you’re currently facing the same error code in Star Wars Battlefront 2 and you’re looking for a way to get around it, this article will provide you with several troubleshooting steps. Down below, you’ll encounter a collection of methods that other users in a similar situation have used to resolve the issue.
Some of the methods below will not be applicable to the platform that you’re encountering the issue on. Because of this, follow the methods below in order and stick to those applicable to your system.
Method 1: Investigating for a widespread issue
Before you dive into the other potential repair strategies, it’s important to make sure that you’re not dealing with widespread issues. As mentioned above, Error Code 721 became notorious for Battlefront 2 players in the aftermath of a widespread DDoS attack on EA’s servers that severely crippled the online functionality for weeks.
No such reports have been reported in the last few months, but just to be sure, visit the following links just to make sure that your issue is local:
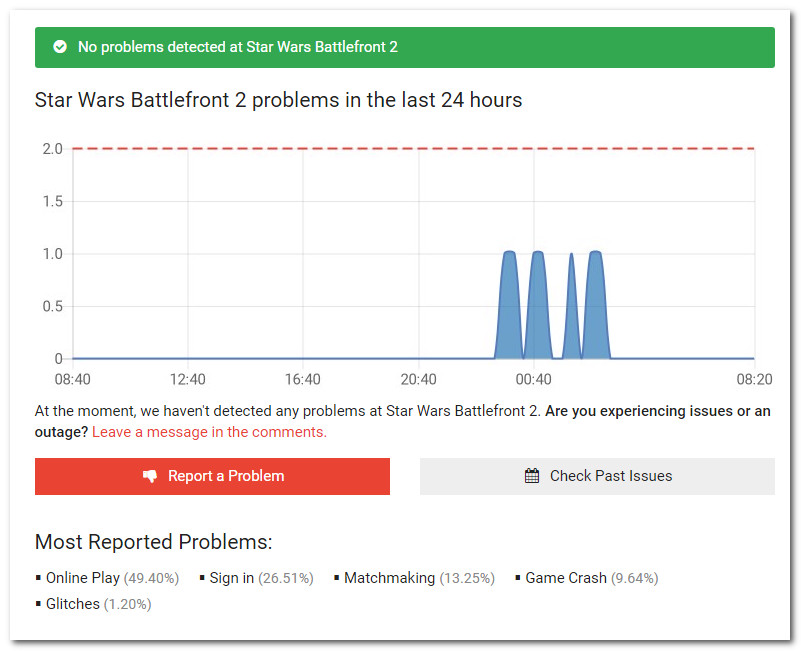
If EA is currently experiencing problems with their servers, you should be able to find a lot of reports of similar users struggling with the same error and/or an official announcement on EA’s Star Wars official Twitter account.
In the event that you find no such evidence, chances are the issue happens due to local factors. In this case, you should be able to resolve the error code using one of the methods below.
Method 2: Hard resetting console (PS4 & Xbox One)
If you’re encountering this issue on a console and you haven’t found any evidence that the issue is widespread, you are likely dealing with a local issue. In this case, power cycling your console should be enough to get the issue resolved. Several users who were in a similar situation have reported that the issue was resolved for them after they performed a hard reset.
Here’s how to perform this procedure depending on which console you’re encountering the issue on:
Hard resetting on Xbox One
- Press and hold the Xbox One power button (the front of the controls) for 10 (or more seconds).
- When you see that the lights have gone out completely, unplug the console’s power cable from your power supply and wait for 10 seconds or more.
- After that period of time has passed, plug the power cable back into your console and press the Xbox button again.
- Once your Xbox One boots back up, open Start Wars battlefront and see if the issue has been resolved.
Hard resetting on PlayStation 4
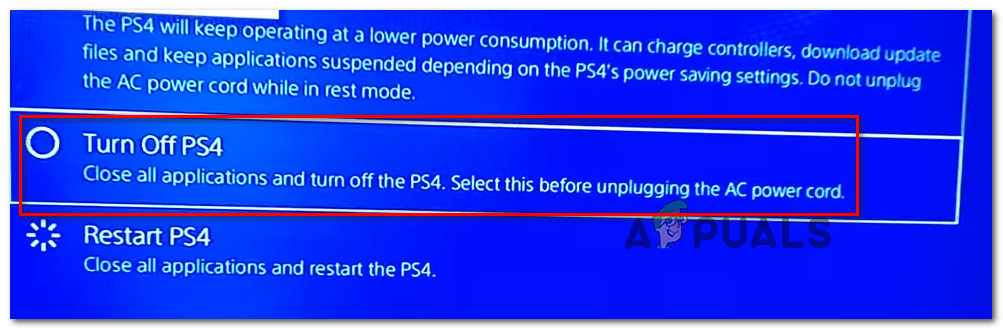
- On your Dualshock4 controller, press and hold the PS button to bring up the Power options.
- From the list of available Power Options, select Turn off PS4 option and press the X button. Do not put it into rest mode.
- Once the lights go off, unplug the console’s power cable and wait for 10 seconds or more.
- Plug the power cable back into your console and press the power button to start it up.
- Run Star Wars Battlefront 2 and see if the error has been resolved.
If this method didn’t help you to resolve the Error Code 721, move down to the next method below.
Method 3: Reinstalling Star Wars Battlefront 2 (PC only)
Several affected users have reported that the error Error Code 721 / 1017 was resolved in their case after they reinstalled the game. The procedure is mostly confirmed to be effective in those cases where the uninstalled is carried on from the Programs & Features screen (rather than directly from Steam or Origins).
Here’s a quick guide on how to do this:
- Press Windows key + R to open up a Run dialog box. Then, type “appwiz.cpl” and press Enter to open up the Programs and Features window.

Type appwiz.cpl and Press Enter to Open Installed Programs List - Inside the Programs and Features screen, right-click on Star Wars Battlefront 2 and choose Uninstall. Then, follow the on-screen prompts to complete the uninstallation.
- Re-download the game from Origins or Steam and see if the error has been resolved.
If reinstalling the game didn’t resolve the error code or this method wasn’t applicable to your particular scenario, move down to the next method below.
Method 4: Releasing and Renewing the IP Configuration (PC only)
Another method that has been effective for several users that have been encountering the issue on PC is to release and renew the IP configuration. What this procedure essentially does is it forces the client to give up its lease by sending the server a DHCP release notification and mark’s the old IP address as available (this is done with ipconfig /release). Then, the ipconfig /renew is used to request a new IP address.
Here’s a quick guide on how to do this:
- Press Windows key + R to open up a Run dialog box. Then, type “cmd” and press Ctrl + Shift + Enter to open up an elevated Command Prompt.

Running CMD as an admin Note: When you’re prompted by the UAC (User Account Control), click Yes to grant the application administrative privileges.
- Inside the elevated Command Prompt, run the following command and press Enter to force the client to release your current IP address:
ipconfig/release
- In the same elevated Command Prompt, run the following command and press Enter to request a new IP address for your machine:
ipconfig/renew
- Close the elevated Command prompt and run Star Wars Battlefront 2 again to see if the issue has been resolved.
If you’re still encountering the same Error Code 721 / 1017 when trying to connect online in Star Wars Battlefront 2, move down to the next method below.
Method 5: Disabling UPnP
While most of the other games that feature a multiplayer component will become much stable one UPnP (Universal Plug and Play) is enabled, Star Wars Battlefront 2 is a different deal. There are dozens of reports of people that have managed to resolve the Error Code 721 / 1017 after disabling UPnP from their router.
This is very peculiar considering that UPnP is a technology specifically developed to allow for instant port forwarding (which most online games make use of). The fact that this fix continues to be successful for a lot of affected users suggests that there are some issues with the way the game is configured to use UPnP.
In any case, here’s a quick guide on how to disable UPnP on your router. Follow the instructions below to see if disabling UPnP manages to resolve the issue:
- Make sure that your computer or console is connected to your router/modem. Next, open your default browser and type one of the following addresses and press Enter:
192.168.0.1
192.168.1.1
Note: These two are generic router addresses that should land you inside your router settings. If these don’t work, search online for specific steps on how to access your router/model settings based on your model.
- Once you get to the login page, you’ll need to insert your credentials. Most manufacturers will have the default username as “admin” and the default password as “admin” or “1234”.
Accessing your Router/Modem settings Note: If the default credentials provided here don’t match your router/modem, search online for the default credentials based on what model you have.
- Once you gain access to your router settings, open the Advanced (Expert) settings and look for a Nat Forwarding sub-tab. When you see it, access it and ensure that UPnP is enabled.
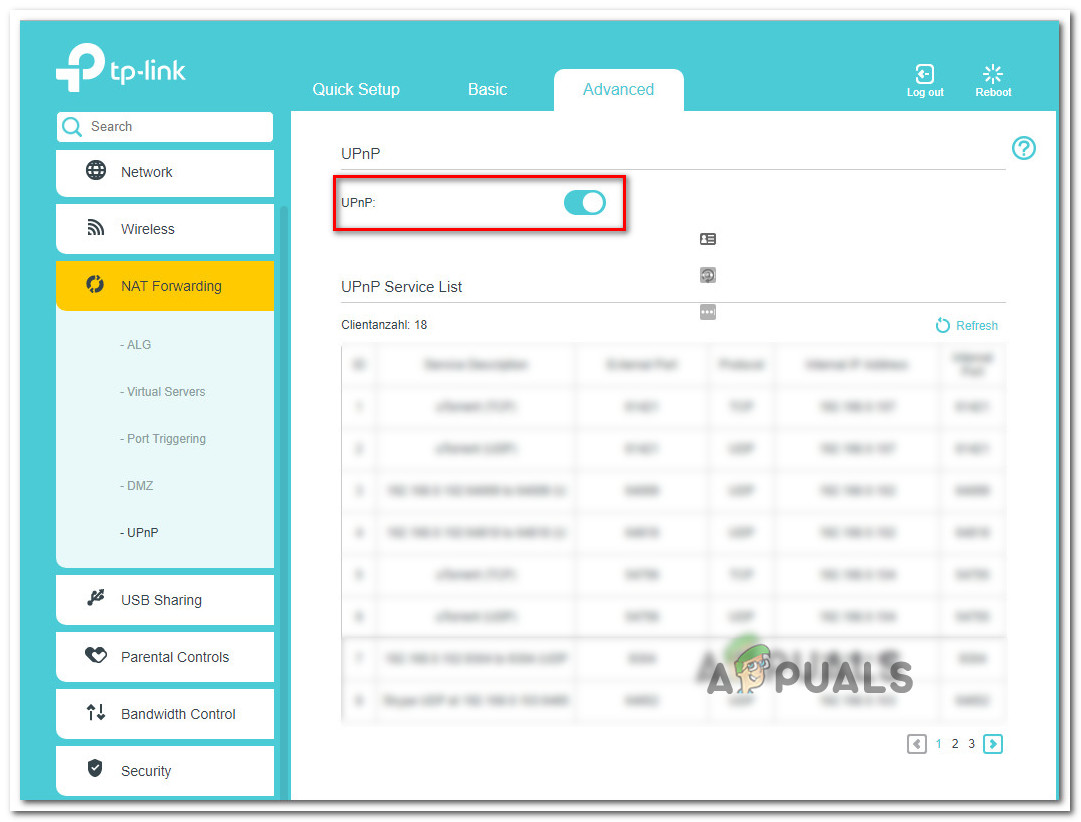
Enabling UPnP from your Router settings Note: Keep in mind that these instructions were performed on a TP-Link router. If you have a different manufacturer, your screens will look different than here.
- Once UPnP has been enabled, restart your router and force the changes to take effect.
- Open Star Wars Battlefront 2 and see if the error code has been resolved.
If you’re still encountering the same Error Code 721 / 1017, move down to the next method below.
Method 6: Changing the default DNS to Google’s DNS
Another popular fix that has helped a lot of users to resolve the Error Code 721 / 1017 in Star Wars Battlefront 2 is to change the default DNS addresses to the ones used by Google. But keep in mind that this process will be different depending on the platform that you’re encountering the issue on.
To address this issue, we have created three separate guides, so make sure to follow the one applicable to your platform.
Changing Default DNS on PS4
- From your Dashboard, go to Settings > Network > Set Up Internet Connection.
- Choose Wi-Fi or LAN, depending on what type of network you’re using.
- Choose Custom, then set the IP Adress to Automatic.
- Set the DHCP Host Name to Do Not Specify.
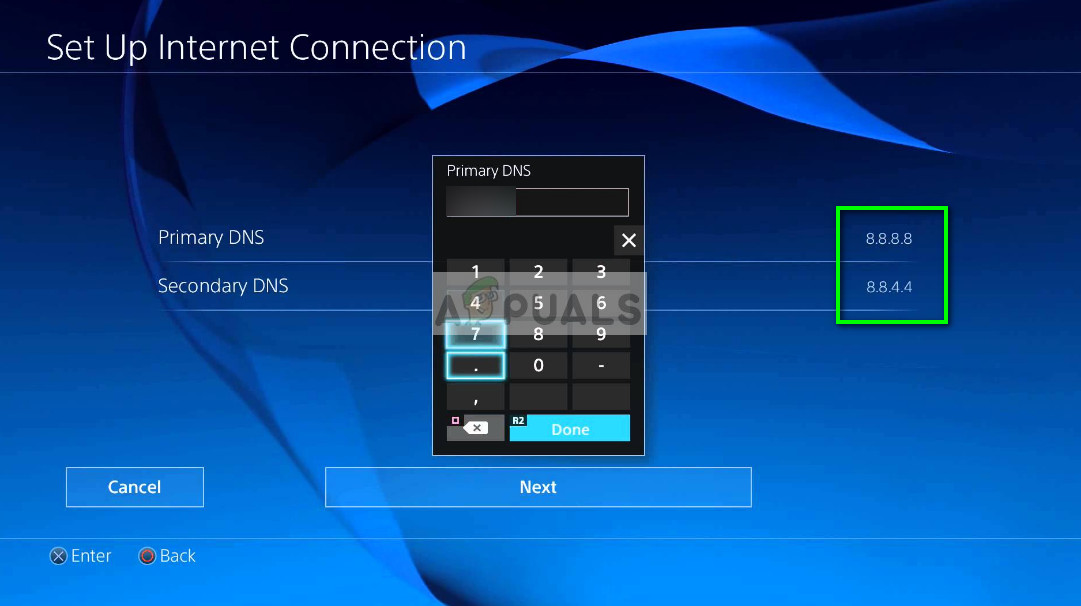
- Next, set the DNS Settings to Manual, set the Primary DNS to 8.8.8.8 and the Secondary DNS to 8.8.4.4.
Note: You can also use the DNS address from IPV6:
Primary DNS – 208.67.222.222
Secondary DNS – 208.67.220.220 - Open Star Wars Battlefront 2 and see if the error has been resolved
Changing Default DNS on Xbox One
- From the Xbox One menu, go to Settings > Network > Advanced Settings.
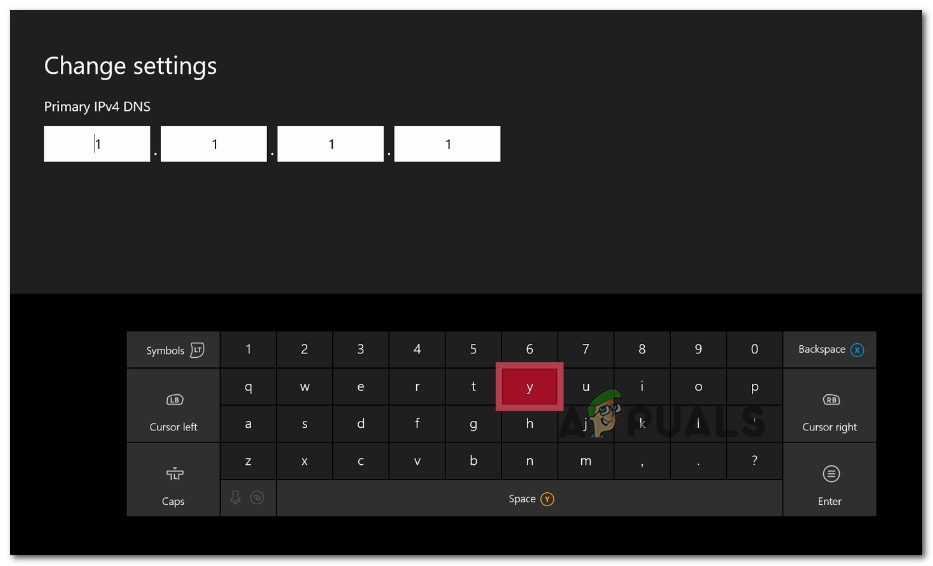
- Chose DNS settings and select Manual.
- Next, enter the 8.8.8.8 for the Primary DNS and 8.8.4.4 for the Secondary DNS.
Note: You can also use the DNS address from IPV6:
Primary DNS – 208.67.222.222
Secondary DNS – 208.67.220.220 - Start Star Wars Battlefront 2 and see if the issue has been resolved.
Changing Default DNS on PC
- Press Windows key + R to open up a Run dialog box. Next, type “ncpa.cpl” and press Enter to open up the Network Connections window.
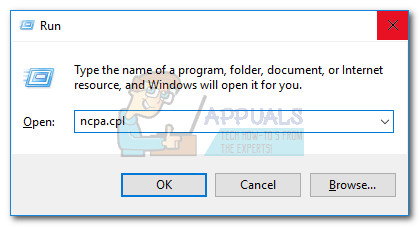
Run dialog box: ncpa.cpl - Select the connection that you want to configure the Google Public DNS. If you want to do it for your wireless network, right-click on Wi-Fi (Wireless Network Connection) and choose Properties. If you want to do it for an Ethernet (cabled) connection right-click on Ethernet (Local Area Connection) instead.
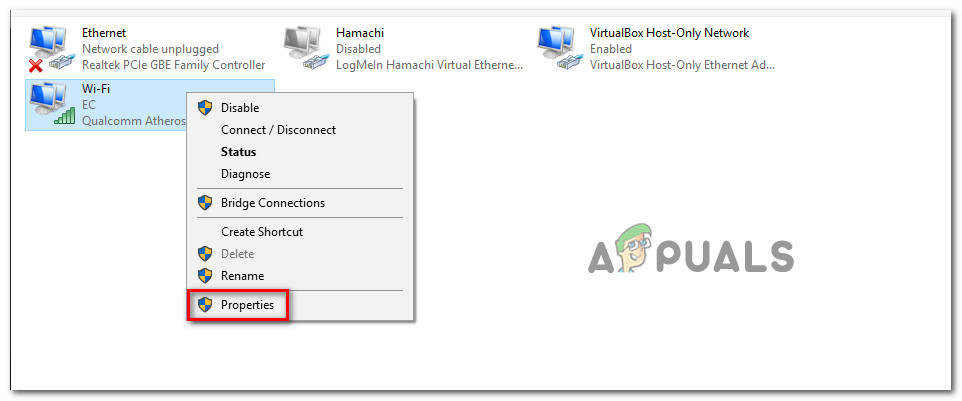
Opening the Properties screen of your network - Inside the Wi-fi/Ethernet Properties screen, go to the Networking tab and go to the settings box under This connection uses the following items. Next, select Internet Protocol Version 4 (TCP/IPv4) and click the Properties button.
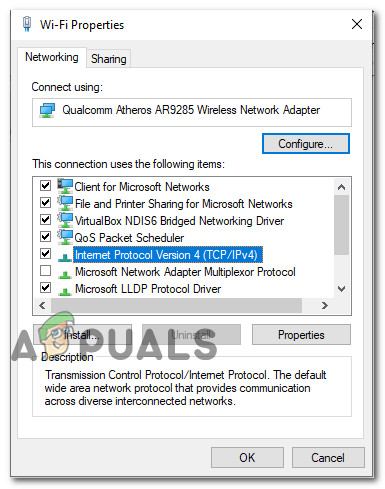
Accessing the Internet Protocol settings - Inside the Internet Protocol Version 4 (TCP/IPv4) Properties screen, go to the General tab. Then, select the toggle associated with Use the following DNS server address and replace the Preferred DNS server and the Alternate DNS server with the following values:
8.8.8.8
8.8.4.4 - Repeat steps 3 and 4 with Internet Protocol Version 6 (TCP/IPv6), but this time, use these values for the Preferred DNS server and the Alternate DNS server:
2001:4860:4860::8888
2001:4860:4860::8844 - Restart your network connection. After your connection is restarted, open Star Wars Battlefront 2 and see if the issue has been resolved.


None of this worked for me. Do you have any other ideas of how can I fix SW Battlefront 2? That error 721?