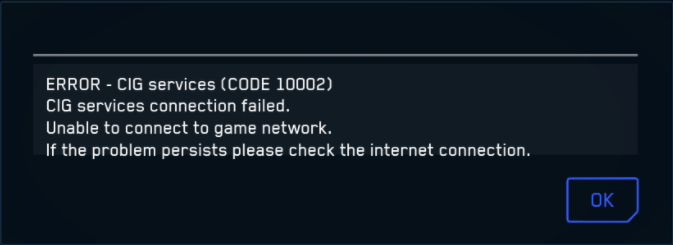
How to Fix Star Citizen Error 10002?
Some Star Citizenplayers are receiving the 10002 error when attempting to launch the game through the main game launcher. This error code is typically thrown when the client can’t connect to the authentication or hub service.
After investigating this particular issue, it turns out that there are multiple culprits that might be responsible for the apparition of this error code. Here’s a shortlist of instances where you might see this error:
- Incorrect RSI entries – As it turns out, one of the most common causes that might cause this error code is an instance in which the RSI entries used by the game are actually corrupted. If this scenario is applicable, you should be able to fix the problem by clearing the incorrect local RSI entries.
- Overprotective antivirus suite – As it turns out, you can expect to see this error if your antivirus ends up blocking the connection with the game server. In this case, you can fix the issue by disabling the real-time protection of your antivirus firewall or uninstall it from your system.
- NAT issue – If you have previously disabled UPnP in your router settings or your network device doesn’t support it you can see this error if the connection with the game server cannot be established. If that’s the case, you can re-enable UPnP or forward the used TCP and UDP ports manually.
- Restrictive ISP Node – If you are forced to use a tier 3 ISP, you might not be able to play the game in a stable manner unless you improve your latency. A VPN service might improve your lag in this case.
- Corrupted installation data – According to some affected users, this problem might also occur if there’s an unexpected interruption when the base game or an update is installing. In this case, reinstalling the game in a different location should resolve the issue as long as you ensure that you have enough space.
Method 1: Clearing incorrect RSI Entries
As it turns out, you might encounter this problem due to some incorrect entries in the RSI servers. This scenario was confirmed by several users that were previously encountering the 10002 error when trying to launch Star Citizen conventionally.
Fortunately, you can fix this problem by navigating to the location where your Windows installation holds the RSI server entries and removing the problematic files. Additionally, you can simply reset the host files to their default values.
Here’s a quick guide on clearing the incorrect RSI entries in order to fix the 10002 error with Star Citizen:
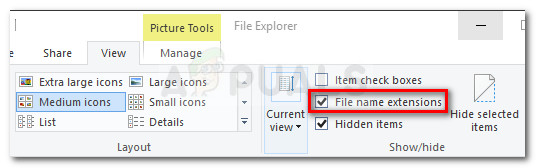
- Press Windows key + R to open up a Run dialog box. Inside the text box, type ‘C:\Windows\System32\drivers\etc‘ and press Enter to open up the default location of the hosts’ file.

Accessing the location of the Hosts file - Once you’re inside the etc folder, start by going to the View tab at the top and ensure that the box associated with File Name Extensions is enabled.
- Now that you successfully made your extensions visible, right-click on the hosts file and click Rename from the newly appeared context menu.
- Next, add the ‘.old‘ extension at the end of the name of the file and press Enter to save the changes. This modification will essentially tell your OS to disregard that file and create a new instance that is not hounded by the same broken entries.
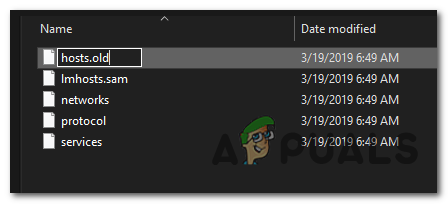
Adding the .old extension to the host file - Launch Star Citizen once again and see if you still end up seeing the same error code.
In case you’re still encountering the 10002 error, move down to the next potential fix below.
Method 2: Dealing with an Overprotective Antivirus
As it turns out, you can encounter this error in instances where you’re using an overprotective antivirus or firewall that is blocking the connection between your local Start Citizen installation and the game server.
If this scenario is applicable, you have 3 ways forward:
- Disable the Real-Time Protection of your antivirus/firewall
- Uninstalling the overprotective security suite
- Whitelisting RSILauncher.exe and StarCitizen.exe in your antivirus or firewall.
Depending on your preferred way of handling this, follow sub guide A to disable the real-time protection or uninstall the 3rd party security suite.
In case you don’t want to renounce your security suite, follow sub guide B for step by step instructions on whitelisting the 2 main game’s executable from Windows Firewall or Windows Defender.
If you use a 3rd party suite and you have no problem uninstalling it, follow sub guide C to uninstall it from your computer.
A. Disable Real-time Protection of Firewall/Antivirus
If you’re using a 3rd party antivirus, you should be able to disable the real-time protection by using the tray bar icon. Simply right-click on the icon associated with your Antivirus or Firewall suite and look for an option that allows you to disable the real-time protection.

In case you are using the native protection suite (Windows Firewall + Windows Defender), follow the instructions below to disable the real-time protection on both:
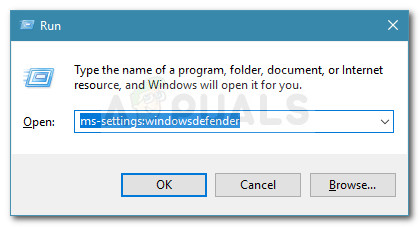
- Press Windows key + R to open up a Run dialog box. Next, type ‘ms-settings:windowsdefender’ and press Enter to open up the Windows Defender Security Center.
Run dialog: ms-settings:windowsdefender - Inside the Windows Defender window, use the left-hand pane to click on Virus & Threat Protection.
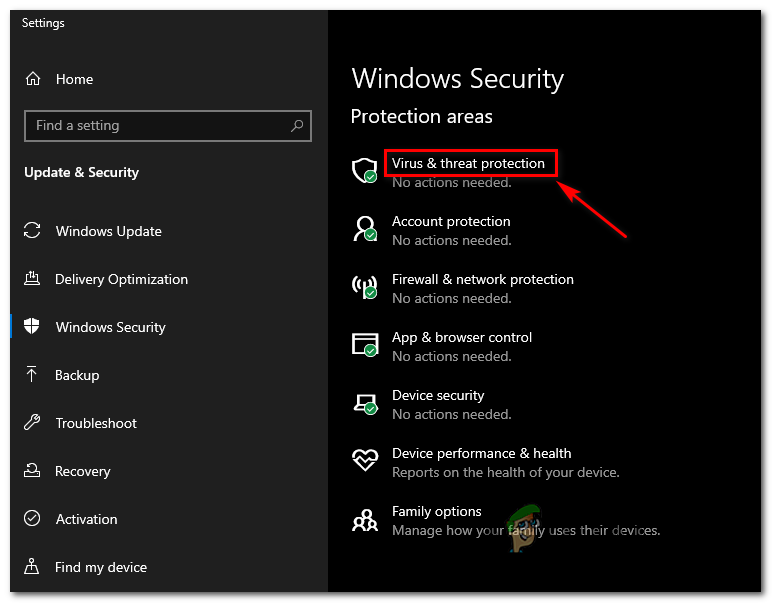
Accessing the Virus and Threat Protection - Inside the next menu, click on the Manage settings menu (under Virus & threat protection settings)

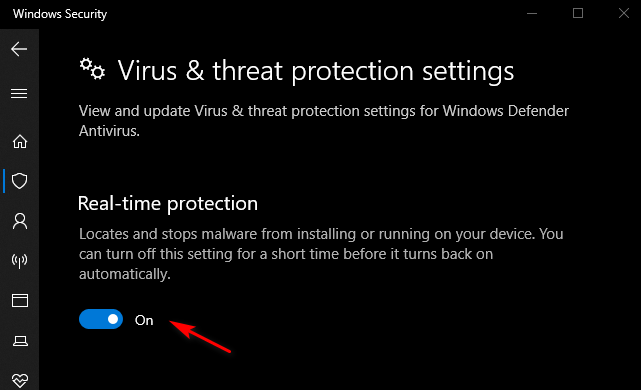
Managing Windows Defender Settings - At the next menu, uncheck the box associated with Real-Time Protection and set it to Off.
Disabling the Real-Time protection on Windows Defender - After you disable the real-time protection, return to the initial Windows Security menu, then move over to the right-hand section of the screen and click on Firewall & Network protection.
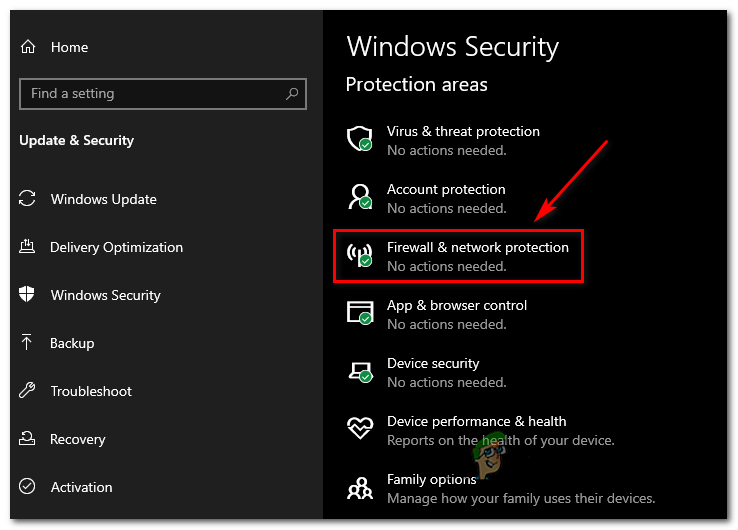
Accessing the Firewall and Network Protection menu - Next, click on the Network that you’re currently actively using. Then, scroll down through the list of options and set the toggle associated with Windows Defender Firewall to Off.
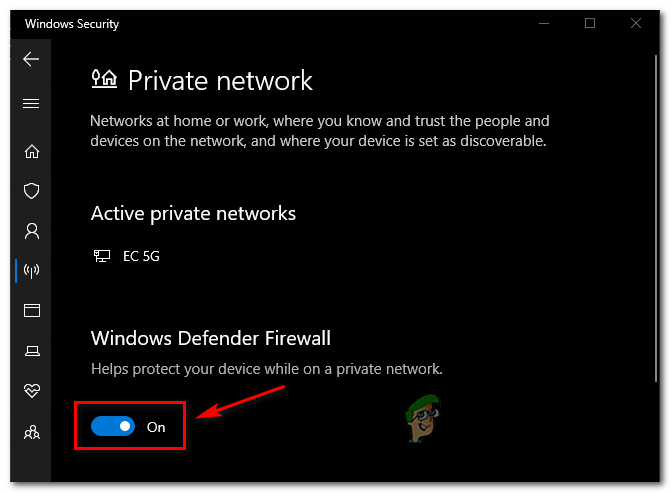
Disabling the Firewall component of Windows Defender - Now that the real-time protection has been disabled, open Star Citizen once again and see if you still end up seeing the same 1002 error.
B. Whitelisting RSILauncher.exe and StarCitizen.exe in your Antivirus/Firewall
If you are using a 3rd party suite, search online for specific steps on excluding the 2 main executables of Start citizen (RSILauncher.exe and StartCitizen.exe) Once you do this, launch the game again and see if the issue is resolved.
In case you are using the native security suite, follow the on-screen instructions below to whitelist the 2 executables in Windows Firewall:
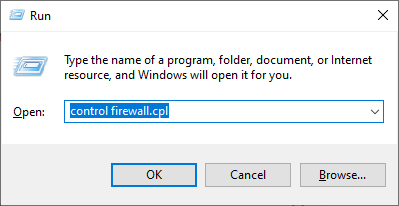
- Open up a Run dialog box by pressing Windows key + R. Next, type ‘control firewall.cpl‘ inside the text box and press Enter to open up the classic interface of the Windows Firewall.
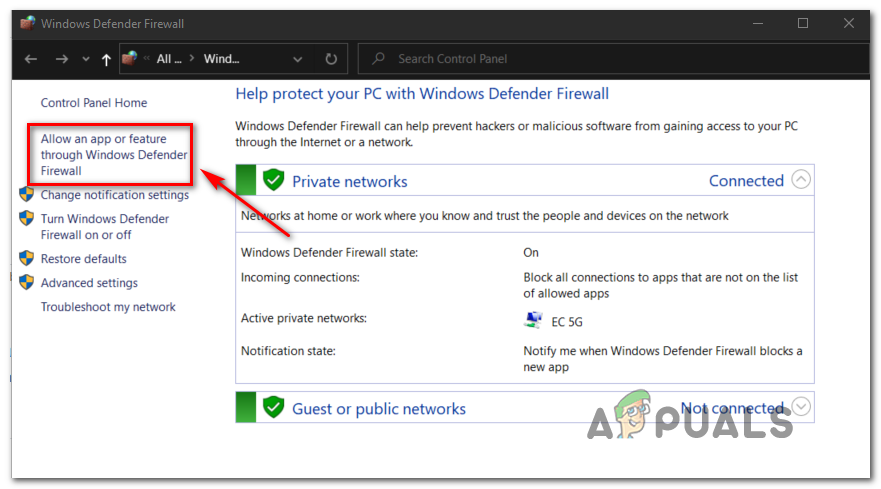
Accessing the Windows Defender Firewall - Inside the next Windows Defender Firewall menu, use the menu on the left to click on Allow an app or feature through Windows Defender Firewall.
Allowing an app or feature through Windows Defender - Inside the Allowed apps menu, click on the Change settings button. When asked by the User Account Control prompt, click Yes to assign admin access.
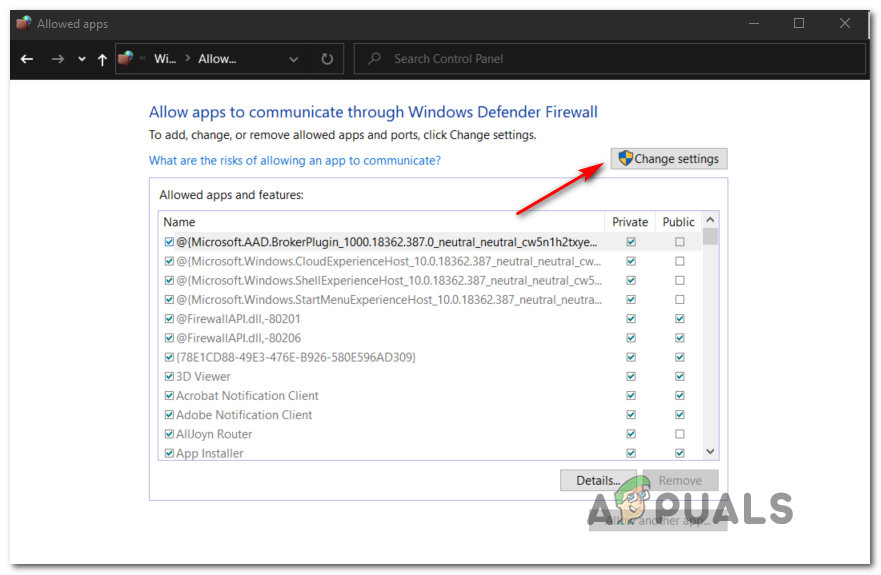
Changing the Settings of the Allowed Items in Windows Firewall - Once you have full access, scroll down through the list of allowed applications and see if RSILauncher.exe and StartCitizen.exe executables are present in that list. If you already see them on the list, check the box for both Private and Public before clicking on Ok to save the changes.
Note: In case the 2 executables are not present in that list, hit the Allow another app button, then navigate to the location where you installed the game and add the 2 executables. If you installed the game in the default location, you will be able to find it in: C:\Program Files\Roberts Space Industries\StarCitizen\LIVE. - Once the 2 Star Citizen executables are whitelisted, launch the game once again and see if you still end up seeing the 1002 error code.
C. Uninstalling the Overprotective Antivirus or Firewall
In case you’re using a 3rd party security suite and you suspect it might be blocking the connection with the game server due to a false positive, there’s also the option of uninstalling it and making the transition to the native protection suite (Windows Defender + Windows Firewall)
Here’s a quick guide on uninstalling the overprotective 3rd party suite:
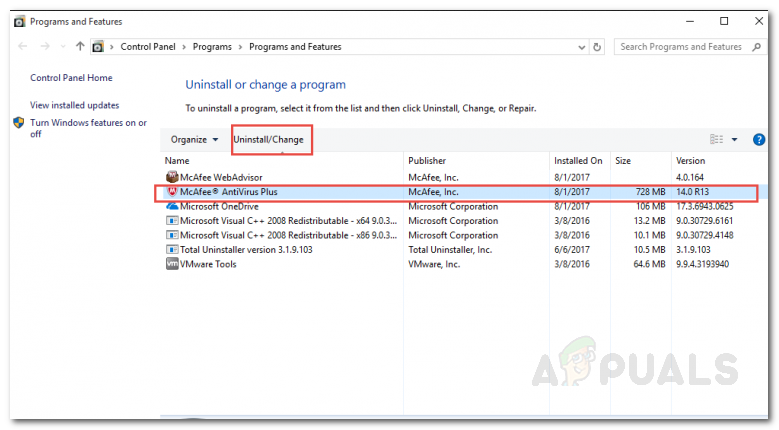
- Press Windows key + R to open up a Run dialog box. Next, type ‘appwiz.cpl’ inside the text box and press Enter to open up the Programs and Features menu.

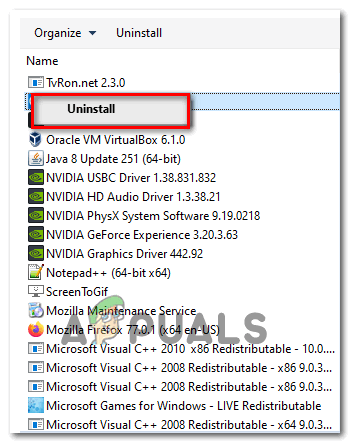
Type appwiz.cpl and Press Enter to Open Installed Programs List - Inside the Programs and Features menu, scroll down through the list of installed programs and locate the 3rd party security suite that you’re out to uninstall.
- When you see it, right-click on it and choose Uninstall from the newly appeared context menu.
Uninstalling the overprotective Antivirus suite - Inside the uninstallation screen, follow the on-screen instructions to complete the uninstallation process, then restart your computer.
- Once the next startup is complete, launch Star Citizen once again and see if the problem is now resolved.
If the same problem is still occurring, move down to the next potential fix below.
Method 3: Forwarding the Ports used by Star Citizen
According to some affected users, this problem can also occur due to a NAT (Network Address Translation) issue. It’s possible that the TCP and USB ports that the game users are not opened in your network, so the game has no way of communicating with the game server.
If this scenario is applicable, you should be able to fix the problem by ensuring that TCP 8000 – 8020 and UDP 64090 – 64110 destination ports are forwarded or open in and out of your firewall and router.
On the vast majority of routers, you can get the job done by enabling UPnP (Universal Plug and Play). This ensures that your router is allowed to open the ports automatically for the applications that require it (including Star Citizen).
However, in case your router doesn’t support UPnP, you will need to forward the ports used by Star Citizen manually from your router settings. If this scenario is applicable, follow the instructions below for generic instructions on how to do this:
Note: These are just general guidelines that will help you get the job done. But keep in mind that the name of the settings you’ll see on your screen will be different depending on your router manufacturer.
- Open your default browser and type one of the 2 generic router addresses directly into the navigation bar and press Enter to access your router settings:
192.168.0.1
192.168.1.1
Note: In case neither of these addresses work for you, you likely previously modified the default router address and created a custom router address. In this case, you will need to find the current IP address of your router.
- Once you get at the initial login screen, type the login credentials that you previously established. If it’s the first time you get to this page, try the default credentials that most router manufactures use – admin as user and 1234 as password.

Accessing your router settings Note: If these credentials don’t work, search online for the generic credentials according to your router model. Additionally, if you previously established some custom credential you can reset your router to return back to the default credentials.
- Once you’re finally inside your router settings, look for the advanced menu, then look for an option named NAT Forwarding or Port forwarding.
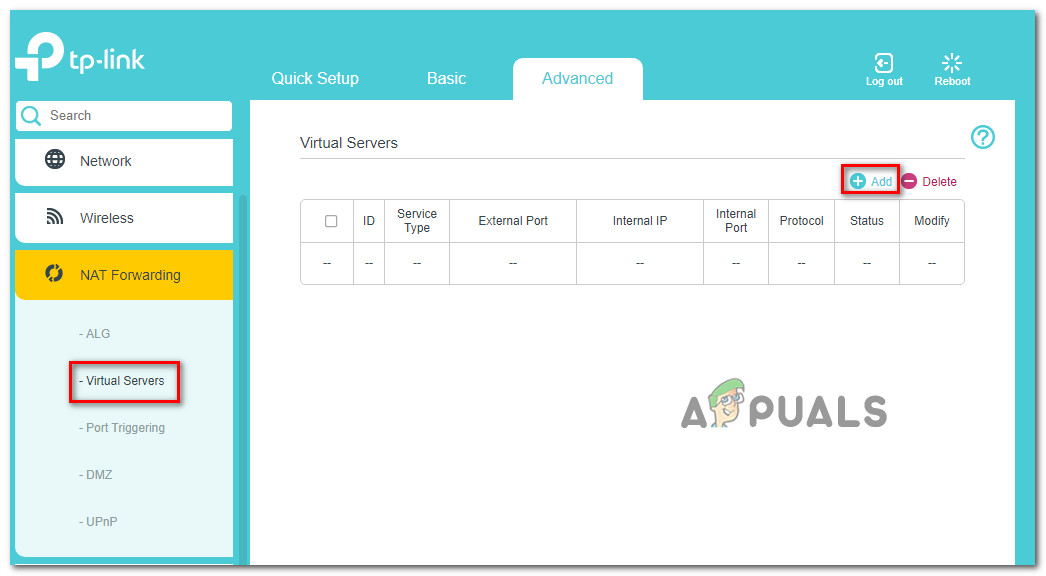
Adding ports to the Forwarding list Note: The names of these options might be different depending on your router manufacturer.
- Once you’re inside the advanced menu, start looking for an option that allows you to open the ports manually. When you find it, ensure that you open the following TCP and UDP destination ports:
TCP 8000 - 8020
UDP 64090 - 64110
- After you manage to open the required ports, save the modifications in your route settings, then launch the game again and see if the issue is now resolved.
In case the problem is still not resolved and you’re still seeing the 1002 error code, move down to the next potential fix below.
Method 4: Using a VPN
In case you are still encountering the 10002 error code even after following the instructions above, it’s possible you’re dealing with some inconsistency caused by your ISP. Most commonly, issues of this kind are actually caused a Level 3 ISP node.
To go around this problem, you can use a VPN solution. And you don’t necessarily have to settle for a paid option, there are plenty of free options that will allow you to hide your real location without the need to commit to a monthly payment plan. If you’re undecided, you can go for a gaming VPN from our updated list.
In case you’re looking for step-by-step instructions on how how to install and set up a VPN, we’ve got you covered. Follow the instructions below to install the free version of Hide.Me VPN:
- Access the official download page of Hide.Me VPN. Once you’re inside, click on the Download button.
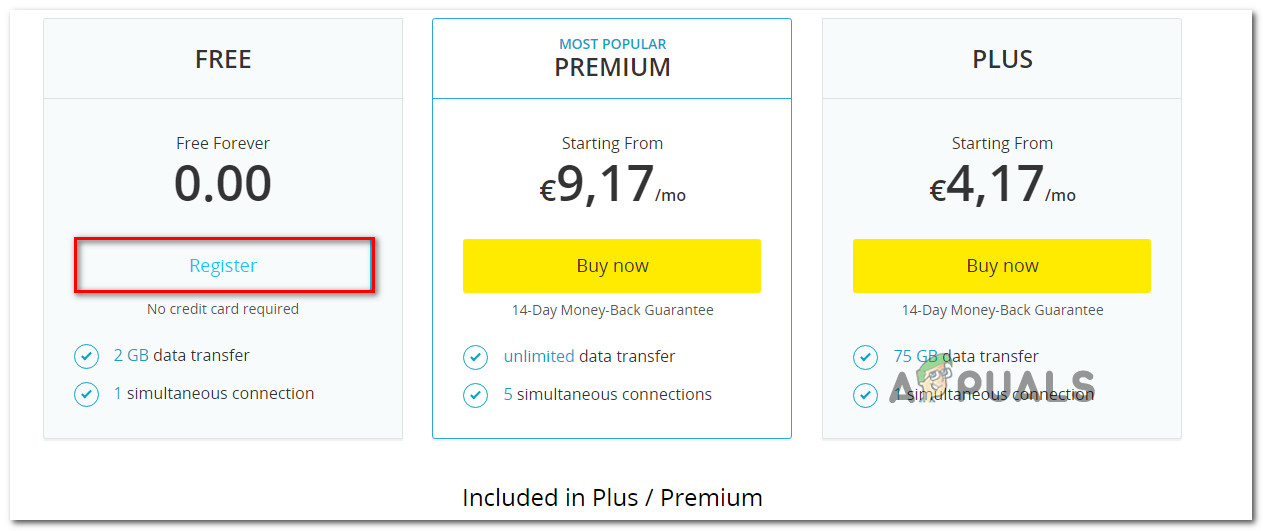
- From the next screen, click on the Register button associated with the free version of the VPN.
Downloading the VPN solution - At the next prompt, go ahead and insert your email address, then press Enter to complete the registration. Once you get to this point, it’s very important to use a real email address since you will be required to confirm from a sent email down the line.

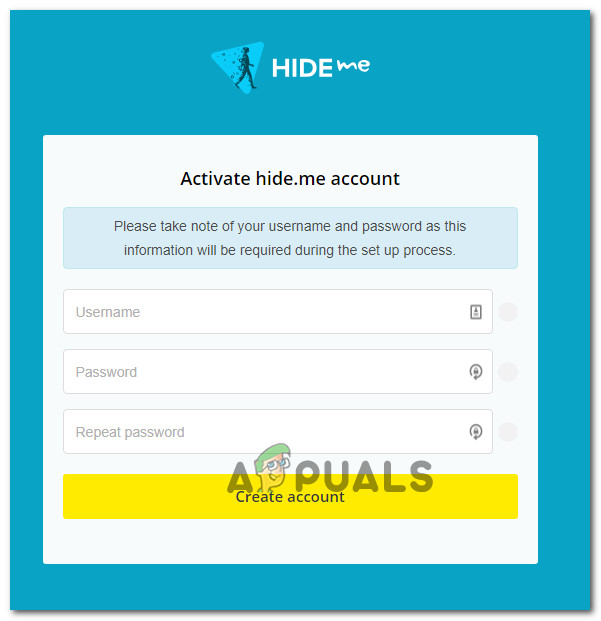
Registering for the service - Next, open up your inbox and look for the verification email from the Hide.Me service. When you locate it, open it, then click on the verification link to confirm. Once you complete the verification, you will be redirected to the account creation menu.
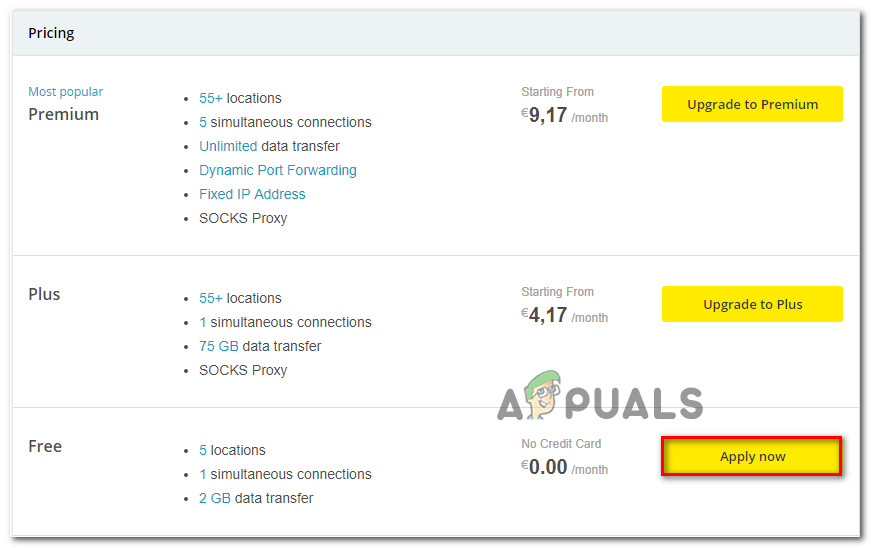
Creating an account with Hide.me - Once the operation is complete, make your way to Pricing > Free, then click on Apply now to activate the free plan.
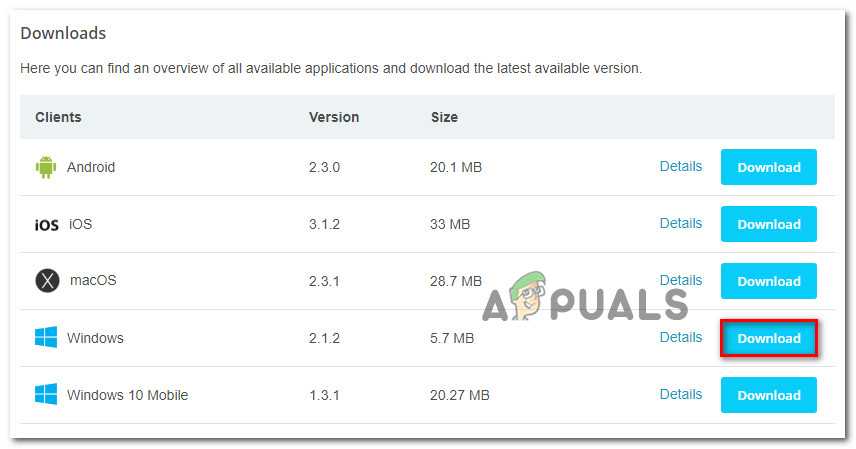
Apply for the free account - Once you manage to successfully enable the free plan, move over to the Download section. Next, click on the Download Now button associated with the operating system version that you’re using.
Downloading the Windows client of Hide.me - Once the download is complete, open the installer and follow the instructions to complete the installation procedure.
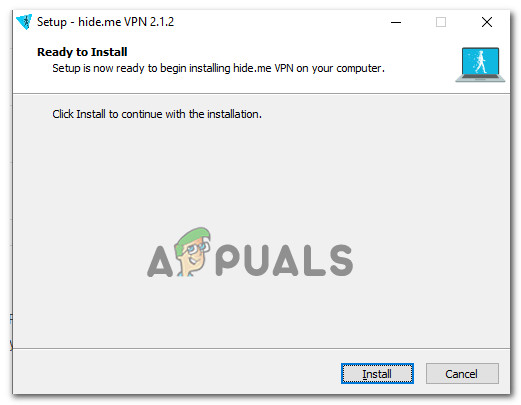
Installing the Hide.Me VPN application - Once the installation is finished, use the credentials you previously generated to sign in with your account, then click on Start your Free trial, select a location, and start the system-level VPN.
- Once your VPN is active, launch Star Citizen once again and see if the problem is now resolved.
In case the same problem is still occurring, move down to the next potential fix below.
Method 5: Reinstalling the Game in a Different Location
If none of the potential fixes above have worked for you, chances are you are dealing with some kind of game installation inconsistency. Several affected users have confirmed that they managed to fix this issue by reinstalling the game in a different location and ensuring that you have plenty of space left (over 60 GB).
If this scenario is applicable, you should press ahead with the reinstallation Star Citizen in an attempt to resolve the 10002 error.
Here’s a quick guide on reinstalling the game conventionally in a different location in order to fix the problem:
- Press Windows key + R to open up a Run dialog box. Next, type ‘appwiz.cpl’ inside the text box and press Enter to open up the Programs and Files menu.
Type appwiz.cpl and Press Enter to Open Installed Programs List - Once you’re inside the Programs and Features menu, scroll down through the list of installed items and locate the entry associated with Star citizen. When you see it, right-click on it and choose Uninstall from the newly appeared context menu.
Uninstalling Star Citizen - Inside the uninstallation screen, follow the on-screen prompts to complete the uninstallation procedure.
- After the uninstallation process is complete, reboot your computer and wait for the next startup to complete.
- Next, visit the official download page of RSI and download the same game package that you previously had installed.
Downloading the latest version of RSI - Next, follow the on-screen prompts to complete the installation, then launch the game and see if the issue is now resolved.


