Fix: RunDLL Problem Starting sbavmon.dll – Module could not be found
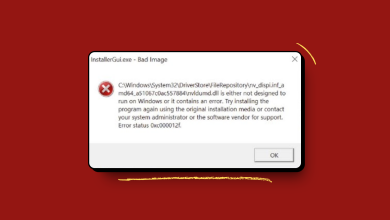
If you are a Windows 10 user then you might see a an error message saying
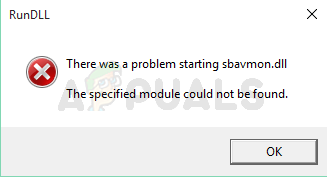
Whenever you start your computer. This error message will only appear at the startup of your windows. And, if you click the Ok button then nothing will happen. This error message is common among the users who recently upgraded to Windows 10. This message will appear at the start of your Windows and it will continue to show at every startup.
sbavmon.dll is part of the Creative SB AVStream Monitoring Utility and developed by Creative Technology Ltd. If you look at the description of the sbavmon.dll, it says “Creative SB AVStream Monitoring Utility”. So, the problematic file belongs to your Creative sound card. If you are wondering why this problem happens, it is simply because, as the error message indicates, the file is missing. If you are seeing this error message after successfully upgrading to Windows 10 then that means Windows cannot detect the sbavmon.dll file. This can happen because of two reasons. Either the file is missing completely or the file is present on your system but your Windows cannot detect it. Just like any other dll missing error, all you have to do is either download a fresh copy of the missing dll file or copy/paste the file at the right location depending on why the error message is appearing.
Method 1: Use Windows.old Folder
If you started seeing this message right after upgrading to Windows 10 then the most likely reason for this problem is that your file is in the Windows.old folder. All you have to do is locate the file from the Windows.old folder and paste it to the new Windows folder.
Follow the steps given below to locate and copy/paste the sbavmon.dll file in the correct folder.
- Hold Windows key and press E
- Double click your C drive
- Double click old folder
- Double click System32
- Locate the sbavmon.dll file
- Right click sbavmon.dll file and click Copy
- Navigate to Windows folder (located in C drive) and go to System32 folder. The complete address should be C:\Windows\System32
- Right click anywhere on an empty space and select Paste
That’s it. This should solve your issue.
Method 2: Update Drivers
The very first thing that you should do is follow the steps given in method 1. If that hasn’t solved the issue or you don’t have a Windows.old folder then continue.
If you don’t have a Windows.old folder or you started experiencing this issue out of nowhere then the problem might be with the drivers. All you have to do is update the drivers of your device. Follow the steps given below
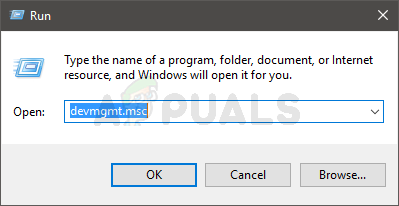
- Hold Windows key and press R
- Type devmgmt.msc and press Enter
- Double click Sound, video and game controllers
- Locate, right click your audio driver and select Uninstall. Follow any additional on-screen instructions. This step is important because you have to uninstall the previous version of your audio device driver before installing the new version
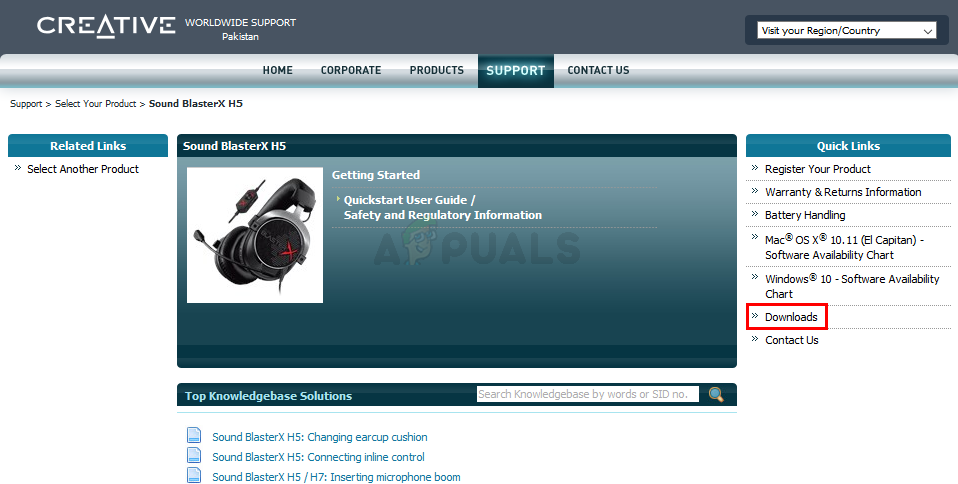
- Click here and select your product. Click downloads from the next screen and download the appropriate (and latest) drivers of your device
Once the drivers are downloaded, run the downloaded file and you should be good to go.
thank you for the guide