Fix: RunDLL error at Windows startup
A RunDLL error at Windows startup typically occurs when a program is uninstalled or removed by antivirus but it’s registry key and it’s scheduled task are still present on the system.
Most of the time, the culprit that is triggering this error is fairly easy to identify because it’s usually mentioned in the error window.
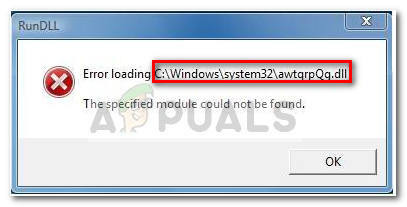
However, there are some instances where the error message does not specify which program is to blame for the error. This typically happens with errors triggered by Windows protected folders.
What is RunDLL?
RunDLL is the Windows file responsible for loading and executing DLL (Dynamic Link Library) modules. All DLL modules work closely with the Windows Registry with the common goal of enhancing the response speed and memory management.
However, there are cases where the RunDLL file is instructed by a scheduled task to run a certain DLL file but it doesn’t manage to find the module that is required. Whenever this happens, Windows will automatically trigger a RunDLL error.
This will happen either because the users deleted the application that used that particular DLL manually (without using the uninstaller) or because a security solution has detected an infection related to the application that uses the called DLL and has taken action against it.
If you’re currently struggling with a RunDLL error, we have a few methods that will help. Below you have a collection of fixes that other users have successfully used to resolve a RunDLL error. The following methods are ordered by accessibility, so please follow them in order until you come upon a fix that resolves the problem in your particular scenario.
Method 1: Scan your system with Malwarebytes
We’ll start with the most accessible solutions. Malwarebytes is a malware remover that is oftentimes more efficient in eliminating every threat associated with the main malicious executable.
Some users have reported that Malwarebytes was successful at finding and removing registry keys and scheduled tasks belonging to viruses that were already removed by other security suites. This serves our purpose since RunDLL errors are mostly caused by leftover malicious files.
See whether the issue is automatically resolved after you perform a thorough scan with Malwarebytes. To do this, install Malwarebytes, run a full scan and restart your system at the end of it.
If a Malwarebytes didn’t remove the RunDLL error at startup, move over to Method 2.
Method 2: Removing the startup entry with Autoruns
If Malwarebytes wasn’t able to resolve the problem, there’s one other piece of software that will allow us to remove the scheduled task that is triggering the RunDLL error fairly easily.
Autoruns can be used to remove run once, run, registry keys and startup folders. It’s extremely helpful in our case since we can use it to remove the registry key or scheduled task that is triggering the RunDLL error.
Follow the guide below to install and use Autoruns to install the startup RunDll error:
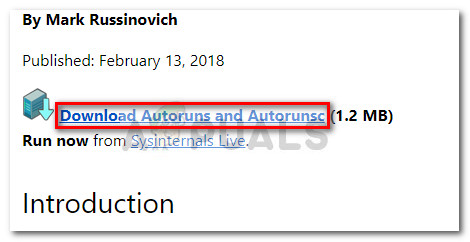
- Visit this official link (here) and click on Download Autoruns and Autorunsc. Once the archive is downloaded, use WinRar or WinZip to extract the utility into a folder that is easily accessible.
- Open the folder that you’ve just created and open the Autoruns executable. Wait patiently until the Everything list is populated with startup items.
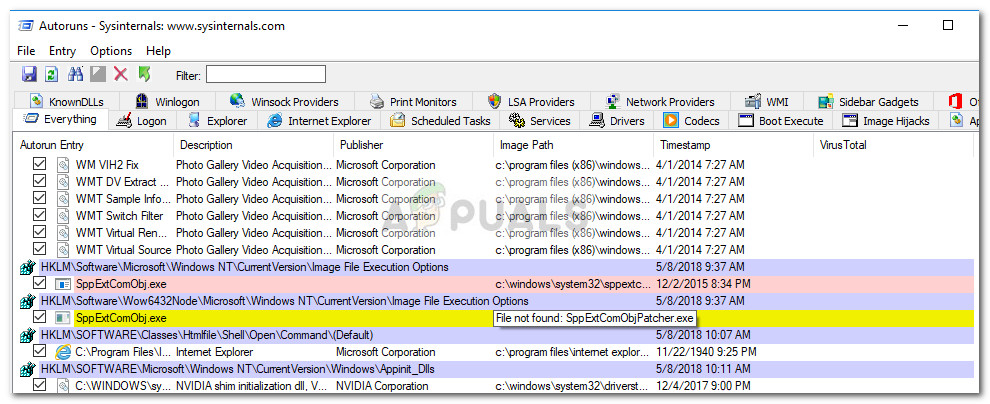
- Once the list is fully populated, hit Ctrl + F to bring up the search function. In the search associated with Find what, type the name of the DLL file that is reported by the RunDLL error.
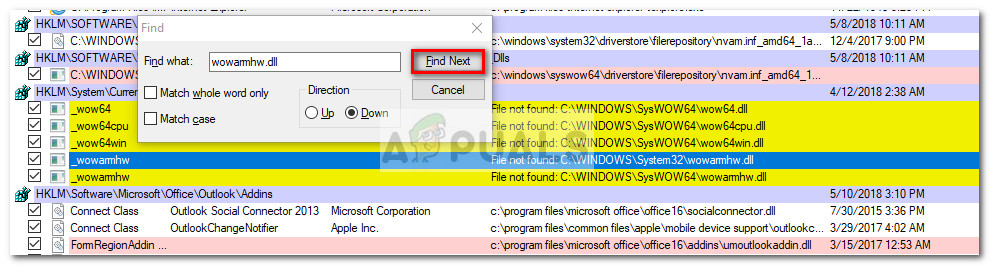 Note: For example, if the error says “RUNDLL Error Loading C:\ Documents and Settings \ *UserName* \ Local Settings \ Application Data \ advPathNet \ BluetoothcrtLite.dll”, type BluetoothcrtLite.dll in the search box.
 - Right-click on the highlighted startup key and choose Delete to remove it. Once you do this, hit the Find Next button again and delete every other entry that matches your query.
- Once all entries are deleter, close Autoruns and restart your computer.
If you’re still encountering the RunDLL startup error, move over to the final method where we do things manually.
Method 3: Manually removing the startup RunDLL error
If the first two methods have failed you, you have little choice but to do things manually via msconfig. But don’t worry as the steps are not too technical.
We are going to start by removing every registry entry via Registry Editor. Then, we’ll open Task Scheduler and disable any scheduled task that is programmed to call for the missing DLL file.
Here’s a complete guide on manually removing a startup RunDLL error manually:
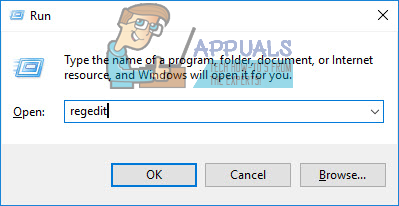
- Press Windows key + R on your keyboard to open up a Run dialog box. Then, type “regedit” and hit Enter to open Registry Editor.
- In Registry Editor, hit Ctrl + F to bring up the search function. In the search box, type the name of the file name mentioned in the RunDLL error and click on Find Next.
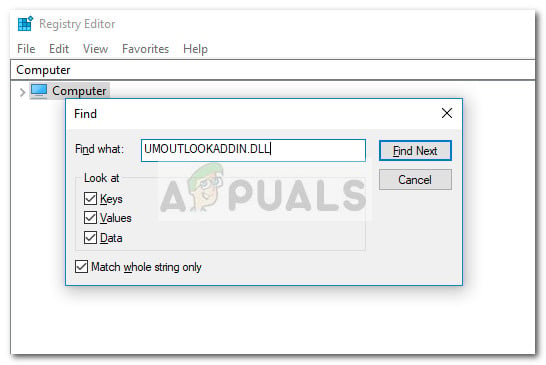 Note: Keep in mind that it will take a while until the scan is performed.
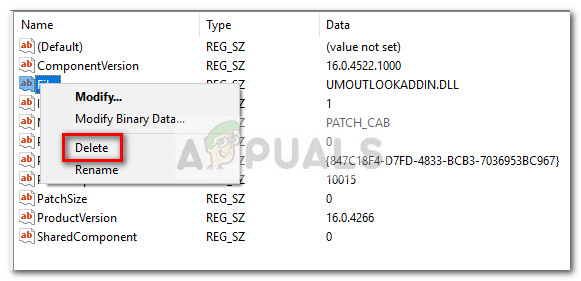
 - Once the query is complete, systematically delete all registry entries associated with the missing DLL file and close Registry Editor.
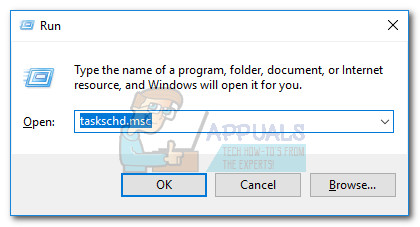
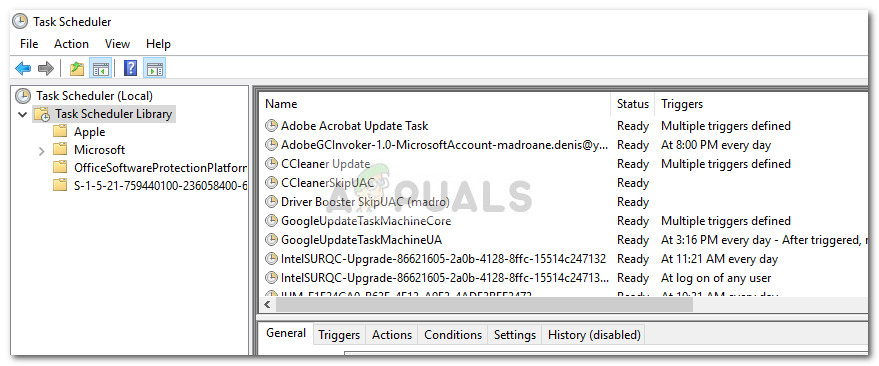
- Press Win key + R again to open another Run box, type “taskschd.msc” and hit Enter to open Task Scheduler.
- In Task Scheduler, click on Task Scheduler Library and scroll through the list in the center panel for any entry that matches the file reported by the RunDLL error message. If you find one, right-click on it and choose Disable. Once the process is disabled, you can safely close Task Scheduler.
- Reboot your computer to see if the modifications have managed to remove the RunDLL error.
- If not, then try an SFC scan as it will replace any missing registry entries.
Method 4: Clearing Temporary Files
In certain cases, the temporary files being stored in your App Data folder might actually be preventing the RunDLL from running properly. Therefore, in this step, we will be clearing the temporary files. In order to do that:
- Press the “Windows” + “R” to open the “Run Prompt”.

Press the Windows Logo key + R to open a Run dialog - Type in the following address in it and press “Enter” to open it.
C:\Users\*Your Username*\AppData\Local\Temp
- Press “Ctrl” + “A” and then press “Shift” + “Delete” to remove all files.
- Check to see if the issue persists after this.
Furthermore, you can try to perform a repair install and check if that fixes the issue that you are encountering. If that still doesn’t fix it, perform a clean install.


