Fix: PS4 NAT Type Failed
Players using the PS4 platform to indulge in games often report that they get an error message “PS4 NAT Type Failed”. This problem usually arises when you are unable to hear the other person in chat and discover that you do not have proper internet settings saved on your console.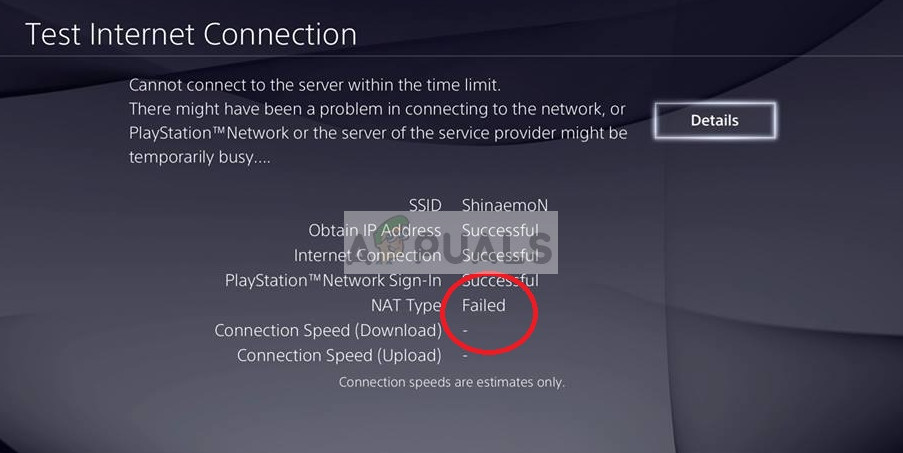
This problem is very generic. We will go through the workarounds involved to solve this issue and it will only work ‘if’ the problem is at our side. We will change the settings in PS4 and your router. If this doesn’t work, there is nothing much you can do except contacting your ISP and telling them your scenario.
Before we move on, make sure that your network is running perfectly i.e. you are able to access the internet. You can use another device to make sure of this.
What are the types of NAT?
NAT (short form for Network Address Translation), represents the ability to translate a public IP address to a private IP address. Using this mechanism, ISP’s map one public IP to several hundred clients all at the same time. When packets are going out, they get assigned the public IP but a distinct port number. When a packet is incoming, the public IP is replaced by the private IP present in the network and the port numbers are changed accordingly. A NAT address table is present at the NAT device to do the conversion. The same procedure is going on with the routers in your home. There are three types of NAT present:
- Open (Type 1): Here the system is directly connected to the internet (there are no routers or firewalls in between). Using this, you should probably have no problem connecting to other PS4 systems.
- Moderate (Type 2): The system is connected to the router and in most cases, you shouldn’t have any kind of problems.
- Strict (Type 3): The system is connected through a router without an established DMZ setup or open ports. You ‘might’ experience problems with your connection or voice chat.
The error “PS4 NAT Type Failed” usually gets triggered because of incorrect network settings, or the network firewall causing the problem. Changing the type of NAT is one of the effective solutions to solve this behavior. We will try these using router settings.
Follow the solutions from the top and work your way down accordingly.
Solution 1: Manually configuring PS4 network settings
Sometimes, the PS4 NAT error can be caused if there are incorrect network settings saved on your console. You should check your PS4’s IP address and see if it is allocated correctly or if it is changed correctly. To check the IP address, follow the steps below:
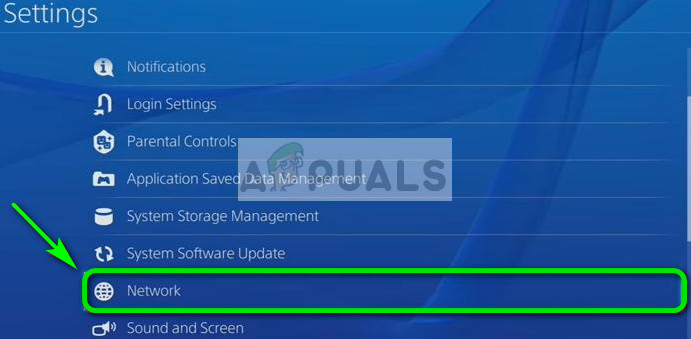
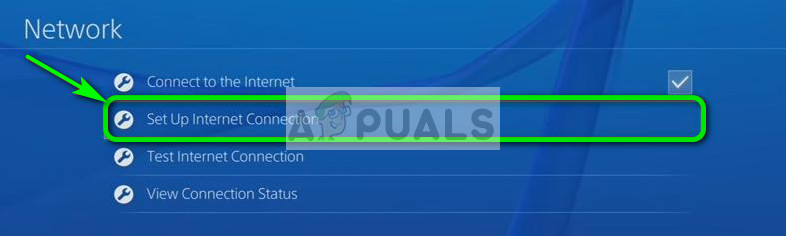
- Navigate to the main screen of your PS4 and open your Settings. Once in Settings, click on the sub-category of Network.
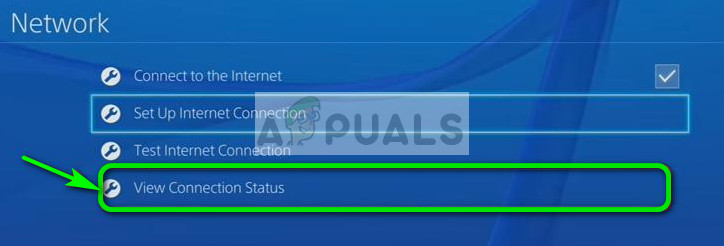
- Now click on the option “View Connection Status”.
- Here the IP address allocated to the PS4 console be listed.

If your console doesn’t have the correct settings already set, we can try setting them manually. Here is a twist; you need a computer that is on the same network as your PS4. We will use that computer to check the details of the internet connection and then input the same details on your PS4.
- On the computer (which is connected to the same network as the PS4), press Windows + R, type “cmd” and press Enter. Once in the command prompt, execute the following command:
ipconfig /all
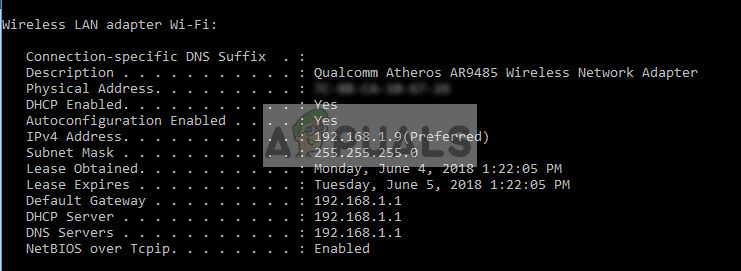
You will get all the information regarding all the network interfaces on your computer. Choose the correct one (the one which is connected to the same network as the PS4) and see all the details here. We will input them later on.
- Now fire up your console and go to Settings > Network > Set up internet connection
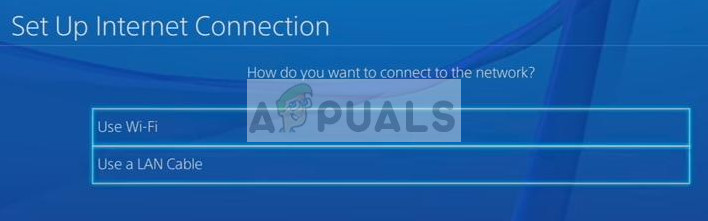
- You will be given a choice to select the medium of connection from which you want to connect your PS4 to the internet. Select the appropriate one and carry on.
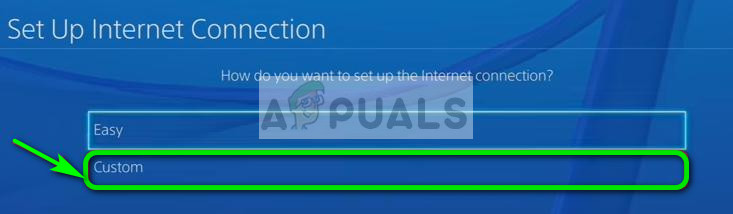
- From the next menu, select “Custom”. Since we are going to manually add the information, we will use custom.
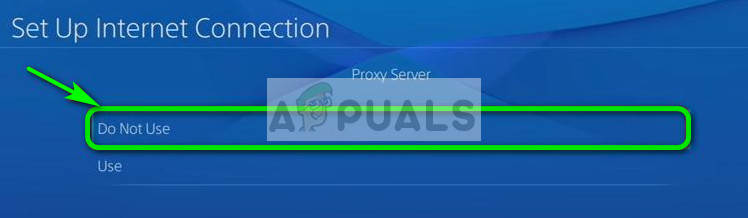
- Since we are not using the proxy server, we will not be selecting it from the next option.
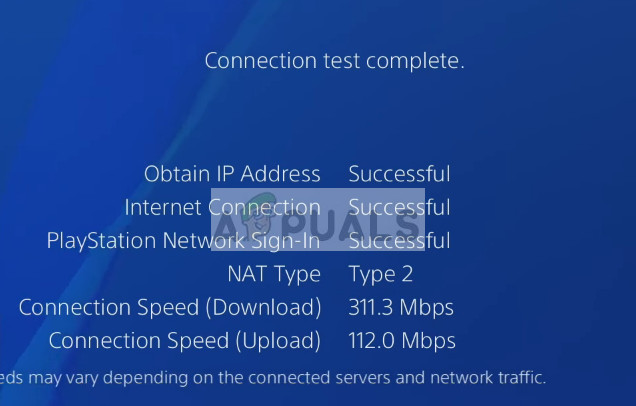
- After inputting the necessary details, test the connection. Here as you can see, your NAT type is 2. Check if the problem got solved and you can access and operate all the modules as expected.
Solution 2: Enabling Universal Plug and Play (UPnP) on your router
NAT enabled devices has the solution to use UPnP on the router to automatically configure the NAT table and perform all the necessary mechanics automatically. It is a set of networking protocols that permits networked devices to seamlessly discover each other’s presence on the internet and also establish functional network services for data services. We have to enable this option on your router and see if this does the trick.
Note: Do note that you will require the credentials of your network router present in your home. They are usually printed on the backside of the router or they are on the box. If they have not been changed, the default username is ‘admin’ and the default password is ‘admin’.
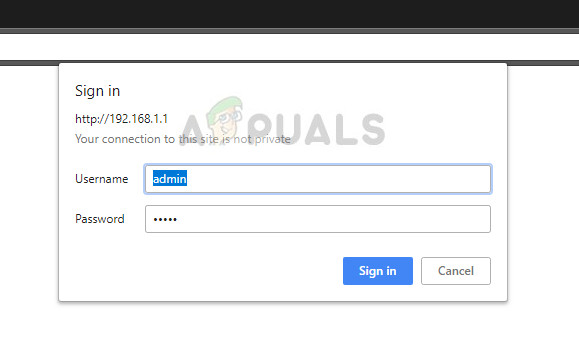
- Log into your router. To log in, you have to enter the IP address associated with the router which is also listed on the backside or at its box. The IP should look something like ‘192.168.1.1’ or ‘192.168.8.1’ etc. Enter the necessary details and gain access.
- Now navigate to the UPnP menu and enable the service. Every router has its own layout of settings so you have to search through them or refer to the manual to find where it is located.
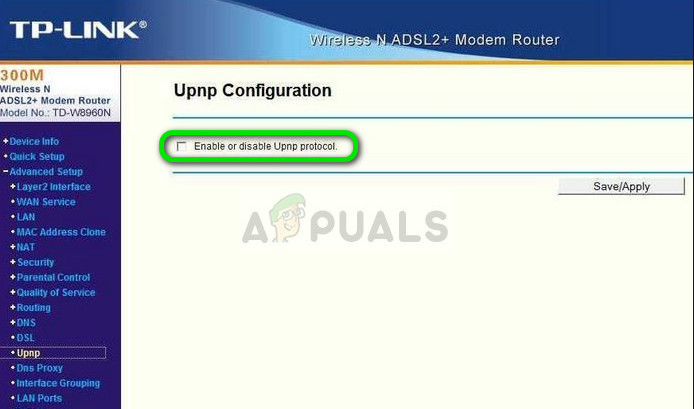
- Now save changes and power cycle both the devices. After getting them back on, check your internet connection on your PS4 and see if the correct NAT type is now selected.
Solution 3: Enabling DMZ (Demilitarized Zone) Server
Since the problem is primarily related to connecting and discovering several devices on the internet, we tried using UPnP. If that doesn’t work, we can try setting up a DMZ. DMZ is a logical or physical subnetwork that exposes a network’s external-facing services to an untrusted network. This untrusted network is the internet. We will be using your PS4 as your DMZ host.
This will primarily help in correcting the network configurations on your router and aid in establishing good connections between consoles. There isn’t ‘that’ much of a security threat. Just carry on and see if this method works.
- Navigate to the network settings on your PS4 and note down the IP address.
- Log into your router. To log in, you have to enter the IP address associated with the router which is also listed on the backside or at its box. The IP should look something like ‘192.168.1.1’ or ‘192.168.8.1’ etc. Enter the necessary details and gain access.
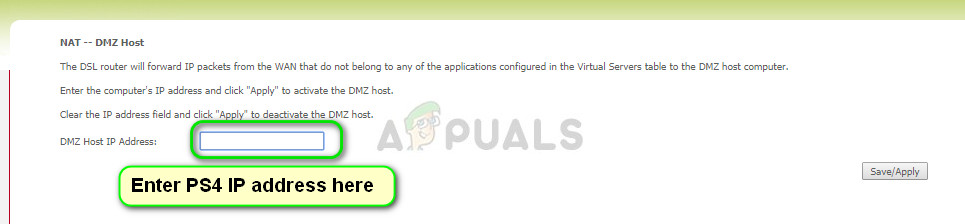
- Now open up the DMZ menu on your router. This menu may either be present in the NAT sub-category or in forwarding. Like mentioned earlier, the layout is a different router to router.
- Enter the IP address of the PS4 here and apply changes.
Tip: If you are using routers that have NAT Filtering option etc, you can also enable Open NAT Filtering.
- Save all your changes and exit. Now power cycle all the modules (PS4 and your router). After firing up the console, check the internet connection status. Hopefully, this would solve the problem.
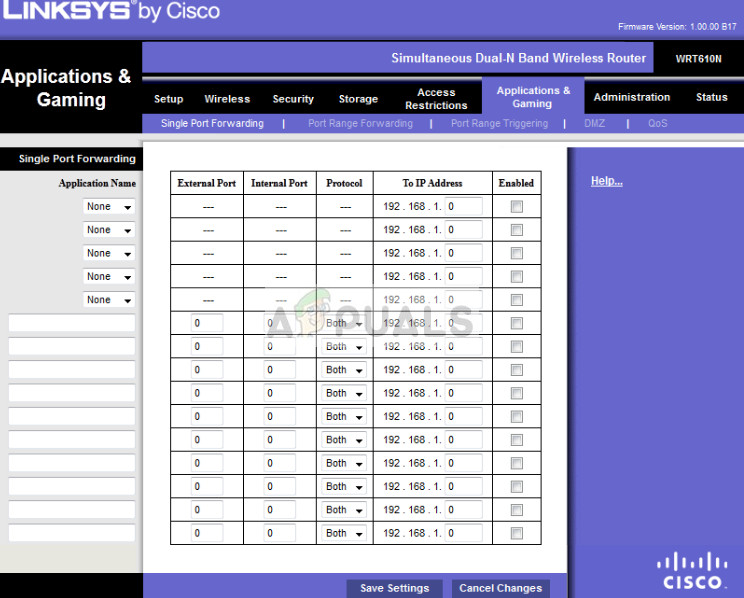
Solution 4: Forwarding Ports for your Network
Port forwarding is the act of redirecting a communication request from one address and port number combination to another while the packets are traversing a network gateway such as a router. This technique is extensively used to make services on a host which is on a protected network available to hosts present on the other side of the gateway.
Sony has already listed a number of ports for you to forward. We can try doing that and see if this fixes the problem.
- Log into your router. To log in, you have to enter the IP address associated with the router which is also listed on the backside or at its box. The IP should look something like ‘192.168.1.1’ or ‘192.168.8.1’ etc. Enter the necessary details and gain access.
- Now navigate to Port Forwarding Before we proceed to add the ports in the forwarding table, it is advised that you make sure that your PS4 is given a name and an IP address should be assigned to each of these ports.
- Now add the following ports on the port forwarding table on your router:
80(TCP), 443(TCP), 3478(TCP and UDP), 3479(TCP and UDP), 3480(TCP)
- After making the necessary changes, save your progress, and do a power cycle. Now check your internet connection on your PS4 and see if the problem at hand is fixed.
Solution 5: Using Ethernet Cable
Trying to connect via an ethernet cable is always a more secure way of connecting your console to the router because it nullifies any signal loss and provides a lossless connection with the router. Although wireless gets rid of the extra wires going in and out of the PS4, it can sometimes face issues due to the security measures adopted by the routers. Therefore, in this step, we will be trying an alternate way of connection. For that:
- Disconnect your PS4 from the wireless network.
- Connect your PS4 to the router using an ethernet cable.
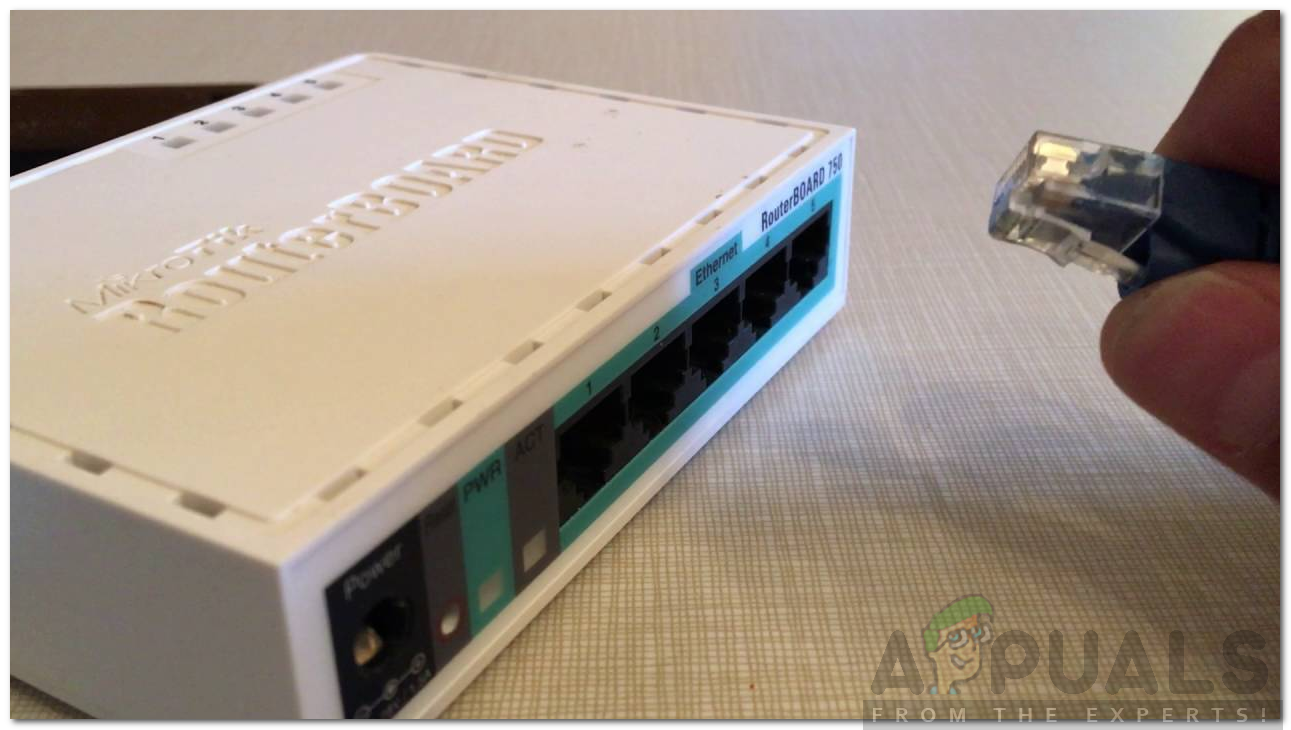
Ethernet Cable - With the ethernet cable plugged in, connect your console to the wireless network of the router.
- Check to see if the PS4 is able to connect this way and you can disconnect the ethernet cable after the connection is completed.
- Check to see if the PS4 NAT Type still fails.
Solution 6: Inquire ISP
It is possible that your internet service provider recently went through some changes on their end which also affected your network and its capability to propagate with the PS4 servers. Therefore, it is recommended to check in with them to inquire about any recent changes to their firewall servers or their NAT types that have been made to your router/connection as well. Mostly, this type of issue is caused by a firewall change from their end and it can be fixed by asking them to change everything back to the way it was for you or to allow PS4 to connect from their end.
Solution 7: Disabling IPV6
In some cases, your issue might be caused because your router is using IPV6 type of connectivity to connect the PS4 to its servers and it can usually be fixed by changing it from the router settings but you will need to have a computer in order to properly propagate these changes. For that:
- Launch your browser and type in your IP address in the address bar.
- In order to find our IP address, press “Windows” + ” “R” to launch the run prompt. Type in “CMD” and press “Shift” + “Ctrl” + “Enter” to provide admin permissions. Also, type in “ipconfig/all” in the cmd and press “Enter”. The IP Address that you have to enter should be listed in front of the “Default Gateway” option and should look something like “192.xxx.x.x”.
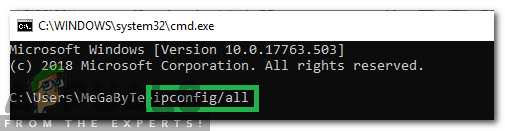
Typing in “ipconfig/all” - After entering the IP Address, press “Enter” to open the Router login page.
- Enter your username and password in the respective categories on the router’s login page both of which should be written on the back of your router. If they aren’t, the default values should be “Admin” and “admin” for both the password and the username.

Logging in to the Router - After logging in to the router, look around for an IPV6 setting and make sure to disable it and use IPV4 instead.
- Check to see if switching from IPV6 to IPV4 fixes the issue for your PS4.
Solution 8: Changing DNS Server
In some cases, the issue might be arising due to improper detection of the DNS server by the PS4. Therefore, in this step, we will be switching out our DNS server to the default Google DNS and check if that fixes the NAT type failed issue on the PS4. For that:
- On your PS4, navigate to the main menu and then open “settings”.
- Click on the “Network” option and then select the “Setup internet connection”.
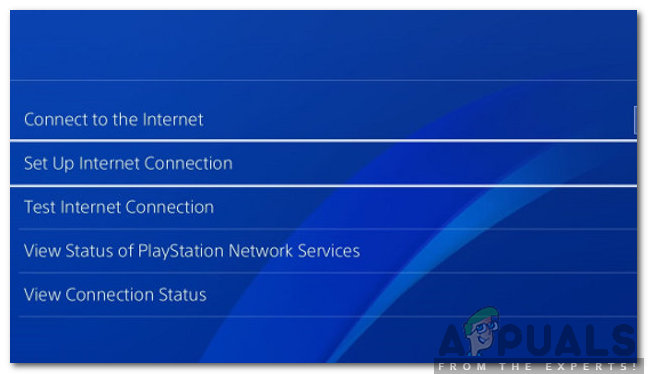
Selecting “Setup Internet Connection” - Select the type of connection that you are using.
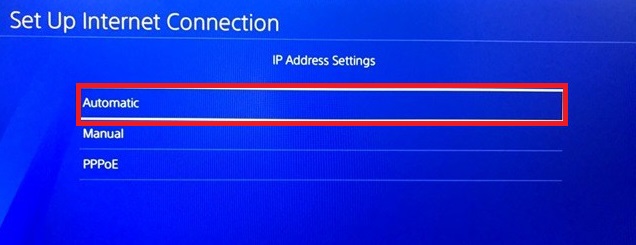
- Select “Custom Setup” and then click on the “Automatic” option for the IP Address settings.
- From the “DNS Settings”, select the “Manual” option.
- In the primary DNS, enter “8.8.8.8” and in the secondary address “8.8.4.4”.
- If there are any more options, just select “Automatic”.
- After setting the connection up in this way, make sure to test it and then check if the issue still persists.
Note: Also, try to disable the Xfi Advanced Security feature and check if that fixes this issue with the PS4 NAT type failed error.

Tried all the solutions none worked, I am using jio fibre in Mumbai, India