How to Fix Wi-Fi Option Missing in Windows Settings App?
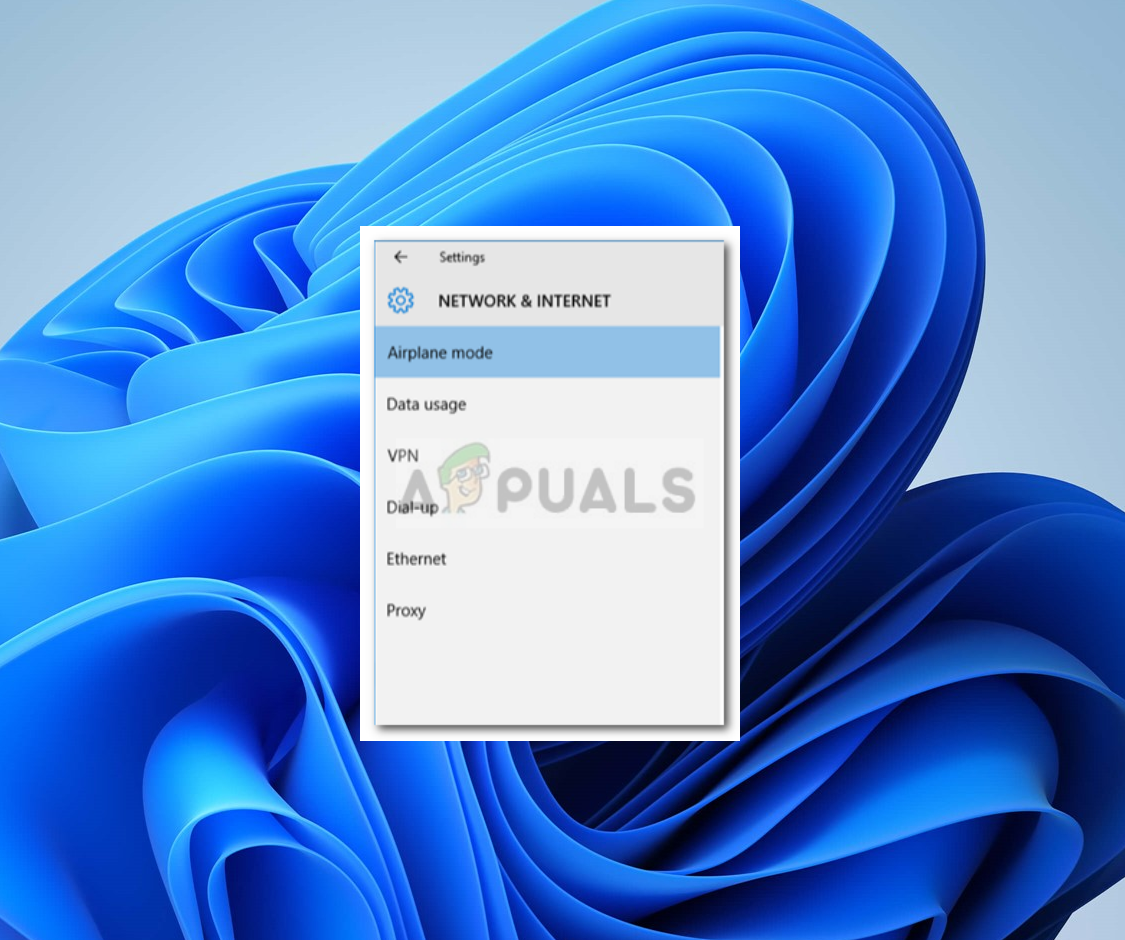
When the Wi-Fi option goes missing from the Windows Settings app, it typically means the device cannot detect the Wi-Fi hardware. This can occur after a Windows update or due to driver issues. The error signifies that the operating system cannot locate the Wi-Fi adapter, often caused by outdated or corrupted drivers, disabled network adapters, or power management settings that turn off the Wi-Fi adapter to save power.
This problem can also cause the Wi-Fi option in the taskbar to disappear. If you encounter this issue, follow the instructions in our Wi-Fi Option Missing from Task Tray article.
1. Check the Wi-Fi Card
If your motherboard does not have a built-in wireless card, and you’ve acquired a separate Wi-Fi card, confirm that your computer’s Wi-Fi card is inserted and seated properly in its designated slot.
A secure connection is essential; any misalignment or loose connection could render the card undetectable by Windows, thereby causing the Wi-Fi option to disappear. Ensure the card is well connected and, if possible, test it in another system to exclude hardware defects.
2. Turn on the Required Service
When the WLAN AutoConfig service is not active, your system’s ability to manage wireless connections is impaired. Setting this service to start automatically allows Windows to properly initialize and manage your Wi-Fi settings, which can restore the missing Wi-Fi option in your settings menu.
- Open the Start Menu, type in Services, and open the application.
- In the Services window, find the WLAN AutoConfig service.
- Right-click it and select Properties.
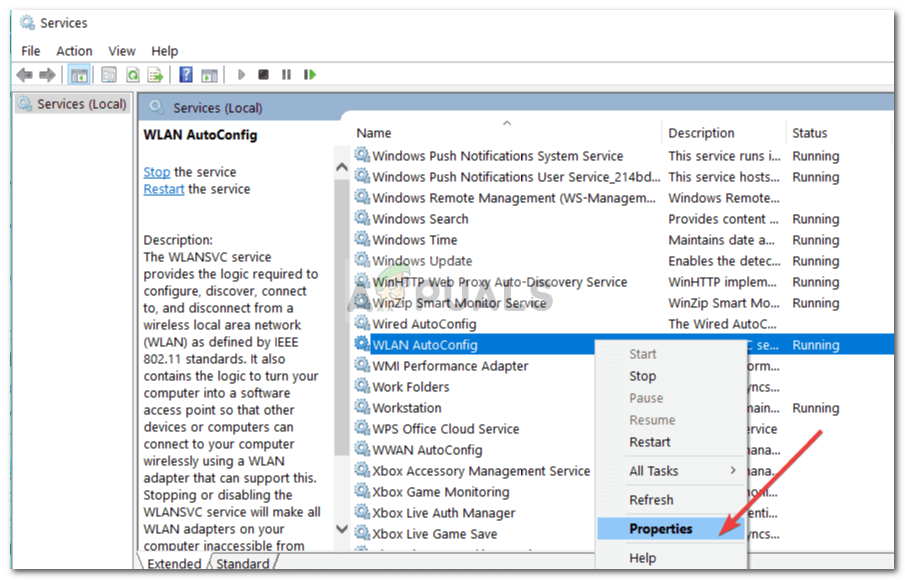
WLAN Autoconfig – Windows Services - Set the Startup type to ‘Automatic‘ and initiate the service by clicking Start.
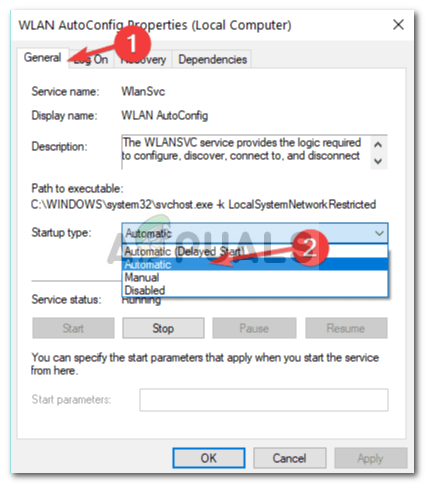
Starting WLAN Autoconfig Service - Select Apply and then OK.
- Verify if the Wi-Fi option reappears.
3. Update Wi-Fi Driver
When Wi-Fi drivers are out-of-date, they may lack vital bug fixes and optimizations. Updating your Wi-Fi driver ensures that the adapter operates with the latest enhancements provided by the manufacturer, often restoring functionality that might have been lost due to incompatibilities or bugs in older versions.
- Go to the Start Menu, type Device Manager, and open it.
- Expand the Network adapters section.
- Right-click your wireless card and choose ‘Update driver‘.
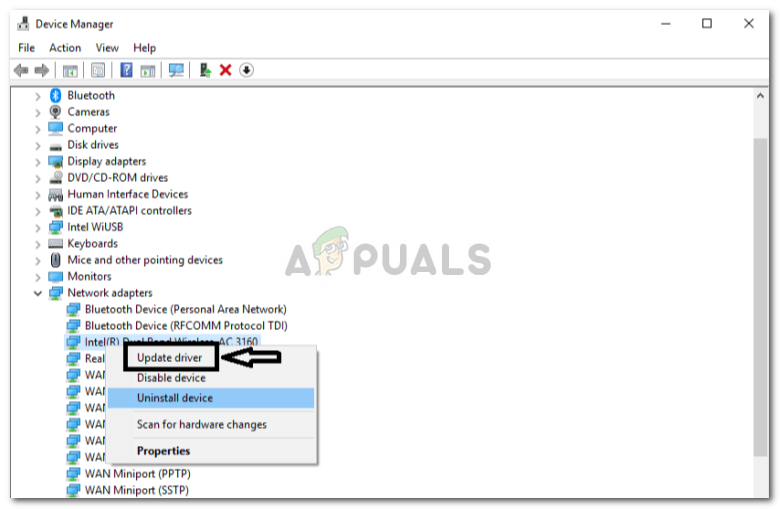
Updating Wireless Driver - Select ‘Browse my computer for driver software‘.
- Choose ‘Let me pick from a list of available drivers on my computer‘.
- Click Next and wait for the update to complete.
- Check if the problem is resolved.
4. Reinstall Wi-Fi Driver
When the driver software becomes corrupt or clashes with other processes, its functions may be impaired. By completely removing the old driver and installing the latest version, you clear out any corrupted files, potentially resolving connectivity issues and restoring the missing Wi-Fi options in your Windows settings.
- Open Device Manager.
- Expand the Network adapters list and locate your wireless driver.
- Open the driver’s Properties and note the driver details.
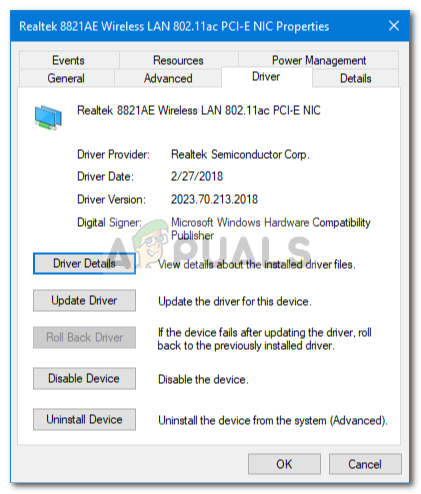
Wireless Driver Details - Close the Properties window, right-click on your wireless card, and choose Uninstall.
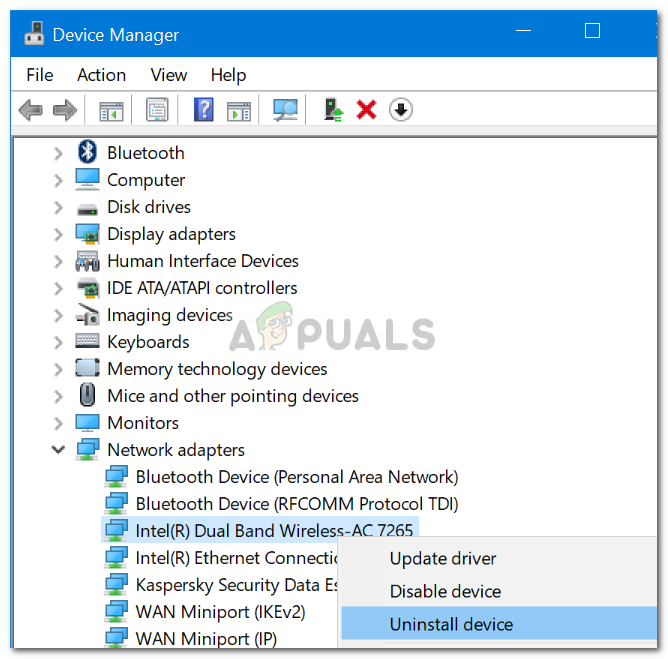
Uninstalling Wireless Driver
After uninstalling, download the latest drivers for your Wi-Fi card from the manufacturer’s website, install them, and then restart your system.
5. Modify Power Management Settings
These settings, found in the Device Manager under your network adapter’s properties, often allow your system to disable devices to conserve power. If this option is active for your Wi-Fi card, it may accidentally switch off network capabilities, especially under low battery conditions or when the device slips into power-saving mode.
By deselecting this feature, you make sure that your wireless card remains active, preserving your Wi-Fi connection’s uninterrupted presence in Windows Settings.
- Open Device Manager and open the Network Adapters section.
- Double-click on your Wi-Fi card and switch to the Power Management tab.
- Uncheck the ‘Allow the computer to turn off this device to save power‘ option.
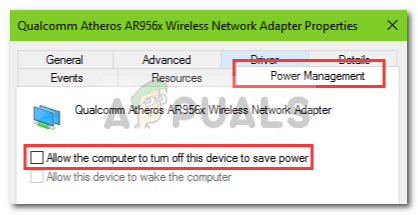
Changing Wireless Driver Power Settings - Click OK.


I done all these steps but not showing wifi option but when I typed msconfig in run box then new popup appears
Now go to the services and check windows event log and windows event collector then wifi is there in my setting.