Fix: Media Creation Tool Error 0x80042405-0xa001a
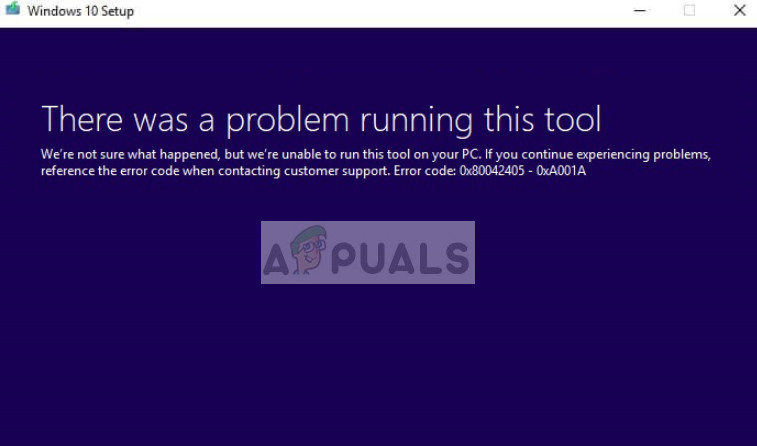
The Error Code 0x80042405-0xa001a takes its root in Windows Media Creation Tool which is used in creating bootable USB devices primarily for installing Windows to a computer. This error message surfaced in the past year and despite frequent updates by Microsoft, hasn’t been eradicated completely.
The reasons for this error message when attempting to make a bootable media are mostly related to disk settings. If the disk settings are set correctly, it likely means that the Media Creation Tool is acting out and we have to use a workaround to make it work.
What causes Error Code 0x80042405-0xa001a in Media Creation Tool?
The error code 0x80042405-0xa001a has a lot of different reasons ranging from disk type of the USB to the Media creation tool not working properly. Some of the several reasons are:
- The USB is not of type NTFS. NTFS file systems are particularly designed for the Windows-only environment and if you want the Media Creation Tool to work flawlessly, it is best if you use an NTFS.
- There is a bug in Media Creation Tool which always gives the error if it is run from another drive rather than where it is to implement its operations.
- There isn’t enough space on your USB in which you are trying to create media on.
This error message is resurfacing again and again and even though we don’t know what actually triggers this behavior, the workarounds listed below will fix it in no time. Before proceeding, make sure that you are logged in as an Administrator on your computer.
Solution 1: Downloading Media Creation Tool directly to the USB
Method 1: Downloading to USB Drive
The workaround which seems to work every time this error occurs is to download the Media Creation Tool directly to the USB drive that you want to use a bootable device. In simple terms, download the Tool into the same USB which you want to use as an installation media.
Normally, you would download the tool to your local drive C and then launch the application from there and try to create a bootable drive. Here we will download it directly to the USB and run it from there.
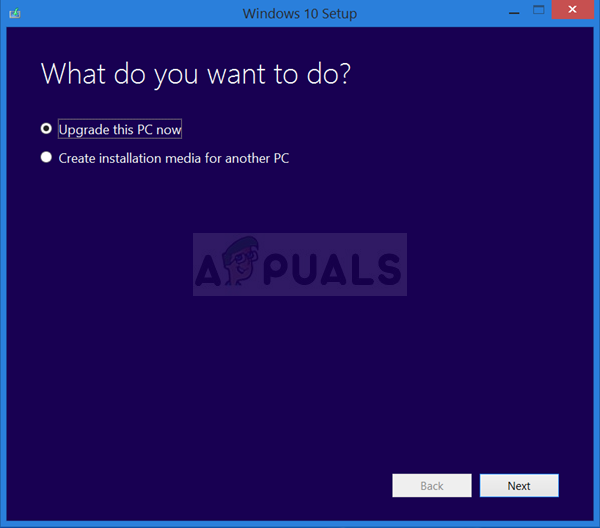
So in a nutshell, Run the tool directly from the USB i.e. run MediaCreationTool.exe after locating it and then after selecting the source media, proceed with the media creation. Make sure that you are running the executable as an administrator.
Method 2: Downloading in Hard Drive
In some cases, the first method doesn’t work and the error code “0x80042405 – 0xA001A” is displayed. Therefore, in this step, we will be copying the files to the USB Drive after downloading them on our computer’s hard disk. For that:
- Download the media creation tool to Local Drive C.
- Launch the application download the files in the “C” drive
- Mount the “.iso” file which was downloaded by the media creation tool.
Note: If you don’t know how to mount an iso file refer to this article. - Copy all the files and folders in the Virtual DVD to the USB Drive which you want to set up as a Bootable USB except the “Autorun.inf” file.
- Right-click on the “Autorun.inf” file and select “Rename“.
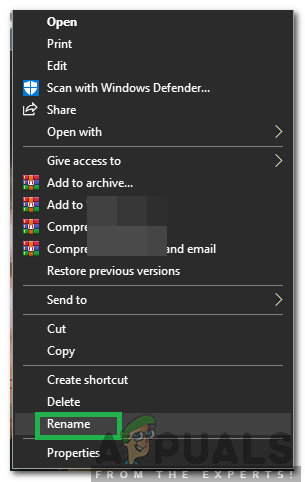
Selecting “Rename” - Change the name to “Autorun.txt” and press “Enter“.
- Copy this file to the USB drive as well and rename it back to “Autorun.inf”.
- Check to see if the issue persists.
Solution 2: Formatting USB as NTFS
Another workaround which works well for some users is formatting the target USB as NTFS and then running the media creation tool. The reason for this bug is unknown because there shouldn’t be any problem in creating media in a FAT32 format since the media creation tool formats the disk anyway before the creation. We will use the inbuilt disk formatting and after formatting the disk successfully, we will attempt again.
- Press Windows + E and click on This-PC present at the left navigation bar.
- Here your target USB device will be shown. Right-click it and select Format.
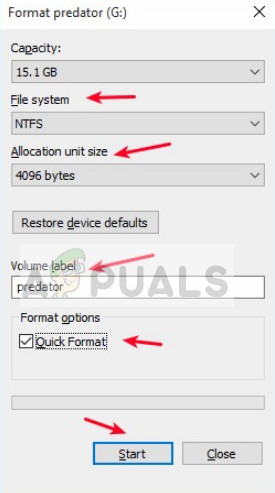
- A window will pop up asking you for all the additional details. Make sure that the format is set as NTFS and proceed.
- After formatting the disk, run Media Creation Tool (you can also implement solution 1 here) and see if the issue is resolved.
Solution 3: Using Disk Management to convert to MBR
Windows Media Creation Tool requires that your USB drive is set as an MBR (Master Boot Record) instead of GPT (GUID Partition Table). MBR is considered very important because it acts as a first boot sector. This characteristic of the hard drive allows you to actually ‘boot’ from the USB. We will use the Disk Management tool in Windows to format and convert the disk type to MBR.
- Press Windows + R, type “diskpart” in the dialogue box and press Enter.
- Enter the command:
list disk
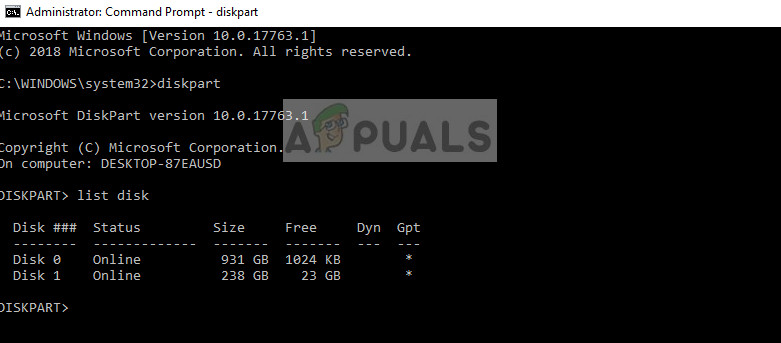
- Now enter the command:
select disk x
Here ‘x’ is the number of the disk which you want to create to a bootable media. One example is ‘select disk 0’.
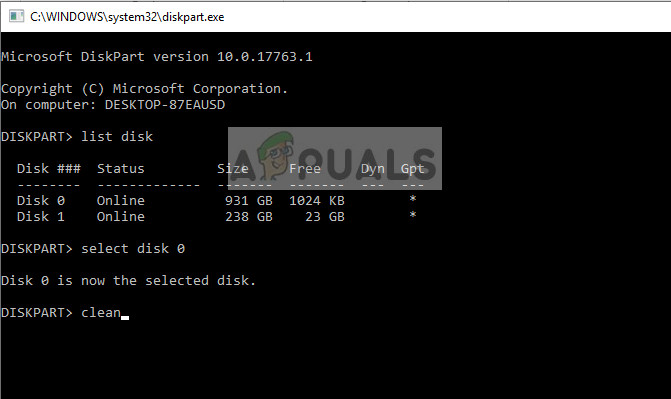
- Now we need to clean the drive properly before attempting to convert it to an MBR. Type the following commands in order but wait for the clean operation to complete before moving to the next.
clean

convert mbr
- Now run Media Creation Tool again and see if the issue is solved.
Solution 4: Using Windows 7 USB/DVD download tool
Similar to media creation tool, Microsoft also released Windows 7 USB/DVS download tool in the Windows 7 days to help people in making installation media. This tool also almost performs the same task as Media creation tool but you must have the entire ISO file already present in your system. The Media Creation Tool gives you a little incentive in which it can download the files from Microsoft directly but here you have to do the step manually.
- Download the ISO file from Microsoft’s official website and store it to an accessible location.
- Download Windows 7 USB/DVD download tool from Microsoft’s official website and install it on your computer.
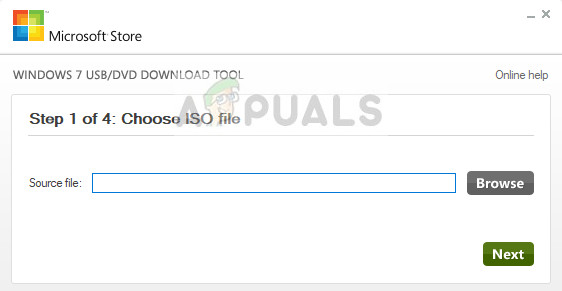
- After installing, run the application as an administrator. In the first step, you will be asked to Choose ISO file which you want to create a bootable drive of. Select the ISO which you just downloaded and continue.
- Now select the target drive. Follow the on-screen instructions and you will be making a bootable USB drive in no time.
Solution 5: Using Rufus to create Installation Media
Rufus is a utility which helps in formatting and creating bootable USB flash drives. It is a popular alternative to Windows Media Creation Tool. It is fast and also covers other aspects such as flashing BIOS or working on a system where no OS is installed. However, like in the previous case, you need to have an ISO file already downloaded locally on your computer.
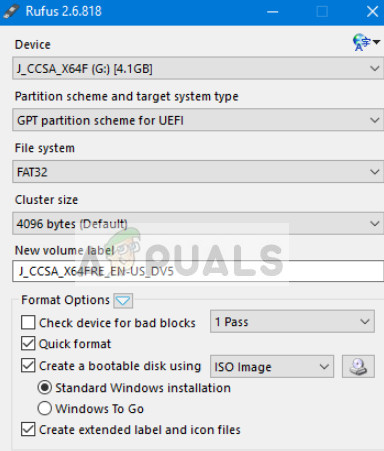
You have to select the ISO file first and then the media creation process will proceed. You can check our article How to Create Windows 10 Bootable USB Using Rufus. Make sure that you run the utility as an administrator.


As a tech, I am constantly running into this problem. Even creating the media the first time on a new, perfectly working thumb drive, and then doing it again on the same drive later when a new version of Windows 10 is released causes this issue.
The problem I have is, it seems that if I use one of the other methods (Rufis or the Windows 7 tool) I cannot get a system install that uses GPT for pure UEFI with four partitions. It seems those methods only provide the older 2-partition system which I believe uses MBR.
Rufis now has an option of MBR/GPT, which I have yet to try.
I am forced to ask, why is it so difficult to make a program that formats a flashdrive correctly, without error, and then copies the files to the drive? Haven’t we been doing thins like this for a couple of decades?
I would hate to add up all the time I have wasted trying to fix this issue twice a year as now versions are released.