Fix: Low FPS and Stutters While Gaming on Windows 11
Low frames per second (FPS) and stuttering during gaming on Windows 11 can seriously disrupt gameplay, causing choppy visuals and slow responses. These problems often arise from outdated graphics drivers, wrong system settings, or conflicts from recent updates.
How to fix Low FPS while GamingFor example, the Windows 11 23H2 update has been linked to sudden FPS drops and stuttering in many games. Also, high-rate mice can cause stuttering if the system doesn’t handle them correctly.
In this article, we will discuss different ways to solve this error.
1. Disable Game DVR
Game DVR, meant for recording gameplay, can use system resources and affect gaming performance. Turning it off frees up CPU and GPU resources, reducing stutters and improving FPS, especially on less powerful systems.
- Press Windows key + R, type ‘regedit’, and press Ctrl + Shift + Enter to open the Registry Editor. Approve the admin access if prompted.
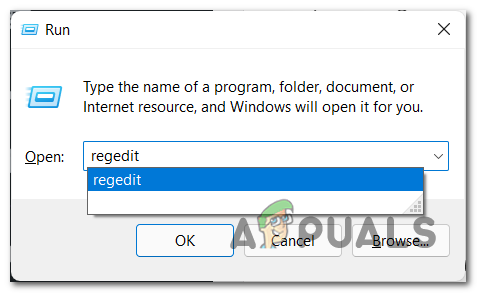
Opening the Registry Editor Note: Consider backing up the Registry before proceeding.
- Navigate to
Computer\HKEY_CURRENT_USER\System\GameConfigStore
. Select GameDVR_Enabled from the right-hand pane and double-click it.
- In the Edit screen, set Base to Hexadecimal and Value data to 0. Click Ok.
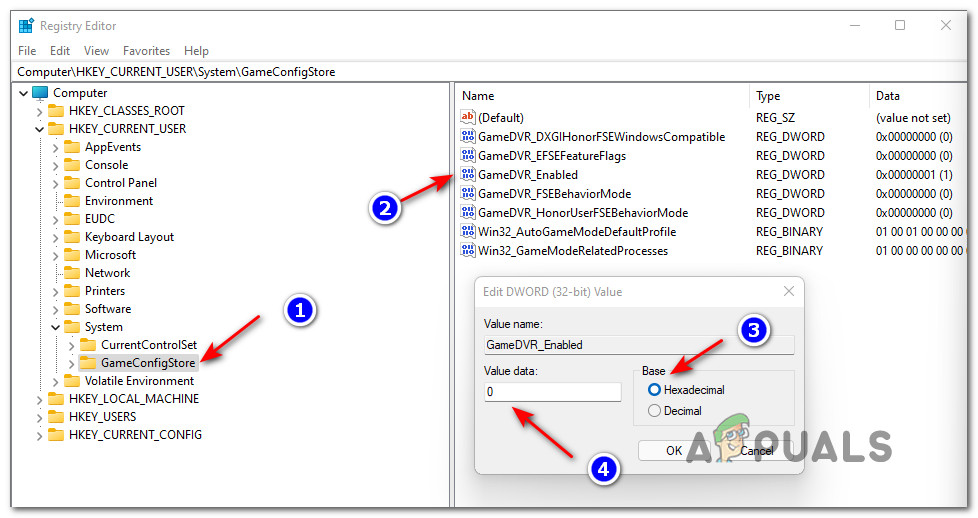
Disabling Game DVR - Still in GameConfigStore, find GameDVR_FSEBehaviourMode, double-click it, set Base to Hexadecimal, and Value data to 2. Click Ok.
- Navigate to
Computer\HKEY_LOCAL_MACHINE\SOFTWARE\Microsoft\PolicyManager\default\ApplicationManagement\AllowGameDVR
. Select AllowGameDVR, and double-click the value DWORD.
Note: You can paste the path directly into the navigation bar to reach it instantly.
- Set the base to Hexadecimal and change Value Data to 0. Click Ok.
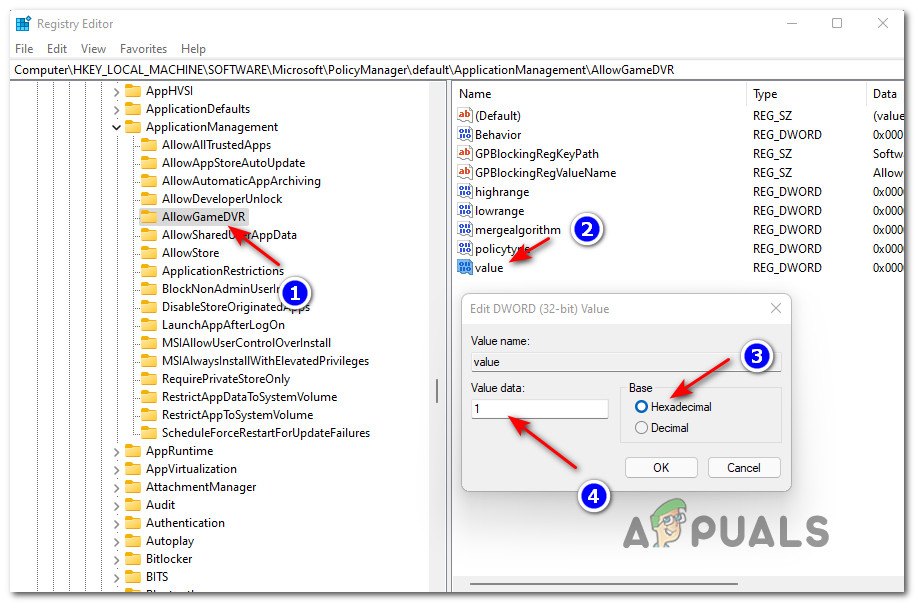
Disabling Game DVR from Application Management - Close the Registry Editor and reboot your computer.
- After reboot, launch the game to see if the FPS and stuttering issues have improved.
2. Update Audio, Network, and USB Connections Drivers via Device Manager
Making sure your audio, network, and USB connection drivers are up-to-date can get rid of issues that often cause stutters and low FPS. Old drivers can create conflicts or fail to work well with your hardware, affecting overall performance. Updating them through Device Manager helps keep things compatible with Windows 11 and prevents these problems.
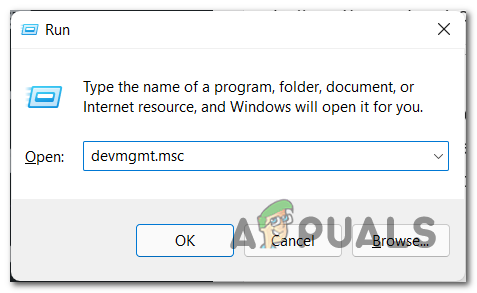
- Press Windows key + R, type ‘devmgmt.msc’, and press Enter to open Device Manager. Grant admin access if prompted.
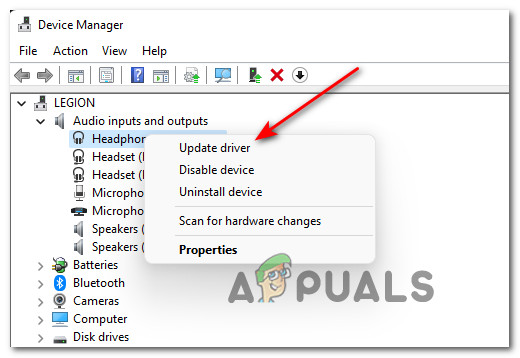
Open Device Manager on Windows 11 - Right-click on the audio device under Audio inputs and outputs and select Update driver.
Updating the audio driver using Device Manager - Select Search automatically for drivers and let the scan complete.
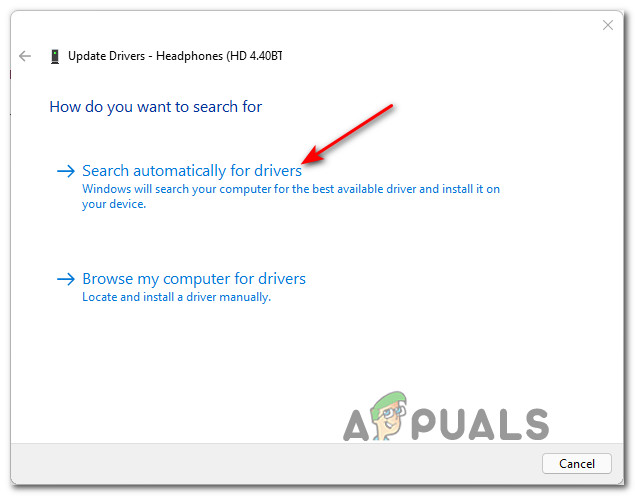
Searching for updated drivers Note: If no update is found, try Search for updated drivers on Windows Update.
- Repeat the process for the Network Adapter and devices under USB Connector Managers.
- After updating all drivers, restart your computer and check if the FPS issue is resolved in your game.
3. Update Graphics Driver
Outdated graphics drivers can have trouble running new games or updates, causing low FPS and lag. Updating the driver makes sure it works well with new software, boosts performance, and fixes bugs that might disrupt gameplay.
3.1. Update NVIDIA Graphics Card Driver
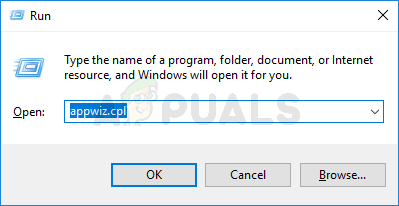
- Press Windows key + R to open a Run dialog box, type ‘appwiz.cpl’, and press Enter to open the Programs and Features menu. Click Yes at the User Account Control (UAC) prompt.
Opening the Programs and Features screen - Sort the programs by clicking on the Publisher tab, then locate NVIDIA Corporation entries.
- Right-click on each NVIDIA entry and select Uninstall from the context menu.
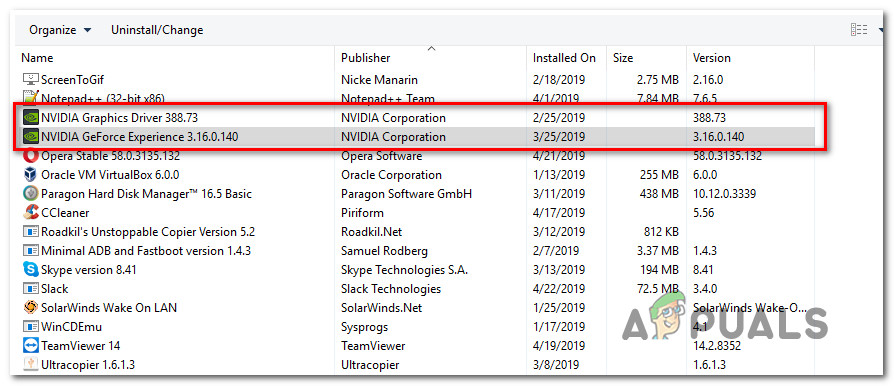
Uninstalling every Nvidia driver + physics module - Follow the on-screen prompts to uninstall each NVIDIA driver. After uninstallation, reboot your computer.
- Once your PC restarts, open your browser and go to the official Nvidia Experience download page. Click on Download Now.
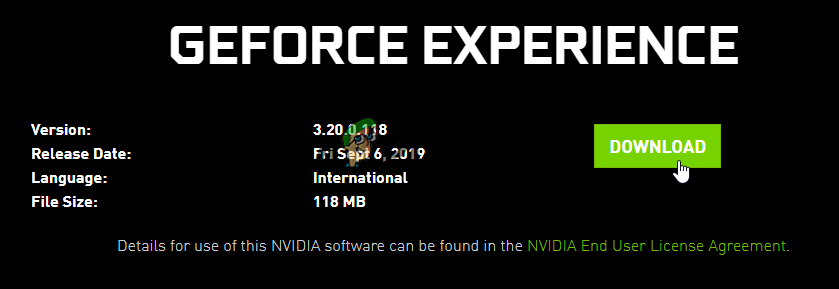
Downloading the latest version of Nvidia Experience Note: GeForce Experience will detect and install the latest compatible driver + physics module for your Nvidia GPU model.
- Run the Nvidia Experience installer and follow the instructions to complete the installation.
- Open Nvidia Experience and sign in when prompted.
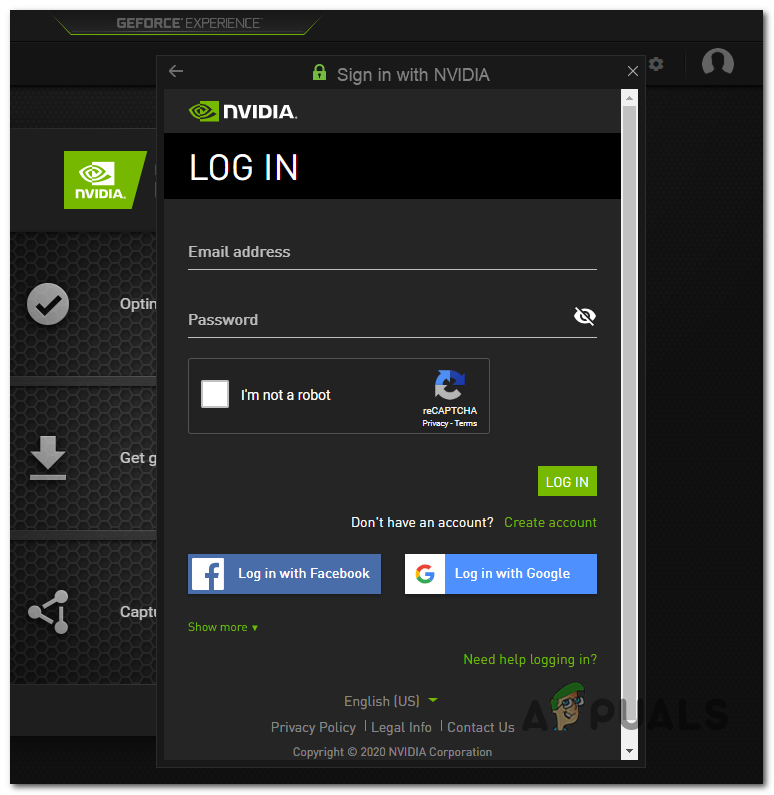
Sign in With Nvidia Experience Note: You can sign in using a Google or Facebook account for convenience.
- In Nvidia Experience, go to the Driver tab and click Check for Updates. If an update is available, click Download and follow the instructions to install the new driver and physics module.
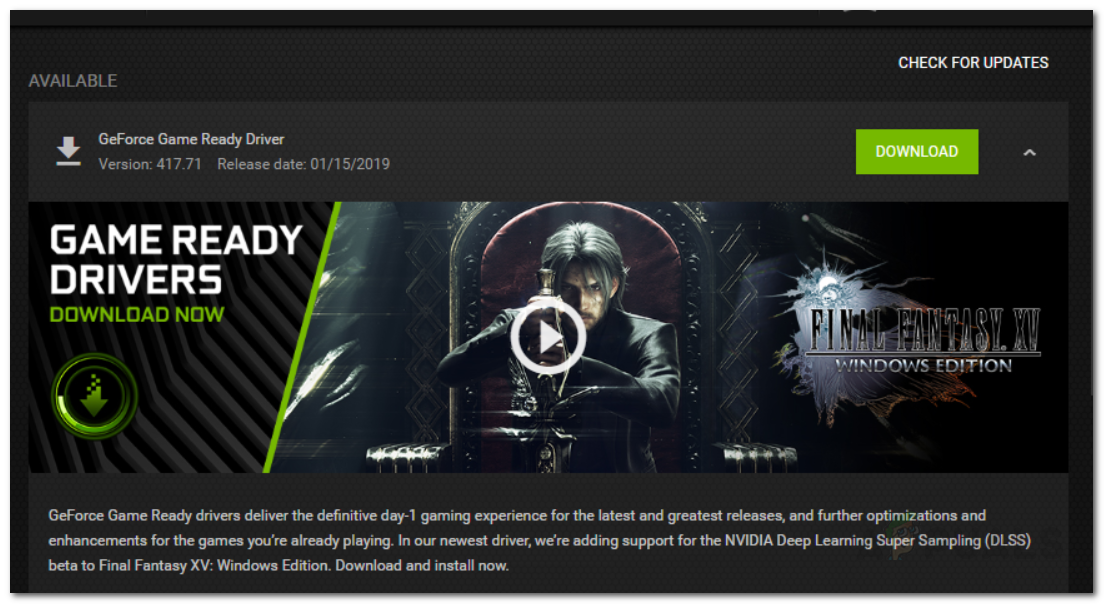
Downloading the new driver version via Nvidia Experience - Once the new driver is installed, reboot your computer and check if the FPS issue is resolved in Windows 11.
3.2. Update AMD Graphics Card Driver
- Open your browser, go to the AMD Cleanup Utility download page, and click the link to get the latest version.

Downloading the AMD Cleanup utility - Run the downloaded file and click Yes at the User Account Control prompt. Click Ok to start the cleanup.
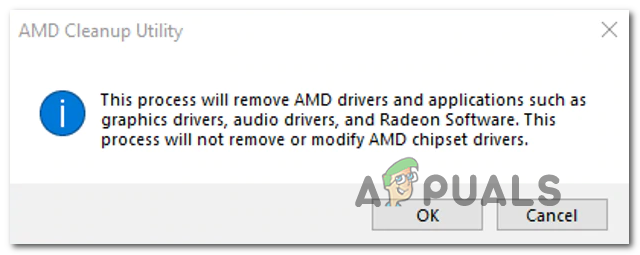
Uninstalling the Cleanup Utility Note: This tool removes all AMD drivers and related files.
- Once completed, click Finish and restart your PC.
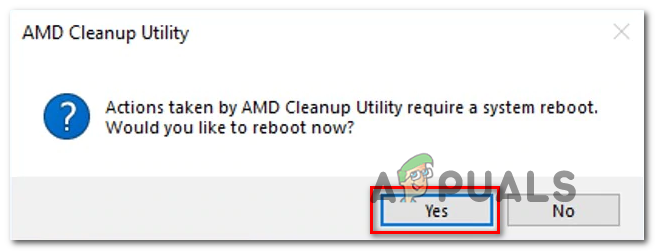
Rebooting after the AMD driver installation - After rebooting, visit the Auto-Detect and Install Radeon Graphics Drivers for Windows page and click Download Now.
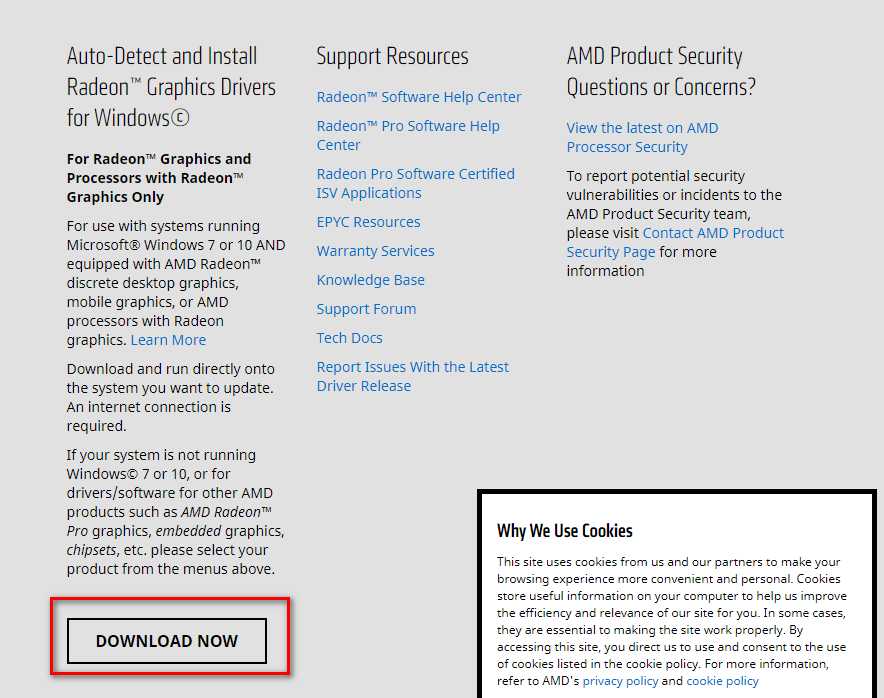
Downloading the Auto Detect Radeon Graphics Drivers - Run the downloaded file to install the Radeon Adrenalin tool.
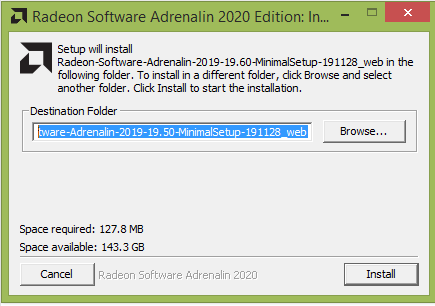
Downloading the AMD Adrenalin software - The tool will launch and detect the best AMD driver for your system.
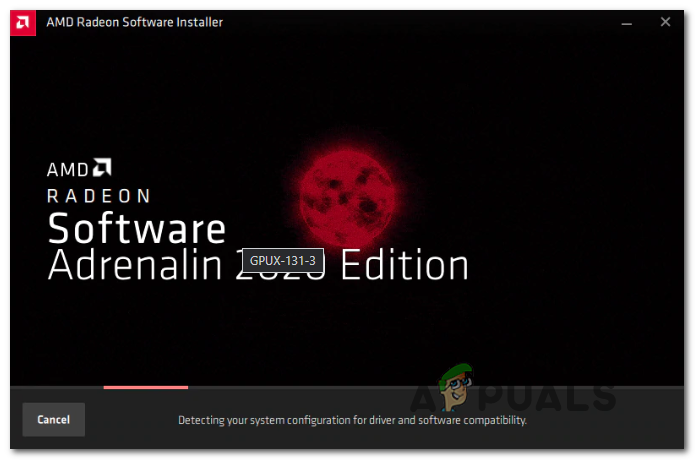
Waiting for the compatible AMD driver to be downloaded Note: This may take several minutes.
- Install both the Recommended and Optional drivers to update your system.
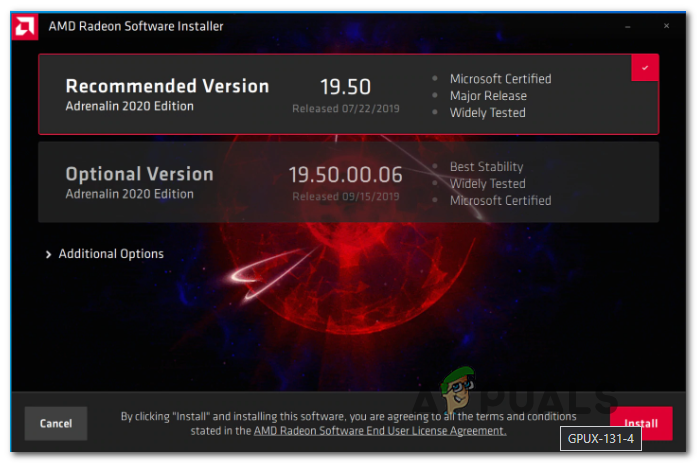
Installing the recommended drivers from AMD - Accept the EULA’s terms, complete the update, and restart your computer to see if the FPS issue is resolved.
4. Lower Mouse Polling Rate
A high mouse polling rate might seem good for gaming accuracy, but it can overload your CPU, especially during demanding games, causing lag. Lowering the polling rate to a moderate level, like 500Hz or 250Hz, can ease this load, ensuring smoother gameplay without noticeable input delay.
You’ll often find the Polling Rate labeled as Report Rate inside the companion app. Just look for a value of 1000Hz and change it to 500Hz to resolve the issue.
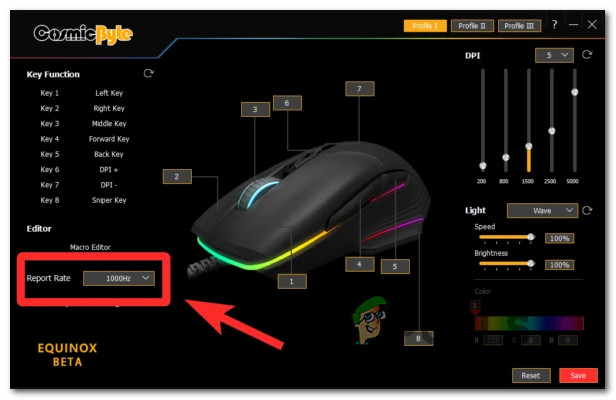
Note: Keep in mind that some high-end gaming mice, like the Zowie EC2-B, come with a dedicated button that allows you to change the report rate dynamically by pressing the button while you’re actively using the mouse.


Many AMD, Zen 2 (i.e. R5-3600) stutters are due to a CPU cache issue that’s getting patched this month in the consumer release… I confirmed this using “LatencyMON” as I got stutters in game cut scenes and when watching movies in my KLite viewer while suddenly starting a CPU-intensive task.
So basically certain data is not sitting in a CPU cache as it should which ends up with audio stutters, or video stutters or lower application performance. Even with less than 10% total CPU usage I get video stutters watching a movie because it’s not an issue with overloading the CPU, it’s simply getting the CPU data in sufficient time. So it matters the most in real-time tasks, especially pre-rendered video which is either smooth or it’s not, whereas a video game in game play might get a slightly lower FPS or show no difference at all if the bottleneck is elsewhere (GPU or FPS software cap).