Fix: Hard Drive DST Short Test Failed
Every hardware components are important for functional computer or notebook. If one of the components is not working well, BIOS or UEFI will notify you. We talked about BIOS and UEFI in previous articles, if you have read our article you should know what is BIOS or UEFI. BIOS (Basic Input Output System) loads when you turn your computer or notebook, and BIOS is checking your hardware components, are they working well or they are faulty. UEFI is the successor of BIOS, with the same purpose.
In this article, we will write about HDD issues. HDD is hardware component which is storing an operating system, drivers, applications, and our data. If you have a problem with the hard disk you will not be able to load your Windows, start your application or access data. There are different HDD problems, including mechanical, electrical and logical. So, what is the difference between them? The mechanical problem includes a problem with the platter, head, actuator arm or axis. The electronic problem includes a problem with the board and the logical problem include problems with partitions, volumes and hard disk.
One of the HDD issues is an error: 2000-0151 Hard Drive DST Short Test Failure. The 2000-0151 error indicates your hard disk drive (HDD) has failed and may be nearing the end of its life. Regardless do you have problems with HDD or not, you should implement backup and restore strategy. In case of failure, you can restore your data from your backup. Imagine the next scenario, you are using HDD 2 TB where you stored all your personal or business data. Also, you implemented real-time backup on NAS (Network Attached Storage) or cloud storage. Your HDD stopped to work. You are not worried because you have a backup of your data, which you can restore in a short time. You will be very sad if you do not have a backup, probably you will pay a lot of money to restore your data or you will continue your work without data. Backup is best practice for your home or business infrastructure, so please do not ignore to do it. You can backup your data to external HDD, NAS or cloud storage.
This issue occurs on the hard disk, regardless you are using computer or notebook. Please note this issue is not an operating system based, it is hardware-based. We created few solutions for you, including troubleshooting logical problems and the last one is replacing your hard disk with a new one. At the end, you should be ready to change your hard disk, because as we said 2000-0151 error indicates your hard disk drive (HDD) has failed and may be nearing the end of its life.
Method 1: Run Diagnostic tool
If you are not sure is there a problem with your hard disk, you should run the diagnostic tool for your hard disk. How will you do it? All vendors provide official software for testing their hard disk. We will show you how to run WD Diagnostic Tool on Windows 10 using WD 1TB hard disk. If you can boot Windows on your computer, then you will need to download and run this software. If you can not boot Windows on your computer, you will need to connect your hard disk to another computer or notebook and install software on that computer or notebook.
- Open Internet browser (Google Chrome, Mozilla Firefox, Edge or other)
- Open WD website on this LINK
- Download Data Lifeguard Diagnostic for Windows
- Run Data Lifeguard Diagnostic for Windows
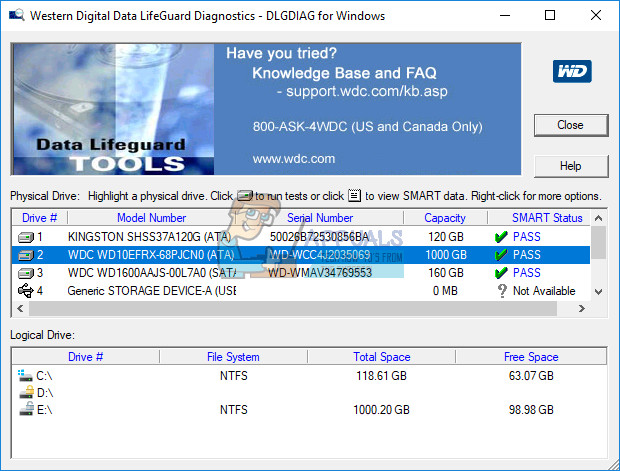
- Select your hard disk. In our example it is WD10EFRX-68PJCN0.
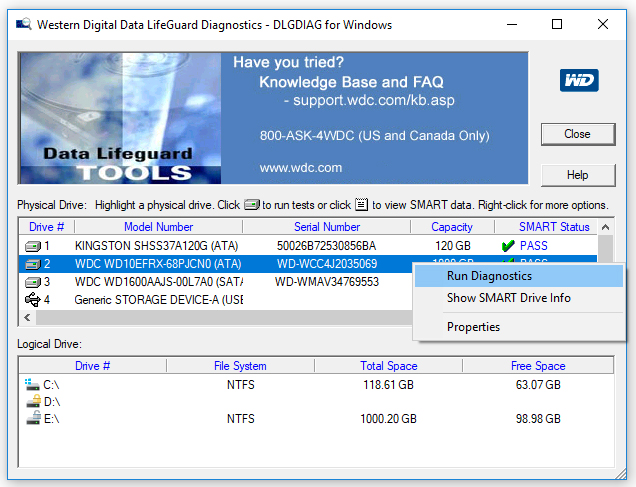
- Right-click on WD10EFRX-68PJCN0 and choose Run Diagnostic
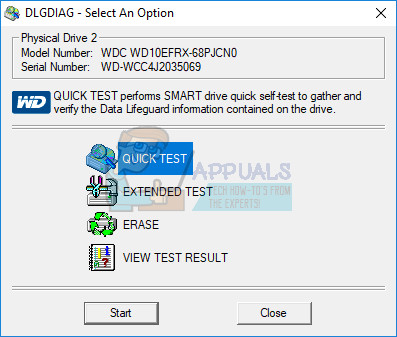
- Choose a Quick scan and click Start. Also, you can choose the Extended test for your hard disk. We are just showing you how to test hard disk with the tool.
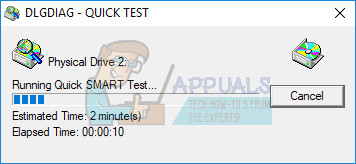
- Wait until WD Diagnostic tool is finished quick scan
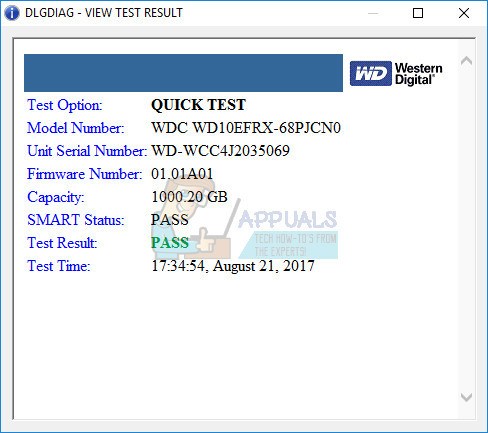
- Check test results. In our example, HDD is working well and we do not have any errors. In your example, probably you will see errors that indicate that you need to replace your hard disk.
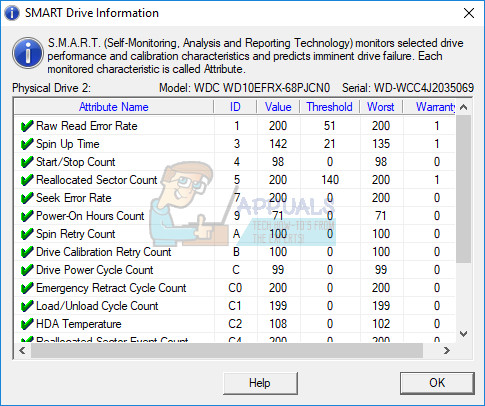
- Also, you can check M.A.R.T. Drive Information. What is SMART? S.M.A.R.T. (Self-Monitoring, Analysis and Reporting Technology) monitors selected drive performance and calibration characteristics and predicts imminent drive failure. Each monitored characteristic is called Attribute.
- Click OK
Method 2: Reinstall Windows
This can be a weird solution, but few users solved the problem with a hard disk with formatting hard disk and installing the clean operating system, drivers and application. We are recommending you to try this solution, it is much better to try a solution than purchasing the new hard disk. We are recommending you to install Windows 10. If you do not like Windows 10 because of your own reasons, please do not install operating systems older than Windows 7. Why? Microsoft stopped support for Windows XP and Windows Vista.
Method 3: CHKDSK /R
When you decide to configure partition, letters, volumes or other settings on your HDD or SSD, you can do it by using a graphical interface or command-line interface. One of the tools we will use in this method is CHECK DISK (CHKDSK /R). In case you have a problem with system file corruption or you can not write or read data from HDD, you should do CHKDSK /R. Check Disk is a utility that will help you to find bad sectors, and fix them in case there are fixable. The procedure of running chk disk is the same for all operating systems from Windows XP to Windows 10.
Method 4: Recover your data
As we said at the beginning of this article, your hard disk will not boot your Windows if there are logical problems. In case your hard disk is not working because of logical problems you will not be able to access your data, because of volume or partition corruption. If you implemented backup and restore strategy in your business or home environment, you should be happy and ignore this method.
In case you did not implement backup and restore strategy and your HDD is still working, you will need to recover data from damaged partition or hard disk. But how you will do it if you can not boot your Windows? You will need to take a hard disk from your notebook or computer and connect to another notebook or computer. In case you do not know how to do it, please consult IT Professional. If you know how to do it, please follow the procedure below. After you connect your hard disk to a notebook or computer you will need to run the software for recovering your data. This method is compatible with the operating system from Windows XP to Windows 10.
We will show you how to do it using software Recuva.
- Open Internet browser (Google Chrome, Mozilla Firefox, Edge or other)
- Open Recuva website on this LINK and download Recuva
- Install Recuva
- Run Recuva
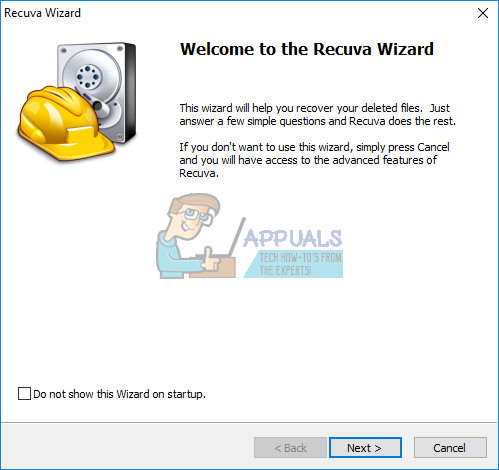
- Click Next under Welcome to the Recuva Wizard
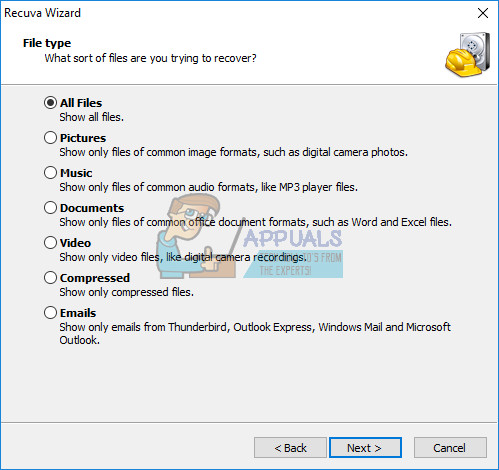
- Under File type, choose what sort of files are you trying to recover and click Next. In this method, we will try to recover All files including pictures, music, documents, video, compressed files, and emails. You can show whatever you want.
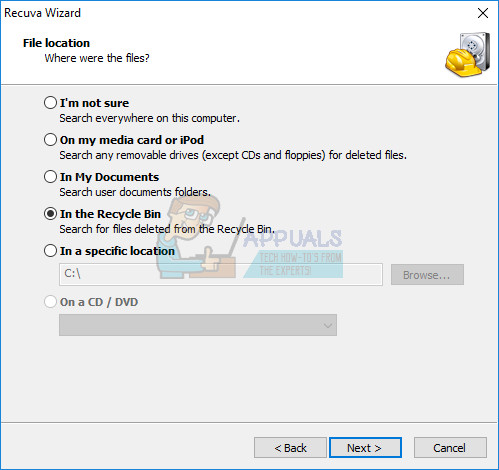
- Under File location, choose where were files located and click Next. In our example, we want to recover data from Recycle bin. In our example, we need only data we deleted before hard disk stopped to work. You can choose whatever you want.
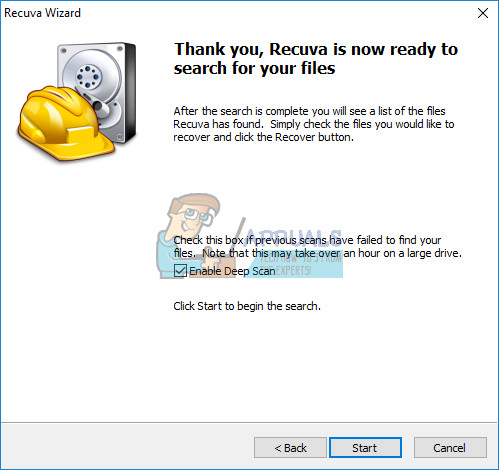
- In the next window choose Deep scan and click Start. So, what is a Deep Scan? Recuva’s Deep Scan option helps you find even more files buried on your hard drive o+r removable drives. It takes longer but it’s worth it.
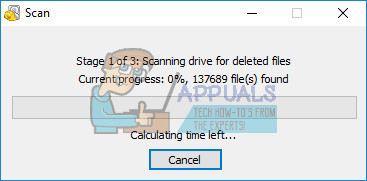
- Wait until Recuva is finished scanning
- After the search is completed you will see a list of the files Recuva has found. Simply check the files you would like to recover and click the Recover
Method 5: Replace the hard disk
Before your device to purchase your hard disk, we are recommending you to check is your hard disk under warranty. How will you do it? We will show you how to check the warranty for WD hard disk. At first, you need to locate the serial number. You can do it using two ways. One is to read the serial number from the cover on the hard disk. Another way is to do it using vendor software. We will show you how to do it using WD Data Lifeguard Diagnostic for Windows you downloaded in method 1.
- Run Data Lifeguard Diagnostic for Windows and check the serial In our example a serial number of WD 1 TB is WD-WCC4J2035069.
- Open Internet browser (Google Chrome, Mozilla Firefox, Edge or other)
- Open WD Support website on this https://support-en.wd.com/app/warrantystatus
- Choose your country and type serial number of WD disk
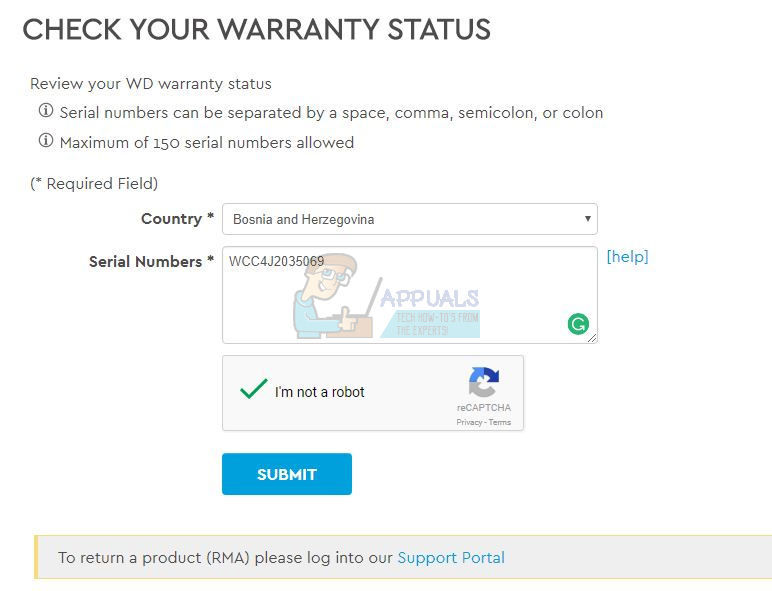
- Click Submit and check warranty status. In our example, warranty for WD 1 TB RED hard disk expired 03.22.2017.

Because our disk is not under warranty we will need to purchase another one. Before purchasing HDD we are recommending you to check the technical documentation of your motherboard. There are two different types of HDDs, including ATA/IDE HDD and a SATA HDD. The ATA/IDE HDDs are history, but if you are using an old computer you will need to purchase ATA/IDE HDD. There are four different types of SATA HDDs, including SATA 1, SATA 2, SATA 3 and SATA 3.1. The main difference between them is in transfer speed. If your motherboard supports SATA 2 HDD, you do not need to buy SATA 3 HDD, because SATA 3 HDD will work with SATA 2 port limitation.
So, how you will know what does your motherboard support? Please check the article, (Method 13).