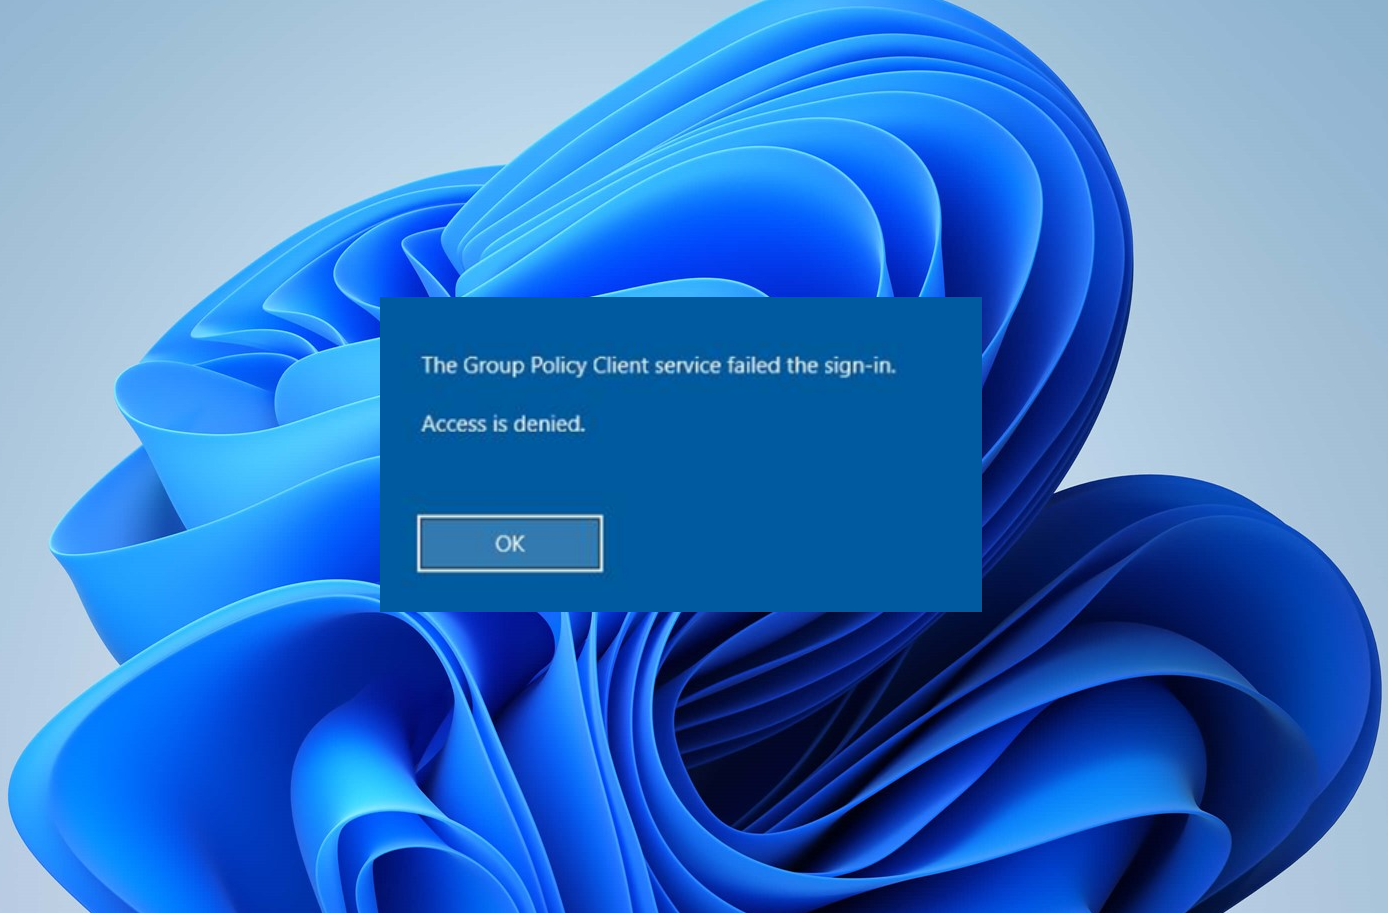
How to Fix “The Group Policy Client service failed the logon” Error?
When the “Group Policy Client service failed the logon” error happens, the system prevents users from logging into their accounts and shows an “Access is denied” message. This error usually means that the Group Policy Client service, which handles user settings and permissions, didn’t start correctly during login. It often occurs because of a damaged user profile or problems with Group Policy Objects (GPOs) being set up incorrectly or being damaged.
It can also be caused by communication issues with domain controllers, which are needed for Group Policy functions in network environments.
In this article, we will discuss several solutions to solve this error.
1. Edit Registry Using an Administrator Account
Changing the registry can help fix problems with the Group Policy Client service. By using an administrator account to access the registry, you can repair or remove entries that might be stopping the service from starting correctly. This process helps the system work properly again by getting rid of bad session data or fixing registry keys related to user profiles, allowing users to log in successfully.
Note: Editing the Windows registry incorrectly can cause irreversible system damage. Make sure you follow instructions precisely and back up the registry before making any changes.
- Press Windows + R to open the Run command.
- Type regedit and press Enter to open the Registry Editor.
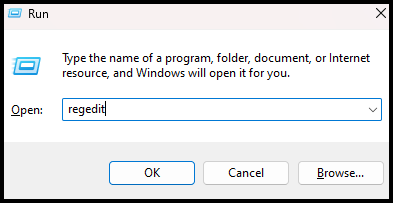
Win+R regedit - In the Registry Editor’s left pane, navigate to the following registry key:
HKEY_LOCAL_MACHINE\SYSTEM\CurrentControlSet\Services\gpsvc
- Ensure that this key is intact without making any changes.
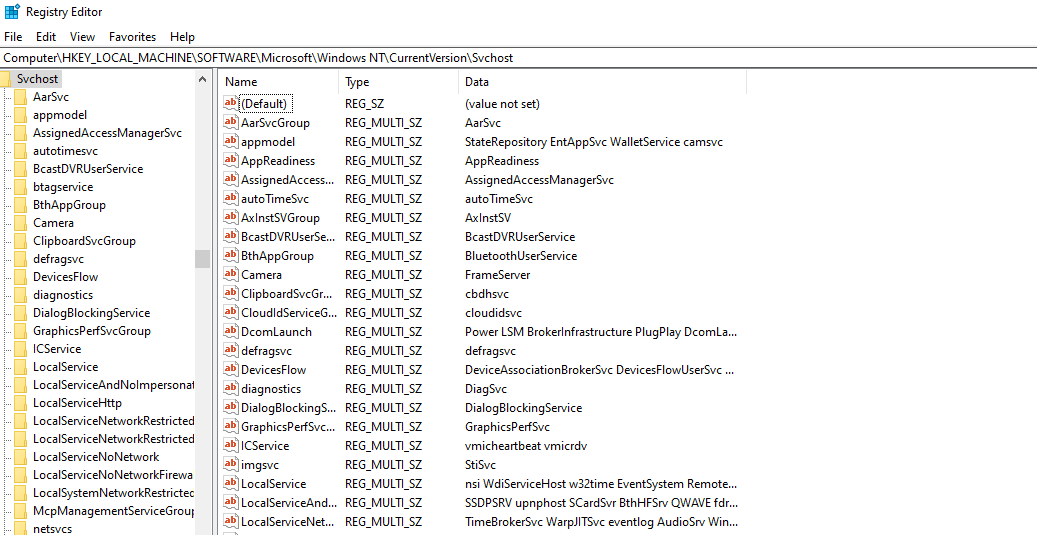
- Navigate to the following key:
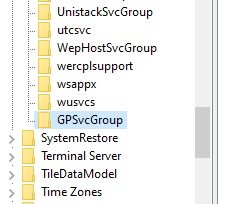
HKEY_LOCAL_MACHINE\SOFTWARE\Microsoft\Windows NT\CurrentVersion\SVCHOST
- This path is crucial as it contains the keys and values referenced in step 3. Below are the necessary elements that must be present:
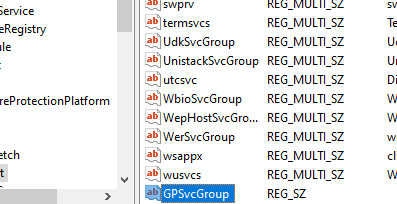
- Ensure there is a Multi-String value called GPSvcGroup. If it’s missing, right-click in the panel on the right and create a new multi-string value named GPSvcGroup and set it to GPSvc.
- Create a new key (folder) named GPSvcGroup. This key typically exists, but if not, right-click on the panel on the right and select New > Key. Name it GPSvcGroup.
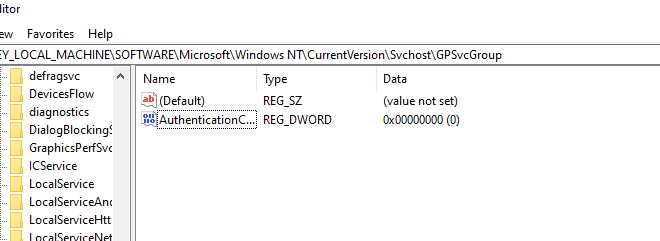
- Open the newly created GPSvcGroup folder/key. Right-click in the panel on the right and create two DWORD values:
- First, create a DWORD called AuthenticationCapabilities and set its value to 0x00003020 (or 12320 in decimal).
- Second, create a DWORD called CoInitializeSecurityParam and set its value to 1.
- Restart your PC after making these changes.
2. Take Ownership of Group Policy Registry Key
Sometimes, you need to fix permission issues to make things work right again. By taking control of the Group Policy registry key, you get the permissions needed to change or fix it. This step makes sure the system can read and use the required Group Policy settings, which might be blocked due to incorrect ownership or access restrictions.
- Press Windows + R to open the Run command.
- Type regedit in the Run dialog box and press Enter to open the Registry Editor.
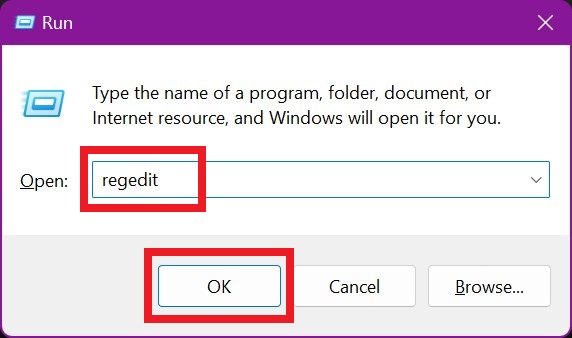
Type regedit and click OK - In the left pane of Registry Editor, navigate to the following key:
HKEY_LOCAL_MACHINE\SYSTEM\CurrentControlSet\Services\gpsvc

- We will now take ownership of this key to edit it.
- Right-click the gpsvc (folder) key and select Permissions.
- The default owner should be TrustedInstaller. Click Change in the window that appears.
- In the Select User or Group window, click Advanced.
- Click Find Now.
- Select your username from the search results and click OK.
- Click OK again in the Select User or Group window. You have now successfully changed ownership.
- After taking ownership of the registry key, close the Registry Editor. Open an elevated Command Prompt/PowerShell (press the start button, type cmd, and open it as an administrator). Type the following command and press Enter:
reg add “HKLM\SYSTEM\CurrentControlSet\Services\gpsvc” /v Type /t REG_DWORD /d 0x10 /f

- You should receive the message “The operation completed successfully“. If you haven’t taken ownership of the registry key mentioned in step 3, the command will fail, and you’ll receive an “Access is denied” message.
- Finally, restart your PC.
3. Use System Restore Point
Using a system restore point can fix your system by bringing it back to a time when everything was working well. System Restore does this by undoing recent changes to system files and settings. Since this error can happen because of messed-up system settings, using a restore point makes things stable again without affecting your personal files.
3.1. Log into the System with Another Account
- Right-click the Start button and select System.
- In the left column, click on System Protection.
- Click the System Restore button.
- Click Next.
- If needed, check the box that says “Show more restore points“.
- Select a restore point dated before the issue occurred and restore your system. Your PC will return to that date and restart. Although your data will remain intact, some programs may be removed.
3.2. If You Only Have One Account
By going into the advanced startup options, you can restore your PC to the previous point.
- Press the Shift key, then restart your PC using the shutdown button located in the bottom right corner of your login screen. Right-click on it to select the restart option.
- Windows will restart and display the “Choose an Option” menu.
- Select Troubleshoot > Advanced options > System Restore.
- Choose a restore point from a date before the problem began and restore your system. Your PC will revert to that date and restart. Note that while your data will remain intact, you may lose some programs.
If your system error persists or you did not have a restore point, you can reset your system. This will, however, clear all your apps, but your data will be kept. Use the advanced startup options, but instead, choose Troubleshoot > Reset this PC > Keep my files.
4. Turn Off Fast Startup
Turning off fast startup can fix the problem because this feature doesn’t fully shut down the system, and some things (like Group Policy) might not reset properly. When you disable it, the system shuts down completely, making sure everything restarts fresh, which can stop issues with the Group Policy Client service during future logins.
- Click on Start.
- Go to Settings.
- Click on the System icon.
- Navigate to the Power & Sleep section and click on Additional Power Settings.
- Select Choose what the power buttons do.
- Scroll down to Shutdown settings.
- Uncheck the box next to Turn on fast startup.
- Click Save changes.
- Restart your PC.
6. Restart Group Policy Service and Reset Winsock
To address this error, you might consider refreshing both the Group Policy Client service and the Winsock catalog. Restarting the Group Policy service helps reset important parts of the system needed to apply policies and user settings, which might have failed at startup. Resetting Winsock clears network settings and can help resolve networking issues that could affect Group Policy’s ability to connect with necessary services.
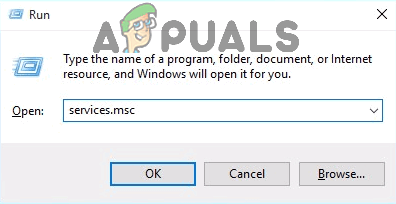
- Press Windows + R to open the Run command.
- Type services.msc and press Enter.
- Locate Group Policy Client, right-click the service, and select Properties.
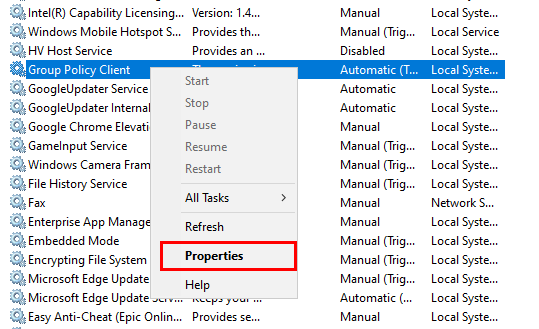
- Set the Startup type to Automatic, click Start, then Apply, and OK.
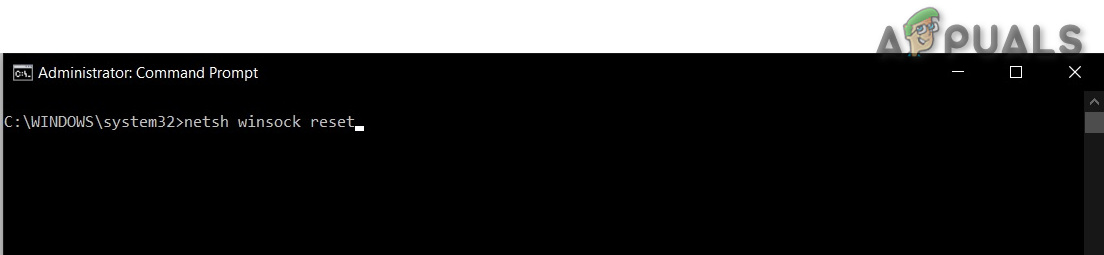
- Right-click the Start button and choose Command Prompt (Admin) or Powershell (Admin).
- Enter the following command and press Enter:
netsh winsock reset
- Type exit and press Enter to close the command prompt.
- Restart your PC.
7. Re-logging in a Specific Order
Sometimes, logging in using a specific order can help fix system processes that are stuck. First, log into an admin account, then switch to the problem user account. This gives the system a chance to restart important Group Policy services. It can clear out any problems with user profiles or services, potentially fixing access issues without needing a full restart. This method ensures the system reapplies the necessary settings and permissions.
Let’s suppose you have three accounts (or two). One of them is not working where the error comes forward. Here we will refer to the problematic account as Account_Problem, and working accounts as Working_1 and Working_2.
Note: You can perform the same steps even if you don’t have three accounts.
- First, switch all users so they are all logged in.
- Then, log off (sign out) each account in order (for example, Working_1, Account_Problem, Working_2).
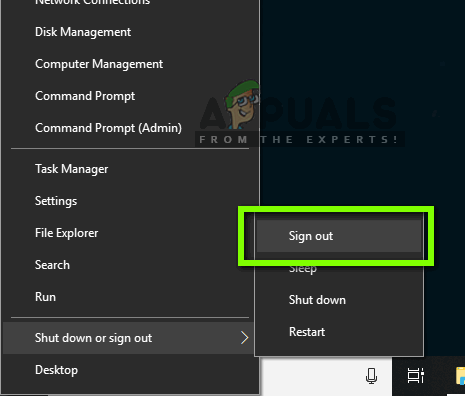 Logging out of each account
 - Next, log into the first working account, Working_1, and engage in some tasks or play games.
- After that, log into the second working account, Working_2, and do some activities there as well.
- Once all working accounts are logged in, log into the problematic account, Account_Problem. Check if the issue is resolved.
Thanks Kevin! Method 6 worked for me.