Fix: Login Screen Doesn’t Appear on Windows
Users have reported that after performing a Windows update, the login screen has disappeared. This means the users have logged in automatically and aren’t prompted with the login screen. This particular issue is often caused by the third-party apps installed on your system, your system boot settings or your boot up might simply be malfunctioning. The issue can be really frustrating if you have multiple user accounts on your system or when you just don’t want anyone to access your system.
The issue is resolved when users initiate a system restart, however, it emerges again once the PC is shut down and then turned back on. To circumvent the issue, we have mentioned a few simple solutions which worked for the rest of the people that were encountering the same issue. However, before we jump into the solutions, a more detailed look at the causes of the issue is certainly necessary.
What causes the Login Screen to Disappear on Windows 10?
Well, from what we have salvaged, the issue mostly occurs due to the following factors —
- A recent Windows update. Most of the times, the issue occurs after a recent Windows update, which can, rarely, change your settings due to which the login screen disappears.
- Fast Startup. The thing at play behind the quick boot up of Windows 10 is the Fast Startup feature. For some users, the issue was occurring due to this.
- Malfunctioning boot options. Sometimes, the issue can be simply due to some issue with the Windows boot up in which case you will have to repair it using the bootrec command.
With that said, please follow the given solutions to fix your issue. Also, you are advised to follow the solutions in the same order as given below.
Solution 1: Enabling Safe Mode
To eliminate the possibility of third-party applications causing the issue, you have to boot into Safe Mode, first and foremost. Safe Mode is used for troubleshooting purposes as it starts your system with minimal drivers, services and no third-party applications. Here’s how to boot into Safe Mode:
- Go to the Start Menu, hold down the Shift button and restart your system.
- Make your way to Troubleshoot > Advanced options > Startup Settings.
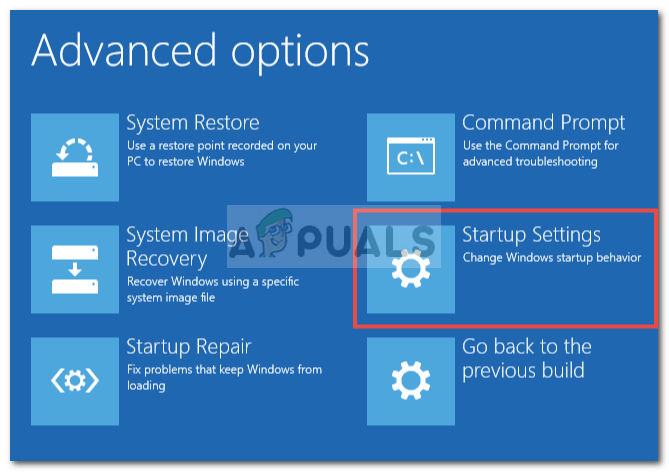
Windows 10 Advanced Options - From the list, choose ‘Enable Safe Boot’ (4).
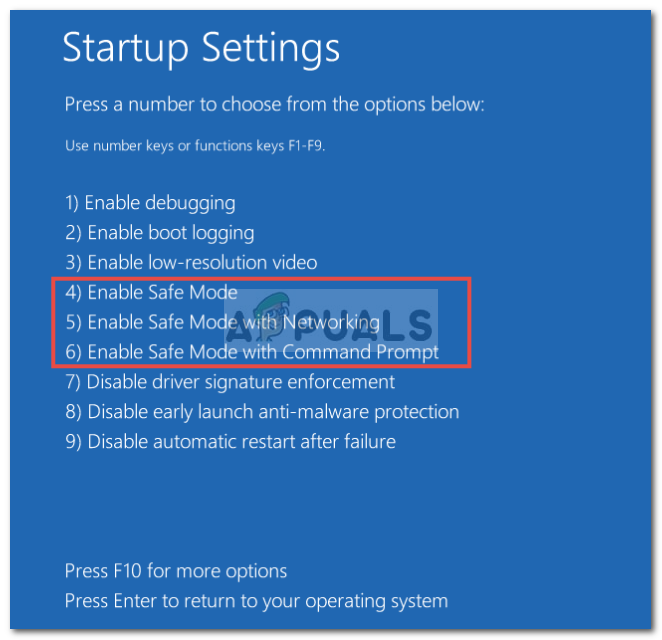
Enabling Safe Mode - See if this fixes your issue.
If the issue persists even after booting into Safe Mode, we advise performing the rest of the solutions in Safe Mode.
Solution 2: Disable Fast Startup
Fast Startup, as you can tell from its name, is responsible for starting up your system quickly. However, in this case, it can be the culprit and causing the login screen to disappear. In such an event, you will have to disable Fast Startup. Here’s how to do it:
- Press Windows Key + I to open Settings.
- Go to System.
- Navigate to the Power & sleep panel.
- Click on ‘Additional power settings’ under Related settings.
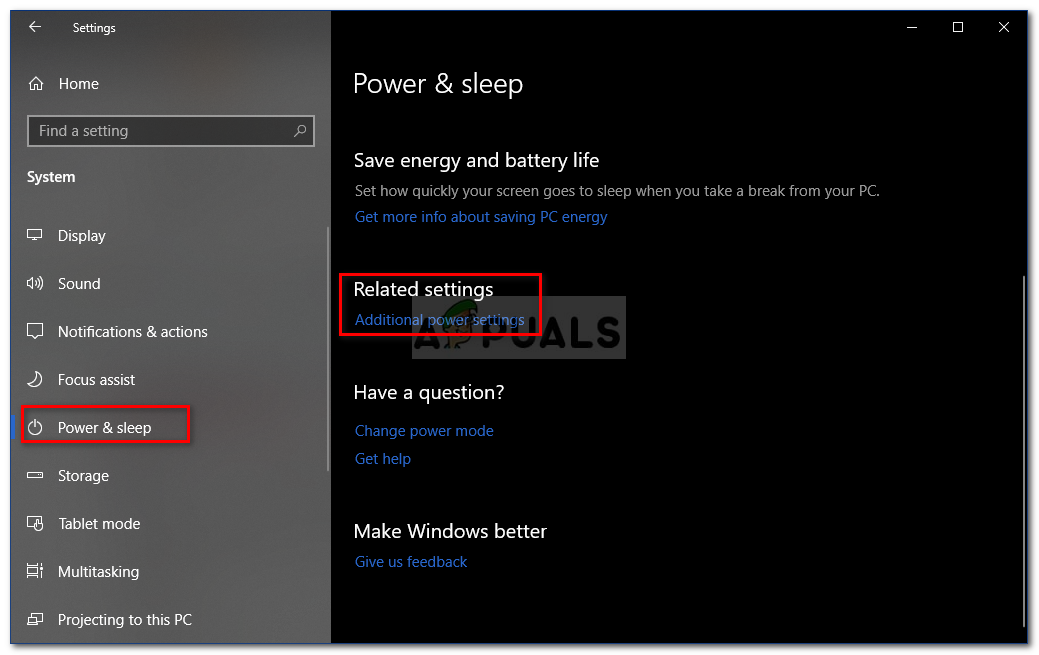
Windows Power and Sleep Settings - Select ‘Choose what the power buttons do’ on the left-hand side.
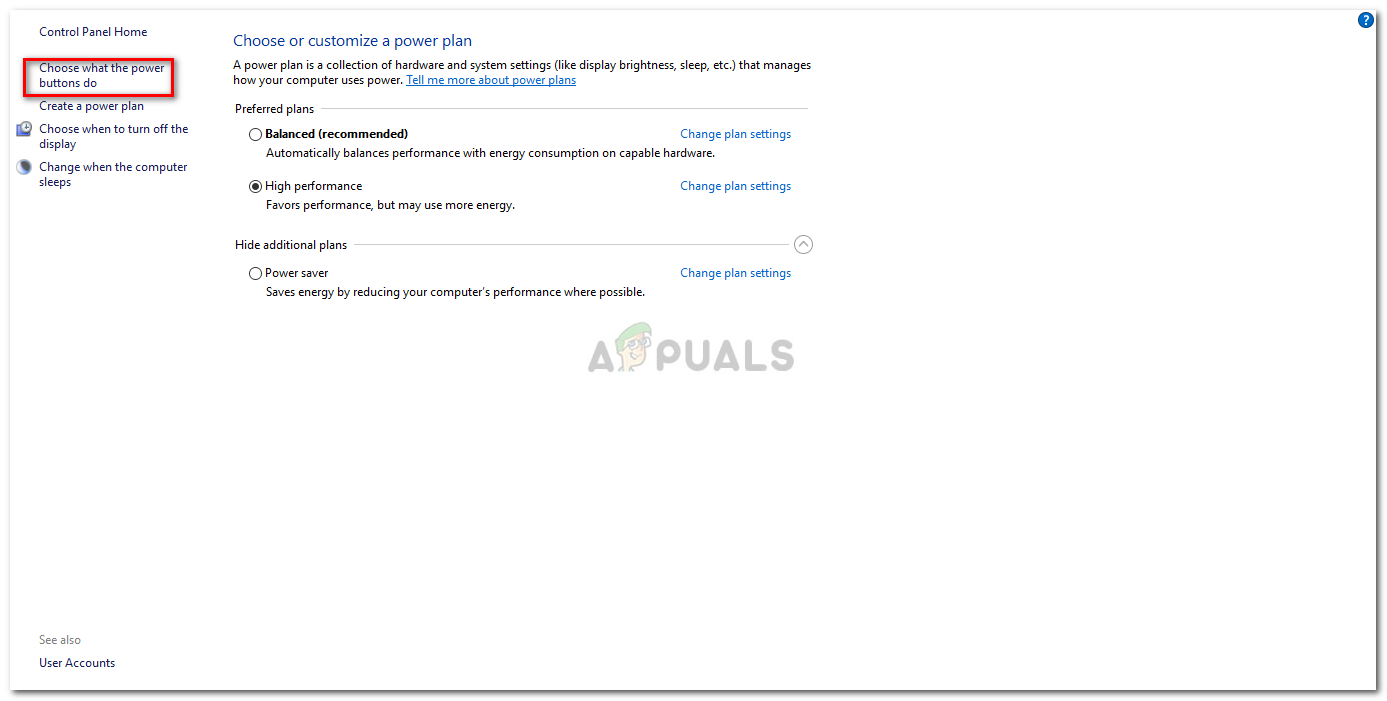
Power Options – Windows 10 - Click ‘Change settings that are currently unavailable’.
- Uncheck the ‘Turn on fast startup’ box.
- Click ‘Save changes’ and restart your system.
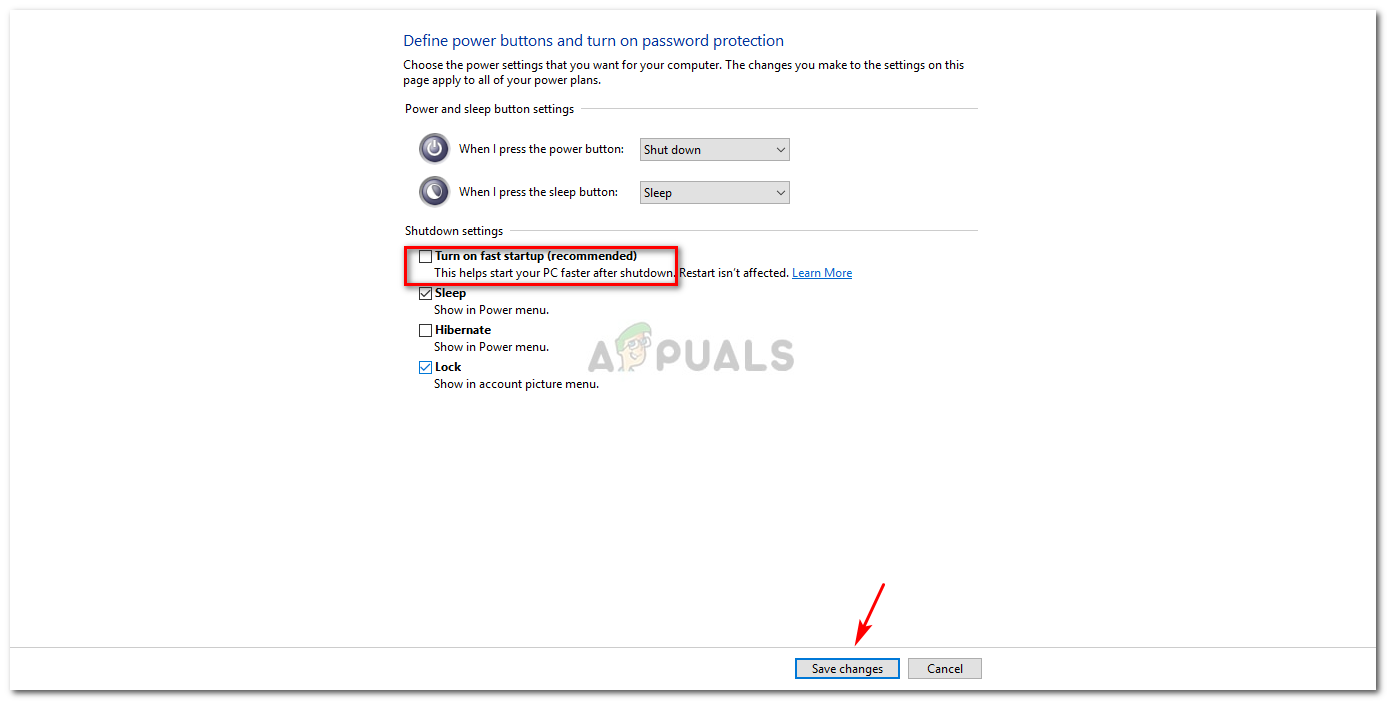
Turning Off Fast Startup - See if the login screen appears on the bootup.
This is most likely to solve your issue.
Solution 3: Rebuilt Windows Boot Options
As we have mentioned earlier, sometimes the issue can be simply due to your Windows boot options. They might be malfunctioning due to which the login screen is not appearing. In such a case, you will have to rebuild it using the bootrec command in the command prompt. Here’s how to do it:
- Enter into the Safe Mode with Command Prompt as we have shown above.
- Type in the following command:
Bootrec /rebuildbcd
- Afterward, type in the following commands one-by-one and press enter:
Bootrec /fixMBR
Bootrec /Fixboot
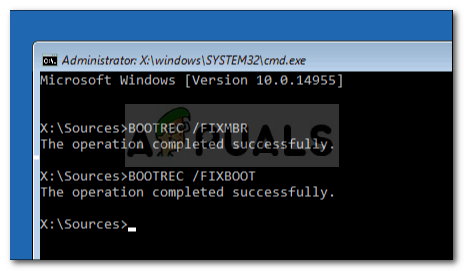
Repairing MBR and Boot - Once you have entered the above commands, restart your system to see if your issue has been resolved.
Solution 4: Perform a System Restore
If you are facing the issue after a certain Windows update, performing a System Restore might just fix the issue for you. A system restore can take your system to a point back where the issue wasn’t occurring.
You can learn how to perform a system restore by following this detailed article published on our site.
Solution 5: Run Windows Startup Repair
Finally, if none of the above solutions work out for you, you can perform a Startup repair to fix your issue. This will scan your system for any issues and repair them. However, for this, you will need a Windows bootable drive. Here’s how to do it:
- Insert the bootable drive (USB, CD or DVD) and boot from it.
- When the Windows Setup window appears, click ‘Repair your computer’ on the bottom left of the setup window.
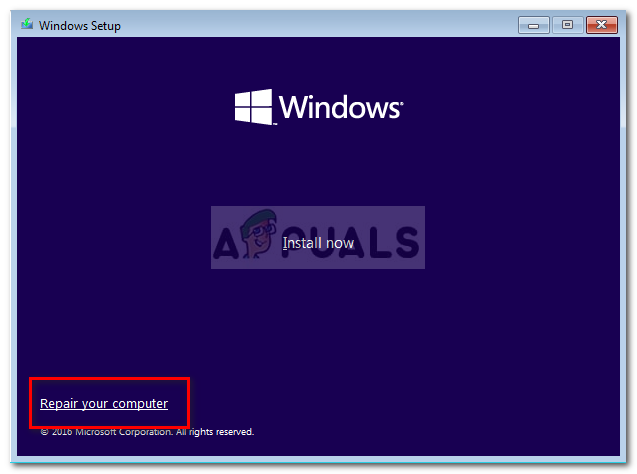
Windows 10 Setup - Follow the process and see if it fixes your issue.


