How to Fix Error “Unable to Connect” on Netflix?
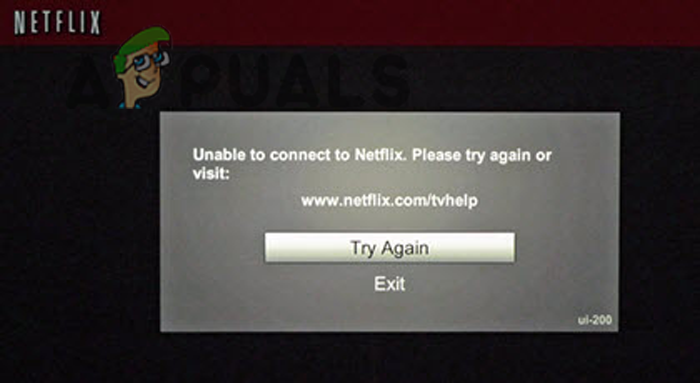
The error message”unable to connect to Netflix. Please try again or visit” usually occurs while launching the Netflix app. It gets stuck on the loading screen and lately shows the error message. The error is seen on Android, Windows, and iPhone devices.
Whereas for some users, the error popups and causes Netflix to crash and load a black screen on the startup. After investigating the problem, we know several underlying causes are responsible for the error. Here we have shortlisted that might be directly or indirectly causing the error.
- Servers Issues: Most common reason responsible for the error is the server outage. So, check for the Netflix server it is under maintenance or currently down.
- Slow Network Connection: It is possible that the problem might appear if your internet connection is running slow or unstable. Restarting the router or switching to a stable and fast internet service may work for you.
- App internal glitches: You may expect to deal with the error if your Netflix app is dealing with internal glitches or bugs. So, resigning from the account may work for you to fix the problem.
Now that we know the causes of this issue, let’s start troubleshooting.
1. Check Netflix Server Status
If the Netflix servers are not working properly or are down due to overload or under maintenance, this error can show up, so it is recommended to check if the servers are working fine or not. To do so, follow these troubleshooting steps:
- Open the browser on your device and paste the link in the address bar mentioned below:
- https://help.netflix.com/en/is-netflix-down
- This is Netflix’s official site, and it will show if there is any issue with the Netflix servers or if it is running fine.
If you find the server is currently down, you must wait for the server to start working again properly. But if you find Netflix, the servers are fine, then head to other solutions mentioned below.
2. Restart Device
Another common factor causing the problem is your device’s internal glitches. This may conflict with the Netflix app and stop it from establishing a connection with the streaming services and, as a result, start showing the message unable to connect to Netflix.
Restarting the device is an easy troubleshooting method to solve various temporary bugs and give a fresh start. It is worth restarting your device and seeing if this works for you.
3. Check Your Internet Connection
There are many different factors that can cause Netflix errors. Many of them are generally related to the internet connection. If there is an issue with the internet connection you are using, the issue may show up, so it is recommended to check if your internet is working fine and provide enough internet speeds to run streaming apps like Netflix properly. You can check the speed of your internet connection at https://www.speedtest.net/.
If the internet connection is not working properly, we will recommend you to try the quick steps listed:
- Restart your home network router by holding the power button available on the back side of the router.
- Switch to the 5Ghz band of your internet connection, as it should provide faster internet speed.
- Switch to a different internet connection is available and check if Netflix launches without any issue. You can use your mobile hotspot to check for the problem.
- If connected via WIFI, it is suggested to use an ethernet cable to get a stable internet connection.
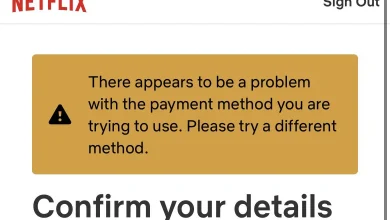
4. Login and Log Out your Netflix Account
The problem also occurs due to the application’s internal glitches. So, in this situation logging out of your Netflix ID and then logging in again may work for you. To do so, follow the steps given:
- Launch the Netflix application and tap on your profile icon at the top right.
- Now click on the Sign-out.
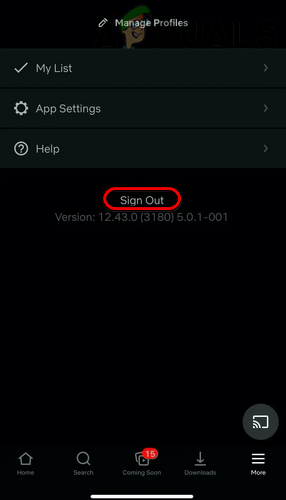
Sign Out of Netflix - Wait for a while, and then log in with your credentials.
Once you successfully log in, try steaming the particular content and check if you still see the error or not.
5. Reset Your Network Settings
Netflix is a fully web-based application, so majorly, there can be a network issue causing the error; try resetting your device’s network settings and check if it helps you solve the issue. To do so, follow the steps given:
5.1 Windows:
- Press Windows + I key together to launch Settings
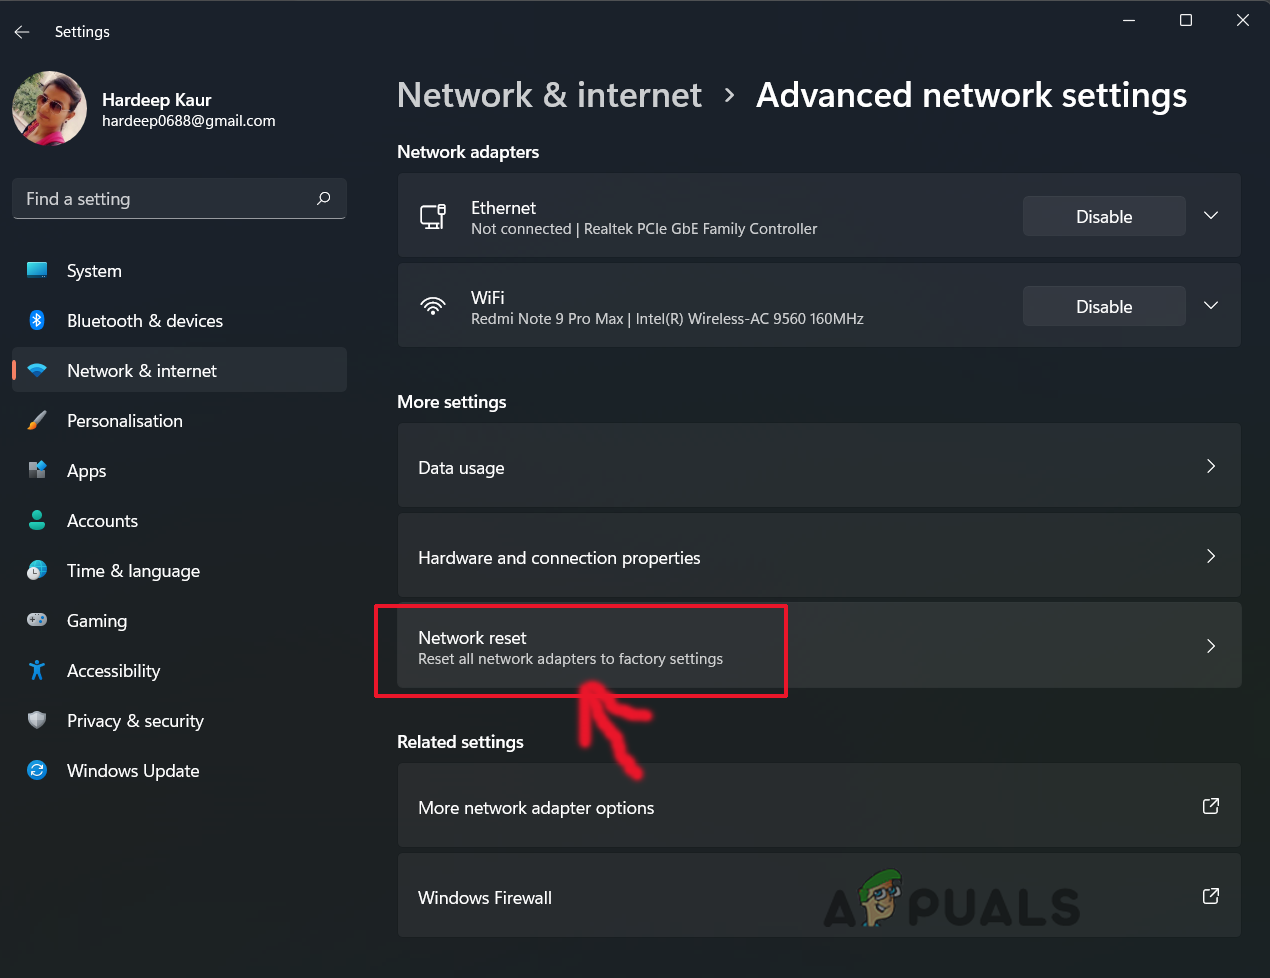
- Now click on Network & Internet option
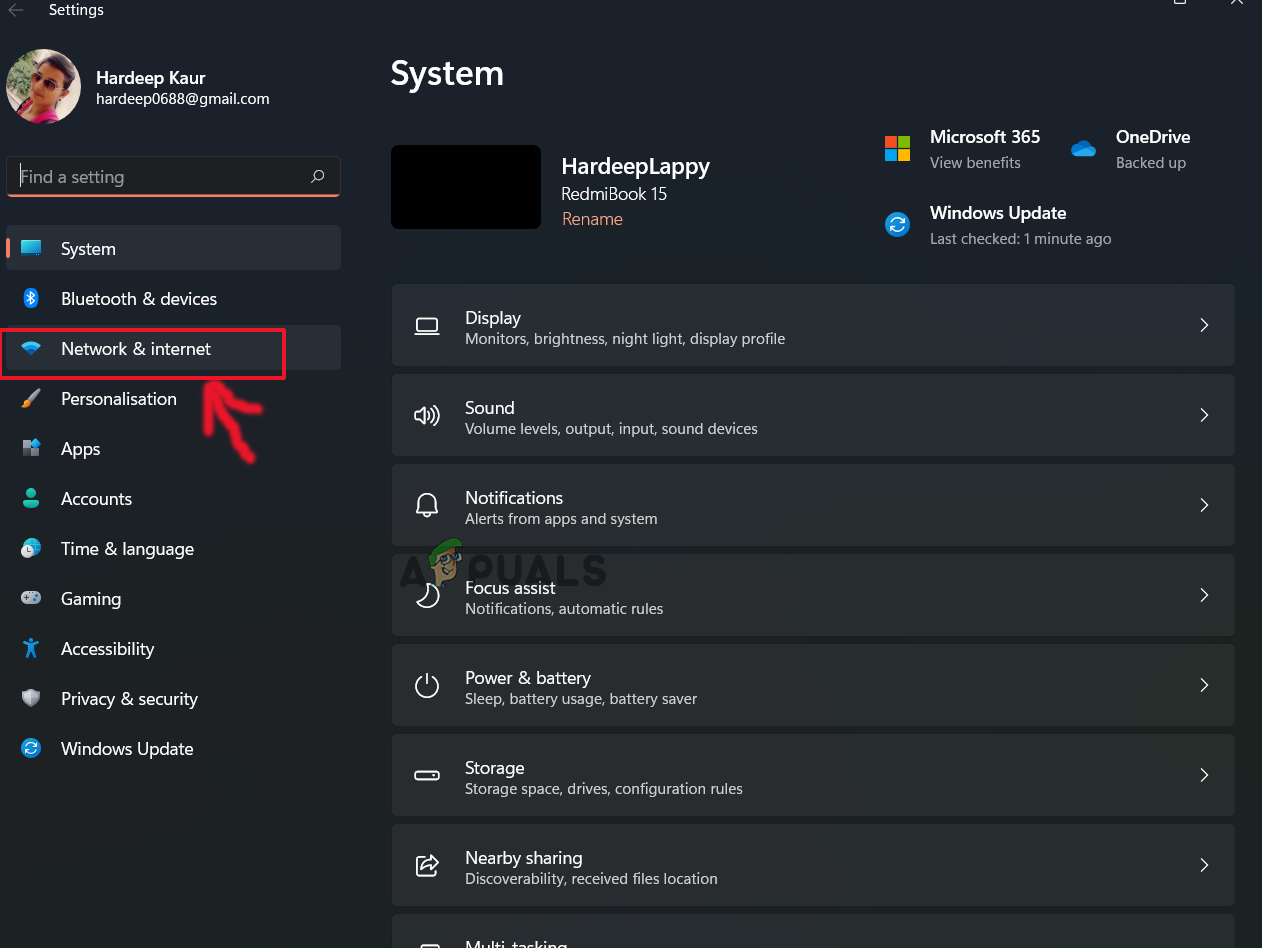
Click on Network & Internet - And then click on the Advanced Network settings, and choose the Network Reset option.
Click on Network Reset - Then on the next screen, click on Reset Now, if prompted then click on Yes to confirm
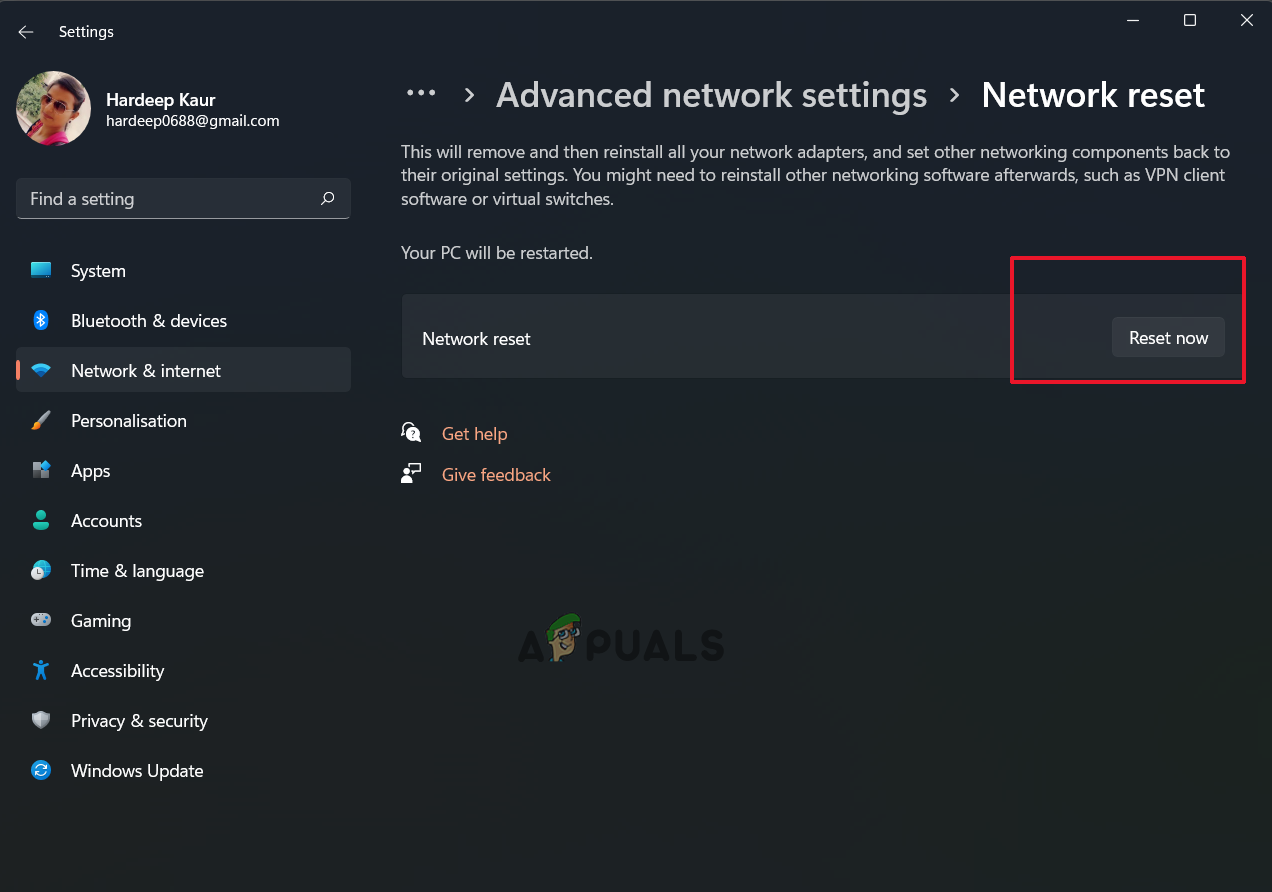
Click on Reset Now - Wait for the process to complete.
Launch the Netflix application and check if the problem is fixed or not.
5.2 iOS:
- Click on the Settings icon and then click on the General option.
- Now scroll down and click on the Transfer or Reset iPhone option.

Navigating to Reset Options - Then click on the Reset option
- Click on the Reset Network Settings
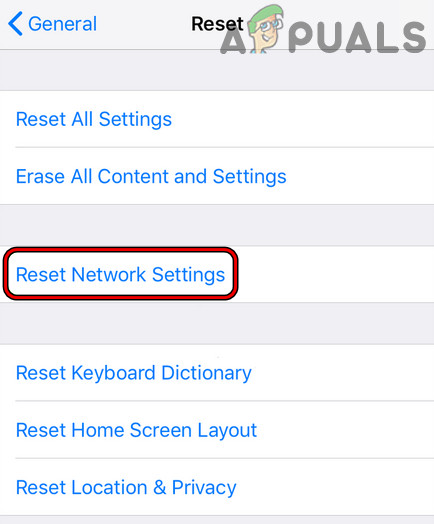
Tap on Reset Network Settings on iPhone - Now follow the steps, complete the process, launch the Netflix application, and check if the issue is resolved.
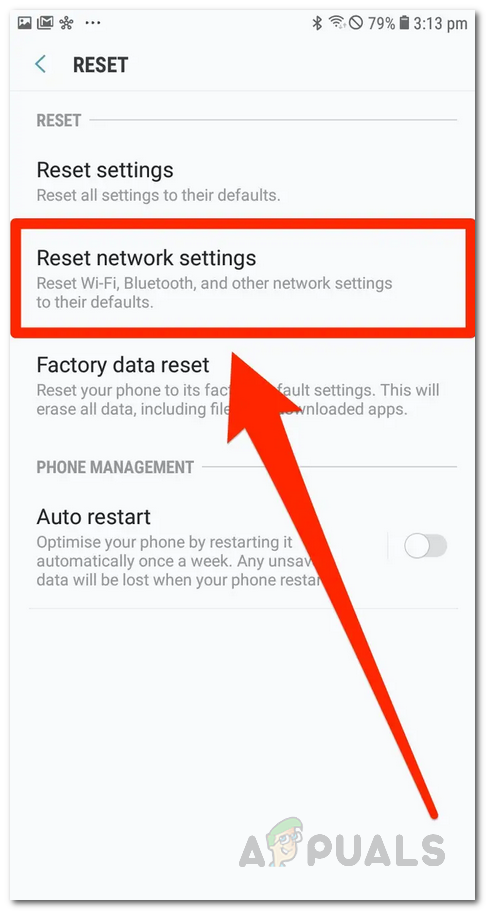
5.3 Android:
- Click on the Settings icon and click on the General Management option.
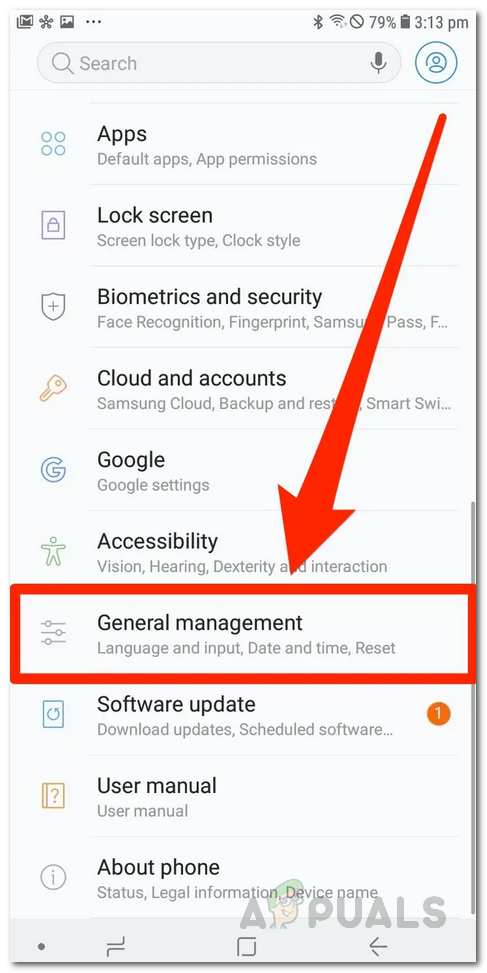
Android Settings - Now tap on the Reset option and click on the Reset Network Settings option.
Resetting Network Settings - Wait for the resetting process to finish.
- Then once the process is done, launch the application and check if the issue is resolved or not.
6. Reinstall Netflix
If none of the above methods worked for you, try reinstalling the application and check if it helps solve the issue.
You can delete the application from your iPhone or Android device by pressing the icon and clicking Uninstall.
Once you uninstall the application completely, then reinstall it. Android device users need to open Google Play Store app and search for Netflix and install the app. Once installed, launch the Netflix app and check if the problem is resolved.
The iPhone device users need to open the App Store and search for Netflix in the search bar. Then click on the Get button to download and install it. Now launch the application and log in with your credentials and check if the issue is resolved or not.
6.1 Windows:
If you are running the Netflix application on the Windows OS, follow the steps to reinstall it.
- Click on the Start, then in the search box, type Control Panel
- Launch Control Panel and click on Uninstall a Program under the Programs option

Uninstall a Program - And click on Netflix and choose Uninstall.
- Wait for the uninstall process to complete and restart the system.
Once your PC boots, open the Microsoft Store, search for Netflix, and install the application; once installed, launch and log in with your credential and check if the error is fixed.
7. Contact Netflix Support
If you are still unable to solve the issue, you can always contact the Netflix support team, and they will revert you with a solution. To contact Netflix support, visit https://help.netflix.com/en/ and describe the issue you are facing, and they will revert you with a solution.
These are the solutions you need to try to fix Netflix says “Unable to Connect” error message. Follow the workarounds given carefully to solve the error, and start watching your favorite movies and series on Netflix.