[FIX] Error code 2203 When Installing a Program
The error code 2203 typically pops up when you’re trying to install a program that requires admin access without sufficient permissions. This problem is reported to occur with various different programs and it’s confirmed on Windows 7, Windows 8.1, and Windows 10.
As it turns out, there are several different causes that might end up triggering this particular error during the installation of a program or game:
- Missing admin access – The most common cause that will produce this error is an instance where the installer doesn’t have admin rights to copy the necessary files. In this case, you will be able to fix the problem by forcing the installer to open with admin rights.
- Temp owner is not owned by the current user account – It’s also possible that you’re seeing this error code due to the fact that the installer needs to temporarily place some files inside the temp while installing the program but the current permissions prevent it from doing so. In this case, you should be able to fix the problem by taking full ownership of the temp folder.
- Antivirus interference – If you’re using Kaspersky or Avira, you can expect a false positive to block the installation. However, this problem can also occur due to the fact that the program you’re trying to install is not signed by a verified publisher. In this case, you will need to disable both your native antivirus and your built-in firewall in order to fix this problem.
Method 1: Running Installer with Admin Access
One of the most common instances that are confirmed to produce the error code 2203 is when the installer doesn’t have sufficient permissions to copy files of this program inside the installation folder or use the temp folder during the installation phase.
If this scenario is applicable, you should be able to fix the problem by ensuring that you’re logged in to an Administrator account and forcing the installer to open with admin rights.
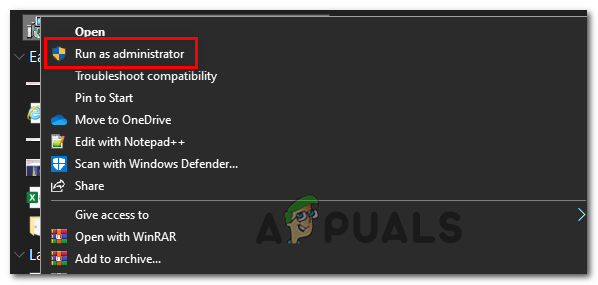
To open the program’s installer with admin rights, simply right-click on it and choose Run as Administrator from the newly appeared context menu. Then, at the UAC (User Account Control Prompt), click Yes to grant administrative privileges.
Then, follow the next of the remaining instructions normally and see if you can complete the installation without seeing the same error code 2203.
If the error code returns, move down to the next potential fix below.
Method 2: Taking Ownership of the Temp Folder
The second most common instance that will spawn the error code 2203 is an instance in which the installer needs to make use of the temp folder to store some files temporarily, but can’t use it because the user account that you’re using doesn’t have ownership of the temp folder.
In this case, the fix is simple but the exact procedure a little tedious – You will need to take ownership of the temp folder before trying the installation again.
If you’re not sure on how to do this, follow the instructions below:
- Press Windows key + R to open up a Run dialog box. Next, type ‘%temp%’ inside the text box and press Enter to open up the Temp folder.
- Once you’re inside the temp window, press the up icon in File Explorer to backtrack to the Local folder.
- After you’re inside the local folder, right-click on the temp folder and click on Properties from the newly appeared context menu.
- Inside the Temp Properties screen, click on the Security tab, then click on the Advanced button (under Permissions for System).
- Once you’re inside the Advanced Security Settings for Temp, click on the Change hyperlink (associated with Owner).
- Inside the Select User or Group screen, type ‘Everyone’ and press Enter then Apply to save the changes.
- Now that you’re back inside the Temp Properties screen, click on the Edit button (under the Security tab) to change the permissions.
- Next, click on Add, create a new account called ‘Everyone’ then go ahead and give it full permissions by checking each Allow box before clicking Apply to save the changes.
- When prompted by the User Account Control prompt, click Yes to accept the modifications and grant admin rights.
- Next, restart your computer and attempt the installation again once the next startup is complete.
If the same error code 2203 is still occurring, move down to the next potential fix below.
Method 3: Temporarily Disable the Firewall/Antivirus
As it turns out, this problem can also be caused by an overprotective antivirus suite that ends up blocking the installation due to a false positive. This problem is confirmed to occur with Avira and Kaspersky, but Windows Defender can also cause this problem with installers that aren’t published by a verified publisher.
If you’re using a 3rd party tool, you should be able to circumvent the apparition of the error code 2203 by disabling the real-time protection before starting the installation that was previously producing the error.
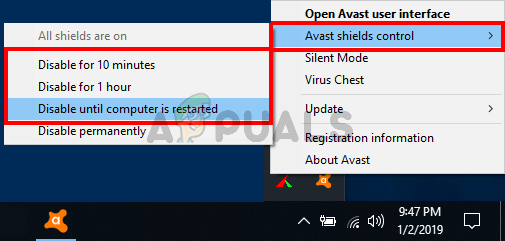
Of course, if you’re using a 3rd party suite, the steps of disabling the real-time protection will be different. Fortunately, most security suite will allow you to do this directly via the tray-bar icon – Right-click on it and see if you can identify an option that disables the AV.
On the other hand, if you’re seeing this error with Windows Defender while trying to install an unsigned piece of software, you’ll likely need to temporarily disable both the Antivirus component and the firewall in order to avoid the error.
If this scenario is applicable, follow the instructions below:
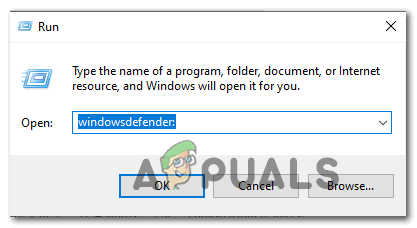
- Press Windows key + R to open up a Run dialog box. Next, type ‘windowsdefender:’ inside the run box and press Enter to open up the Windows Security menu.
Opening Windows Defender - Once you’re inside the Windows Security menu, click on Virus & threat protection, then click on the Manage settings hyperlink (under Virus & threat protection settings).
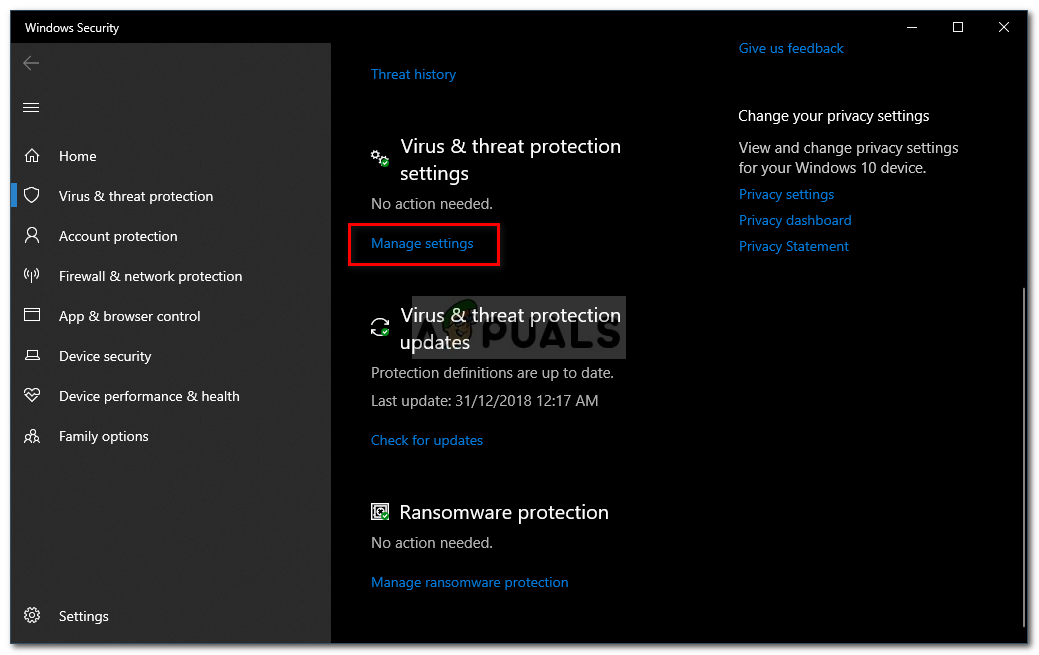
Virus and Threat Protection Settings - At the next window, simply disable the toggle associated with Real-time protection and save the changes.
- Go all the way back to the first Windows Security window, then click on Firewall & network protection.
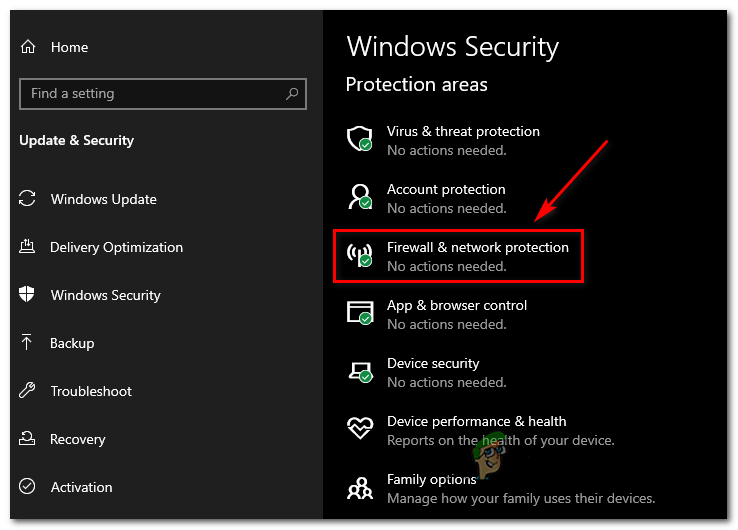
Accessing the Firewall and Network Protection menu - At the next screen, click on the network that is currently active, then disable the toggle associated with Windows Defender Firewall.
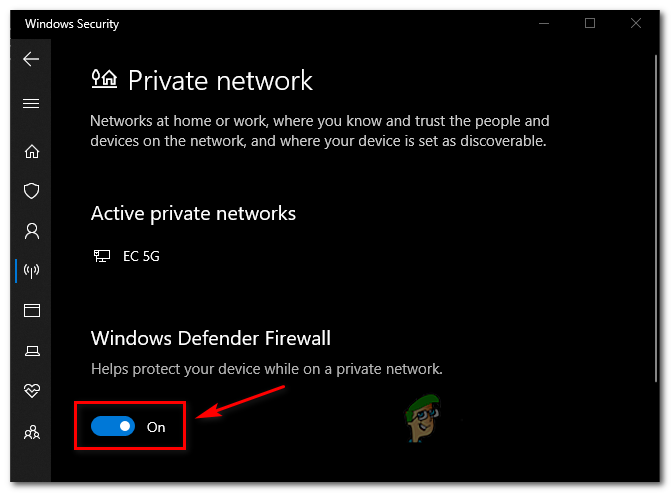
Disabling the Firewall component of Windows Defender - Now that you’ve disabled both components, restart your computer and retry the installation once the next startup is complete.


