How to Fix ‘Error 1000’ in Blade and Soul
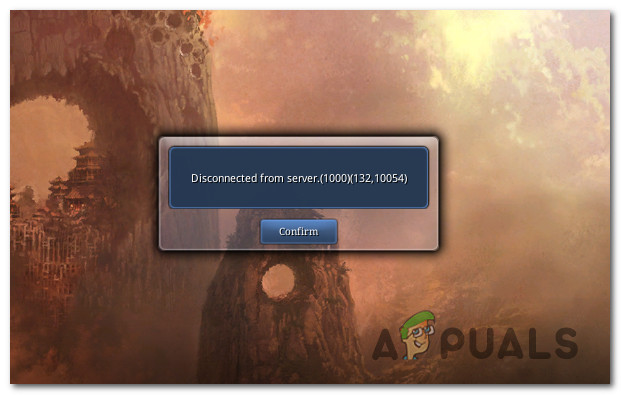
A lot of Blade and Soul players are reporting that they’re regularly getting the ‘Disconnected from server (1000) errror’ immediately after the game crashes unexpectedly. This game-breaking error is reported to occur on every recent Windows version and it doesn’t seem to be caused by a specific in-game action.
After investigating this issue thoroughly, it turns out that there are several different scenarios that might trigger this error. Here’s a shortlist of potential culprits:
- Bad latency speed – As it turns out, one of the most common causes that might be responsible for this error code is an unreliable Internet connection that makes the measured latency so bad that the connection with the game server cannot be measured. In this case, your only hope at fixing the problem without having to upgrade your ISP plan (or switch over to a different provider) is to use a ping booster to alleviate the problem.
- The connection is blocked by Windows Defender Firewall – If you’re using a modified executable of Blade and Soul, it’s quite common for the built-in security suite (Windows Defender Firewall) to block the connection with the game server due to a false positive. In this case, you can resolve the conflict by whitelisting both the game executable and the ports used during the connection with the game server.
- UPnP is Disabled – According to some affected users, this issue can also appear if Universal Plug and Play is disabled in your router settings. It makes sure if you think about it since the ports used by the game need to be forwarded automatically in order for the connection to run uninterrupted. To correct this behavior, you need to access your router settings menu and enable UPnP from the Advanced settings menu.
- TCP / IP inconsistency – It’s been confirmed that this game error can also be triggered by inconsistent temporary TCP and IP data that the network connection is currently relying on. In this case, a Winsock reset done from an elevated Command Prompt should take care of the problem swiftly.
- Third party AV conflict – As it turns out, you can also expect to see this error if you’re actively using Avira, Comodo Antivirus, and a couple of other 3rd party security suites that have the habit of terminating the connection to the game server due to a false positive. In this case, you can fix the problem by whitelisting, disabling, or uninstalling the problematic antivirus suite.
- Inconistent DNS Range – If you’re using an ISP that is actively using Level 3 Nodes, chances the connection to the game server is terminated with this error due to the fact that your ISP has automatically assigned an inconsistent DNS. In this case, you can change it manually with the DNS range supplied by Google.
Now that you know every potential scenario that might cause this error, here’s a collection of methods that are known to fix this particular problem:
Method 1: Using a Ping Booster
In most cases, this particular error is indirectly caused by an unreliable Internet connection that makes the game client lose connection with the game server. This occurs for several different reasons (from TCP / IP inconsistencies to Level 3 ISP nodes that make lagging an underlying issue).
If this scenario is applicable to your particular connection, you should be able to fix the problem by using a ping booster utility like WTF Fast that improves your latency by routing your connection through a high-speed server while keeping in mind the ISP range.
WTF Fast is superior to other ping boosters because it leverages machine learning to detect and use the most optimized path for your game connection.
If you want to use WTF Fast ping booster to prevent the error 1000 from appearing inside Blade and Soul again, follow the instructions below:
- Open your default browser and visit the official download page of WTF Fast. Once you’re inside, click on Start your free Trial.

Downloading the latest version of WTF Fast - Next, follow the on-screen instructions to sign in for the free trial. After this, follow the instructions below to complete the registration and create a new WTF Fast account, then download the desktop application and sign in with the newly created account.
Signing into the newly created WTF Fast account - Start the WTF Fast service and use the free trial to see if this ping booster alleviates the connection-related crashes with Blade and Soul. Only once you’ve tested it properly and confirmed that the error 1000 stopped occurring altogether should you consider going for a paid subscription.
If using a ping booster utility didn’t fix the problem in your case, move down to the next potential fix below.
Method 2: Whitelisting the Game inside Windows Defender Firewall
As it turns out if you’re running a modified executable of Blade and Soul, chances are the reason why you’re getting these random disconnects (error 1000) is due to a false positive that determines your antivirus or firewall to block the connection with the game server.
This issue is confirmed to occur with both 3rd party security suites and with the built-in protection due (Windows Defender and Windows Firewall). If you find yourself in this particular scenario, you should be able to fix the problem by whitelisting the game executable and ensuring that the TCP ports used by the game are opened.
If you’re using a 3rd party firewall or antivirus, there is no definitive guide for doing this because the steps will be different from software to software.
But if you’re using Windows Defender + Windows firewall, you can follow the instructions below for step-by-step instructions on whitelisting the Blade and Soul executable along with opening the required ports:
- Press Windows key + R to open up a Run dialog box. Next, type ‘control firewall.cpl‘ inside the text box and press Enter to open up the Windows Firewall window.
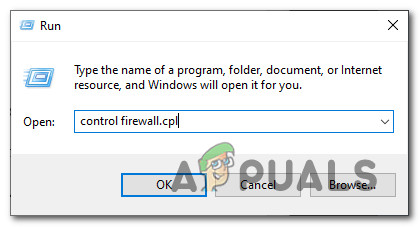
Accessing the classic firewall interface on Windows - Once you’re inside the Windows Defender Firewall screen, use the menu on the left-hand side to click on Allow an app or feature through Windows Defender Firewall.
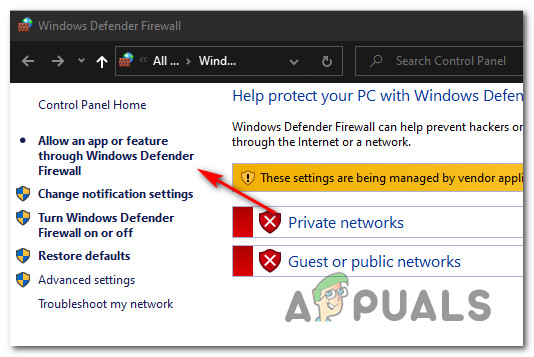
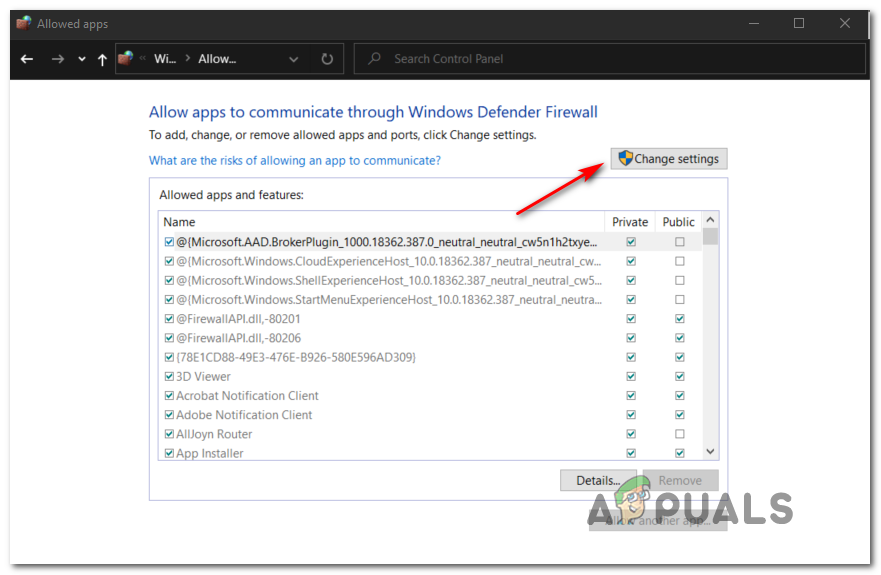
Allowing apps through Windows Defender Firewall - From the Allowed apps menu, go ahead and click on Change settings button, then click Yes at the UAC (User Account Control) prompt.
- Now that the list has become editable, click on Allow another app (directly under the list), then click on Browser and navigate to the location where you installed the Blade and Soul game.
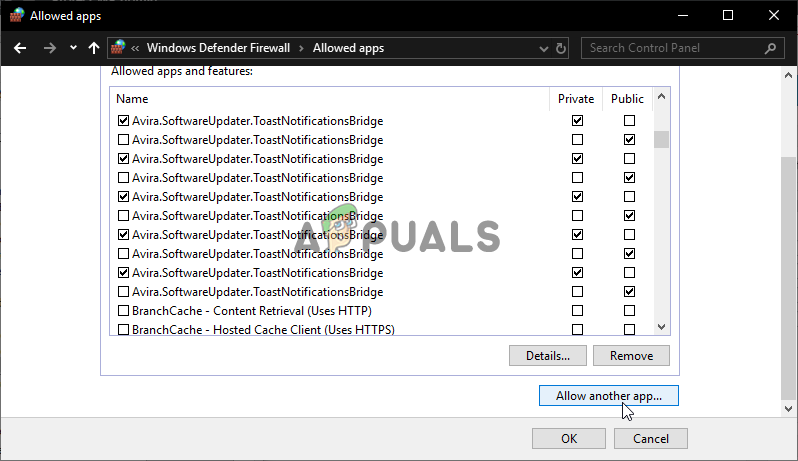
Allowing an app - Go ahead and add the main executable of Blade and Soul to the list of allowed items in Windows Firewall. Once you have added the entry, find it inside the Allowed apps and Features list to ensure that both the Private and Public boxes are checked.
- Once these modifications where enforced, save the changes, then return to the initial firewall menu (step 1). After you return successfully, click on Advanced Settings from the menu on the left.
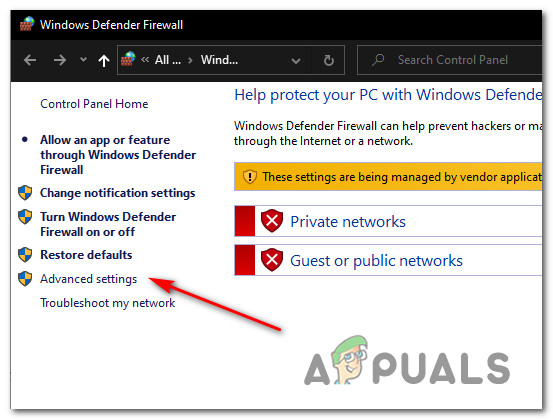
Accessing the Advanced Settings menu - Inside Windows Defender Firewall with Advanced Security, use the menu on the left to click on Inbound Rules, then click on New Rule.
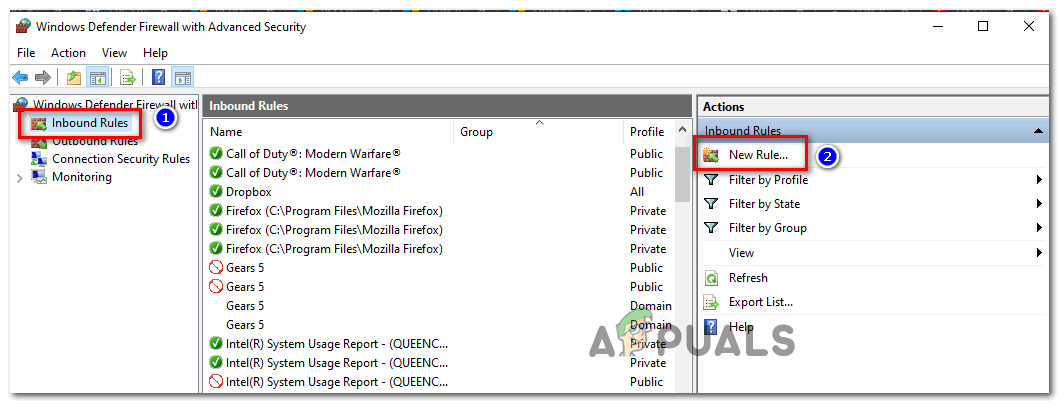
Creating a new firewall rule - At the first New Inbound Rule screen, click on Port when asked to select the Rule Type, then click on Next.
- Finally, choose TCP / UDP from the list of options available – this will allow you to enable specific ports.
- Next, ensure that the following TCP ports are whitelisted:
80

443

6600

10100

10241

10900

12100

27500
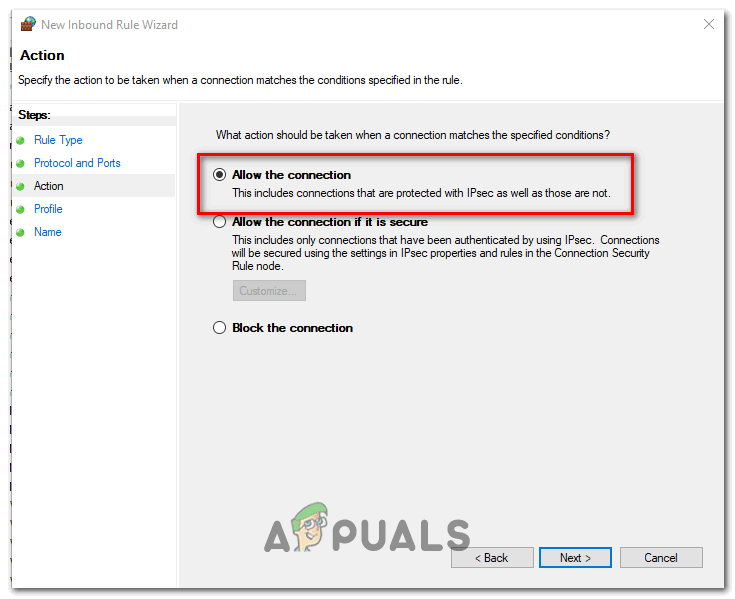
- Hit Next, then once you arrive at the Action prompt, click on Allow the connection and hit the Next button once again.
- Once you get to the Profile step, go ahead and enable the boxes associated with Domain, Private and Public before clicking on Next to save the latest changes.
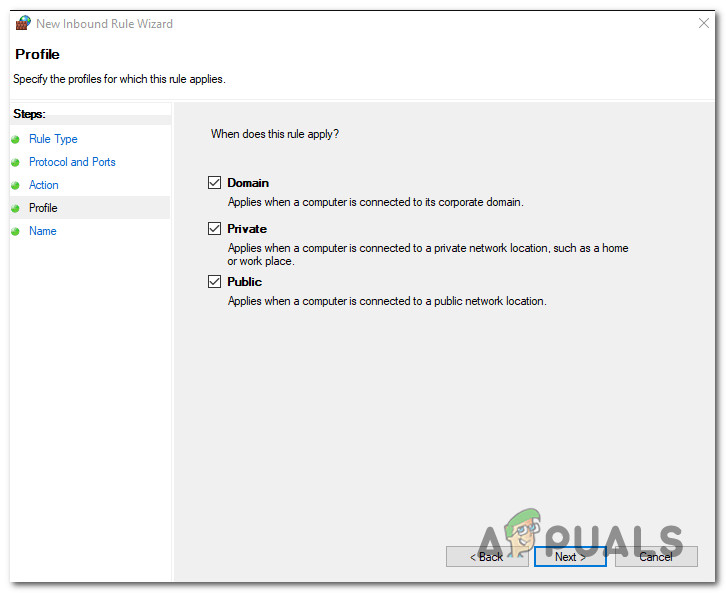
Enforcing the rule - Finally, restart your computer and see if the 1000 error with Soul and Blade is fixed once the next startup is complete.
Method 3: Enabling UPnP
If the methods above didn’t fix the issue or weren’t applicable, you should start focusing your attention on your router. It’s possible that you’re seeing the error 1000 occurring with Soul and Blade because the main ports used by the game are not being forwarded by your router.
In this case, the quickest way of fixing this problem is to enable UPnP (Universal Plug and Play) from the settings menu of your router – Keep in mind that UPnP is almost a universal feature at this point and you can expect to find it on every router model released in the last 5 years (including low-end models).
Unless you modified the default settings on your router, UPnP should be enabled by default. But in case you’ve made some changes to your router settings or you suspect this feature might be disabled by default, follow these instructions on enabling UPnP from your router settings.
Once Universal Plug and Play is enabled, restart both your router and your PC before launching the game again and see if the issue is now fixed.
In case the same problem is still occurring, move down to the next potential fix below.
Method 4: Performing a Winsock Reset
A network inconsistency caused by inconsistent TCP or IP data that’s affecting the stability of your Internet connection. If this scenario is applicable and the problem is caused by temporary data, you should be able to fix the problem by performing a Winsock reset.
This particular fix was confirmed to be effective by a lot of Soul and Blade players that were previously seeing this error code.
Here’s what you need to do to perform a Winsock Reset on your computer:
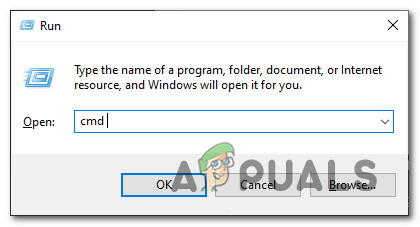
- Open up a Run dialog box by pressing Windows key + R. Next, type ‘cmd’ inside the text box and press Ctrl + Shift + Enter to open up an elevated Command Prompt. When prompted by the UAC (User Account Control), click Yes to grant admin access.
Opening an elevated CMD prompt - Once you’re inside the elevated CMD prompt, run the following commands individually in whatever order and press Enter after each one to effectively reset your TCP and IP temp data:
ipconfig /flushdns

nbtstat -R

nbtstat -RR

netsh int reset all

netsh int ip reset

netsh winsock reset
- Once every command is processed successfully, open up Soul and Blade once again and see if the problem is now fixed.
If the game still crashes with the same 1000 error, move down to the next potential fix below.
Method 5: Whitelist, Disable or Uninstall 3rd party AV
According to some affected users, Avira Antivirus, Comodo Antivirus, and a few other 3rd party suites can cause this problem with Blade and Soul after they end up effectively blocking communications between the game server and your end-user computer.
If this scenario looks like it could be applicable, your first attempt at fixing the issue should be to whitelist the main Blade and Soul launcher and every port that the game is known to use:
80
443
6600
10100
10241
10900
12100
27500
Keep in mind that the exact instructions on whitelisting an executable and the associated ports will be different from 3rd party suite to 3rd party suite. If you don’t know how to do it yourself, search online for specific instructions.
If you don’t want to go through this process or you already did to no avail, the next logical step is to try and disable the real-time protection of your AV right before launching the game – You can do this by right-clicking on the tray-bar icon of your 3rd party antivirus suite.
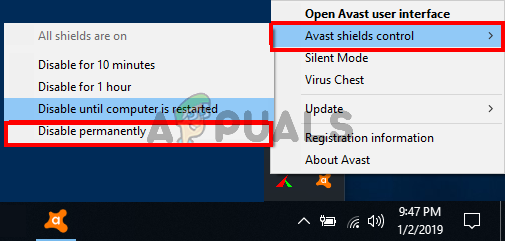
After the real-time protection of your 3rd party antivirus has been disabled, launch Blade and Soul once again and see if the issue is now fixed.
In case the issue is still persisting or your antivirus doesn’t give you the option to temporarily disable it, follow the instructions below to completely uninstall it and remove any remnant files associated with it to ensure that it’s not affecting commos between the game and the game server:
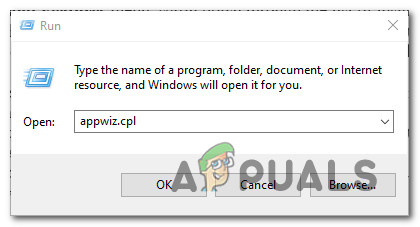
- Open up a Run dialog box by pressing Windows key + R. Inside the text box, press’ appwiz.cpl’ and press Enter to open up the Programs and Files menu.
Opening the Programs and Features screen - Once you’re inside the Programs and Features menu, scroll all the way down through the list of installed programs and locate the 3rd party antivirus that you suspect is conflicting with the game. When you locate it, right-click on it and choose Uninstall from the context menu that just appeared.
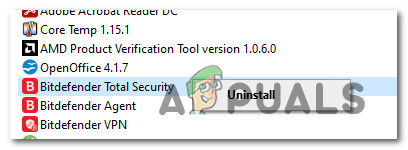
Uninstalling 3rd party suite - Inside the uninstallation screen, follow the on-screen prompts to complete the operation, then restart your computer once the 3rd party security suite is uninstalled completely.
- Finally, ensure that you also remove any remnant files left behind by the recently uninstalled security suite before restarting your computer.
- Once your computer boots back up, launch Blade and Soul once again and see if the problem is now fixed.
In case you are still getting regular disconnects with the same 1000 error, move down to the final potential fix below.
Method 6: Switching over to Google’s DNS
If none of the fixes above have worked for you, one final thing you should troubleshoot before concluding that the issue is entirely beyond your control is the DNS that is currently being used by your network connection.
There are certain scenarios in which Tier 3 ISPs might inhibit your ability to exchange information rapidly (as it’s required by multiplayer games) due to the assignment of a bad DNS range. In this case, one way to get around the issue is to transition from the default DNS servers to the equivalents provided by Google.
This potential fix is confirmed to work by a lot of Blade and Soul players that were previously getting 1000 regularly after being disconnected.
In case you’re looking for specific instructions on how to do this, follow the instructions below:
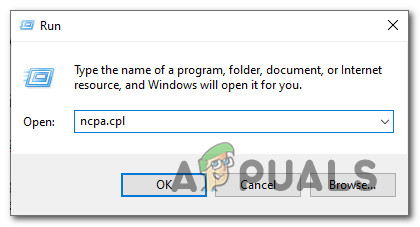
- Open up a Run dialog box by pressing Windows key + R. Next, type ‘ncpa.cpl’ and press Enter to open up the Network Connections window.
Opening the Network Connections window - Inside the Network Connections window, right-click on the connection that is currently active and click on Properties from the context menu. When you’re prompted by the UAC (User Account Control), click Yes to grant admin access.
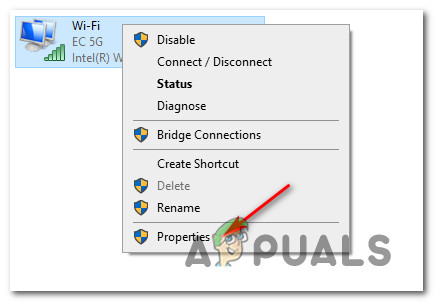
Choosing the correct connection Note: If you are using a wired connection, right-click on Ethernet (Local Area Connection). If you are using a wireless connection, right-click on Wi-Fi (Wireless Network Connection).
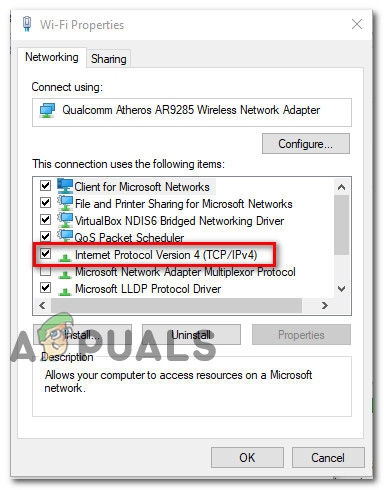
- Once you’re finally inside the Ethernet and Wi-Fi Properties menu, go ahead and click on the Networking tab, then find the section that says This connection uses the following items. When you get to this menu, click on the box associated with Internet Protocol Version 4 (TCP / IPV4), then click on the Properties button.
- Once you’re inside the Settings screen of Internet Protocol Version 4, click on General, then check the box associated with Use the Following DNS server address.
- Next, replace the values for Preferred DNS server and Alternate DNS server with the following:
8.8.8.8
8.8.4.4
Note: If you’d preferred to stay away from the DNS range supplied by Google, use the following values instead:
Preferred DNS server: 1.1.1.1
Alternate DNS server: 1.0.0.1
- Save the changes, then restart your computer and see if the issue is now fixed.


