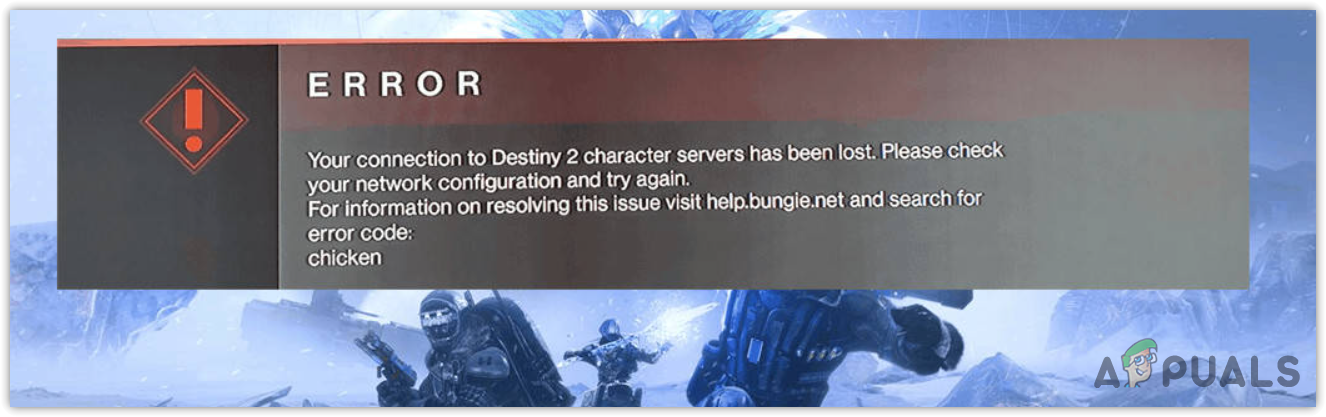
How to Fix Error Code ‘Chicken’ in Destiny 2?
Error code chicken is encountered by users facing connection issues when attempting to connect to the Destiny 2 servers. However, it’s not solely because of user-side network issues. Even though Bungie often attributes the error code chicken to the user’s network connection, it may also occur due to server-side problems at Bungie.
Network error codes in Destiny 2 frequently arise from using a Wi-Fi connection, which introduces more latency compared to an ethernet connection. Wi-Fi users commonly experience various network issues, including connection loss and packet loss, particularly when playing Destiny 2.
Nevertheless, different causes beyond Wi-Fi connection issues can result in error code “chicken.” While wireless connections are a predominant factor, the error can also be triggered by a corrupted cache, incorrect network settings, or issues originating from your ISP (Internet Service Provider).
Note: Utilize an ethernet connection if possible, as it will likely improve your internet speed and may fix the error code “chicken”.
1. Clear the Cache
Cache files are used to store temporary data that applications frequently need, thus reducing loading times.
Corrupted cache files can, however, cause issues with Destiny 2. Clearing cache data prompts the application to refresh the stored data. Follow the appropriate steps for your platform:
Steam:
- Open Steam.
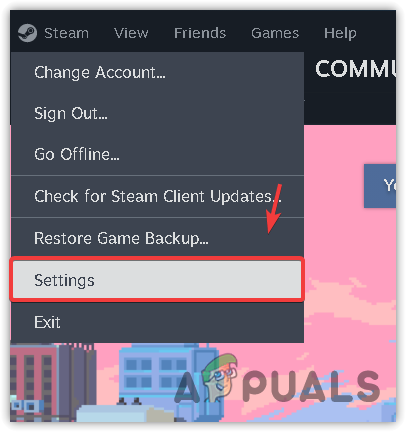
- Select the Steam menu at the top and choose Settings.
- Click on Downloads on the left side.
- Press the Clear Cache button to remove cached data.
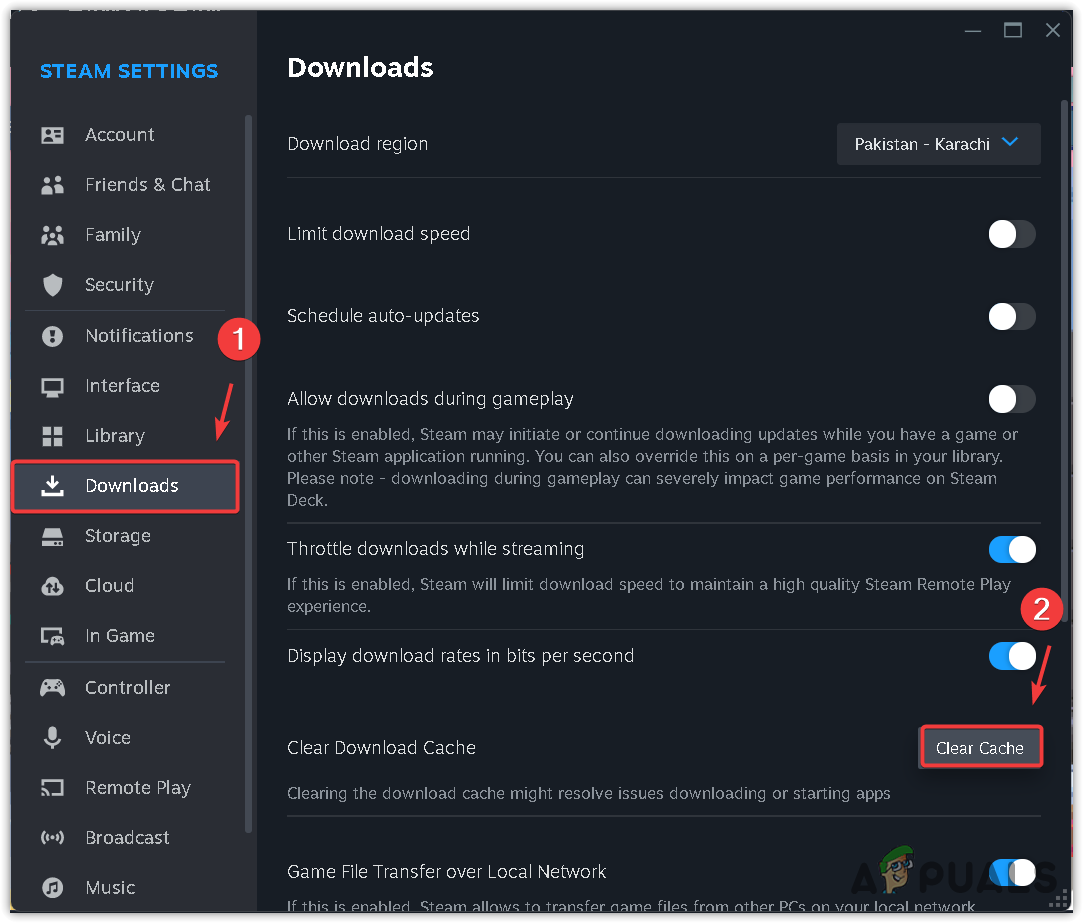
- After clearing the cache, verify if the issue persists.
Epic Games Launcher:
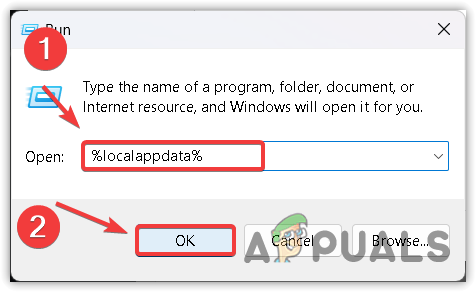
- Right-click the Start Menu and select Run.
- Type %localappdata% in the input box and hit OK.
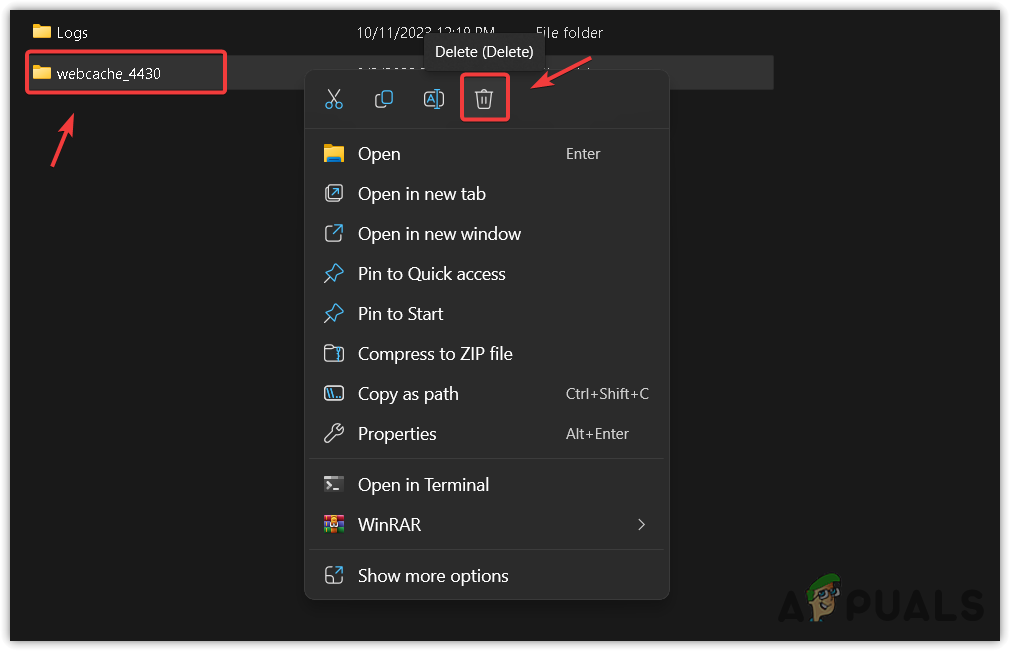
- Locate and open the EpicGamesLauncher folder.
- Access the Saved folder and delete one of the following folders: webcache, webcache_4147, or webcache_4430.
- Launch Destiny 2 to see if the issue is resolved.
On a Console:
- Press and hold the Power button to shut down the console fully.
- Disconnect the power cable from the back of the console.
- After waiting for about 5 minutes, power up the console again.
- Try launching Destiny 2 to check if the error persists.
2. Power Cycle Your Modem or Router
Given that error code “chicken” can be a network issue, initiating your troubleshooting with a power cycle of your router or modem may be beneficial.
- Unplug the power cable from your router or modem.
- Wait for at least 2-3 minutes before reconnecting the power.
- Allow the router to fully power up.
- Test Destiny 2 to verify if the problem has been resolved.
3. Change Your DNS Server
Improper DNS configuration may inhibit your ability to connect to the Bungie servers. Switching to Google DNS often prevents issues linked to poor DNS settings.
For Xbox console, check out this guide. For PlayStation users, visit this guide. For PC users, follow the steps below to transition to Google DNS.
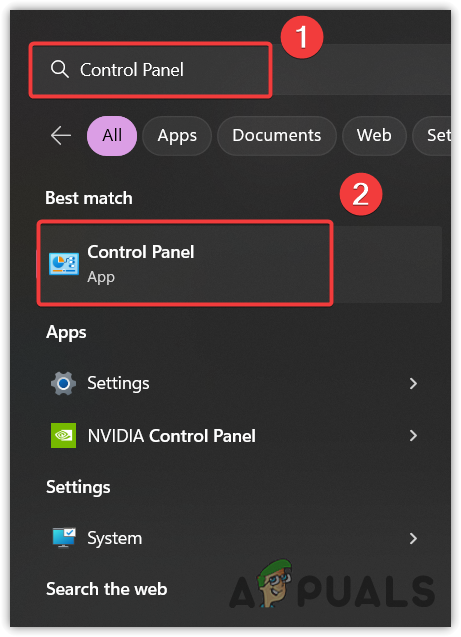
- Open the Start Menu and search for Control Panel. Press Enter.
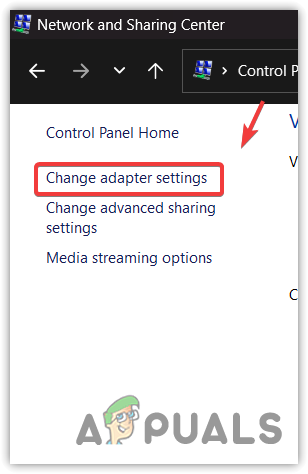
- Navigate to Network and Internet > Network and Sharing Center.
- Click on Change Adapter Settings on the left.
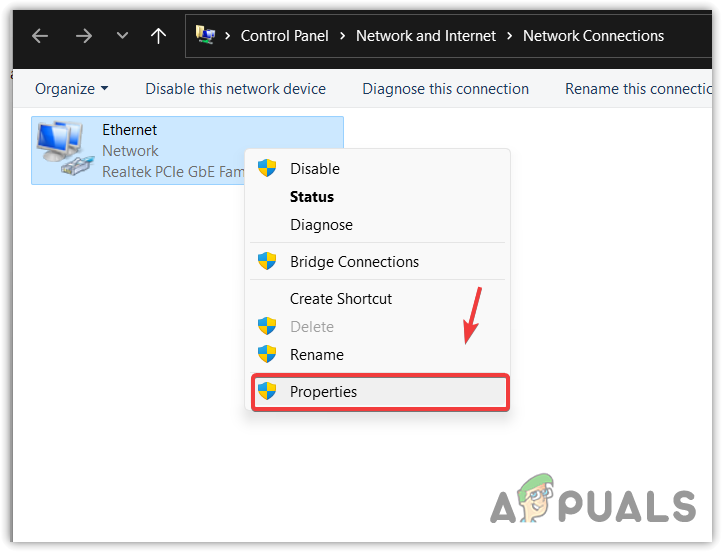
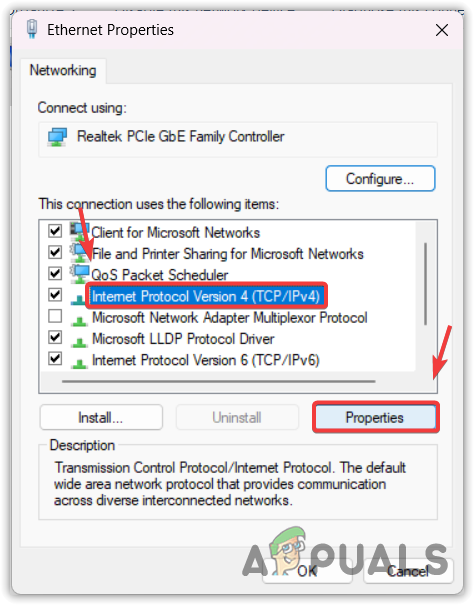
- Right-click your current network connection, whether Ethernet or Wi-Fi, and select Properties.
- Select Internet Protocol Version 4 (TCP/IPv4) and press Properties.
- Choose Use the following DNS server addresses and enter Google’s DNS as follows:
Preferred DNS: 8.8.8.8
Alternate DNS: 8.8.4.4
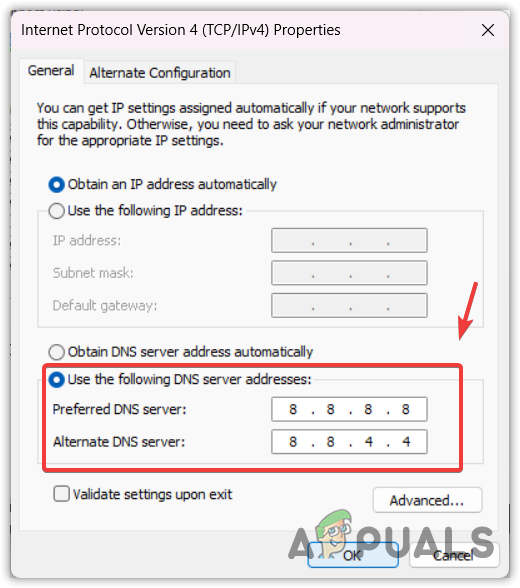
- Click OK to save the new DNS settings.
4. Port Forward Destiny 2 Ports
Without port forwarding, your firewall may block the connection to the service or device. Bungie, the developer of Destiny 2, suggests port forwarding to resolve connection issues. Follow these steps to set up port forwarding for Destiny 2.
4.1 Obtain IPv4 Address and Default Gateway
Before you can port forward, you must obtain two crucial pieces of information: your router’s control panel address and your device’s IP address for port forwarding. Here’s how to find them:
Xbox
- Go to Profile & system > Settings > General > Network settings.
- Select Advanced Settings to view your IPv4 address and default gateway.
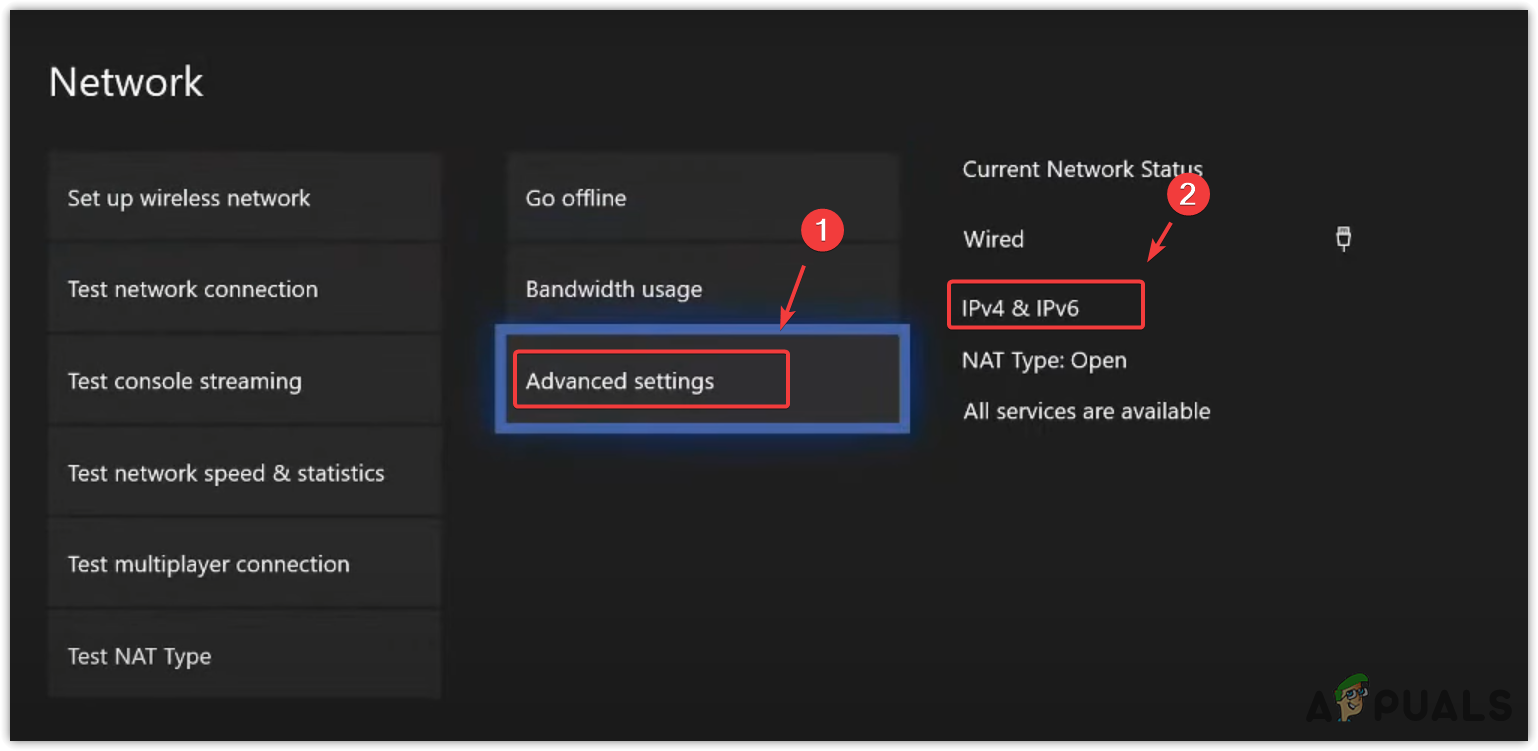
- Note down your IPv4 address and default gateway, then proceed with the next steps from a PC or mobile device.
PlayStation
- Navigate to Settings > Network > View Connection Status.
- Write down the IPv4 address and default gateway displayed.
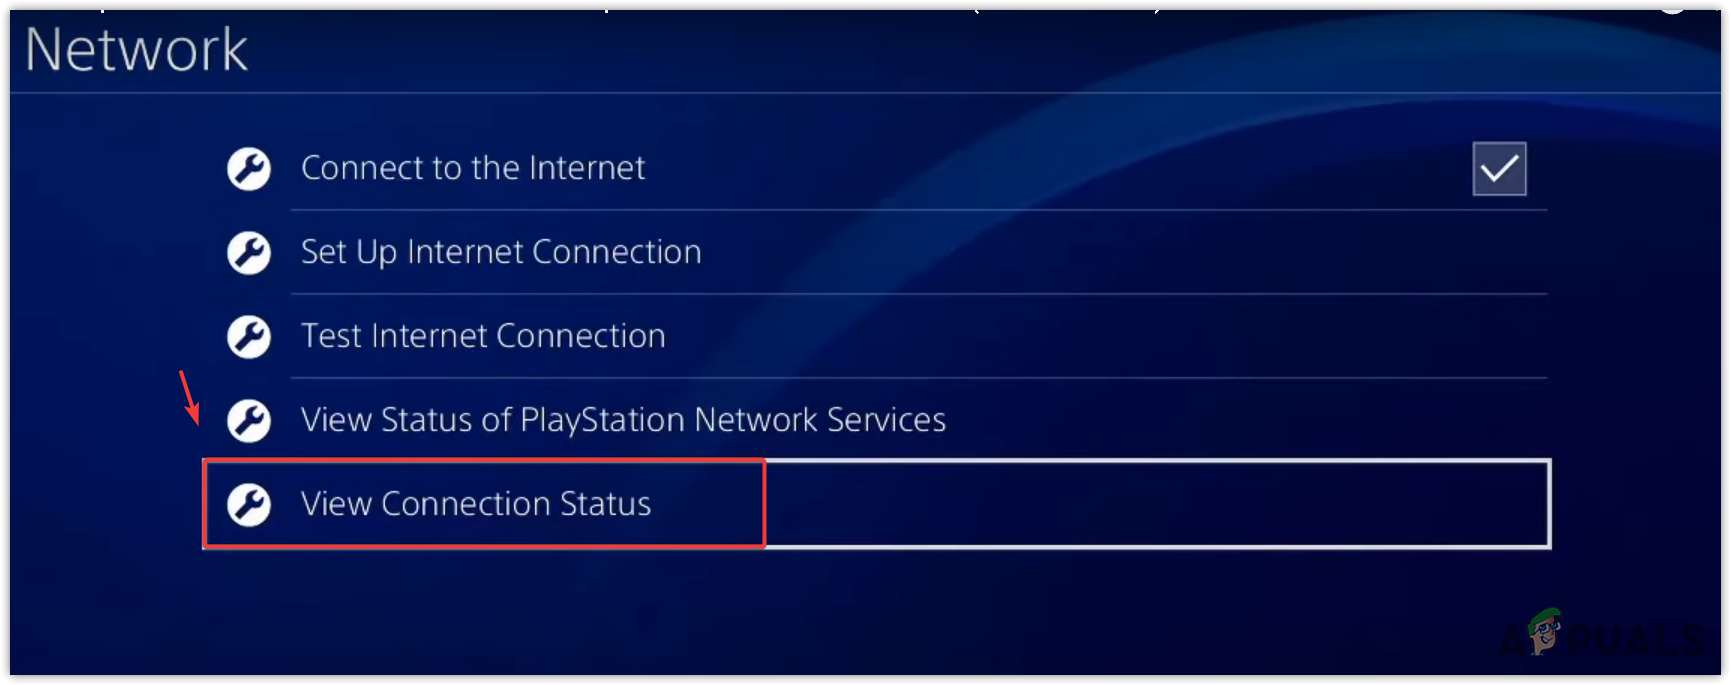
- Continue to the steps for port forwarding Destiny 2.
PC
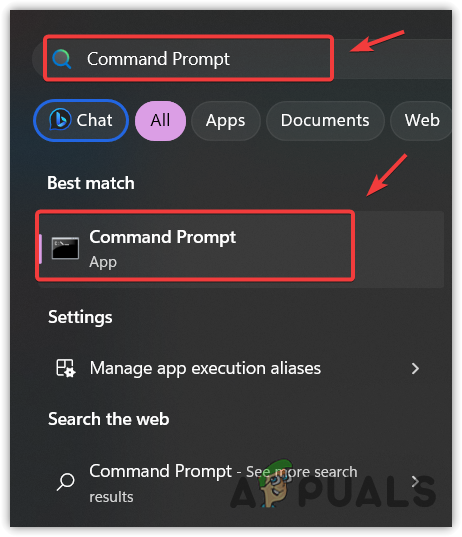
- Click on the Start Menu.
- Type “Command Prompt” and press Enter to open it.
- Input “ipconfig” and press Enter to display network details.
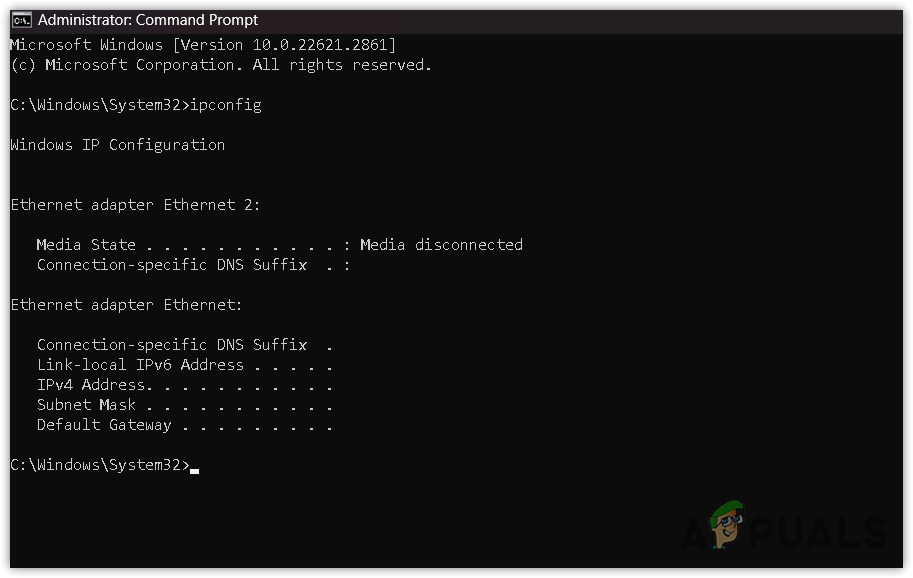
- Record the IPv4 address and your router’s default gateway.
4.2 Apply Port Forwarding
With the IP address and default gateway recorded, we can begin the port forwarding process for Destiny 2. Use a mobile device, PC, or any device with a web browser to complete the following steps:
- Open your browser and enter the default gateway you noted earlier.
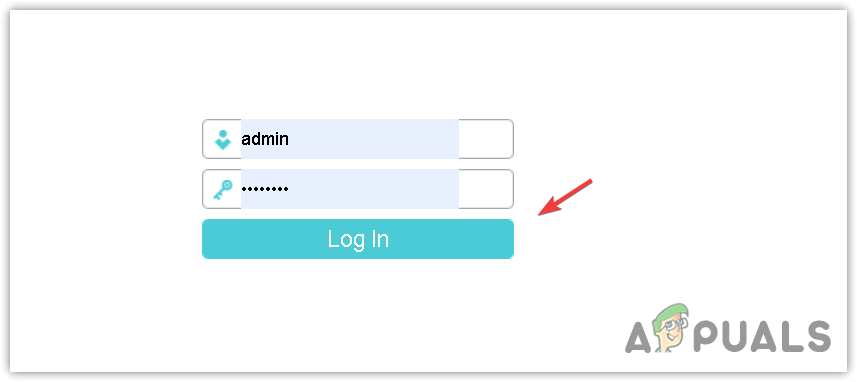
- Press Enter to access your router’s control panel.
- Sign in with the credentials. If you’re unsure of these, ask your ISP (Internet Service Provider) or search for your router’s model number. The information may also be on the back of your router.
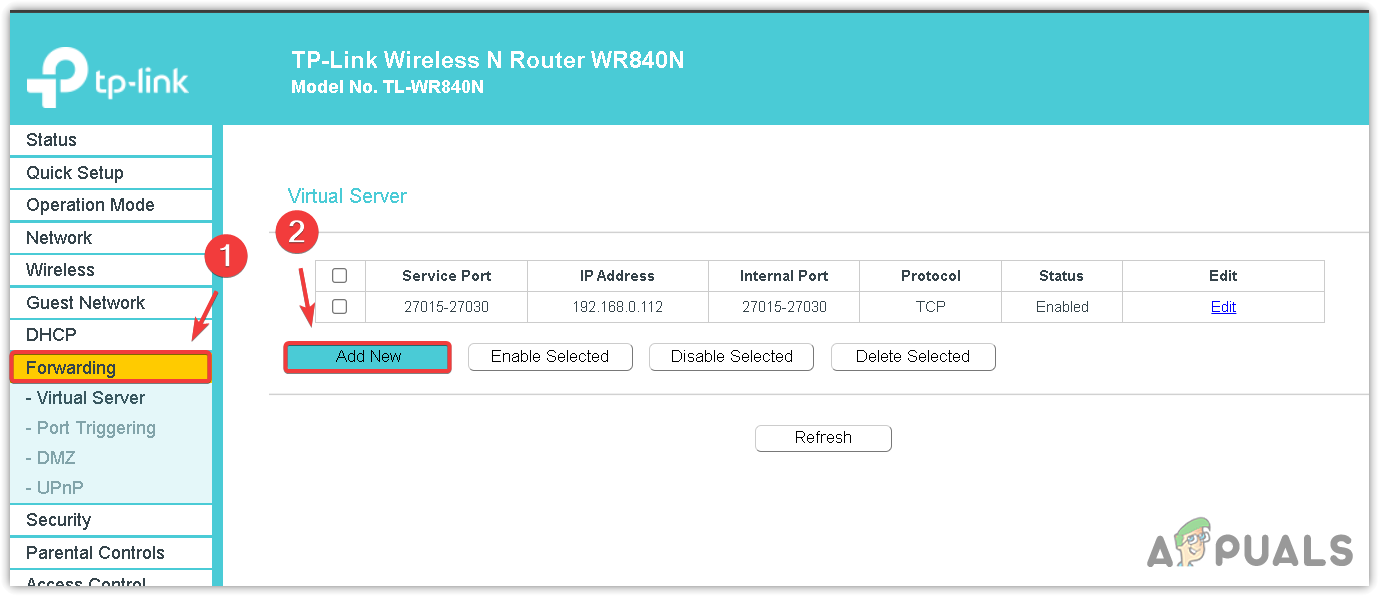
- Navigate to the Port Forwarding section, or look for Virtual Server or Forward if it’s not immediately apparent.
- In the port forwarding settings, click Add New.
- Add the Destiny 2 ports according to your device as shown in the list below:
Ports:
[Playstation 4] Destiny 2
- TCP: 1935,3478-3480
- UDP: 3074,3478-3479
[Xbox One] Destiny 2
- TCP: 3074
- UDP: 88,500,1200,3074,3544,4500
[PC - Blizzard] Destiny 2
- UDP: 3074,3097
[PC - Steam] Destiny 2
- TCP: 27015-27030,27036-27037
- UDP: 3074,3097,4380,27000-27031,27036
- For illustration, I will use the PC ports. Enter 27015-27030 in the Service Port fields. If you have options for Internal and External Ports, input 27015 as the internal port and 27030 for the external port.
- Select TCP from the Protocol dropdown.
- Input the designated IP address for your device that was previously noted.
- Click OK to add the port.
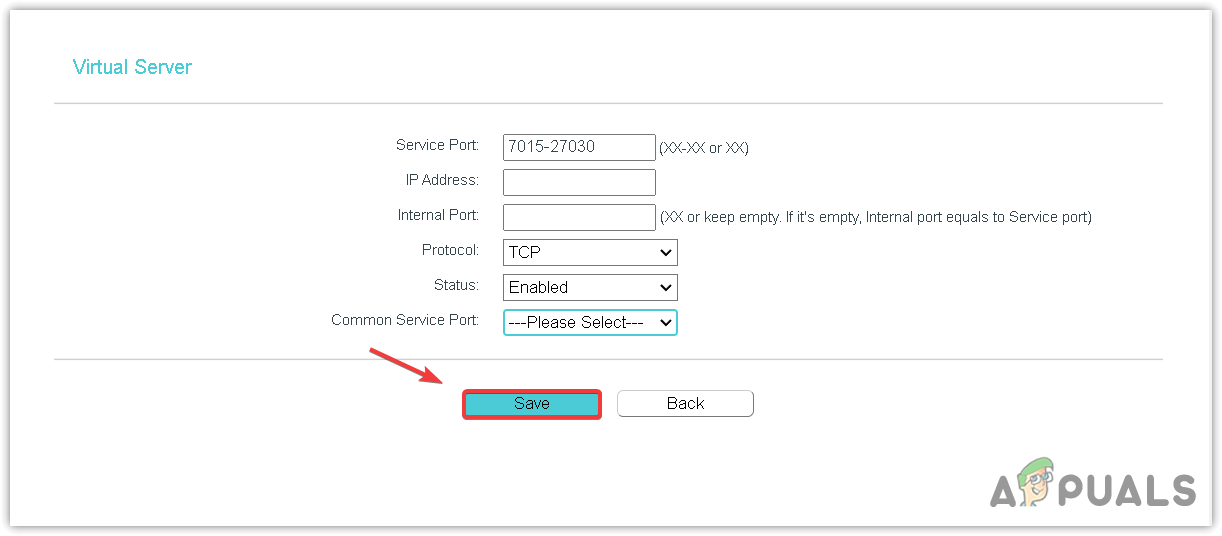
- Repeat these steps for the TCP port range 27036-27037.
- To open UDP ports, click Add New and select UDP as the protocol.
- Enter UDP port number 3074 and the IP address of your device, then click Save.
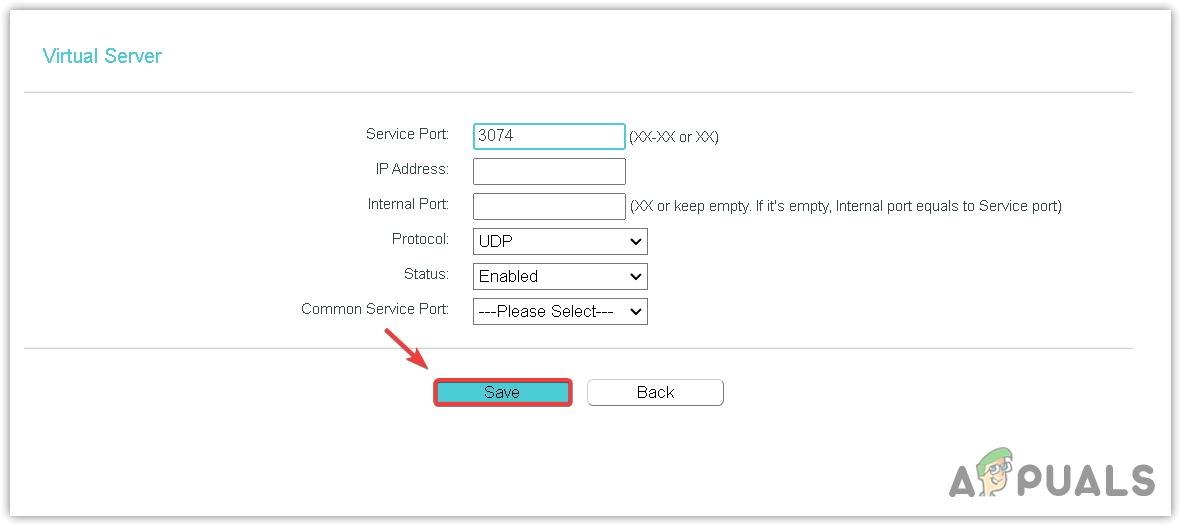
- Apply the same procedure for the remaining UDP ports: 3097,4380,27000-27031,27036.
- If you’re a PC user, proceed to open the same ports in Windows Defender.
4.3 Open Ports from Windows Defender
Since there’s a myriad of antivirus software, we will only cover Windows Defender here. If you’re using another antivirus program, this guide may assist you in opening ports in your antivirus firewall settings.
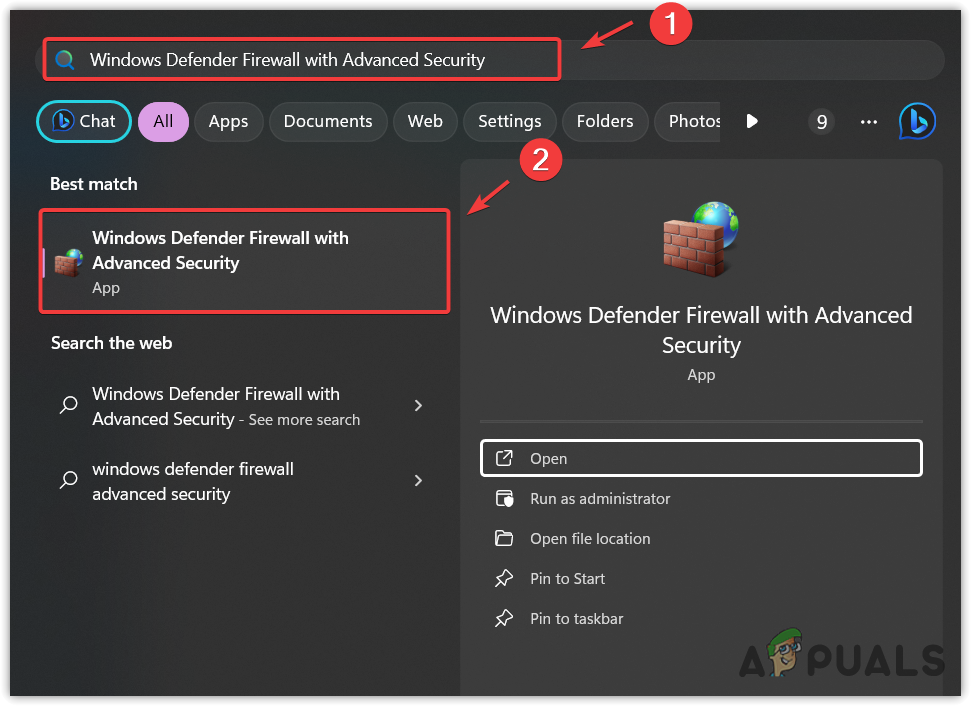
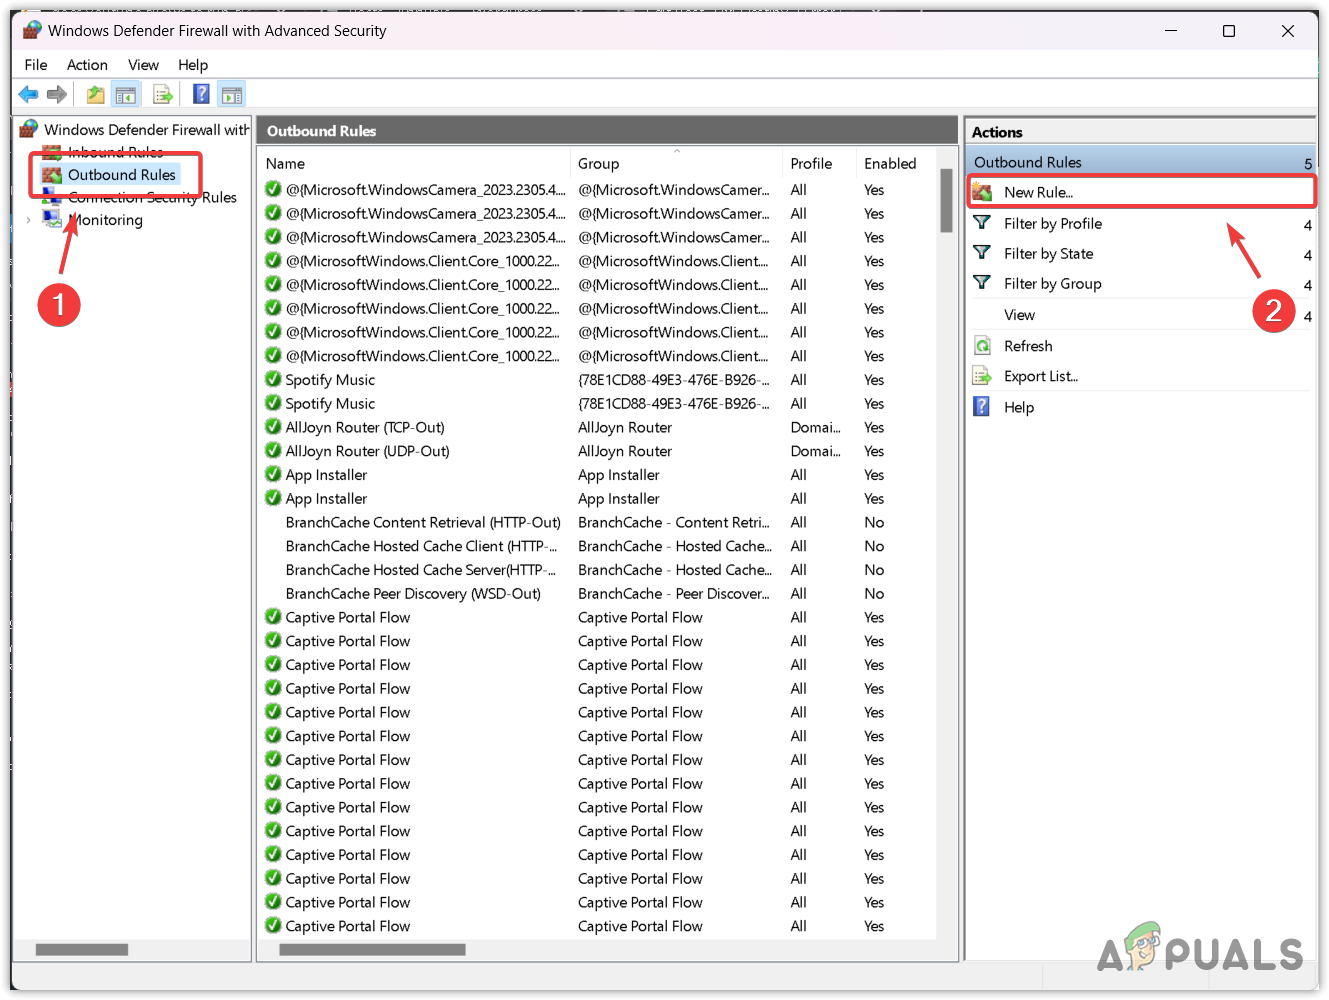
- From the Start Menu, type Windows Defender Firewall with Advanced Security and press Enter.
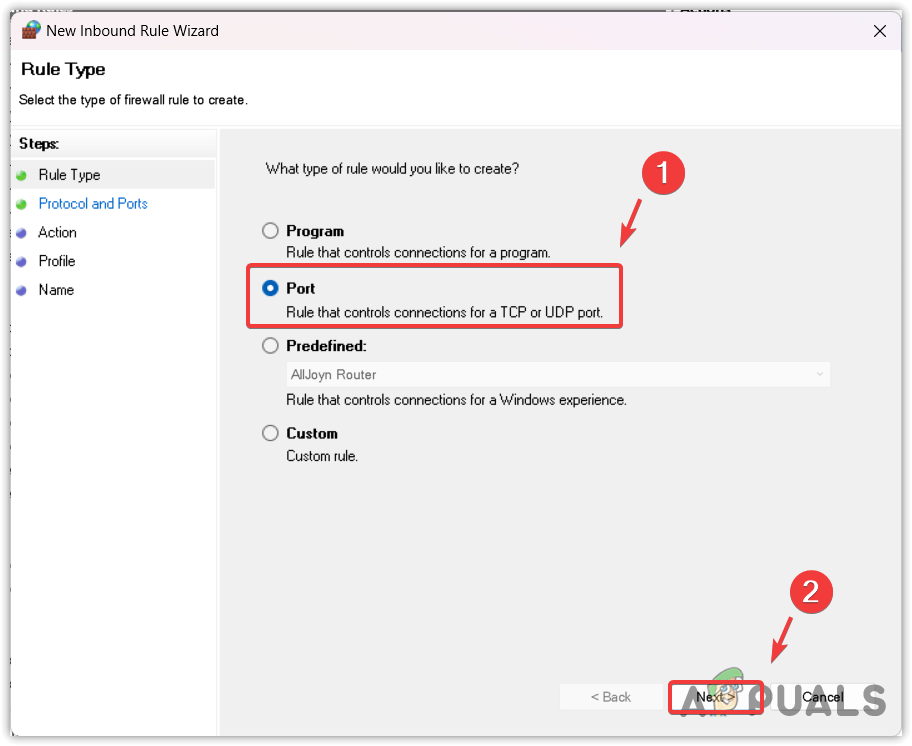
- Click on Inbound Rules, then select New Rule.
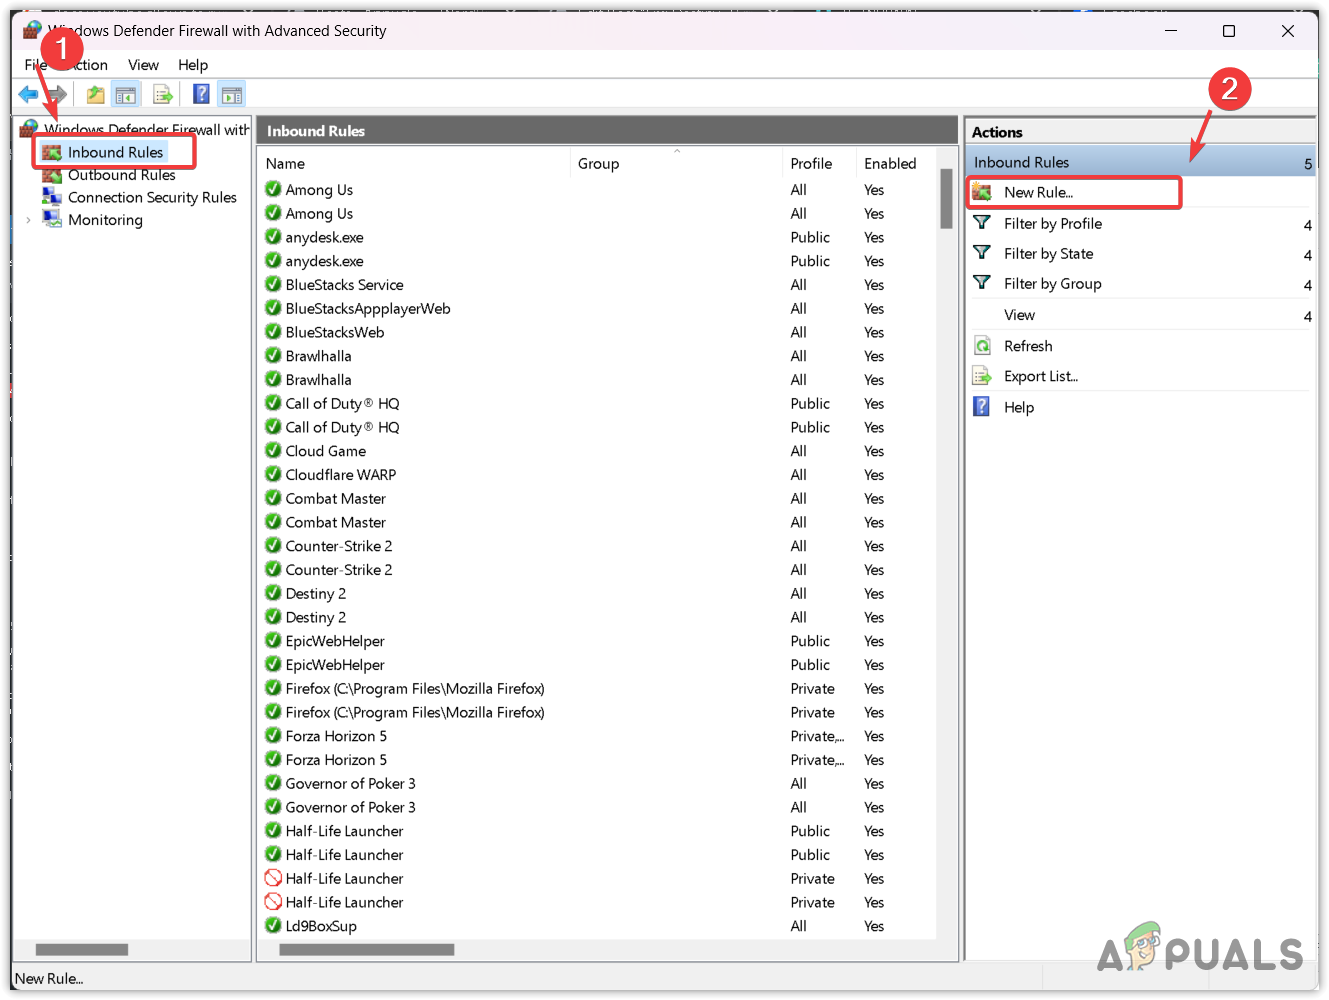
- Choose Port and press Next.
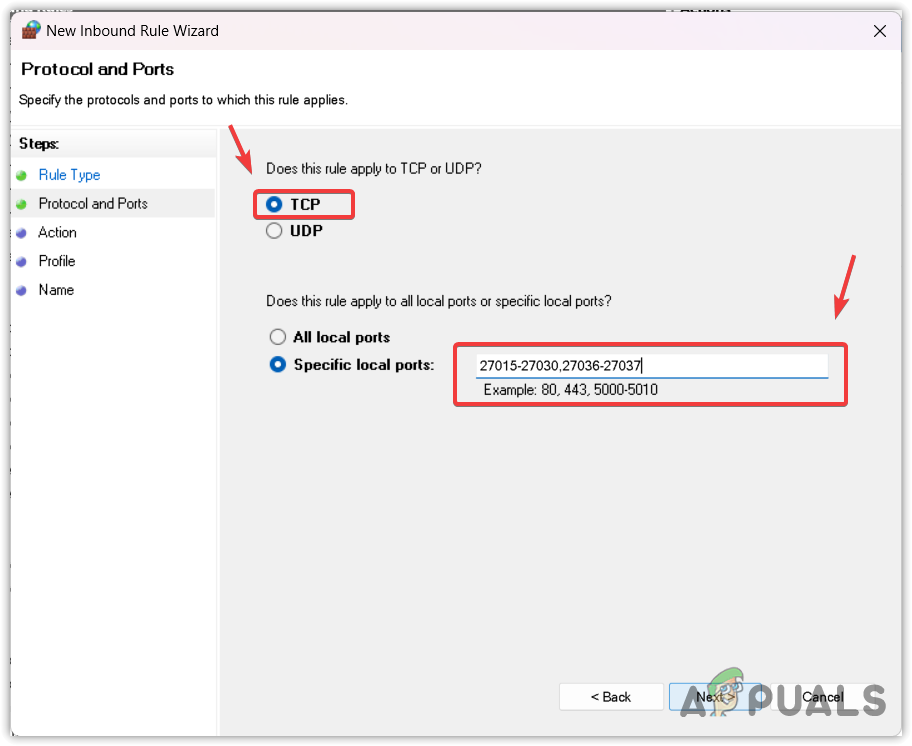
- Enter the TCP port range as follows and select TCP as the protocol, then click Next.
27015-27030,27036-27037
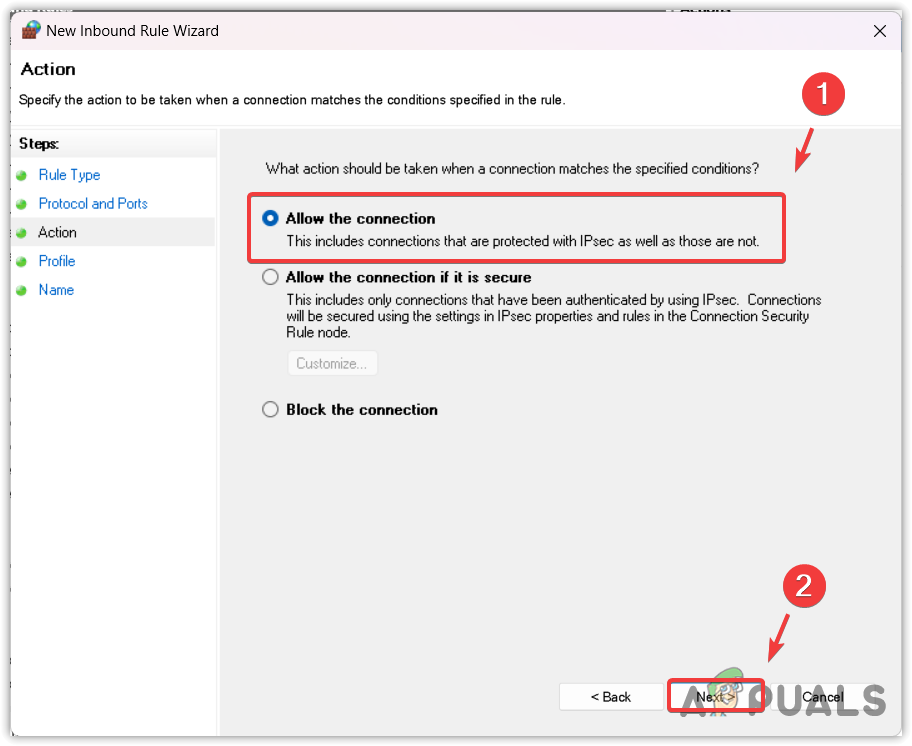
- Keep the default selection of Allow The Connection and click Next.
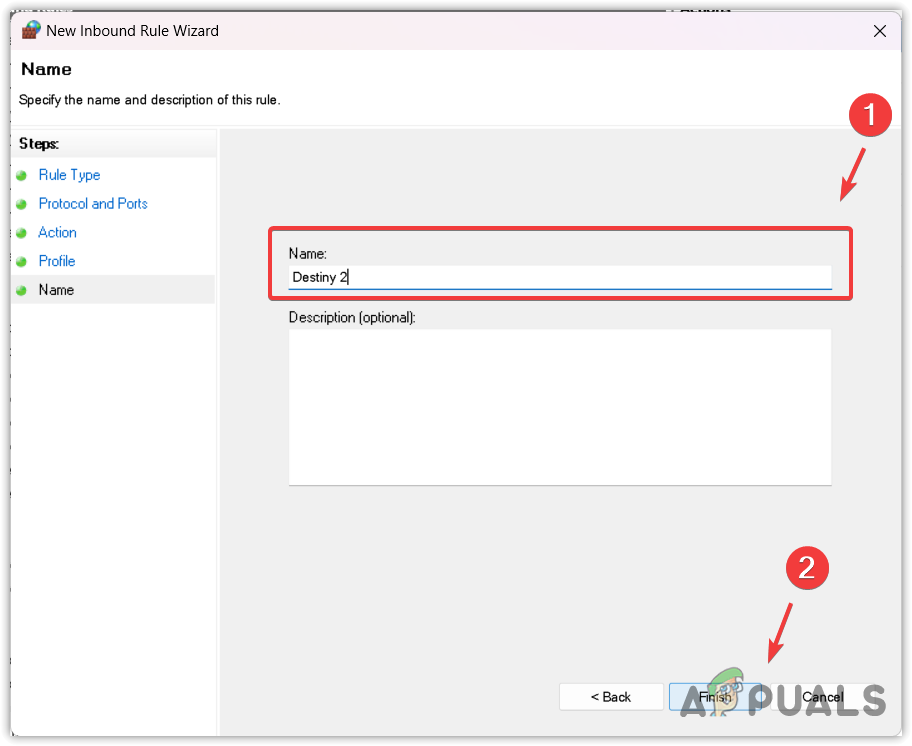
- Click Next to define the rule, name the port, and click Finish.
- For the UDP ports, repeat the steps, selecting UDP instead of TCP.
- Navigate to Outbound Rules and create a New Rule for both the UDP and TCP ports.
- After completing these steps, you can launch Destiny 2.
- To confirm successful port forwarding, go to Settings > Accessibility Settings and check that the NAT type is open under Network Data.

If you’ve followed the instructions correctly, the Error Code Chicken should be resolved. If the issue persists, the server might be down, or there may be a problem with your ISP.
Check the server status to confirm. If the server is operational, the issue likely stems from your end, particularly if you are using a Wi-Fi connection, which Bungie does not recommend. For those with an ethernet connection, consider resetting your network settings. If the Error Code persists, contact your ISP to resolve the issue.