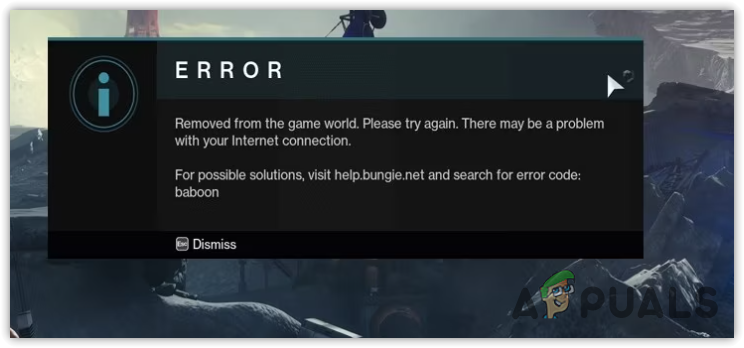
How to Fix ‘Error Code: Baboon’ in Destiny 2?
The Error Code Baboon in Destiny 2 indicates that the network is experiencing packet loss, which results in a lost connection to the Bungie servers. This error is commonly encountered when using a Wi-Fi or Hotspot connection.
A stable connection is essential for every game, and Destiny 2 is no exception. The game’s creators strongly advise against using Wi-Fi or wireless connections due to the potential for weak signal strength, which can frequently disconnect users from the game.
If you find yourself repeatedly encountering this error message, you should force restart Destiny 2. Should the error persist after restarting, consider the following solutions.
1. Switch to Wired Connection
As noted by Destiny’s game masters, packet losses in the network are a common cause of this error message, often due to Wi-Fi issues. Inadequate transmitter performance in Wi-Fi devices may contribute to this problem.
Therefore, use a LAN cable to link your router and device directly. This will help prevent packet losses and network discrepancies. Don’t forget to restart both your device and router before you play the game again.
2. Check For Maintenance
The appearance of this error message is sometimes linked to server maintenance, and Destiny engineers have acknowledged as much. The error message typically resolves itself once the maintenance concludes.
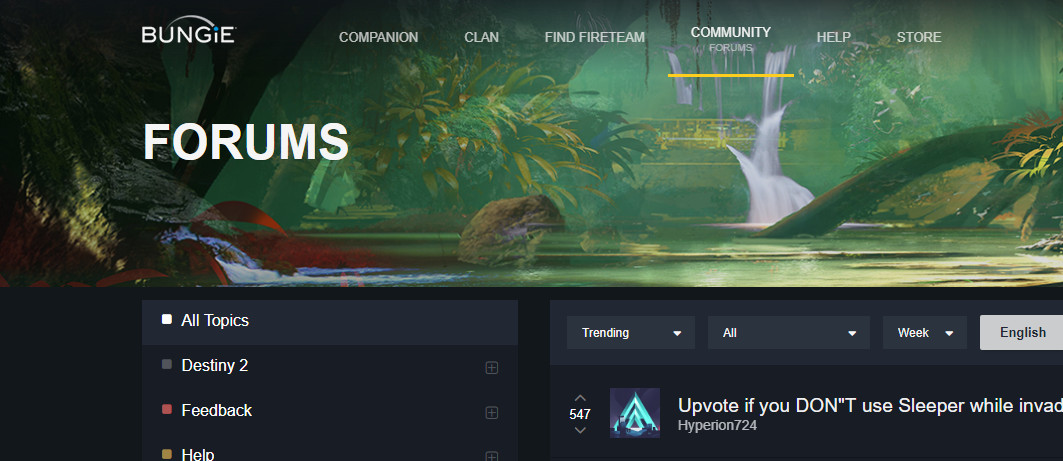
How can you determine if the servers are under maintenance? Frequenting relevant forums and platforms to discover whether others are facing similar issues can help. Additionally, checking the Destiny forums for any maintenance announcements is advised. If there is ongoing maintenance, it’s best to wait for its completion before attempting to launch the game.
3. Power Cycle Your Router
If the prior solutions do not address the error message, the issue may lie within your network. This error predominantly relates to network troubles, including poor configurations or ISP-related problems.
Begin network troubleshooting by power cycling your router. This is a straightforward restart process that can clear cached memory, potentially enhancing speed — especially if your router hasn’t been restarted recently.
- Unplug the router’s power cable.
- Wait for 1-2 minutes, then plug the power cable back in.
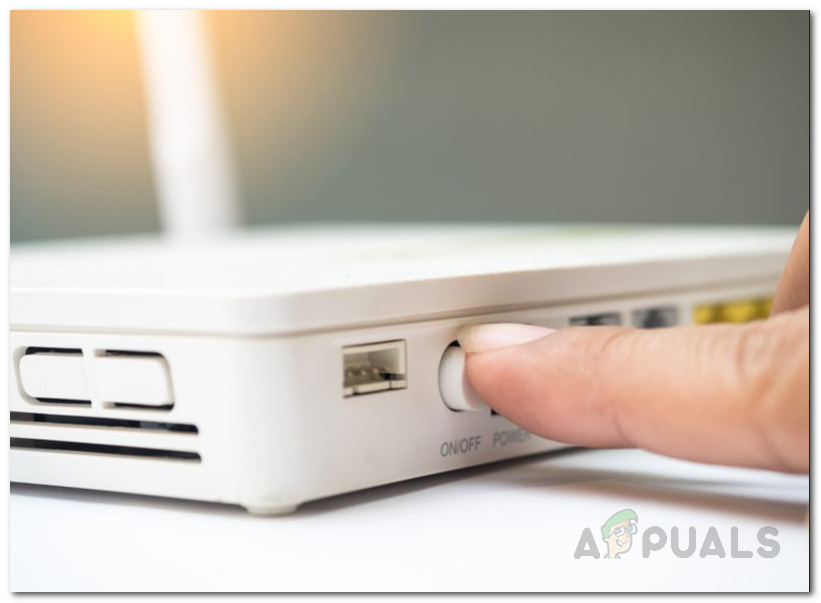
- Switch on the router, start Destiny 2, and verify if the error code baboon still appears.
If power cycling is ineffective, consider resetting your router completely. Prior to doing so, ensure you have the credentials needed to reconfigure the router as per your ISP’s instructions.
4. Apply Port Forwarding
Port forwarding is an approach to open specific service ports for devices within a local network. Generally, connections to external ports are restricted. Port forwarding configures your router or modem to connect to a service or device outside your local network.
Some ports may be blocked by your router for security concerns. By applying port forwarding, you can connect to these blocked ports and thus to Destiny 2.
To implement port forwarding, have your local IP address and router’s default gateway at the ready.
- Launch the Command Prompt and type ipconfig.
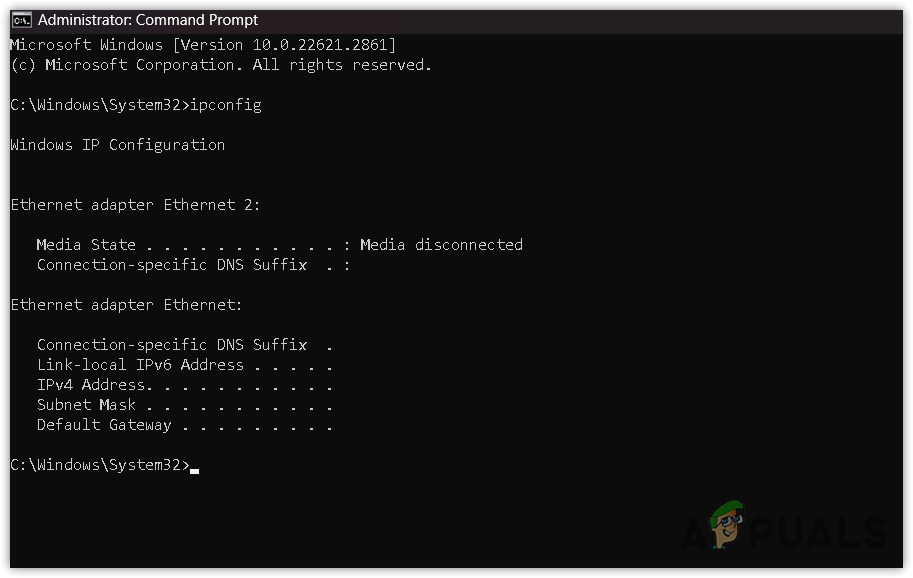
- Record the Default Gateway and IPv4 Address from the output.
- In your browser, input the default gateway address and press Enter to access your router’s control panel.
- Log in using your credentials. If unknown, reach out to your ISP or search online for your router model to find this information.
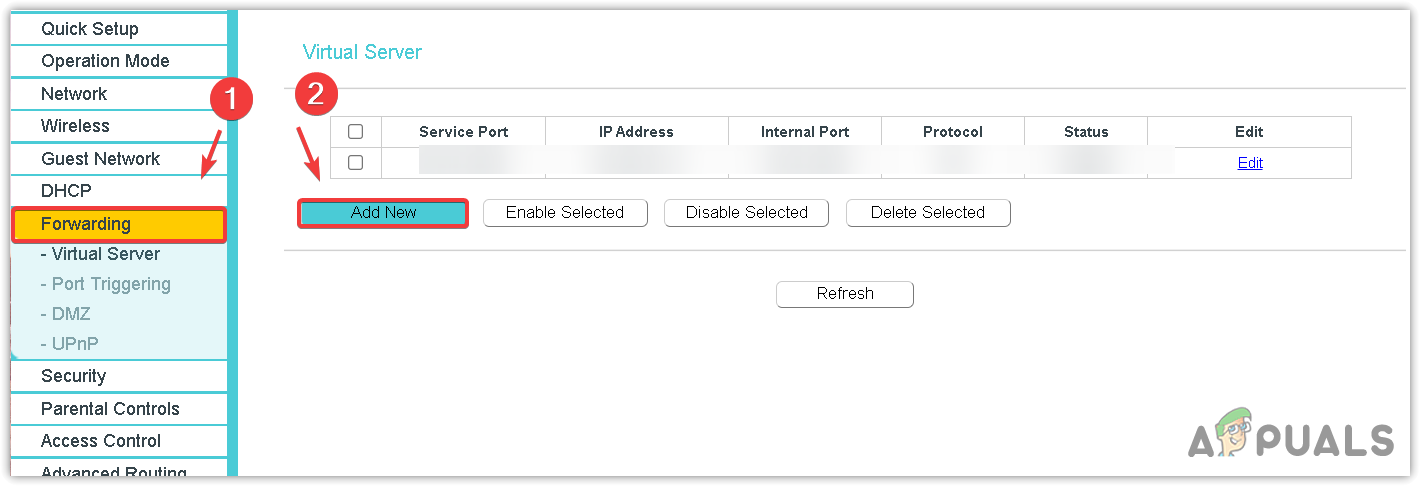
- Locate the Port Forwarding, Forwarding, or Virtual Server option and enter it. Click Add New.
- Refer to the following port information to add the appropriate Destiny 2 ports for your device. For this example, we will add ports for the PC. Modify the ports as needed for other devices.
Ports:
[Playstation 4] Destiny 2
- TCP: 1935,3478-3480
- UDP: 3074,3478-3479
[Xbox One] Destiny 2
- TCP: 3074
- UDP: 88,500,1200,3074,3544,4500
[PC - Blizzard] Destiny 2
- UDP: 3074,3097
[PC - Steam] Destiny 2
- TCP: 27015-27030,27036-27037
- UDP: 3074,3097,4380,27000-27031,27036
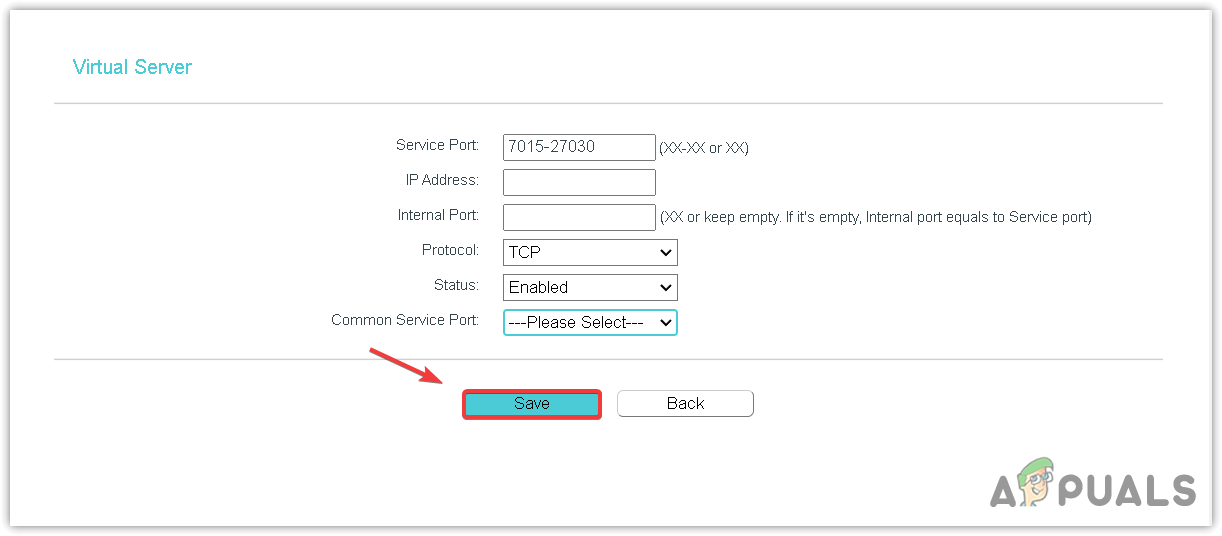
- Choose Add New and enter 27015-27030 in the Service Port fields. You might see them labeled as Internal and External ports. Input 27015 as the internal port and 27030 as the external port if required. If only one internal port option is present, enter 27015-27030 there.
- Select the TCP option from the Protocols dropdown and input the previously noted local IP address.
- Hit Save to finalize the port addition.
- Repeat the process to add the port 27036-27037 and then proceed to add the required UDP ports.
- Your antivirus software may also need to be configured to allow these ports. For PC users, it’s advisable to allow Destiny 2 ports through the Windows Defender Firewall.
Once port forwarding has been set up, the next step is to permit the same TCP and UDP ports to pass through your antivirus firewall settings. Firewalls can sometimes block connections, so it’s necessary to configure them to allow Destiny 2 to establish server connections.
While there are many antivirus programs available, the following steps will pertain to Windows Defender. For third-party antivirus software, refer to the respective official documentation for instructions.
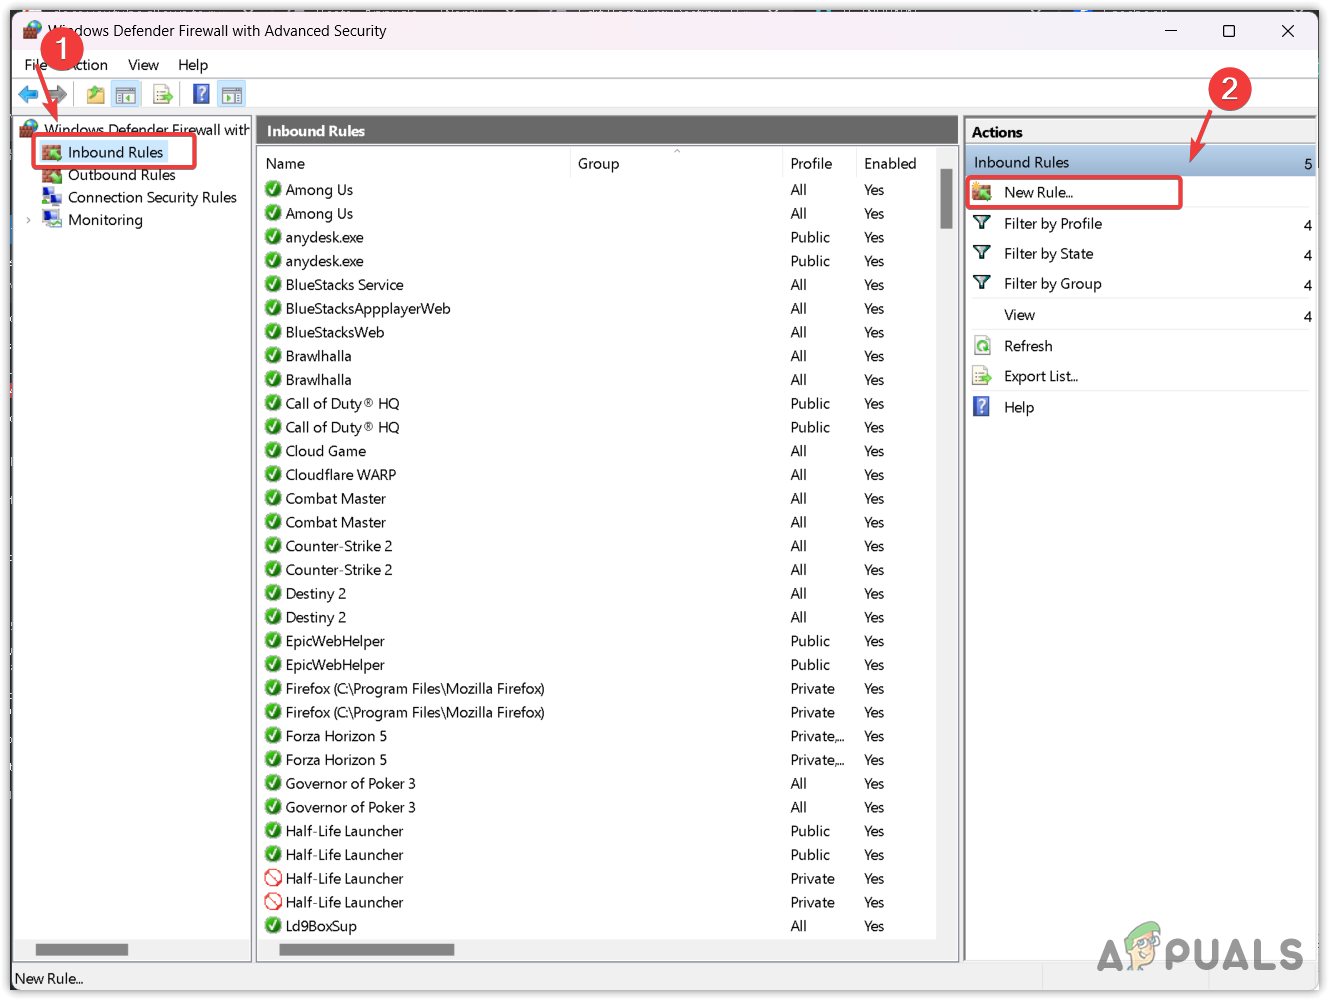
- Open the Start Menu and type Windows Defender Firewall with Advanced Security.
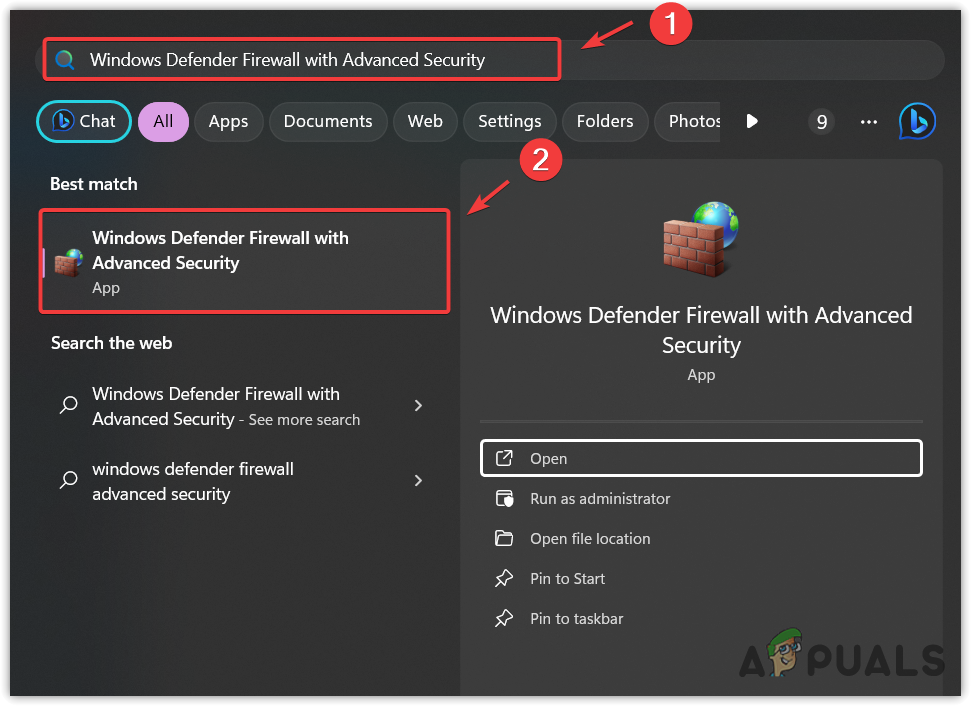
- Press Enter to enter the settings pane.
- Click on Inbound Rules on the left, then select New Rule on the top right.
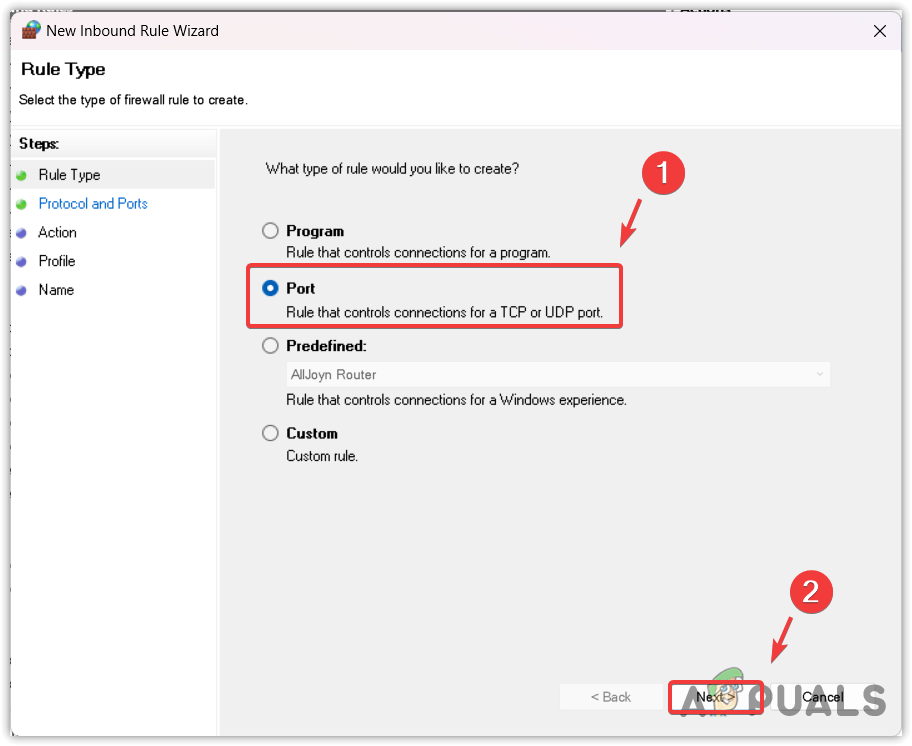
- Select Port and click Next.
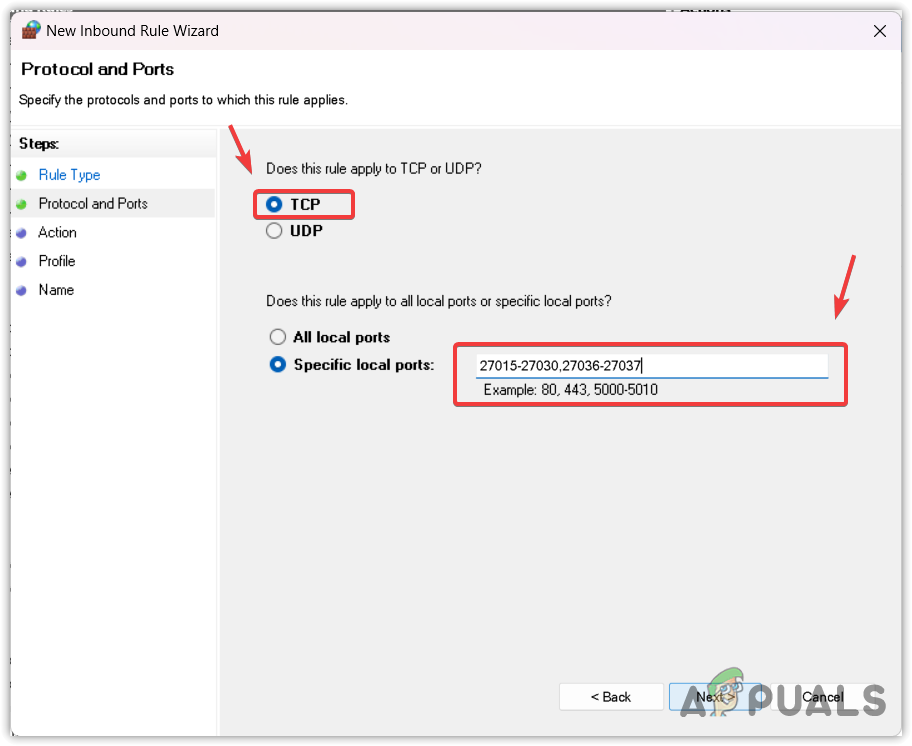
- Enter the below TCP port range for Destiny 2.
27015-27030,27036-27037
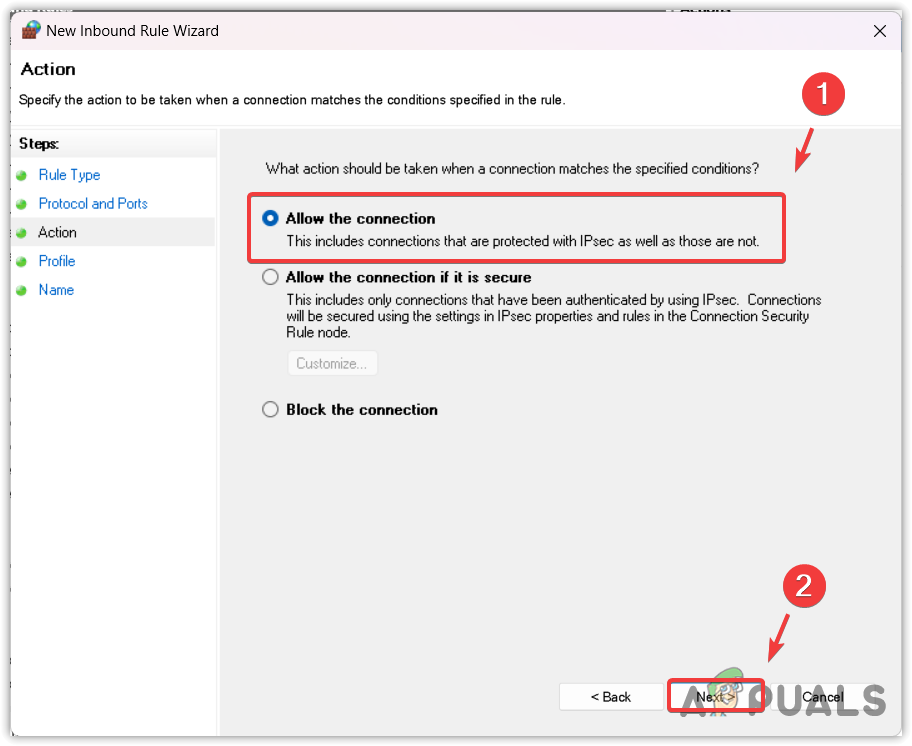
- Keep the option Allow the connection selected and proceed by clicking Next.
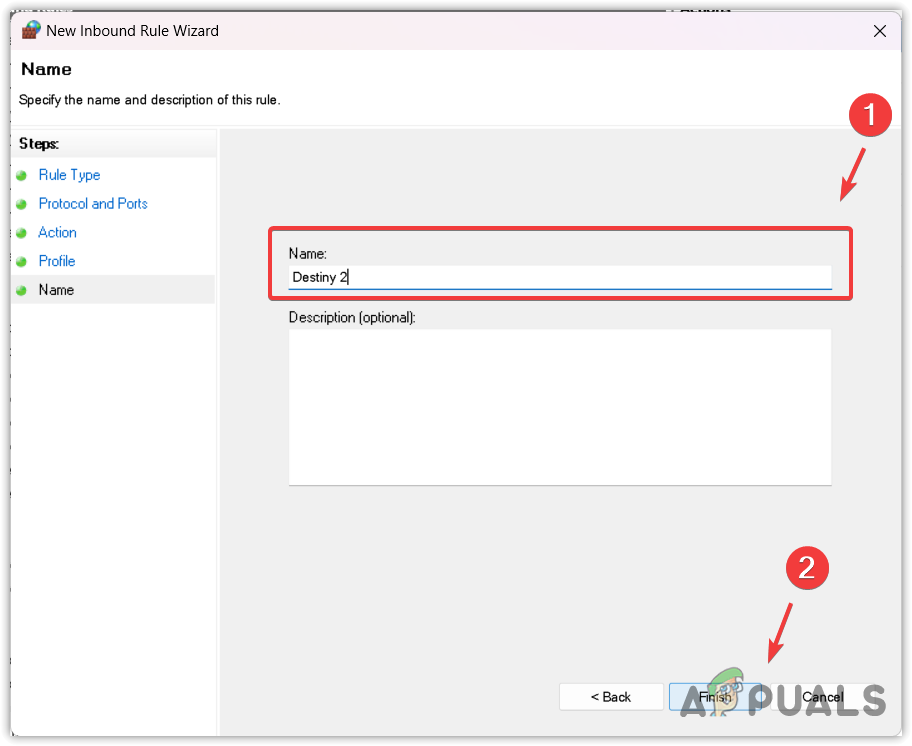
- Click Next again, name your configuration, and click Finish.
- Create another New Rule, choosing Port, and then continue by clicking Next.
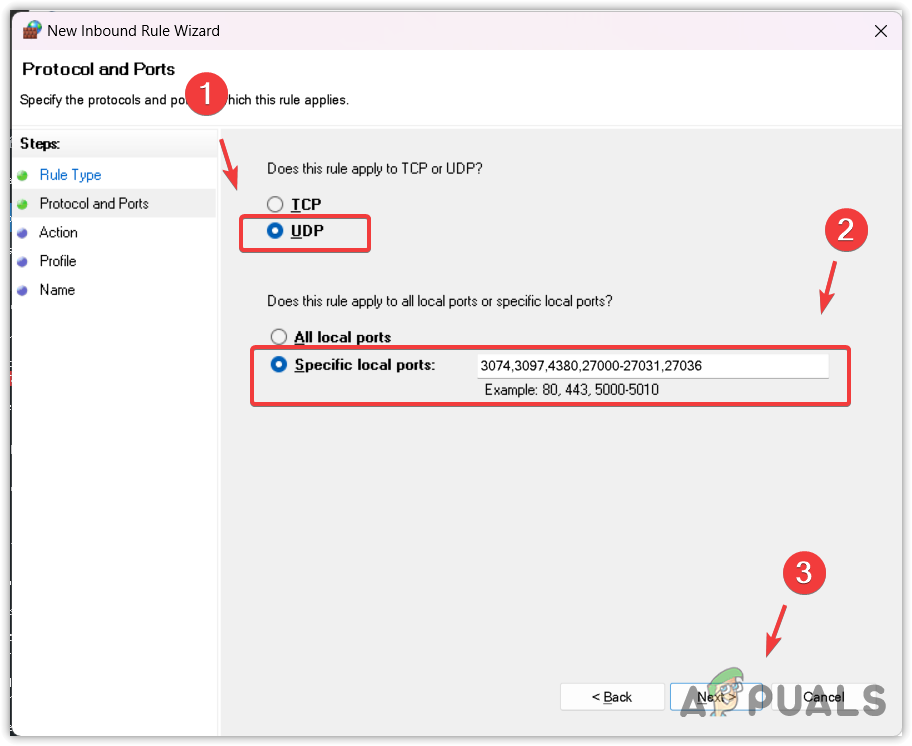
- Select UDP and input the following UDP port range.
3074,3097,4380,27000-27031,27036
- Click Next and choose Allow the connection.
- Continue clicking Next, name the rule, and select Finish.
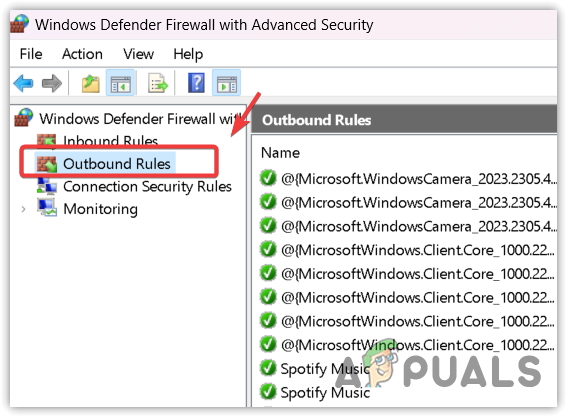
- Now, navigate back to the main page of the Windows Defender Firewall with Advanced Security.
- From the left panel, select Outbound Rules, and add the respective TCP and UDP ports for Destiny 2, following the steps outlined above.
- After completing these steps, launch Destiny 2. To verify whether the ports have been opened, go to Accessibility Settings and under Network Data, check if the NAT type is listed as Open.

If these measures do not eliminate the error, try using a different network. As a temporary solution, consider using your mobile device as a hotspot and connect to the game through it. If the error persists, contact your ISP and submit a support ticket on the Destiny forums.


