Fix: System Interrupts Service High CPU and Disk Usage
This is a process which will appear in the Processes tab of the Task Manager and the problem occurs when this entry (or entries as users have reported seeing plenty of them) takes up a large portion of your CPU power.
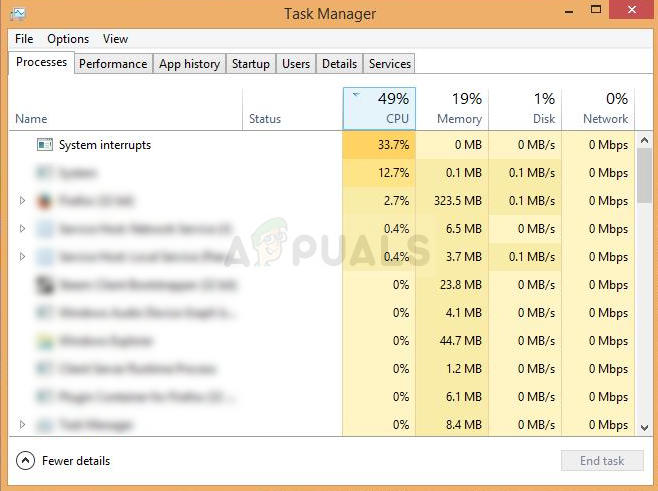
A Deferred Procedure Call (DPC) is a Microsoft Windows operating system mechanism which allows high-priority tasks (e.g. an interrupt handler) to defer required but lower-priority tasks for later execution. This can go wrong and backfire on users so make sure you follow all of the solution we prepared below in order to get your CPU resources back!
Solution 1: Reinstall or Update Your Networking Adapter
If something has gone wrong with the driver related to the network device which is giving you the error and causes the “Deferred Procedure Calls and Interrupts Service Routines” processes to skyrocket in CPU usage, you can fix this problem simply by updating or reinstalling the driver related to it, depending on the type of Internet you are using.
Restarting the computer will initiate the search for drivers as the system boots and it will be installed again using the latest release. Good luck.
- First of all, you will need to uninstall the driver you currently have installed on your machine.
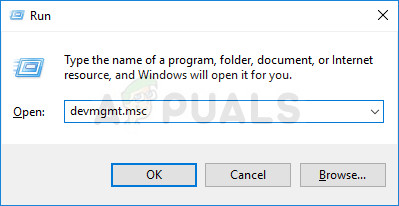
- Type “Device Manager” into the search field next to the Start menu button to open the device manager window. You can also use the Windows Key + R key combination in order to open the Run dialog box. Type “devmgmt.msc” in the box and click OK or Enter key.
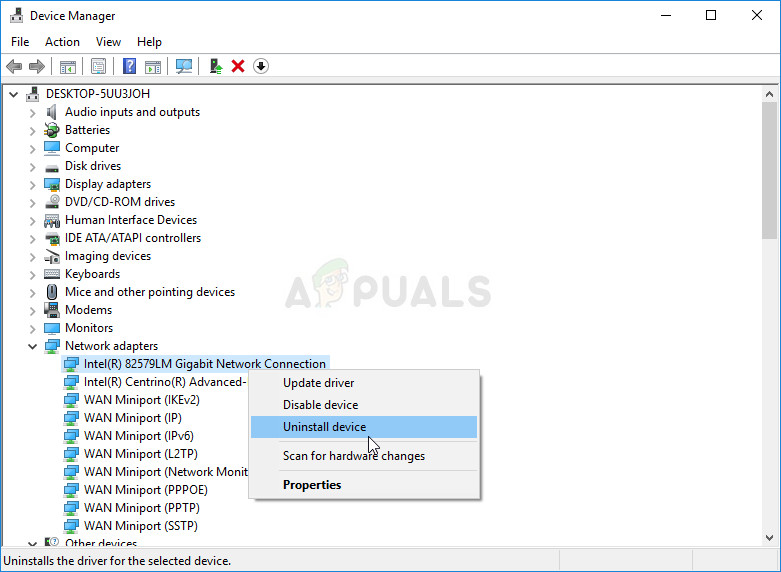
- Expand the “Network Adapters” section. This will display all network adapters that the machine has installed at the moment. Right click on the network adapter you want to uninstall and select “Uninstall device”. Choose the one corresponding to your active Internet connection. This will remove the adapter from the list and uninstall the networking device. Make sure you choose the right one depending of which type of connection is giving you these issues.
- Click “OK” when prompted to uninstall the device.
- Remove the adapter you are using from your computer and restart your PC immediately. After the PC boots, the new driver should be installed automatically without the need of your intervention. However, if you notice that your Internet connection is not working, you will need to install the driver manually.
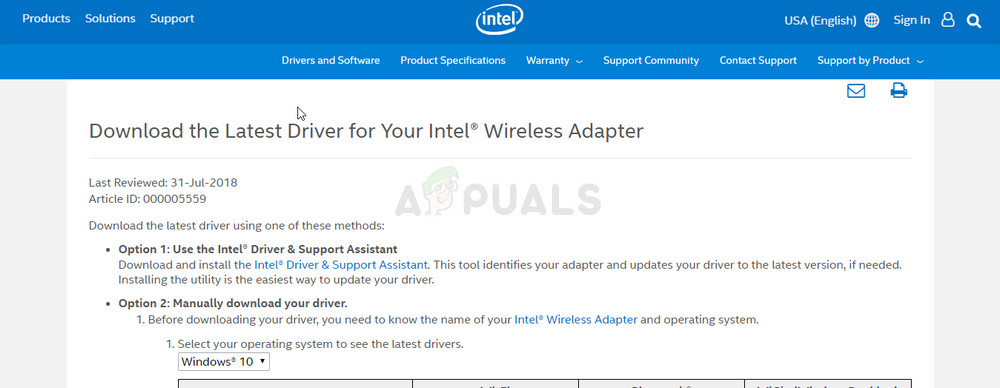
- Navigate to your manufacturer’s page in order to see the list of available drivers for your operating system. Choose the latest one, download it, and run it from the Downloads folder.
- Follow the instructions on-screen in order to install the driver and make sure the adapter stays disconnected until the installation prompts you to connect which it may or may not do. Restart your PC after the install is over and connect the adapter to your computer. Check to see if your CPU usage has gone back to normal.
Note: Another quite useful suggestion would be to repeat the same process with your graphics card driver which is perhaps the most important driver on your computer. Users have reported that they were able to solve the problem after updating it so make sure you repeat the same steps as above, just make sure you locate it under Display adapters in Device manager.
Solution 2: Disable All Sounds Enhancements and Special Effects
This specific solution was presented both on several forum entries as well as on a blog written by a user who has been struggling with this problem for several days. It appears that certain computers are affected by audio enhancement on Windows PC and you should disable it in order for your CPU usage to go back to normal again.
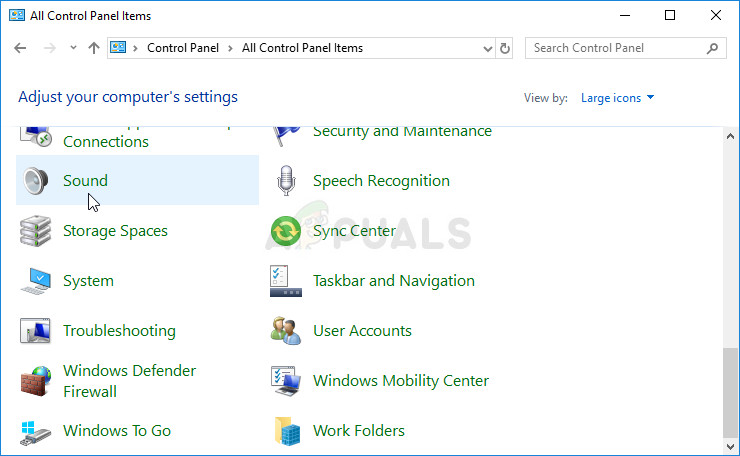
- Right-click on the Volume icon located at the bottom right part of your screen and choose the Playback devices option. An alternative way would be to open Control Panel on your PC and set the View by option to Large icons. After that, locate and click on the Sounds option in order to open the same window.
- Stay in the Playback tab of the Sound window which just opened up and select your default playback device (Speakers).
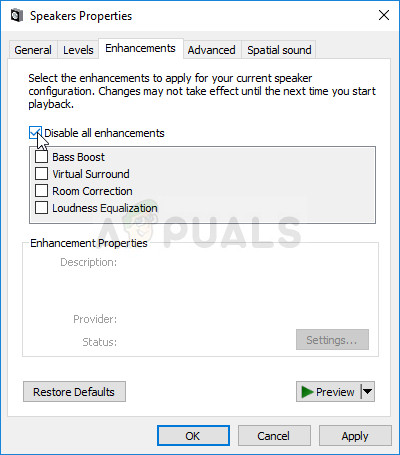
- Right-click on the device and choose the Properties option. When the Properties window opens, navigate to the Enhancements tab and check the Disable all sound effects option under it. Apply the changes, restart your computer, and check to see if your CPU usage has gone back to normal.
Solution 3: Use Certain Tools to Pinpoint the Real Cause
This solution is very useful in pinpointing the problem as it can be really difficult to know just which device, driver, or program is causing the high CPU. You will need to install certain tools and the process may take a while but it’s important to stay focused as this may be your last step in solving the problem!
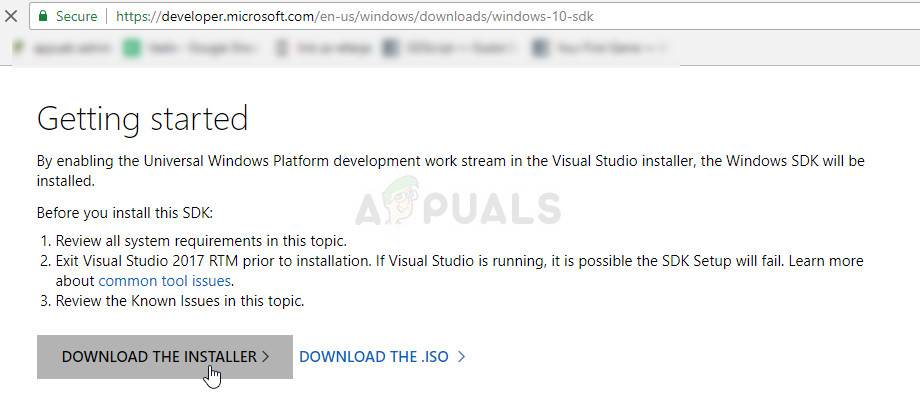
- First of all, download the Windows SDK which will contain the necessary Windows Performance Kit which will contain tools you will need in order to proceed with the proceed with the process. You can download them for Windows 10 using this link.
- Locate the file you just located in your Downloads folder by default and run the Setup. Select the WPT (Windows Performance Tools) from the list and click on Install. Restart your computer in order to complete the process.
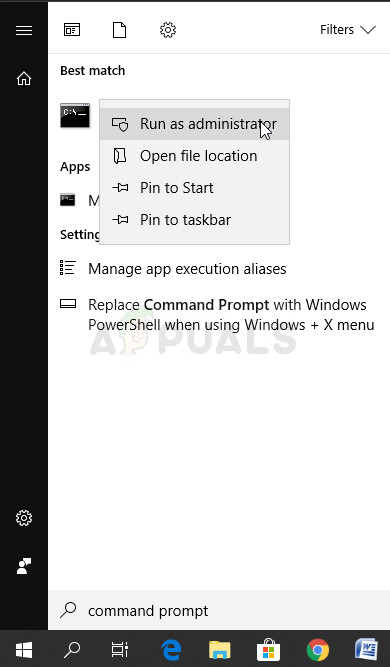
- If you are a Windows 10 user, you can easily locate Command Prompt simply by clicking the Start menu button or the Search button next to it and type in “cmd” or “Command Prompt”. Right-click on the first result and choose the Run as administrator option.
- Use the following command in order to navigate to the Temp folder in Command Prompt. Make sure you click the Enter key after typing this text:
cd \temp
- Use the command below in order to start the analysis and wait for a while until you see the high DPC and Interrupt usage in Task Manager.
xperf -on latency -stackwalk profile
- When you do notice the high CPU usage, stop the trace with the command below:
xperf -d DPC_Interrupt.etl
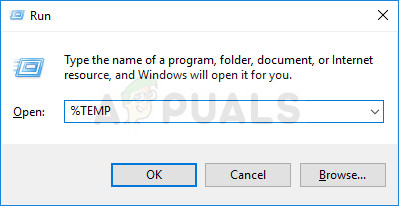
- This will close the process and write the results to the DPC_Interrupt.etl file. Click on the Start menu and type Run. Select Run. A Run dialog box will appear. Type “%temp%” in the run dialog box and click the OK button. This will open the Temporary files folder immediately.
- Locate the DPC_Interrupt.etl file and double-click it. Wait until the two passes are over and navigate to Trace >> Configure Symbol Paths and type in the following:
srv*C:\symbols*http://msdl.microsoft.com/download/symbols
- Now go to the graphs “DPC CPU Usage” or “Interrupt CPU Usage” (depending where you see the high CPU usage) and select the interval, make a right click and select “Load Symbols” and next click summary table. You may have to accept license agreement to download the public debugging symbols and you may have to wait a while for them to download.
- Here you will be able to see the summary of the calls and see the causes for the problem. It may be a driver, a program, a service, or similar. Google the file you see causing the problem and check to see to what it belongs and pinpoint the problem.
Solution 4: Troubleshoot the Problem Via Clean Boot
If a third-party app or a service is causing often System Interrupts, you may want to pinpoint it and disable or uninstall it in order to solve the problem. Users have reported that the issue does not appear in clean boot so you might want to see that for yourself.
If the issue really does not appear in clean boot, you may want to see just what app is causing it by enabling services and startup items one by one and eliminating them.
- Use the Windows + R key combination on your keyboard in order to open the Run dialog box where you should type ’MSCONFIG’ and click OK.
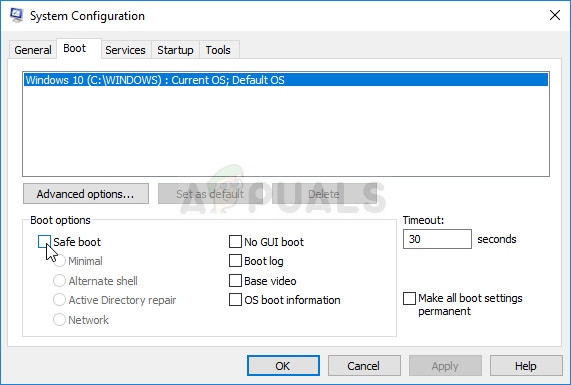
- Click on the ‘Boot’ tab and uncheck the ‘Safe Boot’ option.
- Under the General tab in the same window, click to select the Selective startup radio button, and then click to clear the Load startup items check box to make sure it’s not checked.
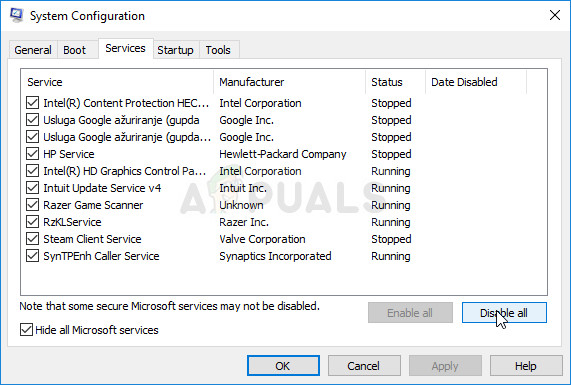
- Under the Services tab, click to select the Hide all Microsoft services check box, and then click ‘Disable all’ to disable user-installed services.
- On the Startup tab, click ‘Open Task Manager’. In the Task Manager window under the Startup tab, right click on each startup item which are enabled and select ‘Disable’. Make sure you don’t skip an entry because even the most legit apps can cause software conflcts.
- After this, you will need to perform some of the most boring processes and that is enabling the Startup items one by one and restarting your computer. After that, you need to check whether the error appears again. You will need to repeat the same process even for the Services which you have disabled in Step 4. Once you locate the problematic startup item or service, you can undertake action in order to solve the problem. If it is a program, you can reinstall it or repair it. If it is a service, you can disable it, etc.


I’m getting this error “xperf: error: NT Kernel Logger: Cannot create a file when that file already exists. (0xb7)” when executing “xperf -on latency -stackwalk profile”.
I deleted the Temp folder but again the same error