Fix: ATTEMPTED SWITCH FROM DPC Blue Screen of Death Error
The “ATTEMPTED SWITCH FROM DPC” BSOD (Blue Screen of Death) error usually occurs when the computer shuts down during the initialization process for Windows. The error is usually caused by a delayed procedure call (DPC) routine that attempted to perform an illegal operation.
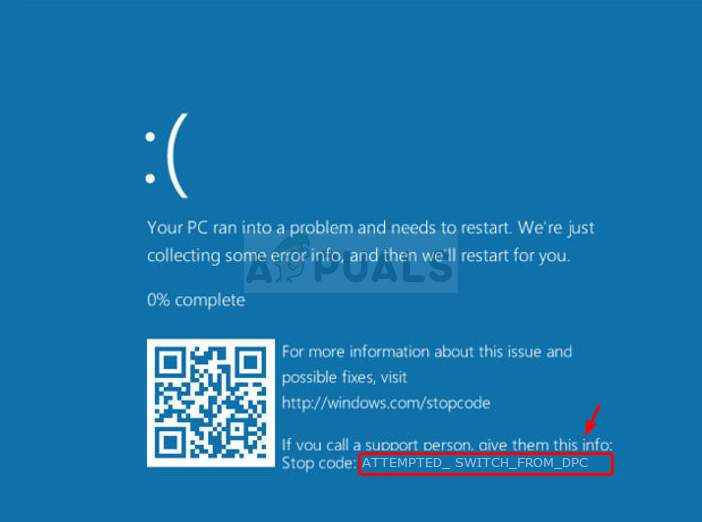
The DPC gets triggered when the kernel sees a hung condition and makes a call in order to terminate or interrupt a software app. It means that a yield, attach process, or a wait operation was executed from DPC. We have prepared several methods which have worked for other users online and we hope it will help you get rid of this awful error.
Solution 1: Update All of Your Drivers
Further analysis of dump files from users who reported seeing this error has shown that multiple old drivers have needed to be updated in order to prevent the error from occurring. This is especially dangerous if the error occurs with important system devices. Updating all drivers is a difficult process but it should get the problem solved.
- Select the Start button from the lower left part of your screen, type Device Manager, and select it at the top of the list of results. If you are using an older version of Windows, you can also use the Windows Key + R key combination, type in “devmgmt.msc” and click OK.
- Expand the categories related to devices you want to update, then right-click (or tap and hold) it, and select the Update Driver option. For mice and touchpads (the most common culprit if you are using a Synaptics Pointing Device), expand the Mice and other pointing devices category, right click your touchpad or mouse and select Update Driver.
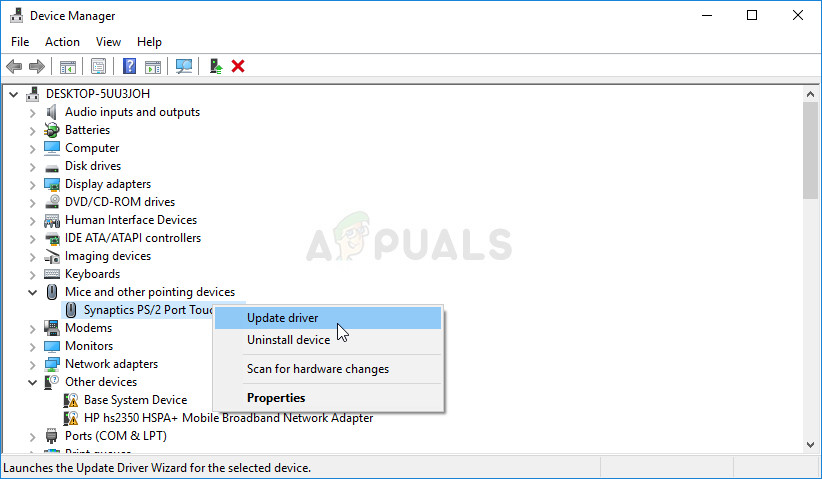
- Select Search automatically for updated driver software and check to see if Windows is able to find a newer driver.
- If Windows doesn’t find a new driver, you can try looking for one on the device manufacturer’s website and follow their instructions. There are also various programs which can do the same for you automatically.
Note: If you are using Windows 10, latest drivers are often installed alongside other Windows updates, especially if the new version of Windows might be incompatible with that driver, so make sure you keep your computer’s operating system up to date. Windows Update is run automatically on Windows 10 but you can check by following the instructions below for a new update.
- Use the Windows Key + I key combination in order to open Settings on your Windows PC. Alternatively, you can search for “Settings” by using the search bar located at the taskbar.
- Locate and open the “Update & security” sub-section in the Settings app.
- Stay in the Windows Update tab and click on the Check for updates button under the Update status in order to check whether there is a new version of Windows available.
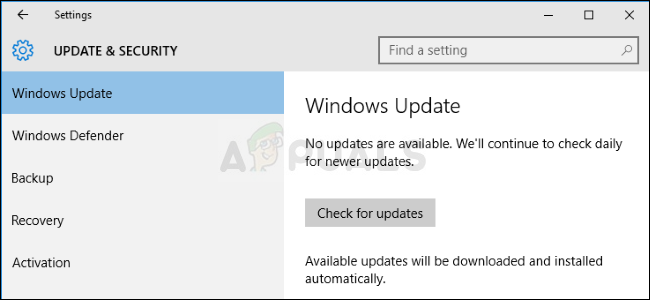
- If there is one, Windows should proceed with the download process automatically.
Solution 2: Perform a Clean Uninstall of McAfee Antivirus Tool
To be honest, McAfee antivirus sometimes acts more like malware than a tool that should protect you from it. It causes various errors on people’s computers even long after it has been uninstalled because of it leftover files and registry entries. This BSOD is one of such errors and it can be solved by performing a clean uninstall of McAfee antivirus.
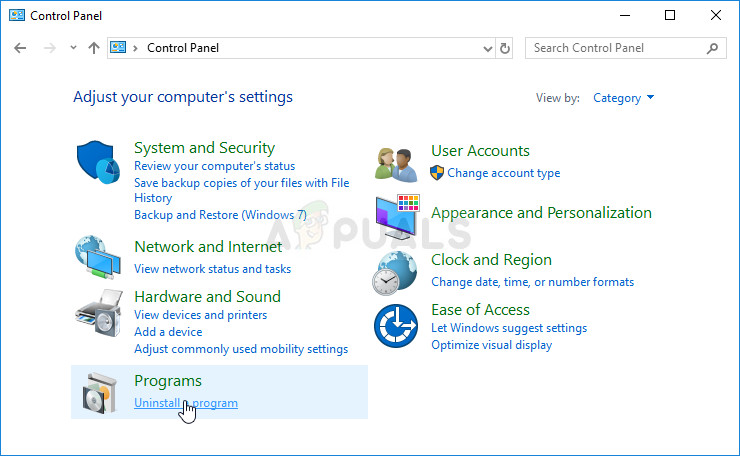
- Click on the Start menu button and open Control Panel by searching for it. Alternatively, you can click on the gear-like icon in order to open the Settings tool if you are a Windows 10 user.
- In Control Panel, set the View as setting to Category at the top right corner and click on Uninstall a Program under the Programs section.
- If you are using the Settings app on Windows 10, clicking on Apps should immediately open a list of all installed programs and tools on your PC.
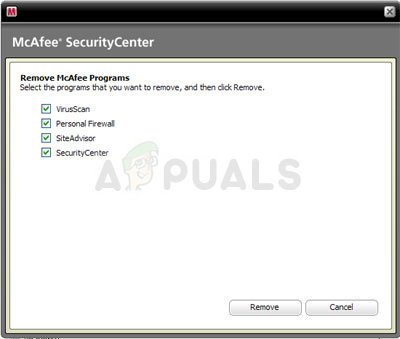
- Locate McAfee Antivirus in Control Panel or Settings and click on Uninstall or Remove.
- You should confirm any dialog boxes which may appear asking you to really uninstall McAfee Antivirus and follow the instructions which will appear in the uninstallation wizard.
- Click Finish when the uninstalled completes the process and restart your computer in order to apply the changes.
In order to clean up the remainder of the files left by McAfee, you should use the McAfee Consumer Product Removal Tool (MCPR) which can be used easily by following the instructions below:
- Download the MCPR tool from McAFee’s official website and double-click on MCPR.exe file you just downloaded. It should be in your Downloads folder by default but you can also open it byclicking on the file at your browser Downloads page.
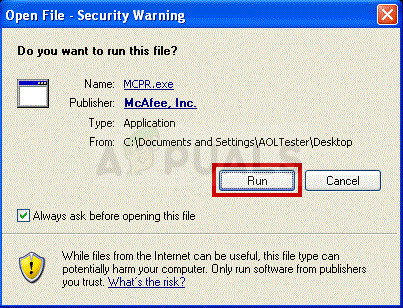
- If you see a security UAC warning asking you to choose whether you allow the app to make changes to your PC, click Yes, Continue, or Run, depending on which version of Windows you have installed.
- At the McAfee Software Removal screen, Click on the Next button and click Agree to accept the End User License Agreement (EULA).

- At the Security Validation screen, type the security characters exactly as shown on your screen (validation is case-sensitive). Click the Next button. This step prevents the accidental use of MCPR.
- After the removal process finishes you should see the Removal Complete pop up which means that McAfee products have been removed successfully from your computer.

- However, if you see the Cleanup Unsuccessful message, the cleanup has failed and you should restart your PC and try the whole process again.
- Restart your computer after the process finally finishes and check to see if McAfee Antivirus is removed from your computer. Furthermore, check to see if you are still experiencing the same BSOD of your computer.
Solution 3: Perform a Clean Uninstall of Acronis
Various old versions of Acronis tools can be the real cause of the problem including the drivers which come along these tools. There are various tools which can be the cause of this problem and all of them were made by Acronis but the main culprit appears to be the Acronis True Image tool.
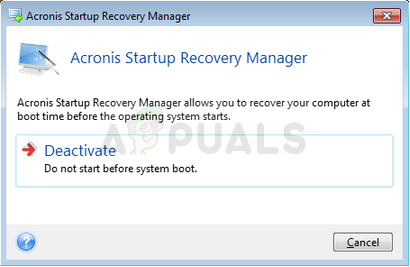
First of all, you should prepare for the process by deactivating Acronis Startup Recovery Manager which can be done by searching for it in the Start menu. Click on the first result and click on Deactivate.
You should also remove the Acronis Secure Zone tool which is related to True Image but the cleanup utility does not remove it. Search for Manage Acronis Secure Zone in the Start menu and click on Remove from the initial tab.
- Download the Cleanup Utility by clicking this link and save it to your computer. Clicking the link will initiate the download process immediately from Acronis’ official page. Run the tool from the Downloads folder.
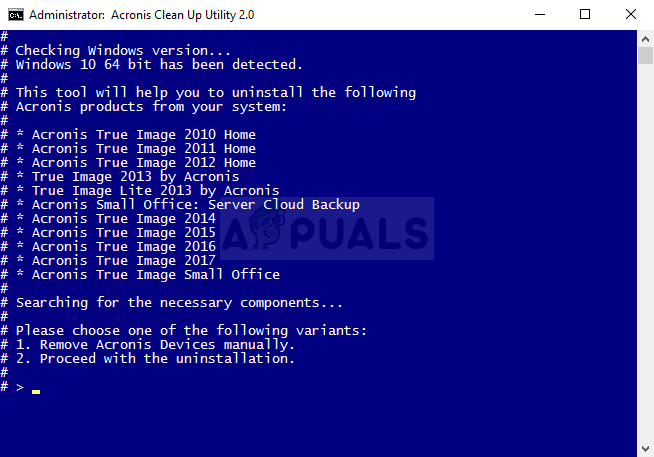
- A Command Prompt window should appear and you should wait for it to determine your computer’s operating system. A prompt should appear at the bottom so make sure you choose the “Proceed with the uninstallation” option by clicking the number 2 key on your keyboard before tapping Enter.
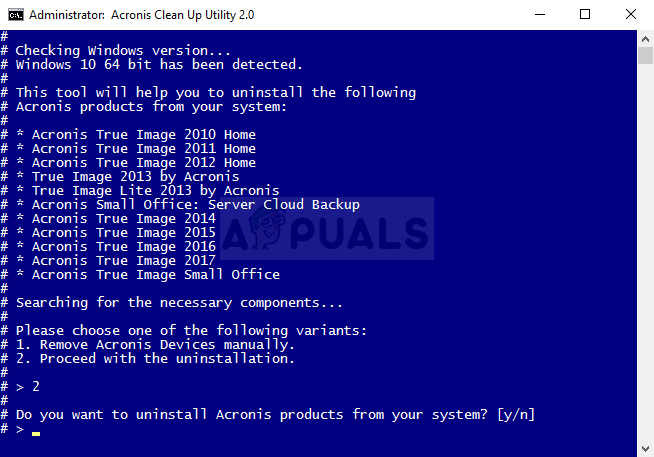
- Another prompt should appear asking you to uninstall Acronis products from your system. Click the “y” letter on your keyboard and press Enter again. You will also be prompted to terminate the “explorer.exe” process on your computer which can also be confirmed with the “y” button.
- The last prompt you will see will ask you to reboot your computer to complete the uninstallation. This time, make sure you click the “n” key on your keyboard and then Enter to deny this.
Since you are going to edit several registry keys, we recommend you check out this article we have made for you to safely backup your registry to prevent other issues on your computer. Still, nothing wrong will occur if you follow the steps below.
- Open the Registry Editor window by typing “regedit” in either the search bar next to Start or the Run dialog box which can be opened with the Windows Key + R key combination. Navigate to the following key in your registry by navigating at the left pane:HKEY_LOCAL_MACHINE\SYSTEM\CurrentControlSet\Control\Class\{4D36E967-E325-11CE-BFC1-08002BE10318}
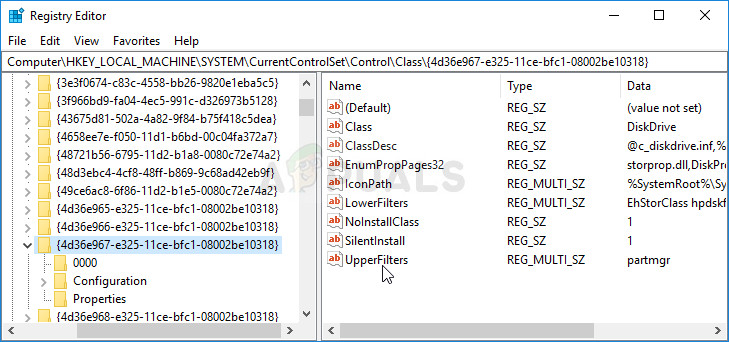
- Click on this key and try to locate UpperFilters or LowerFilters which are the keys you should edit. Look for them at the right side of the window. Under the Data column, look if there are snapman*, tdrpman*, fltsrv, or timounter strings as a part of the Data value.
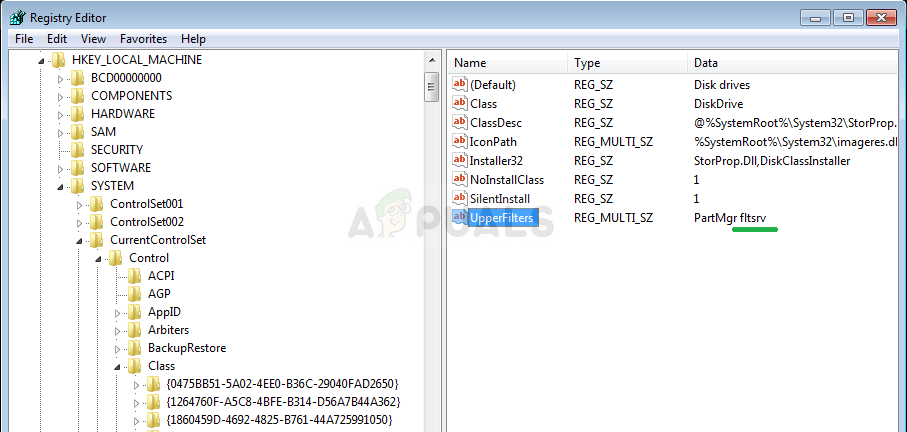
- If there are these values, right click on the UpperFilters or LowerFilters registry entries which contain these strings and choose the Modify option from the context menu.
- In the Edit window, under the Value data section, select the problematic string (snapman*, tdrpman*, fltsrv, or timounter) and simply delete it using your keyboard (Delete or Backspace).
- Repeat the same process for the following registry key:HKEY_LOCAL_MACHINE\SYSTEM\CurrentControlSet\Control\Class\{71A27CDD-812A-11D0-BEC7-08002BE2092F}
- You can now manually restart your computer by clicking Start menu >> Power button >> Restart and check to see if the problem is gone.
Solution 4: Reinstall the Latest Windows Update (Windows 10 Users)
It was Windows 10 users who were outraged when they firstly started seeing this BSOD as they thought the new update was supposed to fix bugs and problems and not create new ones. If you are running behind on updates and if you are trying to catch up, you might have installed this problematic update in the process.
The problem can be solved by uninstalling this update and reinstalling it again. Microsoft has solved this problem and it shouldn’t occur again.
- Click on the Start menu button and open Control Panel by typing its name and clicking the top option. Also, you can click on the gear icon in order to open the Settings app since you are probably using Windows 10.
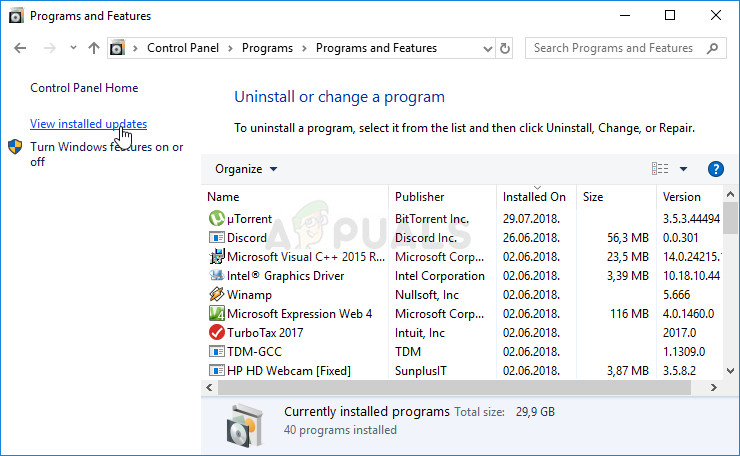
- In Control Panel, switch to View as: Category at the top right corner and click on Uninstall a Program under the Programs section. At the right side of the screen, you should see the View installed updates option so click on it.
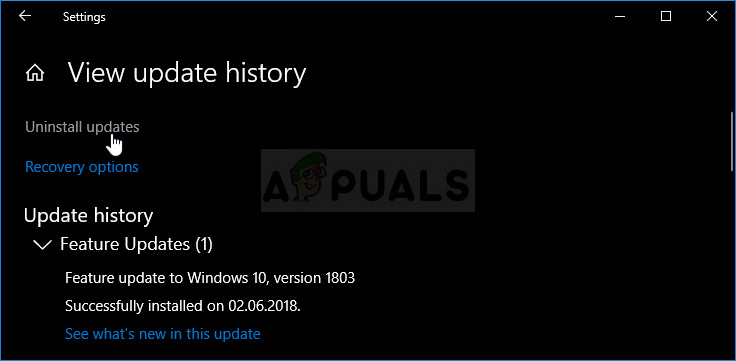
- If you are using the Settings app, click the Update & Security button and navigate to the Windows Update tab. Scroll until you see the View update history option and click on it.
- A new screen should appear and you should see the Uninstall updates button at the top so click on it.
- Either way, you should now see the list of installed updates for your computer. Check the Microsoft Windows section for updates which may have affected your operating system to throw the BSOD.
- Scroll to the left in order to see the Installed on column which should display the date when the update was installed so make sure you uninstall the latest one.
- Click on the update once and choose the Uninstall option at the top and follow the instructions which will appear on screen in order to get rid of the update.
- After that, head back to the Settings window and the Update & Security section. Click the Windows Update tab and tap the Check for updates button to immediately check for the update you just installed. Wait for Windows to find it, download it, and you should be prompted to install it after restart. Check to see if the “ATTEMPTED SWITCH FROM DPC” BSOD is still occurring.


