Fix: ARK Unable to Query Server Info for Invite
ARK: Survival Evolved is an action-adventure survival video game developed by Studio Wildcard, in collaboration with Instinct Games, Efecto Studios, and Virtual Basement. In the game, players are stranded with plenty of prehistoric animals and they need to survive, all in online multiplayer!
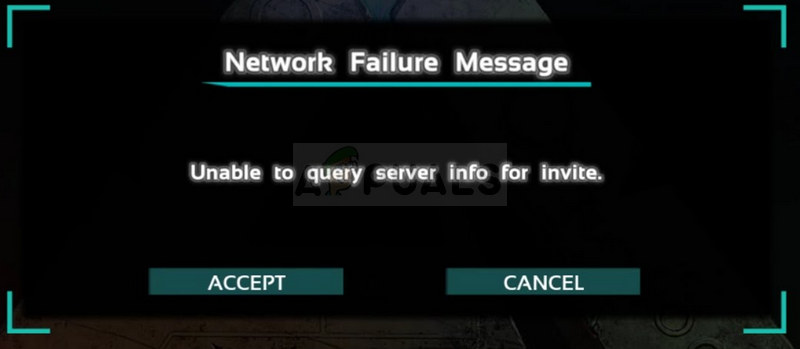
However, the game appears to be impossible to play for some people as the official servers appear to be invisible. When people use the in-game server browser, the list is empty and the Steam server browser displays the “Unable to query server info for invite” message. We have gathered several working solutions for various causes of the error and we hope it would be helpful to users around the world.
What Causes Unable to Query Server Info for Invite When Playing Ark?
There are several major causes for the problem and it can occur either with a popular server you want to join but you receive the error beforehand. The other scenario is to have this error appear on your own server where everyone who tries to join the server receives this unfortunate error. Here are some causes:
- A faulty Winsock catalog which needs to be reset is one of the major causes for the problem yet it can be resolved quite easily.
- Auto-connecting to a server which no longer exists or which has moved onto a new location using the launch options is one of the problems which may cause this error as well.
- Additionally, if you want to host a ARK: Survival Evolved server, you might want to free certain ports usually used by the game as they may be busy by another program you have installed on your computer.
Solution 1: Use a Helpful Command
“netsh winsock reset” is a helpful command that you can use in Command Prompt to reset winsock catalog back to default setting or its clean state. You can try this method if you are experiencing the “Unable to query server info for invite” when trying to launch ARK: Survival Evolved.
- Search for “Command Prompt” by typing it either right in the Start menu or by pressing the search button right next to it. Right-click the first entry which will pop up as a search result and select the “Run as administrator” context menu entry.
- Additionally, you can also use the Windows Logo Key + R key combination in order to bring up the Run dialog box. Type in “cmd” in the dialog box which appears and use the Ctrl + Shift + Enter key combination in order to run Command Prompt using administrator privileges.
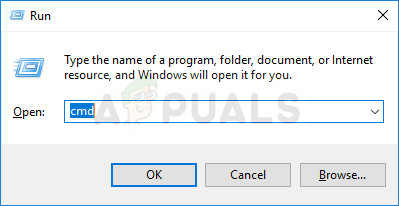
- Type in the following command in the window and make sure you press Enter after typing it. Wait for the “Winsock reset completed successfully” message or something similar to know that the method has worked and you haven’t made any mistakes while tying.
netsh winsock reset
- Reopen the ARK: Survival Evolved game either by double-clicking its entry on your computer or by launching it through Steam and check to see if the error still appears.
Solution 2: Auto-Connecting to the Server
This error can also appear to users who used to connect automatically to their favorite server by setting the launch options for the game. However, if the server they used has disappeared or if it has switched to a new IP address, you will need to either remove this launch option or to set it to the new server you want to connect to.
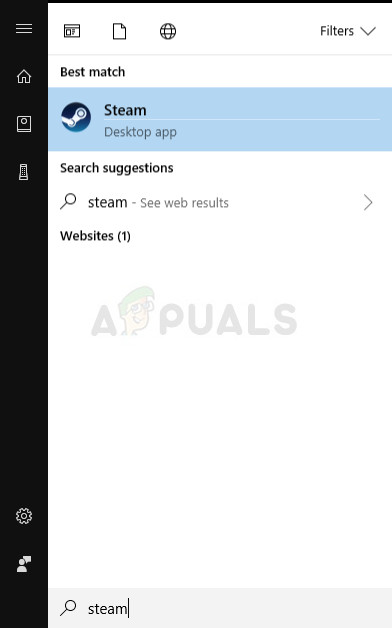
- Open up Steam by double-clicking its entry on the Desktop or by searching for it in the Start menu. Windows 10 users can also search for it using Cortana or the search bar, both of them next to the Start menu.
- Navigate to the Library tab in the Steam window, and locate ARK: Survival Evolved in the list of the games you own in your respective library.
- Right-click on the game’s entry in the list and choose the Properties option from the context menu which will pop up. Stay in the General tab in the Properties window and click the Set launch options button.
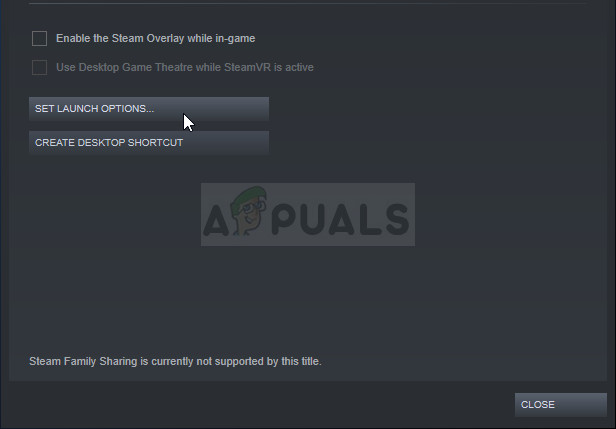
- Delete the “connect ‘server-IP’:’port” entry in the Launch Options window where the server-IP and port are actual numbers representing the server. If this launch option wasn’t there, you can try to fix the problem by finding out the IP address of the server you want to connect to and typing “connect <your_server’s_IP>”.
- Relaunch the game and check to see if the issue still appears when searching for servers in ARK: Survival Reloaded.
Solution 3: Forward Several Ports
This method is especially useful to people who are hosting their own ARK: Survival Evolved servers and they are unable to start it because of this error. It seems that the game uses several ports which definitely need to be forwarded in your Internet settings if you want users to be able to play on your servers.
- Open a your favorite web browser, type your Default Gateway number (IP address) into the address bar at the top of the window, and press Enter.
- Enter your username and password to access the router’s interface. The default username and password should be listed in your router’s documentation you received when you purchased it, on a sticker on the side of your router, or on the Port Forward website.
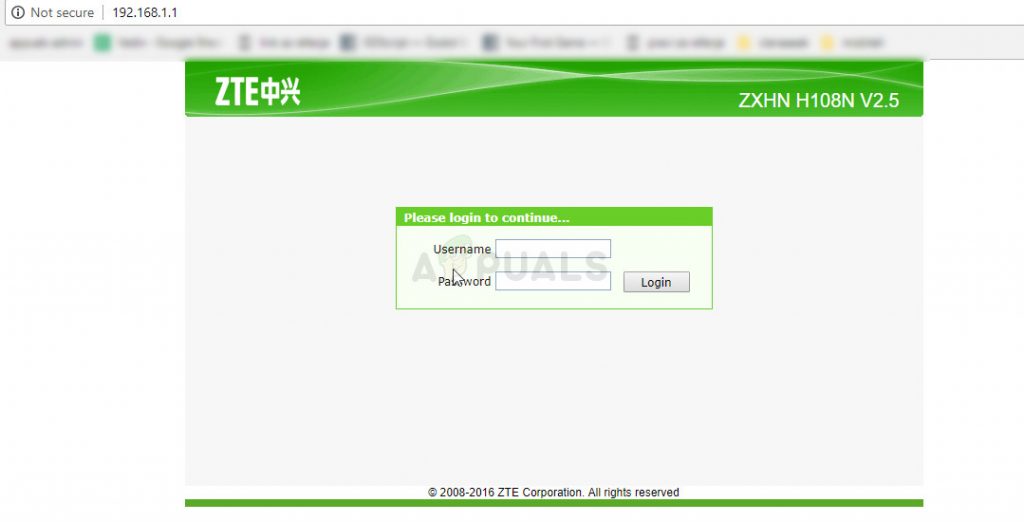
- Find the Port Forwarding section in the browser window while still logged into your router. Each router’s window will appear to be slightly different. Common menu labels for the section of settings that contains Port Forwarding are “Port Forwarding”, “Applications”, “Gaming”, “Firewall”, and “Protected Setup” so make sure you browse until you find it.

- No matter what the router or interface, you’ll need to enter the same basic information. Enter the port you want to open under Internal and External, or enter a range of ports to open under Start and End. Specify Outbound rules for all ports below:
All Platforms
TCP / UDP Ports 7777 and 7778
TCP / UDP Port 27015
- The TCP and UDP abbreviations are the options you should select under the Type of Service Type option. Since you can only select one of the options, you might need to repeat these steps several times until you have covered all of the ranges presented above.
- Click on the Save of Apply button and make sure you restart your router and the computer you are using as the server to see if you are now able to run your server properly.
Solution 4: Reinstall the Game
Reinstalling the game is probably your last resort but this method has helped fix the problem for users who were almost out of ides. The method depends on your Internet speed but if you stay patient the method might be resolved before you know it as the Steam client takes care of the process for you almost automatically.
Note: Before going for a reinstall of the game, try to verify the integrity of the game cache and check if that fixes the issue, if it doesn’t, go for the reinstall.
The instructions below are divided into two parts: instructions for users who purchased a physical copy of the game on a DVD to install the game and an alternative for Steam users so make sure you follow the instructions carefully.
- Click on the Start menu button and open Control Panel by searching for it or by locating it in Start menu (Windows 7 users). Alternatively, you can click on the gear icon in order to open the Settings app as a new feature of the Windows
- In the Control Panel window, switch to View as: Category at the top right corner and click on Uninstall a Program under the Programs section.
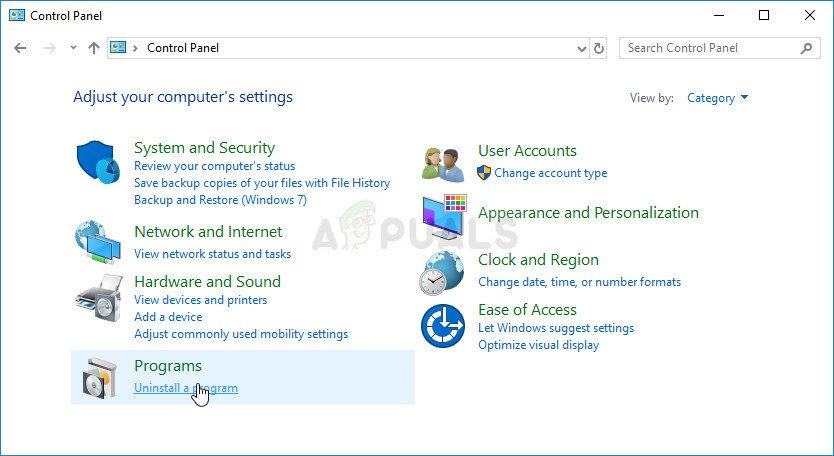
- If you are using the Settings on Windows 10, clicking on Apps section from the Settings window should open the list of all installed programs on your computer.
- Locate ARK: Survival Reloaded game in the list either in Settings or Control Panel, click on it once and click the Uninstall button located in the Uninstall a program window. Confirm any dialog choices to uninstall the game, and follow the instructions which will appear on screen.
Alternative for Steam Users:
- Open up Steam by double-clicking its entry on the Desktop or by searching for it in the Start menu. Windows 10 users can also search for it using Cortana or the search bar, both of them next to the Start menu.

- Navigate to the Library tab in the Steam window, and locate ARK: Survival Evolved in the list of the games you own in your respective library.
- Right-click on the game’s entry in the list and choose Uninstall entry from the context menu which will appear after right-clicking.
- Follow the instructions which will appear on screen and confirm any dialogs prompting you to confirm your choice to uninstall the game.
In order to reinstall the game you purchased as a physical copy, you will need to insert the disk you bought it on and follow the instructions which will appear on screen in the installation wizard.
If you have purchased it on Steam, you will need to download it again from Steam by locating in the Library and choose the Install button after right-cling on it. Check to see if the “Unable to query server info for invite” error still appears when searching for official game servers.


