Fix: An Error Occurred During the Installation of Assembly Microsoft.VC80.CRT
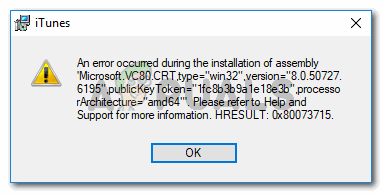
Several Windows users report getting the “An error occurred during the installation of assembly Microsoft.VC80.CRT” error during the installation of a software. Affected users have confirmed that this issue occurs on Windows 7, Windows 8.1 and Windows 10. This particular error is reported to occur with iTunes, inLab, WIDCOMM Bluetooth and during the initial installation of Microsoft SQL Server.
What is Causing the Error Occurred During the Installation of Assembly Microsoft.VC80.CRT Issue?
We investigated this particular issue by looking at various user reports and their repair strategies. From what we were able to gather, several fairly common scenarios are known to trigger this particular issue:
- Microsoft Visual C++ Redistributable package is missing or is damaged – This is the most popular reason why this error occurs. Several installers including the on iTunes require some dependencies present in the Visual C++ 2010 package to complete the installation.
- There are pending Windows Updates – With some application installers, the issue might occur if the machine has any pending Windows Updates. Several affected users have reported that the issue has been resolved after they installed every pending security update. This is typically reported to be effective when trying to install network monitoring applications.
- Sound drivers are not installed – Some users have reported that they were able to resolve the error message by installing the missing sound drivers. This can either be done using the provided installation media or by using WU (through Device Manager).
- The video card is too old to support the latest version of iTunes – As it turns out, older dedicated GPU models will not support the installation of the latest iTunes version. There is a workaround that involves installing an older version and then updating it to the latest once the application is installed.
If you’re currently struggling to resolve this particular issue, this article will provide you with a list of verified troubleshooting steps. Below you have a collection of methods that other users in a similar situation have used to get the issue resolved.
To maximize efficiency, follow the methods in the order that they are presented until you discover a fix that resolves the problem in your particular scenario.
Method 1: Install/Reinstall Microsoft Visual C++ Redistributable Package
As most affected users have suggested, there’s a high chance that the issue occurs because a required Visual C++ Redistributable Package is missing from your machine. The same symptoms can also occur if Microsoft Visual C++ is damaged or not installed properly.
In most cases, the application installer will throw the error because it can’t find MSVCR110.dll – a common DLL file frequently needed for projects built with Visual Studio.
Some affected users have managed to get the issue resolved after noticing that the required Visual C++ Redistributable package is missing from their machine. Others have determined that their Visual C++ installation was incomplete or corrupted. In both these cases, installing or reinstalling the Microsoft Visual C++ Redistributable package has resolved the issue entirely.
Here’s what you need to do to:
- Press Windows key + R to open up a Run dialog box. Then, type “appwiz.cpl” and press Enter to open up Programs and Features.
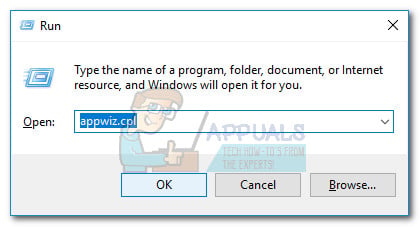
Run dialog: appwiz.cpl - Inside Programs and Features, look through the list of applications and locate all Microsoft Visual C++ Redistributable installations. You can see them all easier if you click on Publisher to group them.
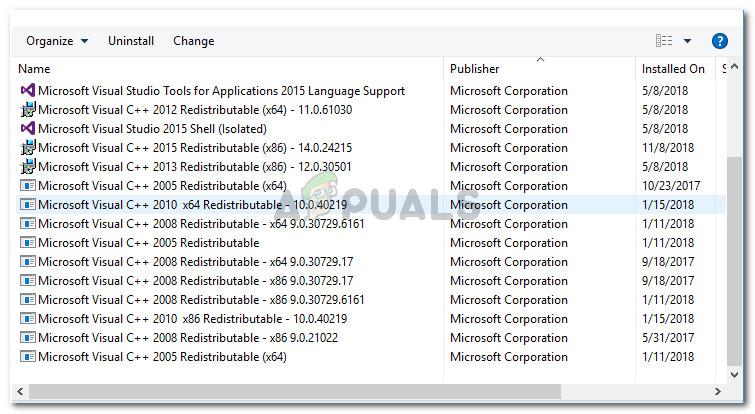
Locating all Microsoft Visual C++ Redistributable packages Note: If you don’t have any Visual C++ 2005/2010 Redistributable packages installed, jump straight to step 5.
- Right-click on each Visual C++ 2005 Redistributable & Visual C++ 2010 Redistributable and choose Uninstall. Then follow the on-screen prompts to remove it from your system. Repeat this procedure with every 2005 ad 2010 redistributable package until you have none left.
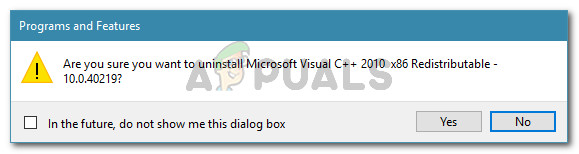
Uninstalling Microsoft Visual C++ redist packages - Restart your machine.
- At the next startup, access the links below one by one to download & install the following installation executables:
Visual C++ 2005 Service Pack 1 Redistributable Package
Visual C++ 2005 Service Pack 1 Redistributable Package MFC Security Update
Visual C++ Redistributable Package 2013 – This also contains DLL libraries included in previous distributions (2010 and 2012)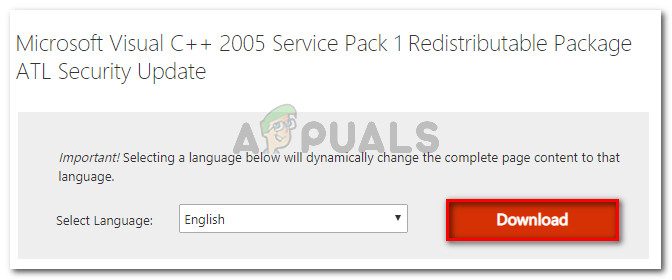
Downloading the missing Visual C++ Redistributable packages Note: You can also use the Major Geeks All-In-On installer (here) to automatically install all missing Visual C++ packages with a single click.
- Once every Visual C++ Redistributable package is reinstalled, restart your computer again and see if the installation completes without error at the next startup.
If you’re still encountering the “An error occurred during the installation of assembly Microsoft.VC80.CRT” error, move down to the next method below.
Method 2: Install Pending Windows Updates
Some users have reported back that the issue was resolved and they were able to complete the application installation procedure without errors after applying every pending Windows Update.
There is some user speculation pointing towards a dependency of the flash player that might trigger the error. Microsoft released a security update that takes care of the issue and allows the installation to go through.
Several users have encountered the An error occurred during the installation of assembly Microsoft.VC80.CRT error when trying to install Orion Network Performance. These users have reported that the issue was resolved after they installed every pending Windows update.
Follow the steps down below to install every Windows update that is currently pending:
- Press Windows key + R to open up a Run dialog box. Then, type “ms-settings:windowsupdate” and press Enter to open the Windows Update tab of the Settings app.

Run dialog: ms-settings:windowsupdate Note: If you’re not on Windows 10, type wuapp in the Open box instead.
- Inside the Windows Update screen, click on Check for updates. Then, follow the on-screen prompts to install every pending update.
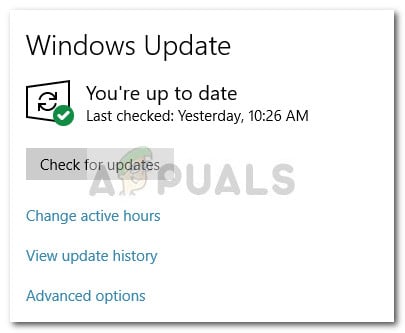
Checking for any pending Windows Updates Note: If WU prompts you to restart between update installations, do so. Also, make sure to install every pending security update (even if it’s optional).
- Once every pending Windows update has been installed, restart your machine once again and attempt to install the application once again. If you’re still encountering the An error occurred during the installation of assembly Microsoft.VC80.CRT” error when trying to install iTunes, inLab or another application, move down to the next method below.
Method 3: Update the Sound Drivers Manually
Some users have struggled to resolve the “An error occurred during the installation of assembly Microsoft.VC80.CRT” error. These users have reported that they managed to fix it by installing/updating their sound drivers.
Based on user reports, missing sound drivers might crash the iTunes installations. If you’re thinking the same scenario might apply to your current situation, follow the steps below to inspect whether you’re missing the sound drivers and take the appropriate steps to resolve the issue.
Here’s what you need to do:
- Press Windows key + R to open up a Run dialog box. Then, type “devmgmt.msc” and press Enter to open Device Manager.
Run dialog: devmgmt.msc - Inside Device Manager, expand the Sound, video and game controllers drop-down menu and see if you spot any exclamation mark icon on any entry listed.
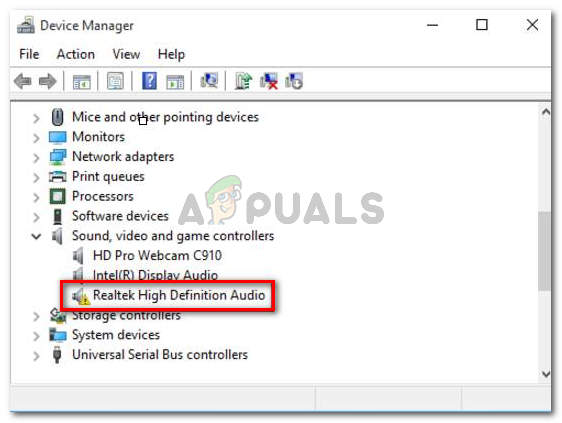
Example of a missing or incorrectly installed sound driver - If you see any evidence of a missing incorrect sound driver, right-click on the faulty driver entry and click Update driver.
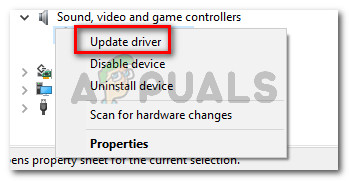
Updating the driver - Then, click on Search automatically for updated driver software to instruct WU (Windows Update) to search for a newer driver version. If a new version is found, follow the on-screen prompts to install it on your computer. Once the new driver is installed, restart your computer and see if the issue is resolved at the next startup.
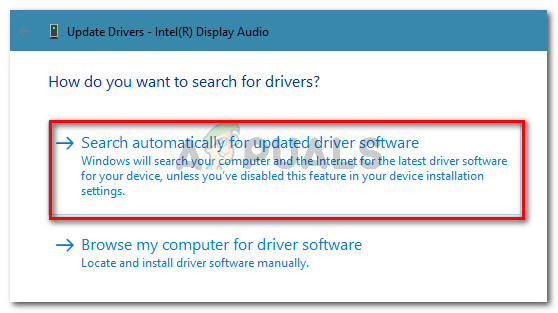
Click on Search automatically for updated driver software - If WU doesn’t manage to find a newer driver version, right-click on the faulty driver and choose the Uninstall device instead.
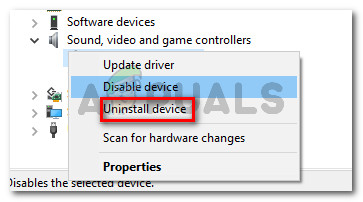
Uninstalling faulty device driver - Click Uninstall at the confirmation prompt and wait for the procedure to complete. Once the procedure is complete, restart your computer to allow Windows to automatically download and install the missing sound drivers.
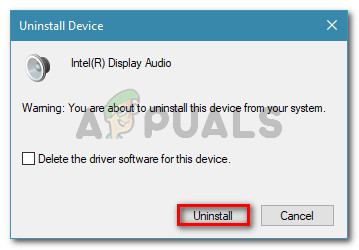
Confirming the uninstall of the sound driver - Attempt to install the application again and see if the An error occurred during the installation of assembly Microsoft.VC80.CRT error is resolved.
If you’re still encountering the issue, move down to the final method below.
Method 4: Install an Older iTunes Version Before Updating to Latest (iTunes Glitch)
If you’re having trouble installing or syncing to the latest version of iTunes, you might be prevented to do so by your GPU card. Several users encountering the same issue suspected that the issue might have something to do with old GPU cards.
Apple has made available an older iTunes version specifically for older video cards. You should be able to install this build just fine without encountering the “An error occurred during the installation of assembly Microsoft.VC80.CRT ” error. Even more, you might then be able to update to the latest version anyway (once the application is installed).
Here’s a quick guide with what you need to do:
- Download the iTunes version 12.4.3 by clicking the Download link at the top of the page.
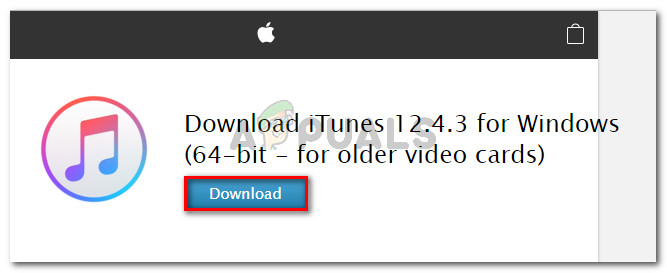
Download iTunes 12.4.3 build (for older video cards) - Once the download is complete, open the installation executable and follow the on-screen prompts to complete the installation. You should be able to complete it without encountering the An error occurred during the installation of assembly Microsoft.VC80.CRT error.
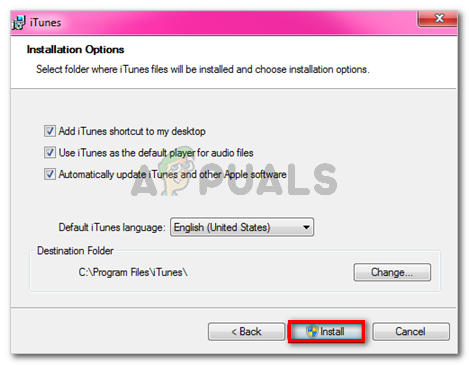
Installing iTunes on your computer - Restart your computer and open iTunes at the next startup. If the update prompt doesn’t appear right away, trigger it by playing any song. You will eventually see a pop-up prompting you to update to the latest version available. Click on Download iTunes and follow the on-screen prompts to download to the latest version.

Downloading the latest version of iTunes
Method 5: Start Windows Installer & Windows Module Installer Services
Windows Installer Service is a Windows component for software installation, maintenance, and removal. If this service could not be started, then it can cause the current visual C error. In that case, setting the Windows Modules Installer Service startup type to Automatic and starting Windows Installer may solve the problem. By default, these services are set to Automatic but could have been changed because of third-party antivirus software or optimizing programs setting them to manual.
- Press Windows key + R and type services.msc in the Run command box, and then press Enter.
Type “services.msc” into the Run dialog and press Enter - Now find Windows Installer and double click on it to open it.
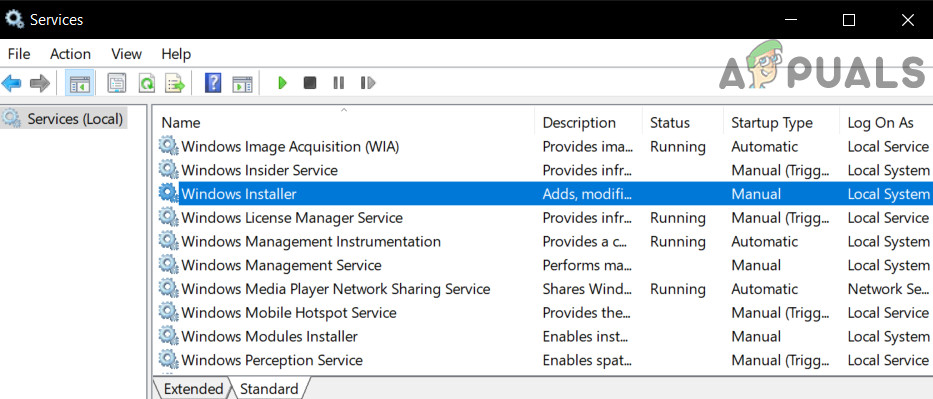
Open Windows Installer Service Setting - Now click on Start to start this service.
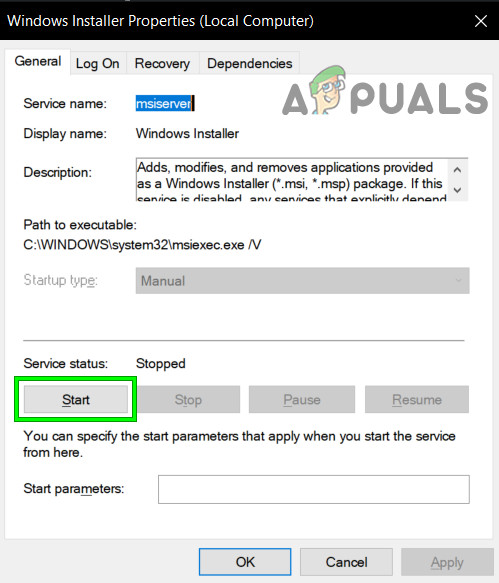
Start Windows Installer Service - Now Windows Modules Installer and double click on it to open it.
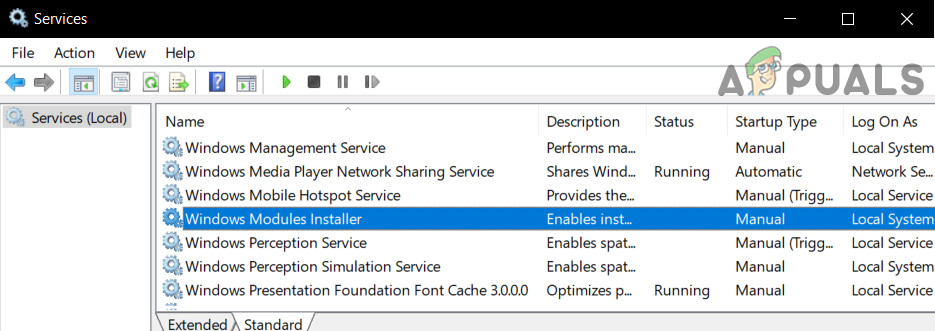
Open Windows Modules Installer Service Setting - Now change Startup Type to Automatic and start the service (if this doesn’t work, try changing it to manual and check again).
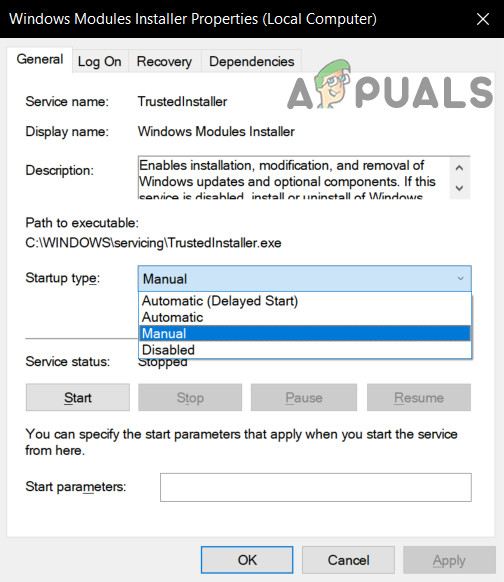
Set Windows Modules Installer Startup Type to Manual - Now apply your changes and check if you can complete the installation/uninstallation process you were having issues with.
If nothing has helped you so far, then follow our Error 1935 article.


Thank you! Helped me a lot with this tip. Thought C++ is not important