Fix: File Explorer Tabs Feature Missing in Windows 11
File Explorer tabs are one of the newly added Microsoft features. However, for some users this feature is unavailable. Since the file explorer tabs are introduced as a part of the new Microsoft update, they will be unavailable for your use if you are using an outdated Windows.

This guide will show you how to fix missing tabs issue in Windows 11.
You must restart the file explorer before performing any other solutions.
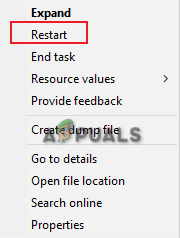
- Right-click on the Windows Start Menu and select “Task Manager.”

Opening the Task Manager - Scroll down to find Windows Explorer.
- Right-click on it and select the “Restart” option.
Restarting the task - Now, press the Win + E keys together to re-open the File Explorer.
If restarting the File Explorer doesn’t fix the issue for you then you can proceed to next solutions.
1. Clear the file explorer cache
File explorer cache consists of stored temporary data. However, this data gets corrupted over time and causes the file explorer to not work accordingly. Therefore, you must delete this corrupted cache and prevent such issues from happening.
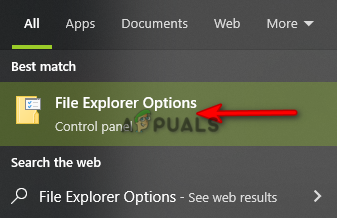
- Open the Windows Start Menu by pressing the Win key.
- Type “File Explorer Options” and select the folder.
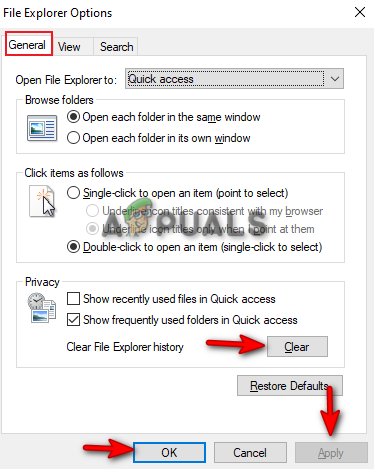
Opening the file explorer options - Click on the “General” tab and select “Clear” under Privacy to clear the file explorer cache.
- Confirm the changes by clicking Apply and OK.
Clearing the file explorer cache
2. Run the System Scans
Corrupted System Files can become a major reason why your tabs are missing in the file explorer. Therefore, you must make sure that none of the system files are facing any corruption by performing systems scans that detect and repair the issues found in the system files. You can perform the system files with the steps below:
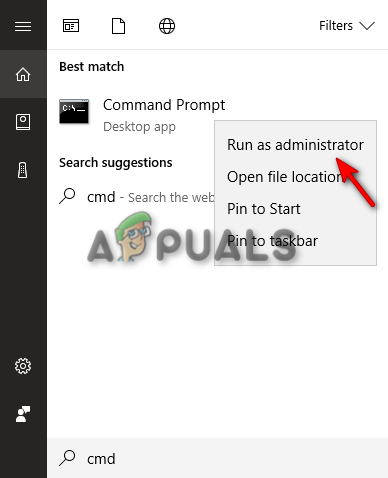
- Open the Windows Start Menu by pressing the Win key.
- Type “cmd” in the Windows Search bar.
- Right-click on it and select the”Run as an administrator” option.
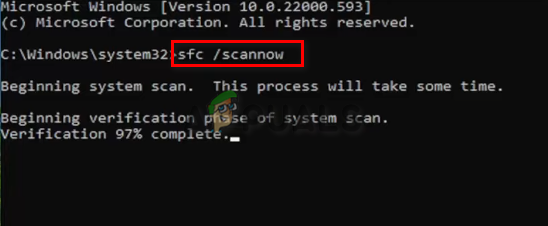
Running the Command Prompt as an administrator. - Run the system file checker by typing the following command and pressing the Enter key.Note: Make sure to give a space between “sfc” and “/.”
sfc /scannow
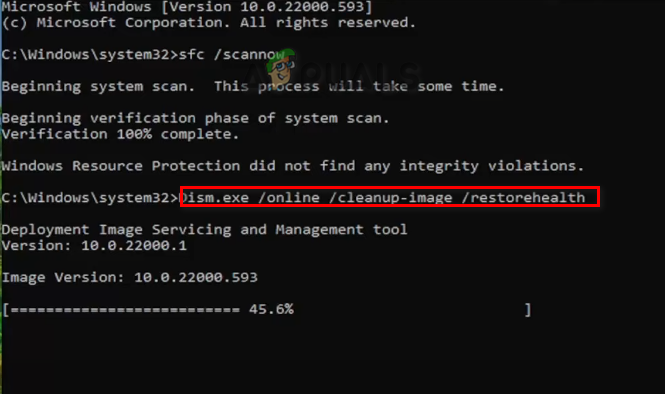
Running system file checker on the command prompt. - After scanning your System, the file checker automatically repairs the corrupted files.
- Paste the following command into the command prompt and press Enter to run the DISM scan.
Dism.exe /online /cleanup-image /restorehealth
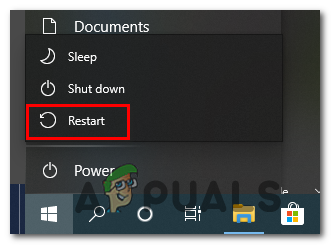
Running DISM Command on the Command Prompt - Now, open the Windows Start Menu by pressing the Win key.
- Click on the Power option and Restart your computer by clicking on the “Restart” option.
Restarting the Windows computer
3. Restore File Explorer Option default settings
Resetting the File Explorer settings to default can fix the corrupted configurations and possibly fix the missing tabs issue with File Explorer. Follow these steps to reset File Explorer to it’s default settings.
- Open the Windows Start Menu by pressing the Win key.
- Type “File Explorer Options” and select the folder.
Opening the file explorer options - Click on the “General” tab and select “Restore Defaults.”
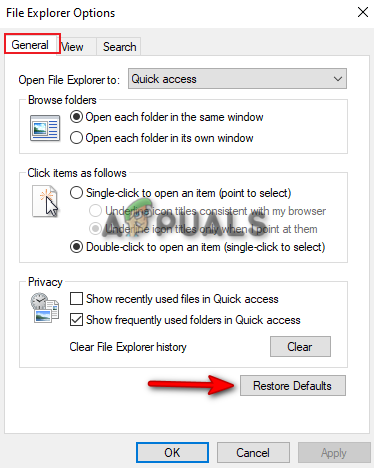
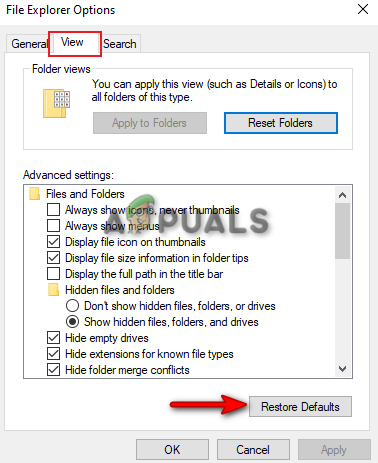
Restoring General Defaults - Open the “View” tab and click on the “Restore Defaults” option.
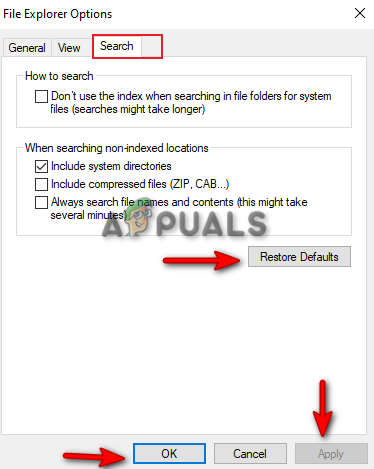
Restoring View Defaults - Lastly, click on the “Restore Defaults” option under the “Search” tab.
- Confirm the changes by clicking Apply and OK.
Restoring Search Defaults
4. Update your Windows
The File Explorer tab feature is not applicable to the previous version of Windows. Using an outdated Windows version will prevent you from accessing it. Therefore, make sure that your Windows is updated to the latest version. Below are the instructions that will help you update your Windows:
- Open the Windows Settings by pressing the Win + I keys together.
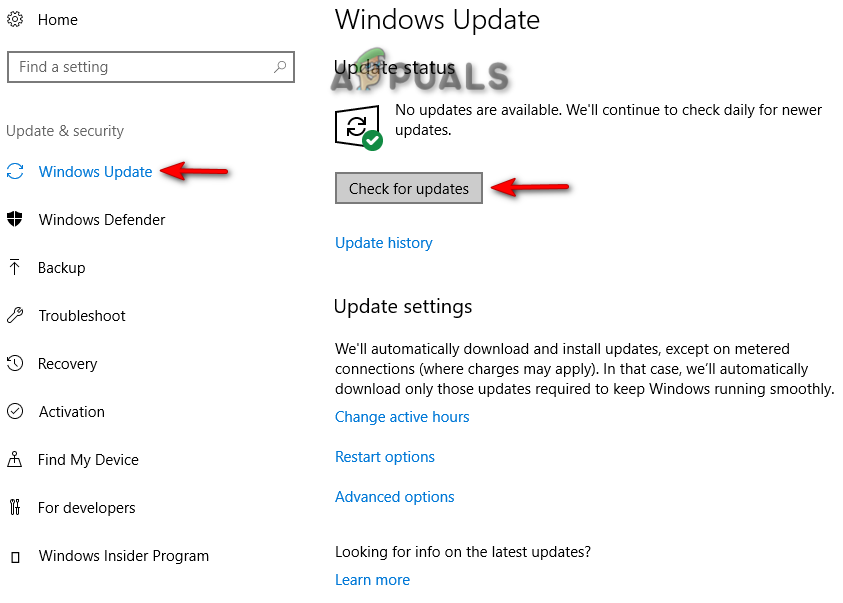
- Navigate to Update and Security > Windows Update.
- Click on the “Check for Updates” option.
- Download the latest Windows update by clicking on the Download option.
Checking Windows Update - Restart your computer after the Windows update has been installed to make the changes.
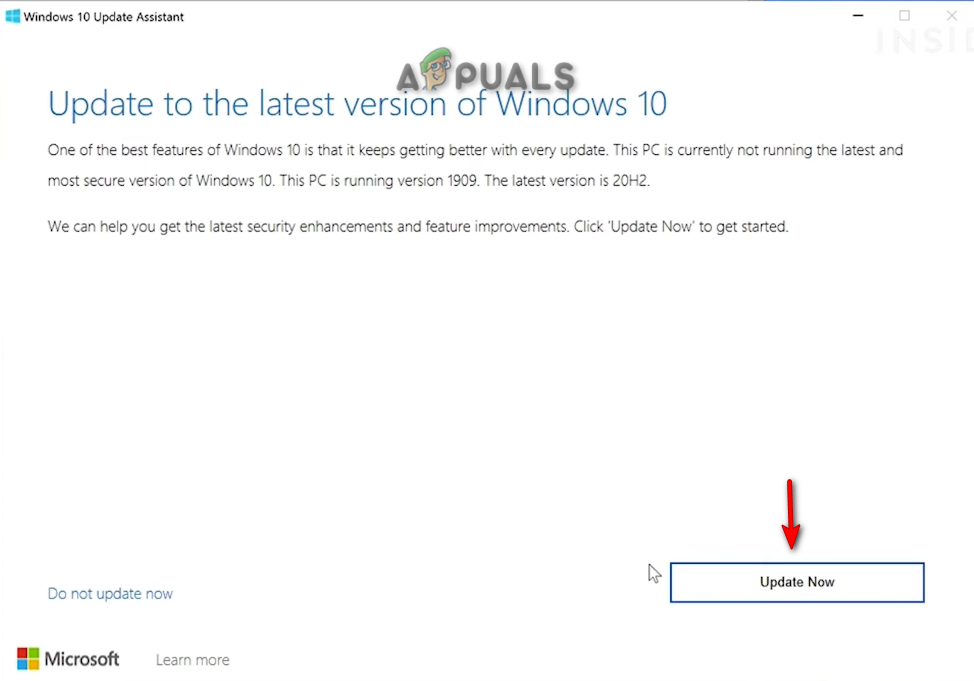
- Download the latest Windows Update, by going to the Official Microsoft Web Page and clicking on the “Update Now” option.
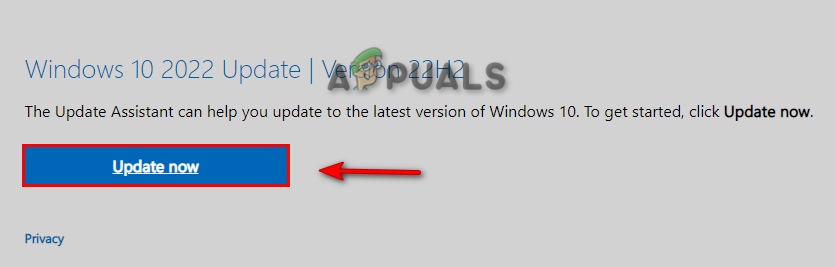
Downloading the Latest Windows Update - Install the update by clicking on the “Update Now” option.
Installing Windows Update - Restart the computer by clicking on the Restart option after the installation is completed.
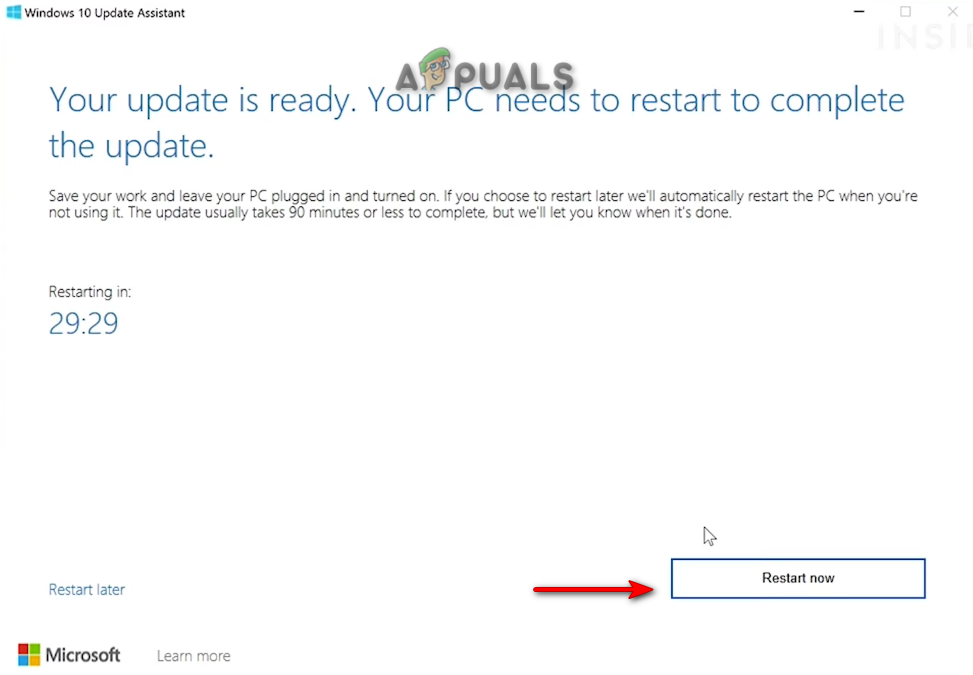
Restarting Computer
5. Manually enable the file explorer tabs
If the issue still persists, then as a last resort, you can manually enable the file explorer tabs using a third-party tool. Below we have listed the instructions for using a third-party tool to enable the file explorer tabs on Windows:
- Go to the Official Github website.
- Download the latest ViVeTool zip file
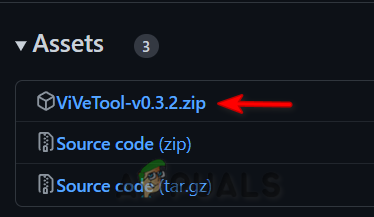
Downloading ViVeTool zip file - Select the location of the file and click Save.
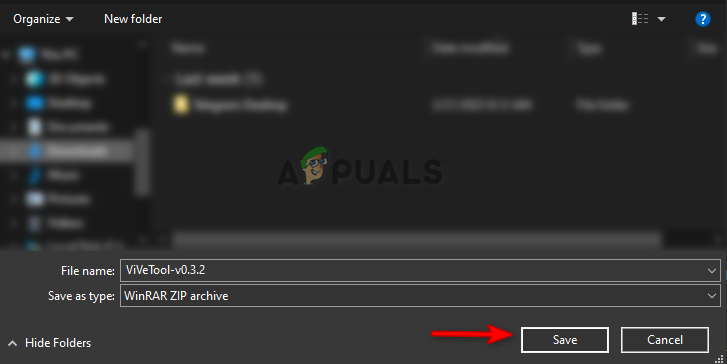
Saving the file in the folder - Click the three dots on the browser and open the Downloads page.
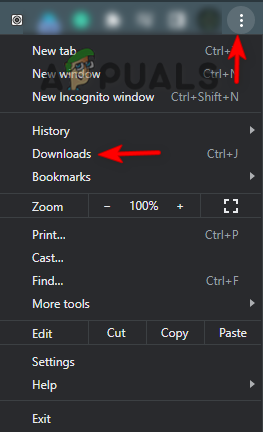
Opening the Downloads tab - Locate the file by clicking on “Show in folder”

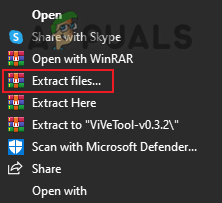
Locating the file - Right-click on the zip file and click on “Extract file.”
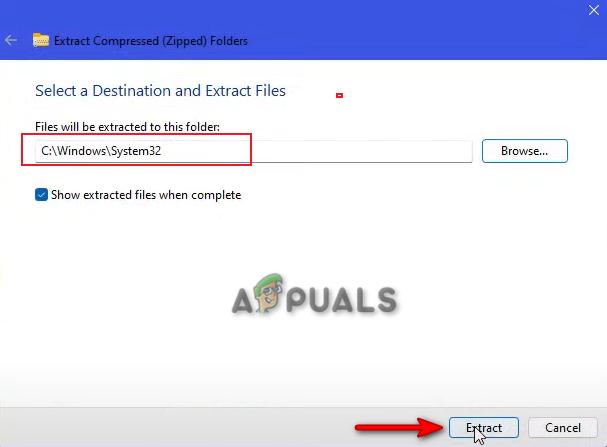
Extracting the files - Extract the file inside the following path and click on the Select folder option:
This PC > Local Disk (C) > Windows > System32
- Now, click on Extract to extract all the files inside the System32 folder.
Extracting files in the folder - Open the Windows Start Menu by pressing the Win key.
- Type “cmd” in the Windows Search bar.
- Right-click on it and select the”Run as an administrator” option.
Running the Command Prompt as an administrator. - Enable the file explorer tabs by pasting the following commands into the command prompt and pressing Enter after each command:
vivetool /enable /id:37634385
vivetool /enable /id:39145991
vivetool /enable /id:36354489
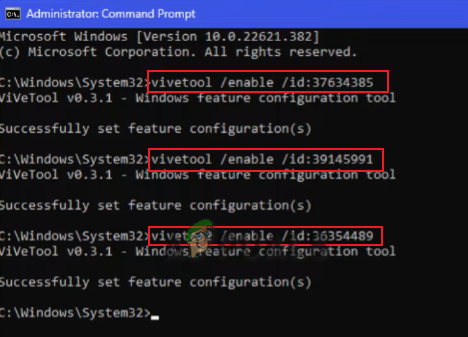
Enabling the file explorer tab - After the commands are completed, restart your computer.


