How to Fix File System Error (-1073741521) in Windows?
The File System error -1073741521 occurs when opening documents, videos, and launching other files. This error is mostly caused by a corrupted hard drive. However, there are other causes as well such as corrupted system files and an error in the Windows Update which can trigger the following error message.
In this guide, we will be showing you how to fix this issue.
1. Run the System File Checker
You may be facing the error because of corrupted System Files that may prevent you from opening and launching certain files. Therefore, you can try performing the System File Checker which scans your entire system and repairs all the issues in the files that are found corrupted. Follow the methods to perform a system file checker:
- On the Windows Search bar, type “cmd.”
- Right-click on the Command Prompt and run it as an administrator.
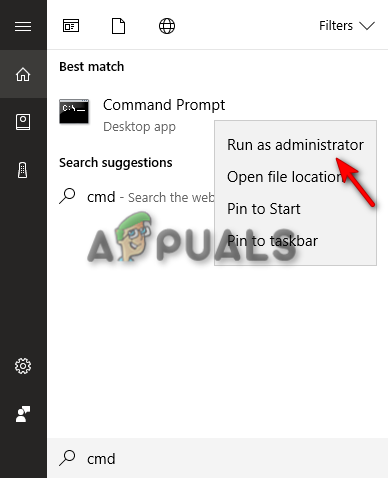
Running the Command Prompt as an administrator. - Type the following command in the Command Prompt
sfc /scannow
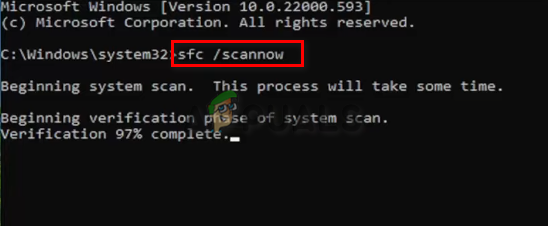
Running system file checker on the command prompt. - If the file checker finds the issue, it will automatically repair the corrupted files to fix the error.
2. Uninstall the latest update of Windows.
The latest Windows update may have caused a conflict in your registry, which may have caused the System File error on your system. Therefore, you can uninstall the Windows update and see if that helps you fix the error. You can follow the steps below to learn how to uninstall the latest Windows update:
- Open your Windows Settings by pressing Win + I together.
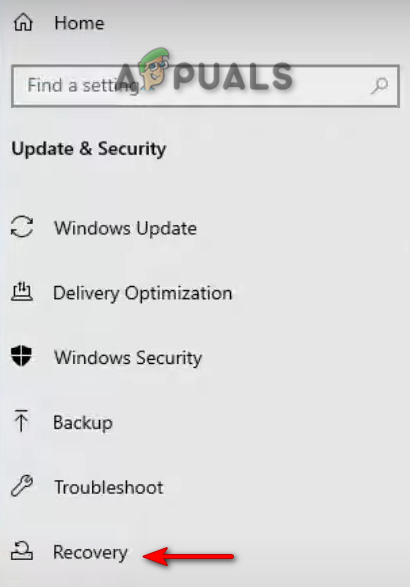
- Click on the Update and Security option.
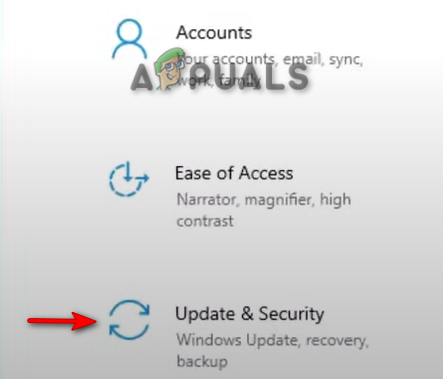
Opening Windows Update and Security - Click on the Recovery option on the left side of the panel.
Opening Recovery - To go back to the previous version of the Windows update, click “Get Started” under “Go back to the previous version of Windows.”
Note: If you installed the Windows update more than ten days ago, you could not initiate the process. For that, you must manually uninstall the patch by following the method below:
- Open the Windows Settings and navigate to Update and Security > Windows Security > Update History.
- Check the update that was installed in the past ten days.
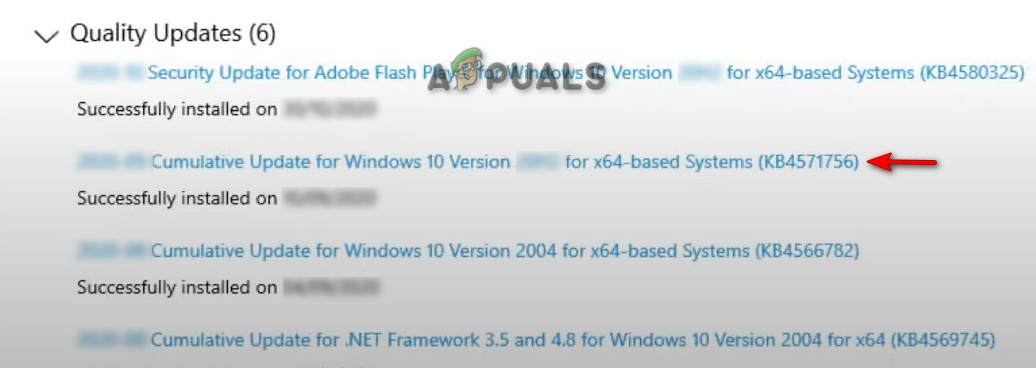
Checking the latest installed Windows Update - Click on Uninstall Updates and select the latest update installed.
- Click on Uninstall to go back to the previous version of the Windows update and see if that fixed the error.
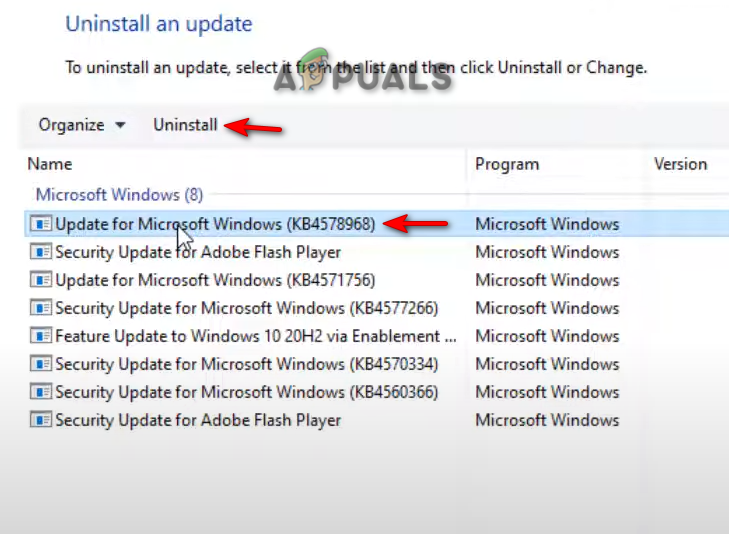
Uninstalling the latest installed Windows Update
3. Use Windows Repair to Repair the Error
Windows Repair Pro is used for mini fixes that may help you resolve an issue such as the system file error (-1073741515). Therefore, download the Windows Repair Pro utility and start repairing the error. To learn how to use Windows Repair Pro to resolve the error, follow the steps below:
- Start with downloading the Windows Repair Pro utility.
- Select the type of download you prefer and click on the download button.
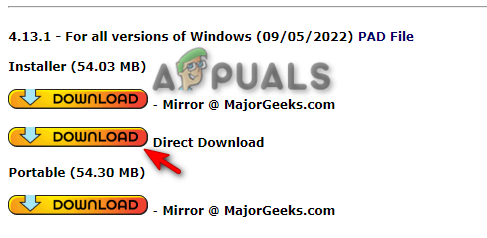
Downloading Windows Repair Pro - Open the folder in which the software is downloaded by clicking on the “Show in Folder” option.
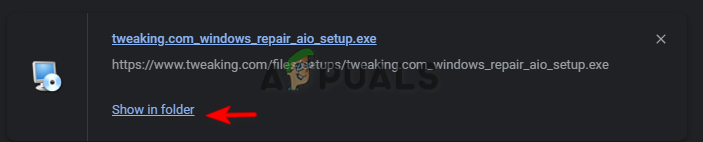
Opening the download location of the Windows Repair Pro - Double Click on the application and click on “Run” to initiate the installation process.
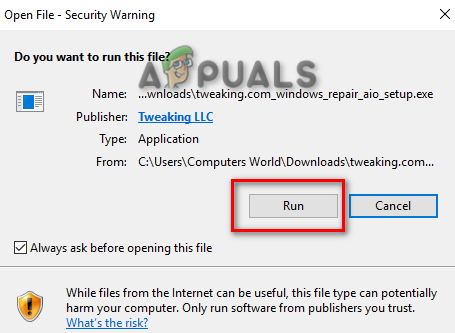
Starting the Windows Repair Pro software installation - Confirm the installation by clicking “Yes” on the User Account Control pop-up.
- Click on the change option if you prefer a manual installation directory, and then click Next.
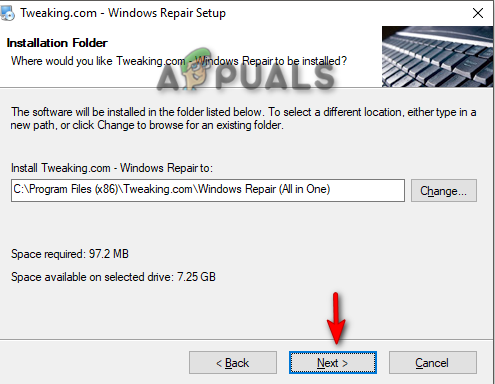
Selecting the file directory for the installation - Once the installation is completed, click on Finish to start Windows Repair Pro.
- Click on the Repair option at the top of the Window and to start repairing the issue, click on the “Open Repairs” option.

Opening the Windows Repair Pro Repairing page - To repair all the files on your Windows, check the “All Repair” box and then Start the Repair by clicking on the “Start Repair” button in the bottom right corner.
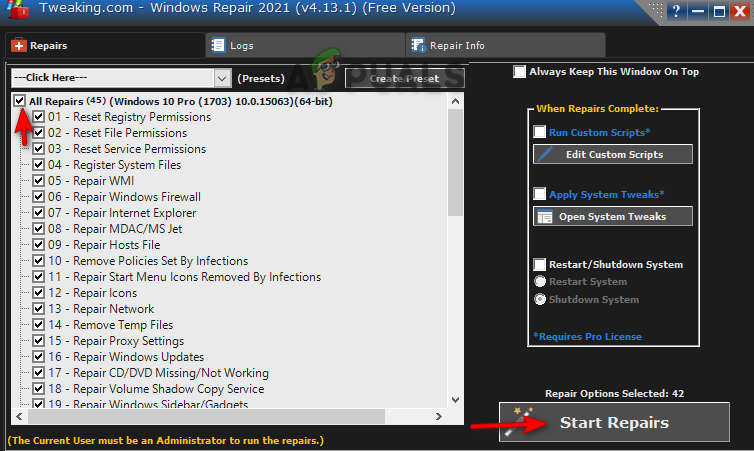
Starting Repair
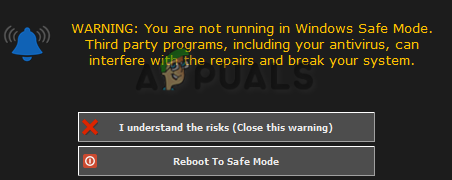
Disclaimer: Do note that if you are not running on Safe Mode, third-party programs may interfere in the repairing of the error on your Windows. Therefore, it is best to Reboot on Safe Mode and then start the repair session.
4. Use the Malwarebytes Anti-Malware Software
Another reason your system may face this error is that malicious software, such as spyware, may have entered your system and corrupted it. You can remove them using the Malwarebytes Anti-Malware Software and see if that helps you fix the error. Follow the steps below to learn how to use Malwarebytes to repair and delete the error on your computer:
- Download Malwarebytes by clicking on the “Free Download” option at the top of the page.
- Open the Setup and click the “Install” option on the Malwarebytes setup page.
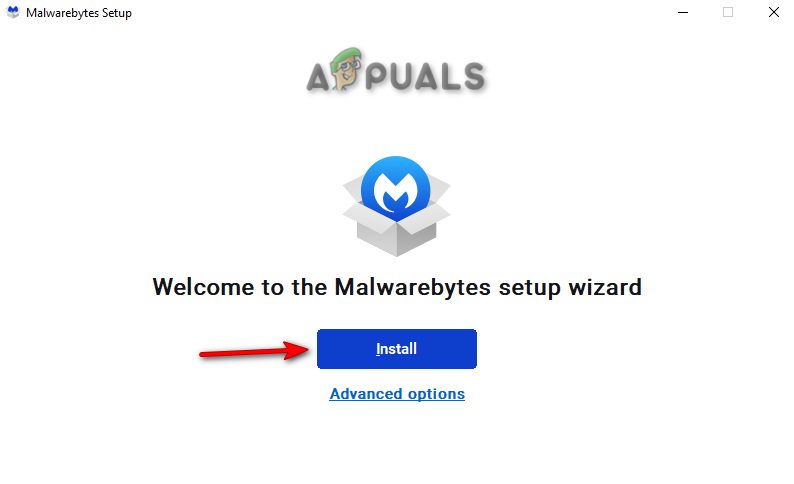
Installing Malwarebytes - To start the Installation process, select the product of your choice and click on Next.
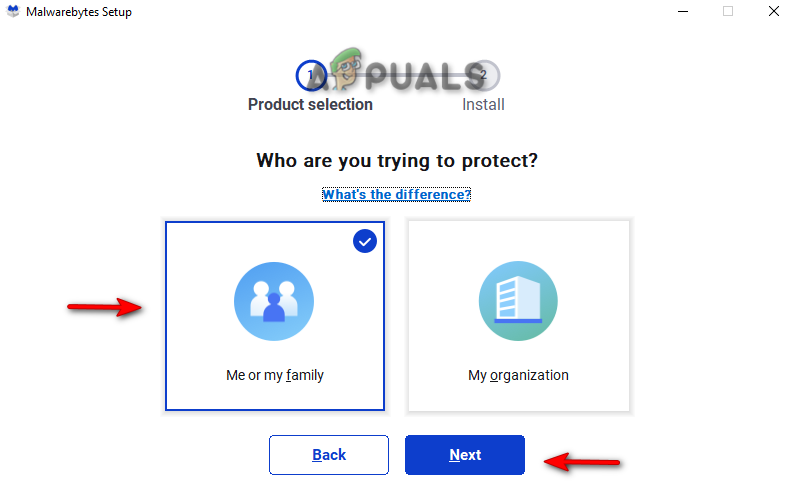
Product Selection - Once the installation is completed, click on Done, and click on the Scan button at the center.
- After scanning, click on Quarantine to remove all the threads on the system.
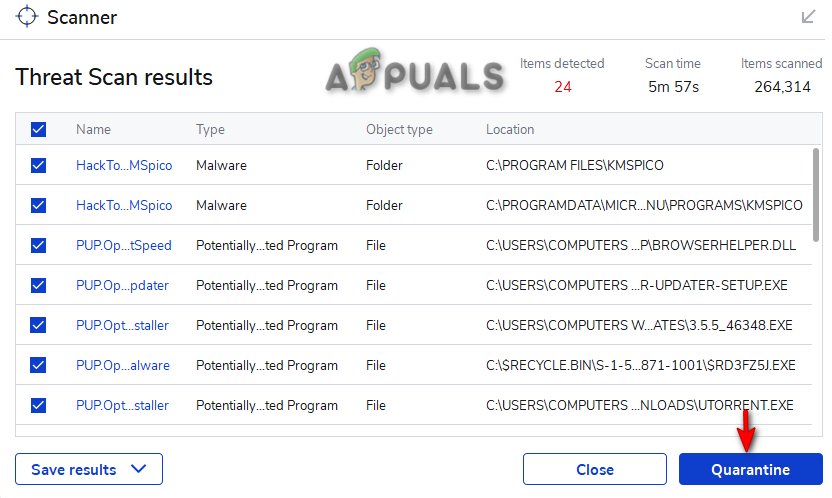
Quarantining the threads scanned - Now, restart your computer and see if the error is fixed.
6. Reset your PC and Perform a Clean Installation
If you still face the File System error, you should reset your PC and perform a Clean installation to resolve the issue. Below, we have given the steps to perform a Windows Reset:
Disclaimer: Make sure to save your data into a backup file before testing your PC and performing the Clean Installation process.
- Open the Windows Settings by pressing the Win + I keys together.
- Now, navigate to Update and Security > Recovery.
- Reset your computer by clicking on the “Get Started” option under “Reset this PC.”
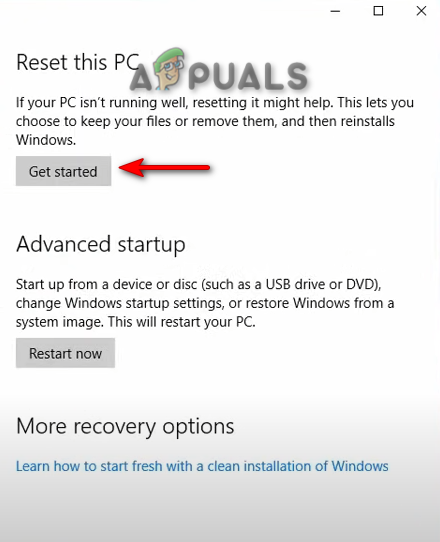
Resetting Computer - Select a preferred option on the choose an options page.
- Lastly, restart your PC by pressing the Win key and clicking the restart option on the power button.
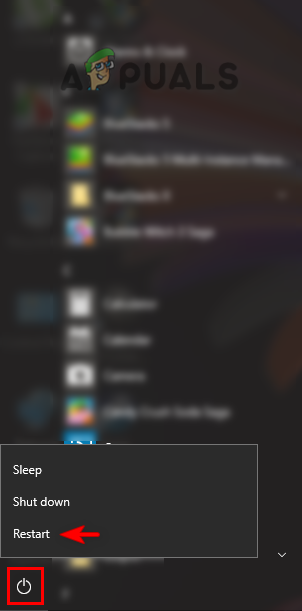
Restarting PC - You can now perform a Clean Installation.


