How to Fix File Explorer Search Not Working in Windows 11?
There are users who are facing an issue on the Windows 11 operating system with the File Explorer app. As it turns out, the File Explorer does not seem to work properly when using it on the new operating system. As per the user reports, the search result does not return the correct matches for the query entered but rather random files are shown. In some cases, this can happen when the file explorer process is malfunctioning and simply requires a restart to resolve the issue. That being said, this isn’t the only cause of the problem as there are other factors that may contribute to the issue as well. Regardless of the cause, however, we will be showing you how to fix this problem in this article so just follow through.

As it turns out, File Explorer is a really important utility on Windows that lets you browse all the files that are present on your computer. In addition to that, you can quickly search for certain files by their filenames or the types of files using the File Explorer search option. However, when that isn’t working properly and returning incorrect results, it can be really frustrating. As we have mentioned, this can happen due to a number of reasons and before we get into the methods that will help you resolve the issue, let us first go through these causes so that you are able to establish a better understanding of the problem at hand. With that said, let us get started.
- Malfunctioning File Explorer Process — In some cases, the problem arises when the File Explorer process is malfunctioning which leads to it not working properly. In such a scenario, you will have to restart the process in order to resolve the problem.
- Damaged Search Index — As it turns out, the problem can also be triggered by the search index that is used by Windows to fuel the search engine in the operating system. When this happens, you will have to rebuild the search index to resolve the problem.
- Corrupted Cortana — Another reason that the problem in question occurs is when the Cortana on your computer is corrupted. As it turns out, Cortana is used on Windows operating systems for searching purposes and it has been renamed to Search in the newer editions. You will have to re-register the utility to fix the problem in such scenarios.
- SearchApp.exe Keeps Crashing — As it turns out, another reason that the problem in question may occur is when the SearchApp.exe process keeps crashing on your computer. This process is really important as it creates the search index on your computer which is used by Windows to fuel your searches later on. If this case is applicable, you will have to re-register the Windows Search to resolve the problem.
Now that we have gone through the possible list of causes of the problem in question, we can get started by showing you the different methods of resolving the issue. So, without further ado, let us get right into it.
Run Searching and Indexing Troubleshooter
As it turns out, the first thing that you should do when you encounter the problem in question is to run the searching and indexing troubleshooter on your computer. Windows comes with its own set of troubleshooters that you can use for the different issues that you come across on the operating system in hope that it will fix the issue. The search and indexing troubleshooter can help you find any issues with the Windows Search and get them sorted.
Running the troubleshooter is pretty easy. To do this, follow the instructions given down below:
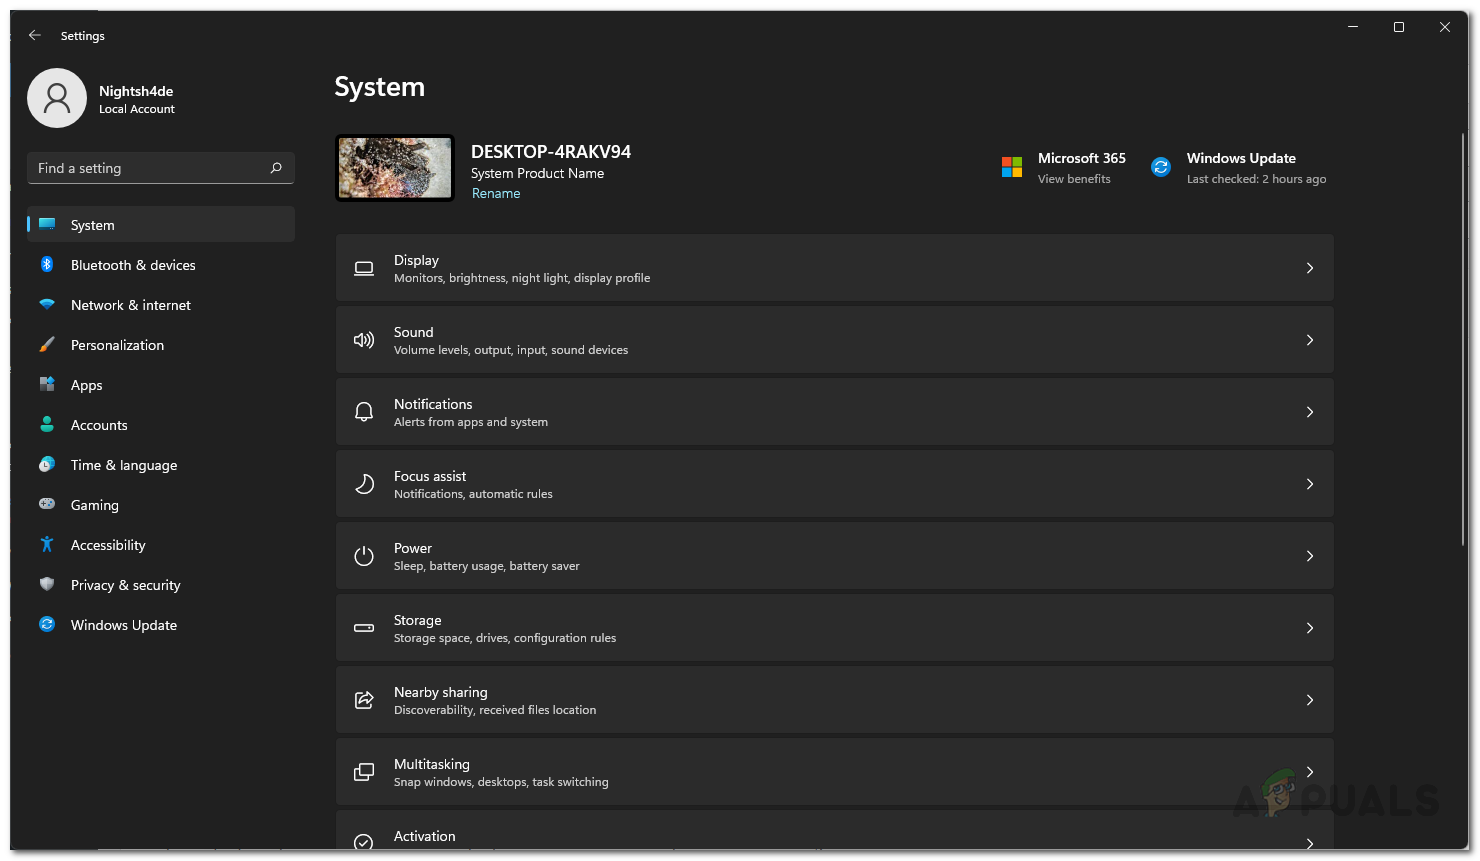
- First of all, press the Windows key + I on your keyboard to open up the Windows Settings app.
- Then, on the System tab, scroll down and click on the Troubleshoot option given.
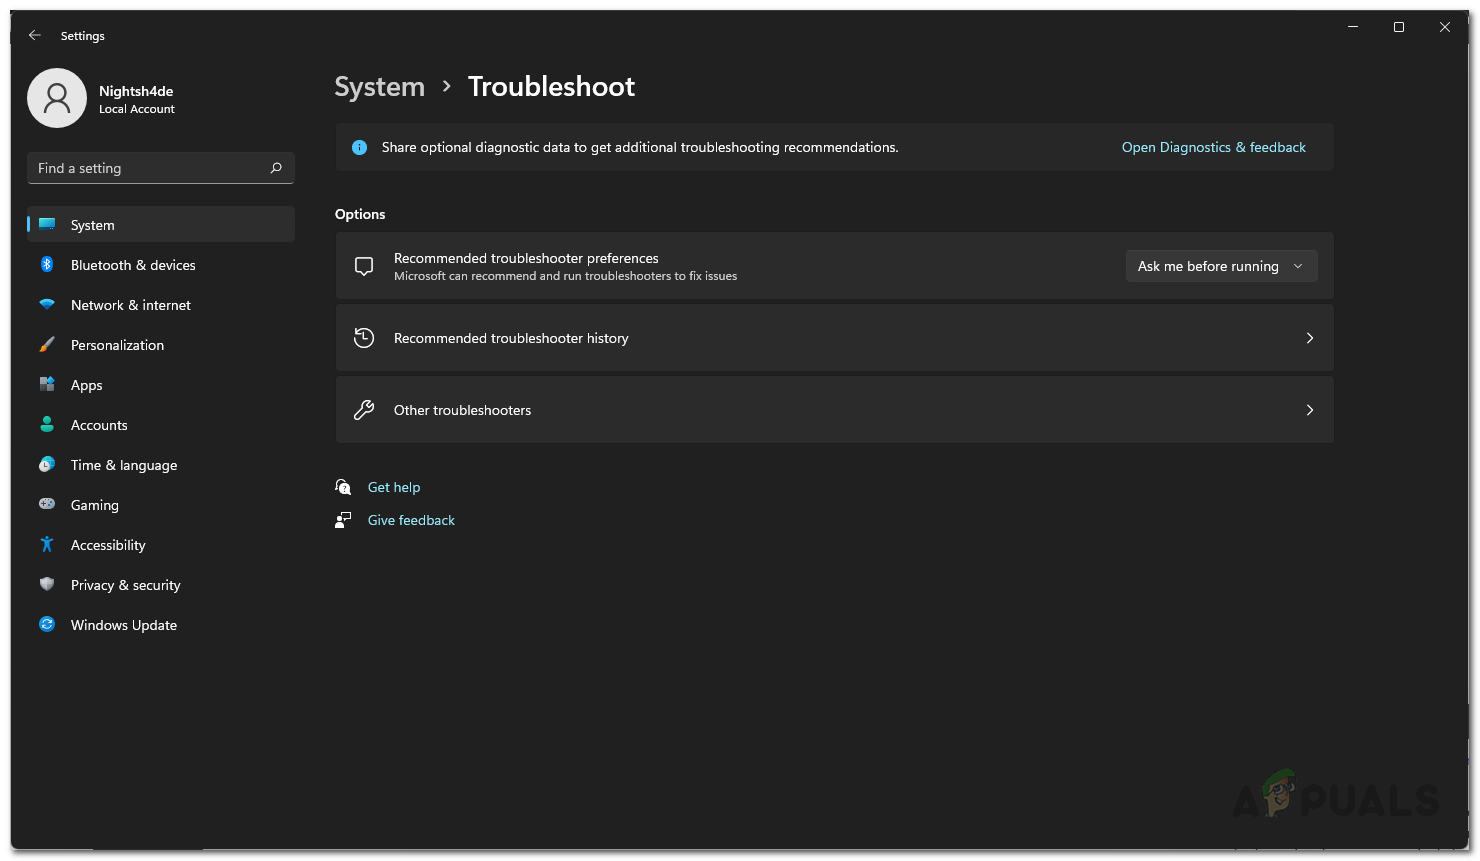
Windows Settings - After that, on the Troubleshoot screen, click on the Other troubleshooters provided.
Troubleshoot Settings - Finally, scroll down and locate the Search and Indexing troubleshooter.
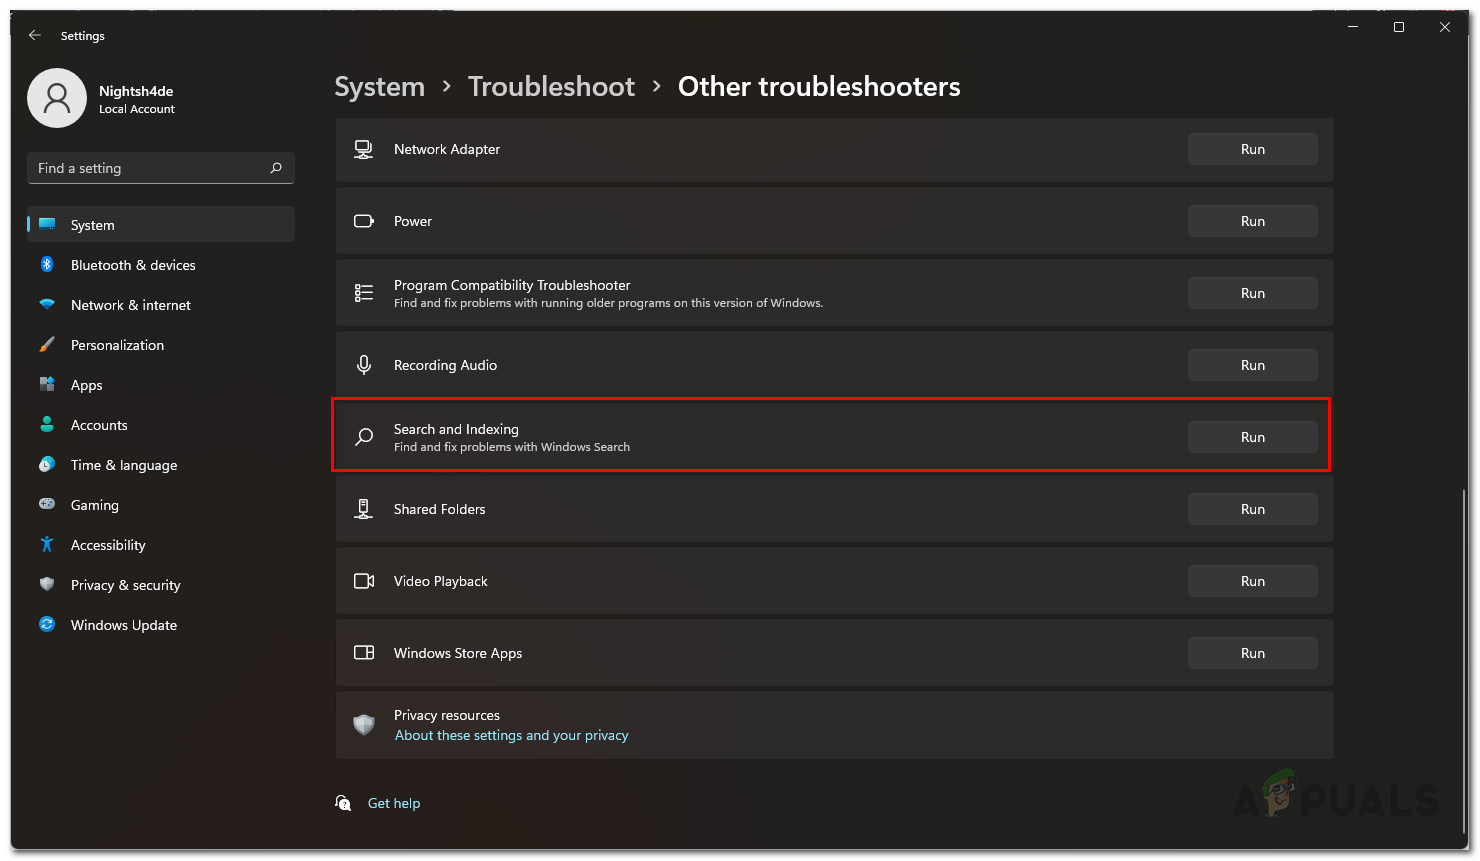
Running Search and Indexing Troubleshooter - Click the Run button next to it to run the troubleshooter.
- Follow the on-screen prompts and then wait for it to complete and see if that resolves your problem.
Restart File Explorer
Like we have mentioned above, one of the reasons that the File Explorer search may not be working is when the File Explorer process is malfunctioning. When this happens, certain functionalities of the app may not work which includes the search feature.
If this case is applicable, you will have to simply restart the process through the Task Manager window and then see if that resolves the problem for you. To do this, follow the instructions that are given down below:
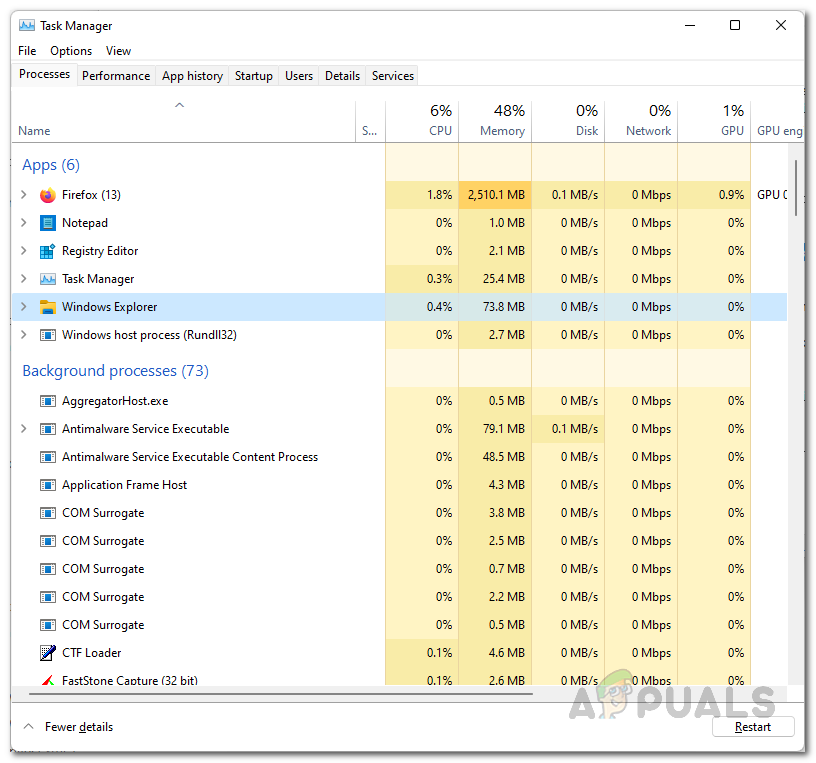
- First of all, right-click on the Windows icon on your taskbar and then choose Task Manager from the menu to open up the Task Manager.
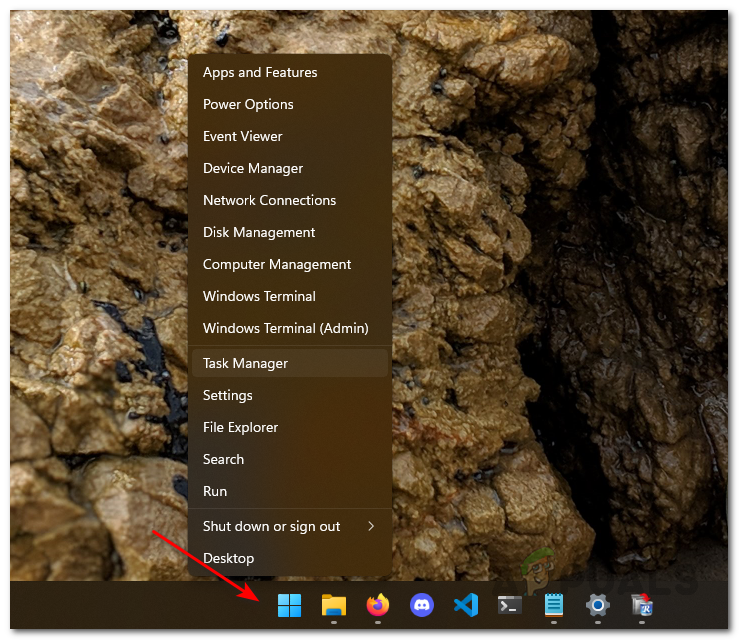
Opening up Task Manager - When the Task Manager window is open, on the Processes tab, locate the Windows Explorer process.
Locating Windows Explorer - Right-click on the process and then click Restart from the drop-down menu provided.
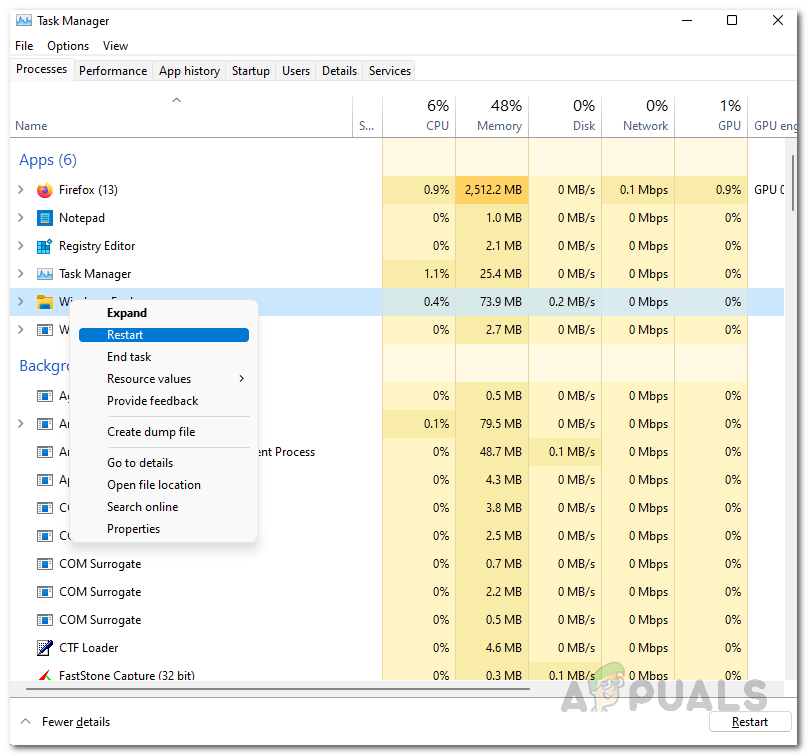
Restarting Windows Explorer - Once the process has restarted, see if the problem has been resolved.
Rebuild Search Index
If the above solutions do not work out for you and you are still experiencing the issue in question, it may be due to the fact that the search index has been corrupted. The search index is used by the Windows operating system to facilitate all the searches that you make on the operating system. Therefore, if the search index is damaged, the results shown won’t be correct and in such a case, you will have to rebuild the search index.
If this case is applicable, you can rebuild the search index pretty easily by following the instructions that are given down below:
- First of all, open up the Control Panel by searching for it in the Start Menu.
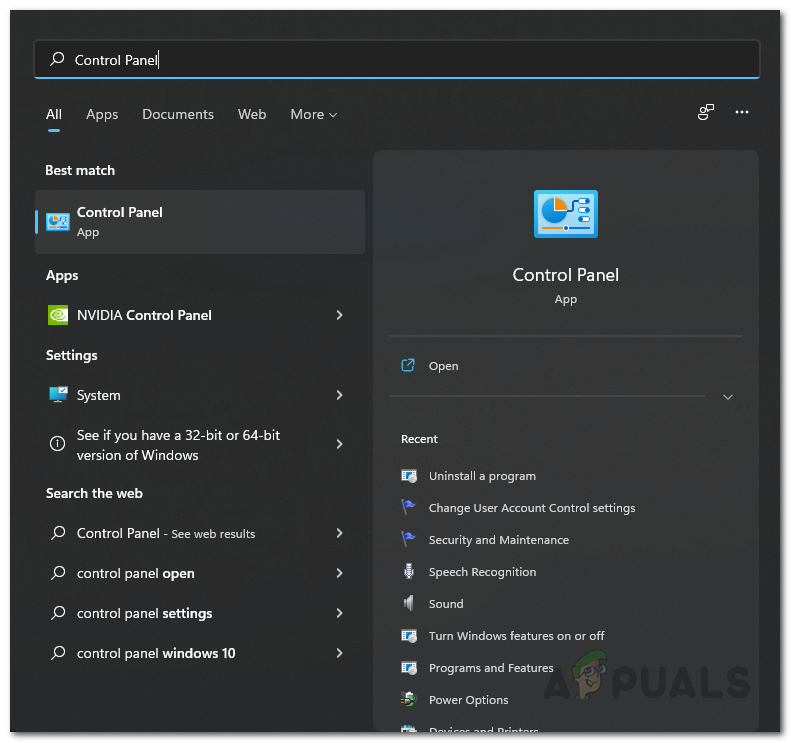
Opening up Control Panel - When the Control Panel window is open, click on the View by drop-down menu at the top and then choose Large icons.
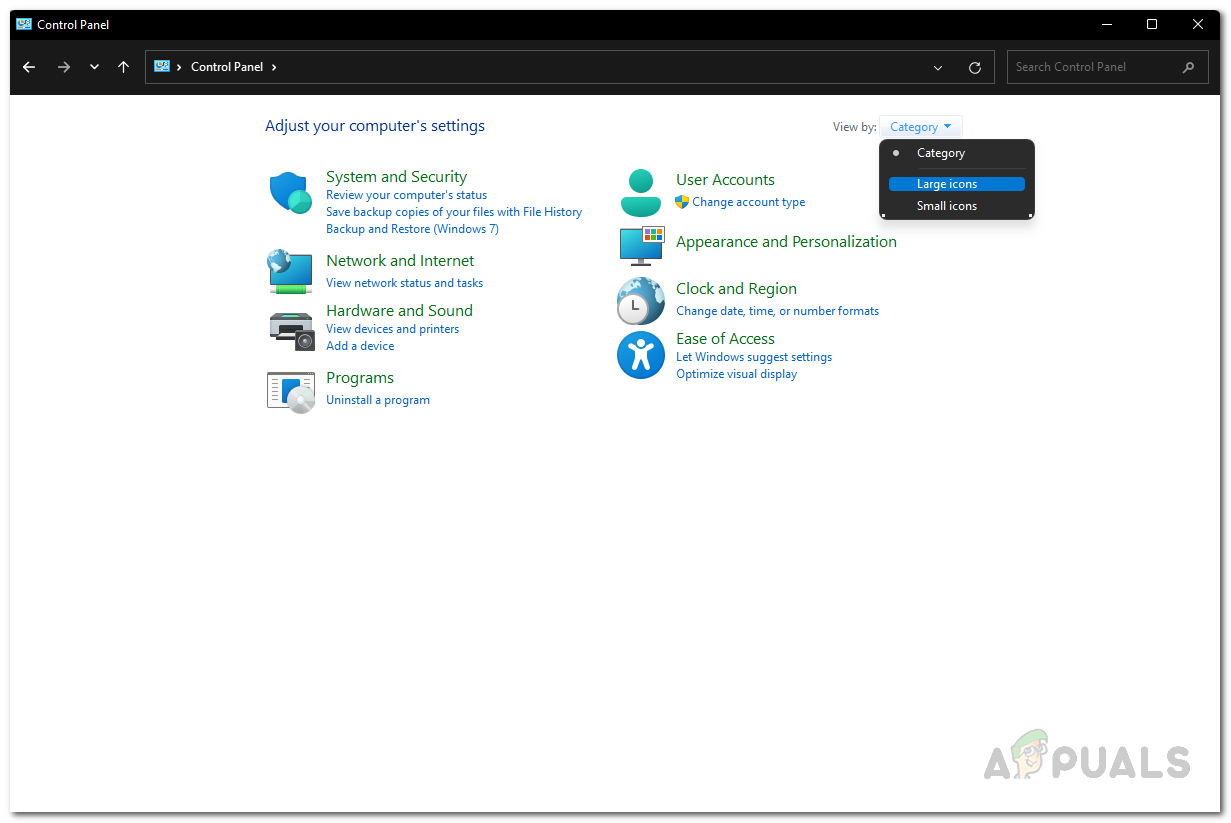
Changing Control Panel View By - Now, from the options shown, click on the Indexing Options option shown.
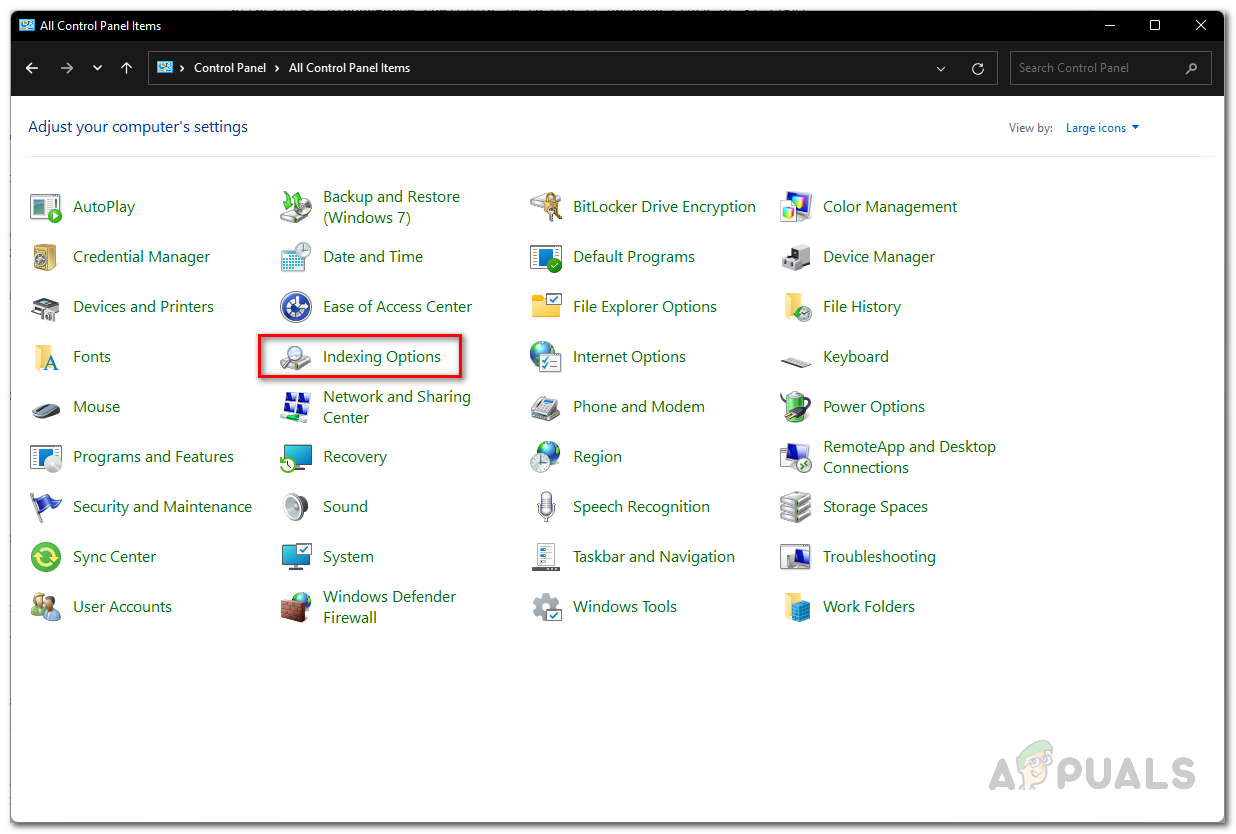
Opening Indexing Options Window - After that, on the Indexing Options window that opens up, click the Advanced button.
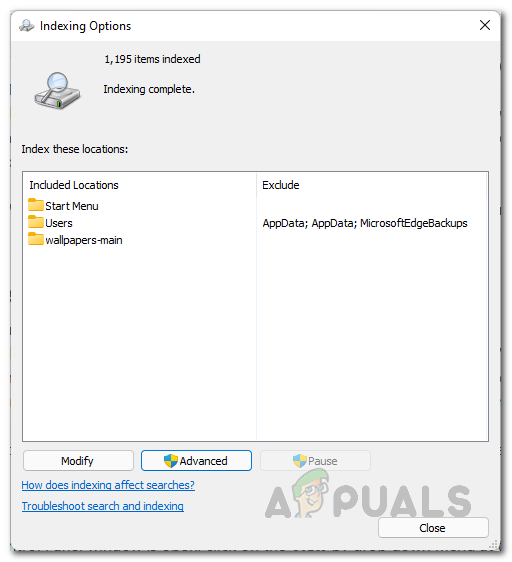
Indexing Options - On the Advanced window, switch to the File Types tab and choose the Index Properties and File Contents option at the bottom.

Changing File Index - After that, switch to the Index Settings tab and click the Rebuild option provided.
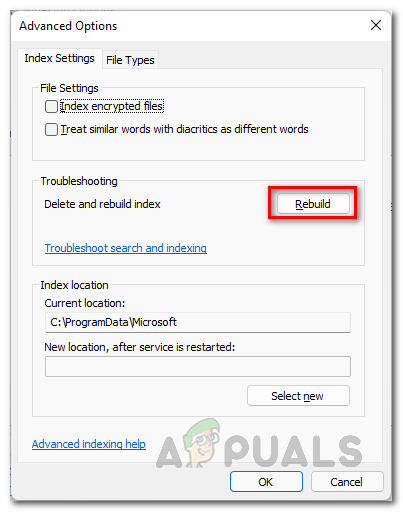
Rebuilding Search Index - Once you have done that, open up the File Explorer and see if the issue is still there.
Edit User Account Control Registry Keys
As it turns out, another way that you can resolve the problem is by editing the registry keys of the User Account Control. UAC essentially is a feature that notifies you whenever a program on your computer requires administrative privileges. When this happens, you will have to allow the program administrative privileges in order for it to be allowed to run.
In this method, we will be editing the registry keys of UAC to essentially disable the feature. It is important to note that making unwanted changes to the Windows Registry may render your system incapable. Therefore, we would recommend creating a backup of the Windows Registry before proceeding. If you follow the instructions down below carefully, everything should be fine. With that said, let us get started.
- First of all, open up the Run dialog box by pressing Windows key + R on your keyboard.
- In the Run dialog box, type in Regedit and hit the Enter key.

Opening up Windows Registry - This will open up the Windows Registry.
- Now, in the address bar, copy and paste the following path to navigate to it automatically:
HKEY_LOCAL_MACHINE\SOFTWARE\Microsoft\Windows\CurrentVersion\Policies\System
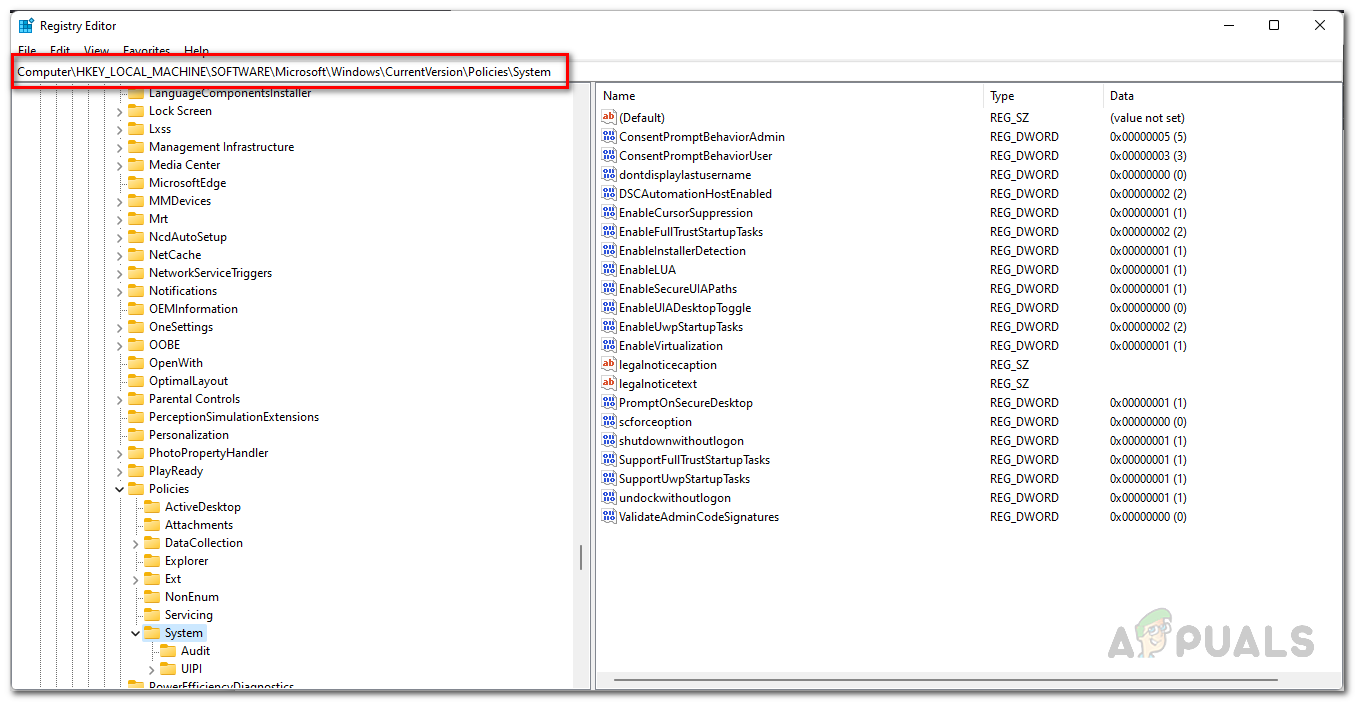
Navigating to Windows Policies - Once you are there, on the right-hand side, double click the ConsentPromptBehaviorAdmin key and set its value to 0.
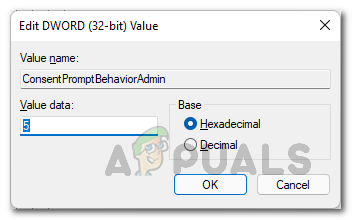
Changing ConsentPromptBehaviorAdmin Key Value - After that, double click the EnableLUA key and set its value to 0 as well. In case you are missing this key, you will have to create it by right-clicking New > DWORD (32-bit).

Changing EnableLUA Key Value - Once you have made these changes, go ahead and restart your computer for the changes to take effect.
- After your PC boots up, open up the File Explorer to see if the issue persists.
Register Windows Search
In case the above solutions have not fixed the problem for you, then you will have to register the Windows Search again on your computer. While doing this, we will be specifying that the manifest is from an existing installation of Windows Search. This means that we will be simply re-registering Windows Search. This can be really helpful when the SearchApp.exe process keeps crashing on your computer. This process is essentially responsible for creating a search index that is later on used by Windows for all your search purposes.
In order to do this, you will have to open up a Powershell window. To do this, follow the instructions given down below:
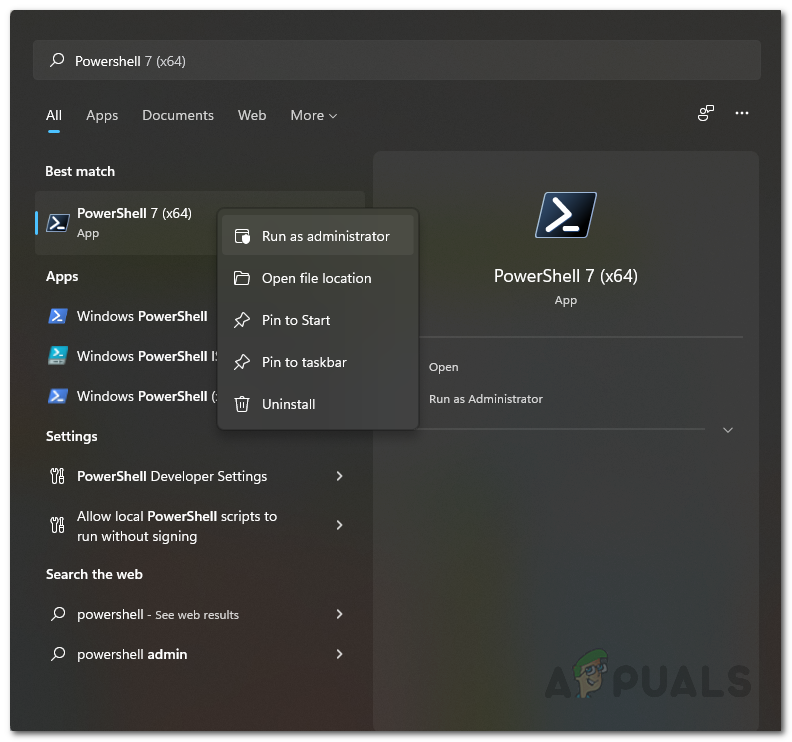
- First of all, open up the Start Menu and search for Powershell.
- Either right-click on it and choose Run as administrator from the drop-down menu or simply click the Run as administrator option on the right side to open up an elevated Powershell window.
Opening up Powershell as an Admin - Once the Powershell window is open, type in the following command and then hit the Enter key:
Get-AppxPackage Microsoft.Windows.Search | Foreach {Add-AppxPackage -DisableDevelopmentMode -Register “$($_.InstallLocation)\AppXManifest.xml”} - After doing that, go ahead and open Windows Explorer and see if the problem is still appearing.


ugh