How to Fix File Explorer NTDLL.dll Crashing Issue in Windows?
The Windows File Explorer has been facing a major ntdll.dll Crash Error recently. This error may occur due to either the absence of an updated video driver, corrupted files, or a corrupted file explorer cache. These instances may interfere with the performance of the File Explorer program, causing it to crash. In this guide, we will show you the steps you can take to fix this error.
Workaround: Restart your Windows Explorer
Before you start performing the other methods, restart your Windows Explorer by ending it from the task manager and then reopening the File Explorer program. Usually, when such an error occurs on the system, you can restart Windows Explorer to recover the issues. Follow the steps below to restart your Windows Explorer from the task manager:
- Search for “Task Manager” in the Windows Search box and open the Windows Task Manager.
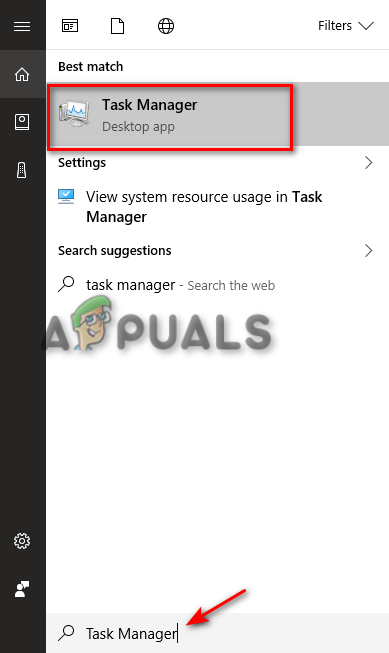
Opening Task Manager - Find the File Explorer program running in the “Processes” tab.
- Select the Windows Explorer program and close it by clicking on the “Restart” button at the bottom of the window.
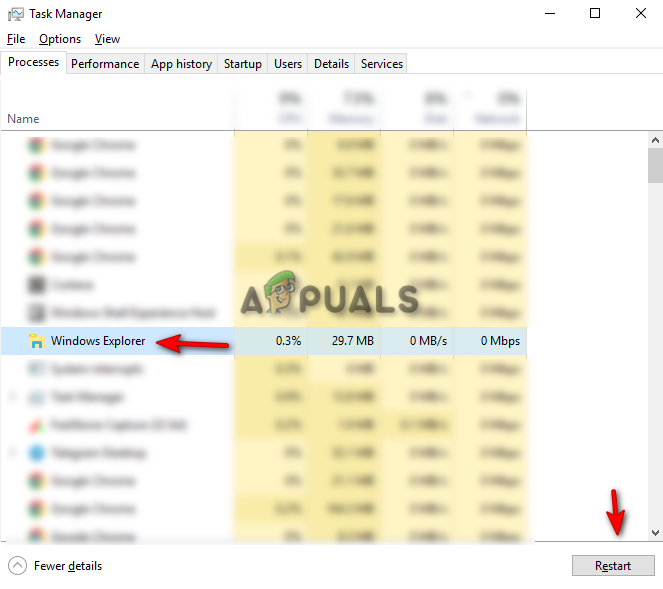
Restarting Windows Explorer - Now, reopen the File Explorer and see if the workaround fixes the issue.
1. Run System Maintenance Troubleshooter
Another step you can perform is the System Maintenance Troubleshooter. Running this troubleshooter will detect any problem within the system and try to resolve it or send the report to the Action Center. Follow the steps below to see how to run a System Maintenance Troubleshooter:
- Open the Control Panel from the Windows Start Menu.
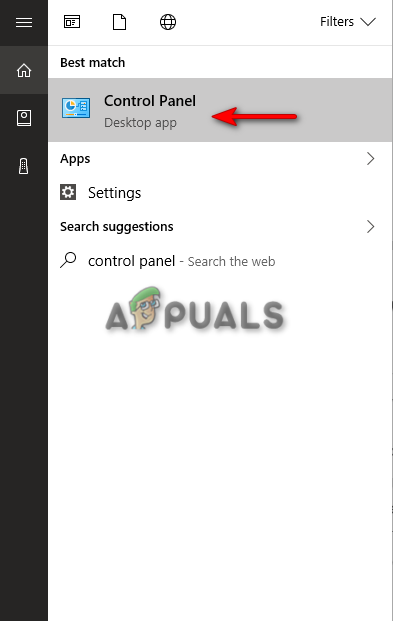
Opening the Control Panel - Click on the “Category” option on the right side of the panel and select Large Icons.

Viewing Category to Large Icons - Click on the Troubleshooting option on the “Adjust your computer’s settings” page.
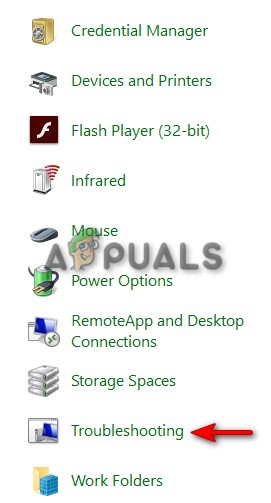
Opening the Troubleshooting page - Click on “Run Maintenance tasks ” in the System and Security Section.
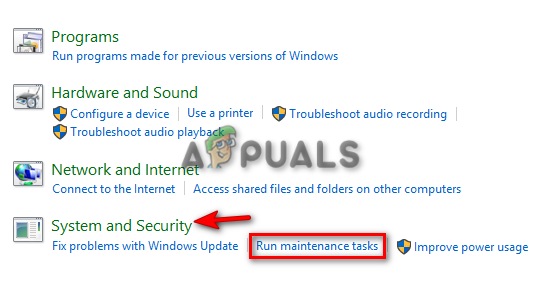
Running Maintenance tasks - To initiate the process, click the Next button and let the system detect the problem in the File Explorer.
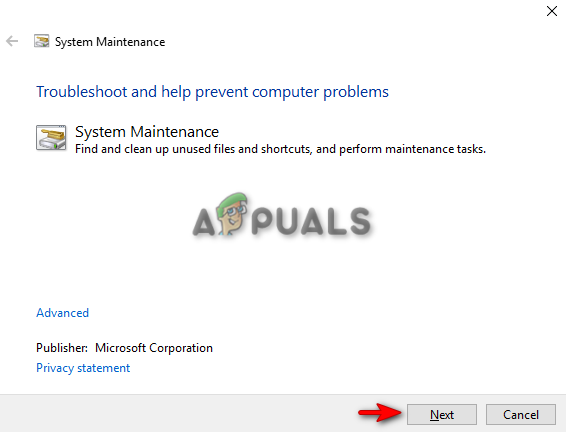
Initiating the System Maintenance troubleshooting.
Note: You may have to troubleshoot as an administrator to detect the necessary issues.
2. Clear File Explorer History
Your File Explorer may contain corrupted history, which might have caused the explorer.exe ntdll.dll crash. You can try clearing the File Explorer History and see if this method helps fix the problem for you. Follow the methods below to learn how to clear file explorer history.
Disclaimer: Clearing your file explorer history will format any search you performed on it. If you still want to proceed, you may start the process.
- Open the File Explorer and click on the “View” option at the top of the screen, next to the Share option.
- Now Navigate to the Options > change folder and search options.

Opening Folder Options - Click on the General tab and clear the File Explorer History by navigating to Privacy > Clear Apply > OK.
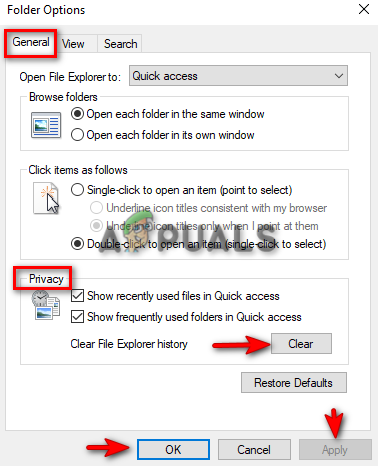
Clearing File Explorer history - You can restart your computer to see if this has fixed the issue.
3. Update your Graphics Driver
An outdated graphics driver may cause this issue. You can try updating your existing graphics drive and see if you fix the File Explorer crashing issue. Following the steps below, you will learn how to update your Graphics driver.
- Open the Windows Search bar and search for “Device Manager.”
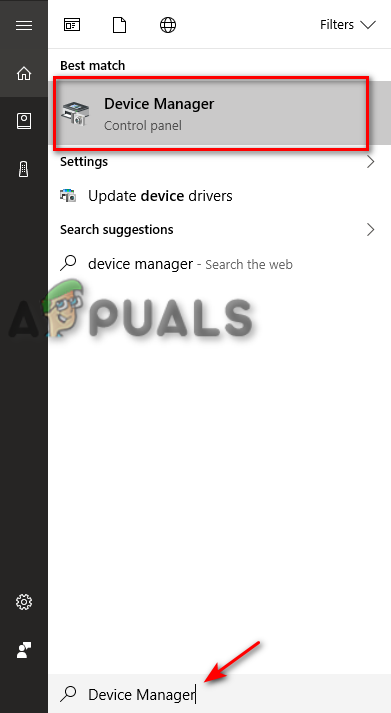
Opening Device Manager - Look for the “Display adapters” option on the Device Manager page and click on the option to view the installed graphics driver on your system.
- Right-click on the driver installed on your system and select the “Update driver” option.
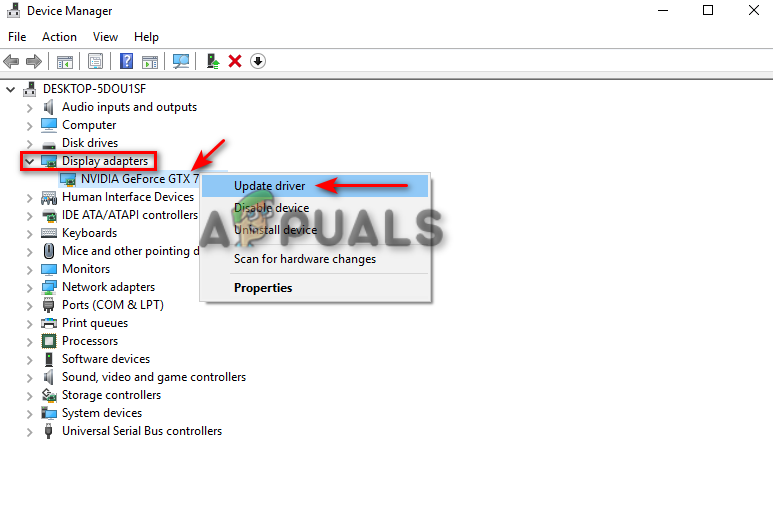
Updating Graphics Driver - You can manually choose the updating process as you wish.

Selecting the Driver Updating method - Restart your computer after the driver has been updated and see if this fixes the issue.
4. Run the System File Checker
Another reason you may be facing this issue is because of file corruption on your system. Using the System File Checker, you can scan through all the corrupted files on your system, and it will automatically repair the issues. If you are facing the File Explorer ntdll.dll Crash Error, this method may help you solve the issue. Follow the methods to perform a system file checker:
- On the Windows Search bar, type “cmd.”
- Right-click on the Command Prompt and run it as an administrator.
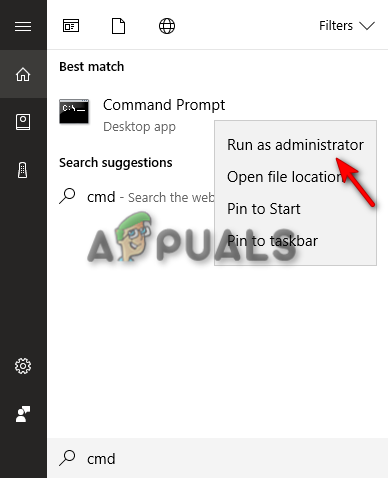
Running the Command Prompt as an administrator. - Type the following command in the Command Prompt while making sure to give a space between “sfc” and “/.”
sfc /scannow
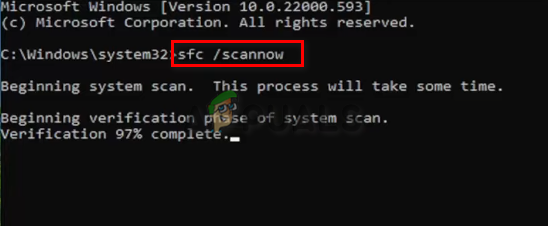
Running system file checker on the command prompt. - The system file checker will repair the error if any problem is found.
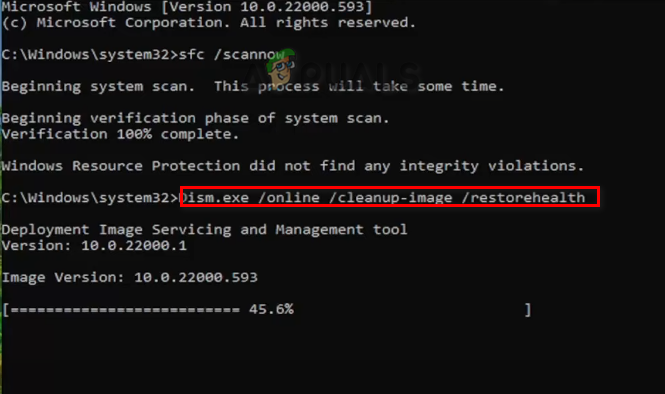
Note: You also can try using the DISM command to scan through the system to detect what is corrupting the File Explorer program. Paste the following command into the command prompt right after you have performed the system file checker, and then restart your computer and see if this fixes the issue:
Dism.exe /online /cleanup-image /restorehealth
5. Remove BagMRU and Bagsfrom the Registry
There are two main registry keys in the ShellBag; the BagMRU and Bag. While the BagMRU stores names, folders, records paths, and creates similar tree structures, the Bags key saves the locations, window size, view mode, etc. Deleting these kets may help you solve the issue.
Disclaimer: Deleting these keys can remove all the information stored in the keys. Therefore, if you want to delete them, create backup files. You can follow the steps below to delete the Shellbag keys if you are willing:
- Press the Win + R keys together to open the Run dialogue box.
- Open the Registry by typing “regedit” in the search box and clicking OK.
- Select “YES” on the User Account Control prompt and navigate to HKEY_CURRENT_USER > Software > Classes > Local Settings > Software > Microsoft > Windows > Shell.
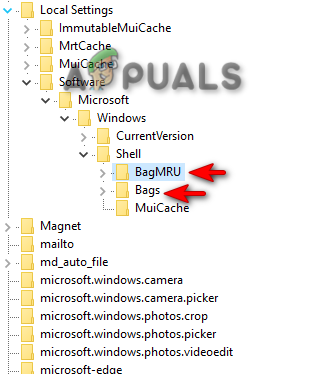
Deleting BagMRU and Bags from Registry - Delete both the BagMRU and Bags folder.
- Restart your computer to see if this fixed the issue.


