MSI Afterburner “Failed to Start Scanning” Error: FIXED!
MSI Afterburner Scanning Error? Here's a Quick and Easy Fix!
 Reviewed by Huzaifa Haroon
The “Failed to start scanning” error message occurs in MSI Afterburner when trying to use the OC Scanner feature that offers automatic overclock for your graphics card. This happens when the program is not able to access the graphics card performance counters on your computer which prevents it from running the benchmarks and so on.
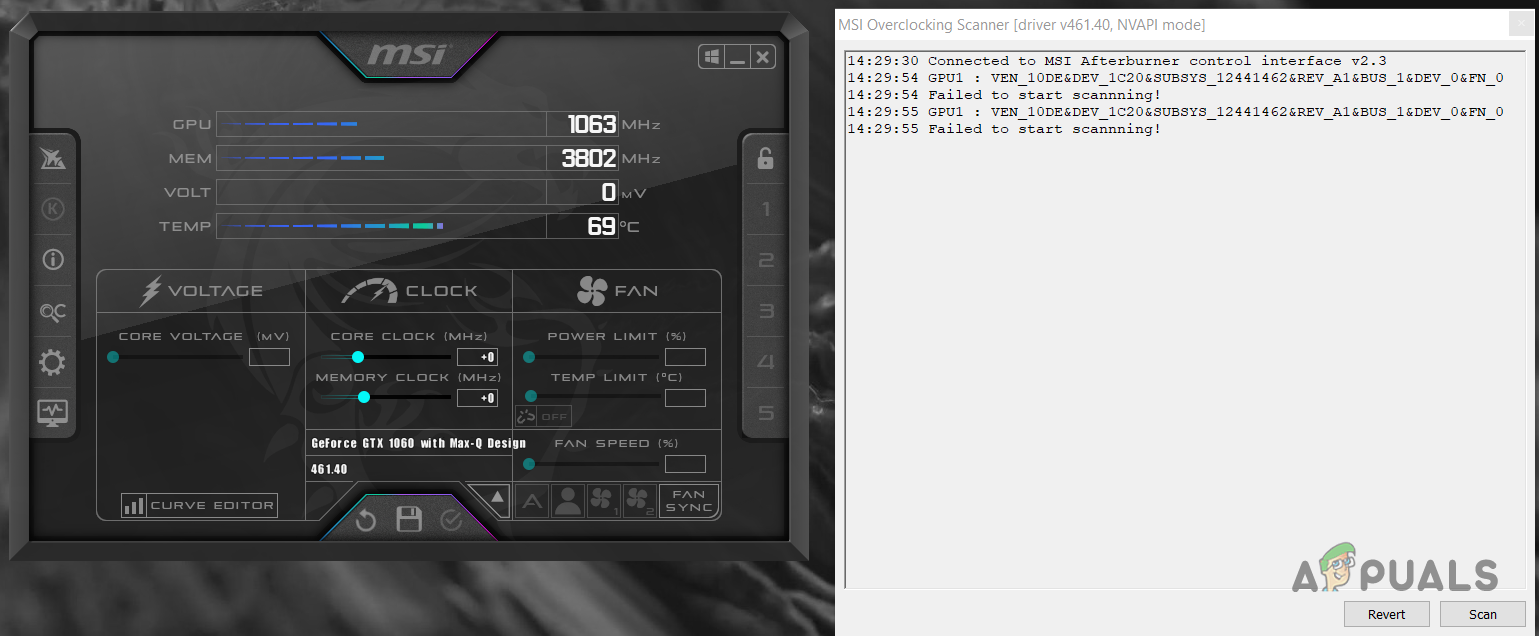
The GPU performance counters can be made accessible to other programs via the NVIDIA Control Panel. We will be showing you how to get rid of the error message in question with a number of solutions in this article, so let us get started.
1. Enable Developer Mode in NVIDIA Control Panel
You should start off with enabling developer mode in your NVIDIA Control Panel when troubleshooting the error message in question. This is because enabling developer mode results in additional GPU being made available for the users on your computer.
This can help in resolving any barriers that are caused by other apps trying to access your GPU details. Enabling the developer mode in NVIDIA Control Panel is quite simple, follow the instructions below:
- First, open the NVIDIA Control Panel by searching for it in the Start Menu.
Opening the NVIDIA Control Panel - Then, click on the Desktop option in the menu bar.
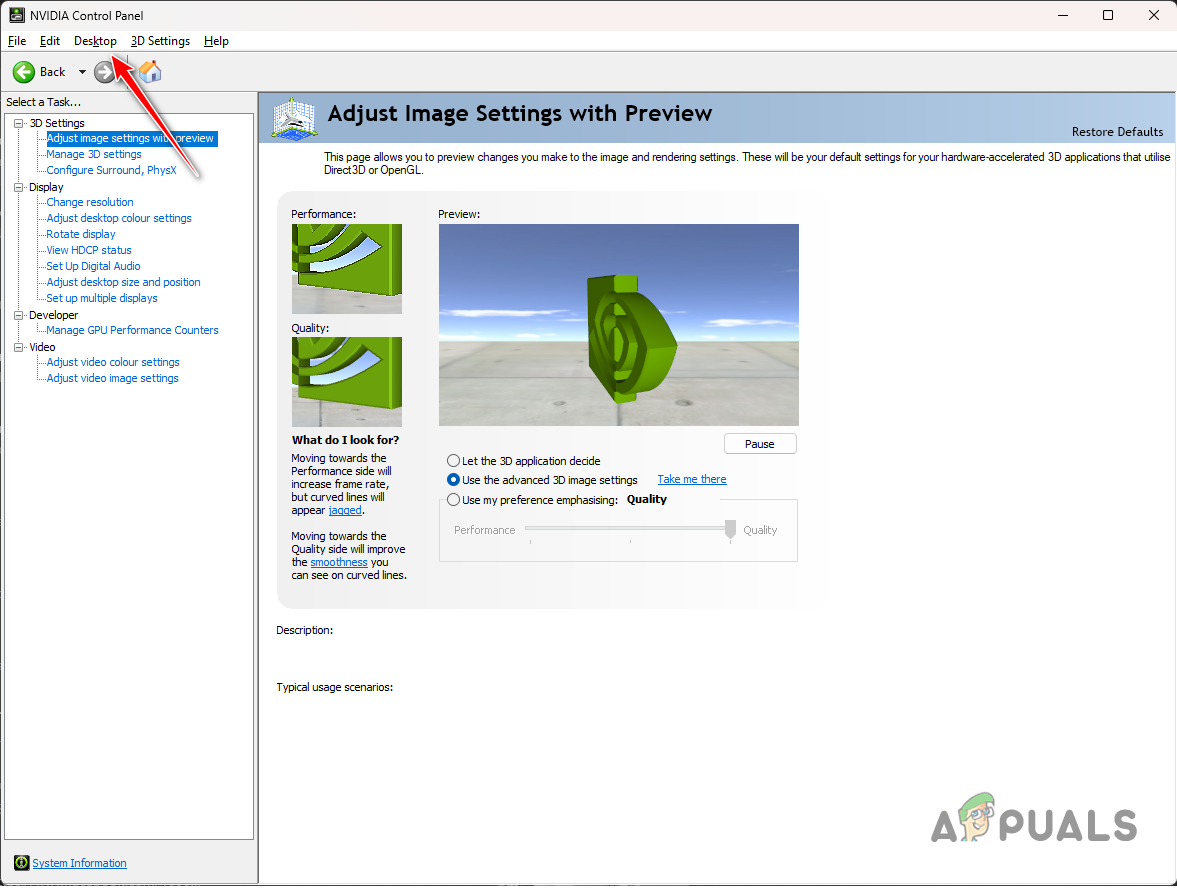
Desktop Menu - From the menu, choose the Enable Developer Settings option.
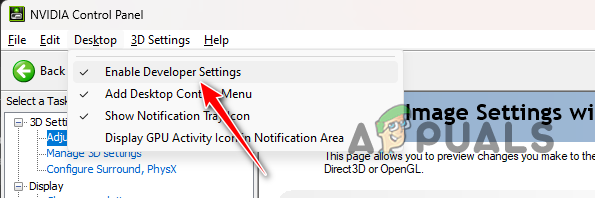
Enabling Developer Settings - Once you do that, see if the problem goes away.
2. Enable Automatic Tuning (if available)
In some instances, you can get around the error message by enabling the automatic tuning option in the GeForce Experience app. This is a feature from NVIDIA that also enables you to overclock your GPU with a simple click.
The overclock is applied automatically, thus the automatic tuning name. To enable this, you will need to ensure that you have the latest NVIDIA Game Ready drivers installed on your computer. In addition, ensure you have the latest version of GeForce Experience installed.
Follow the instructions below to enable automatic tuning:
- First, open the GeForce Experience app via the Start Menu.
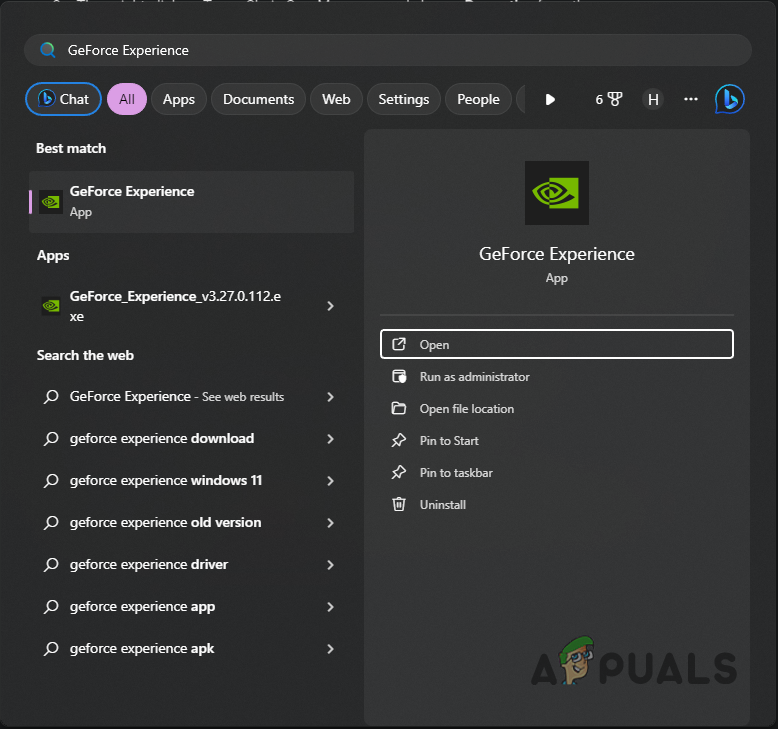
Opening NVIDIA GeForce Experience - Then, navigate to the Settings menu by clicking the gear icon.
- In the Settings page, enable the In-game Overlay.
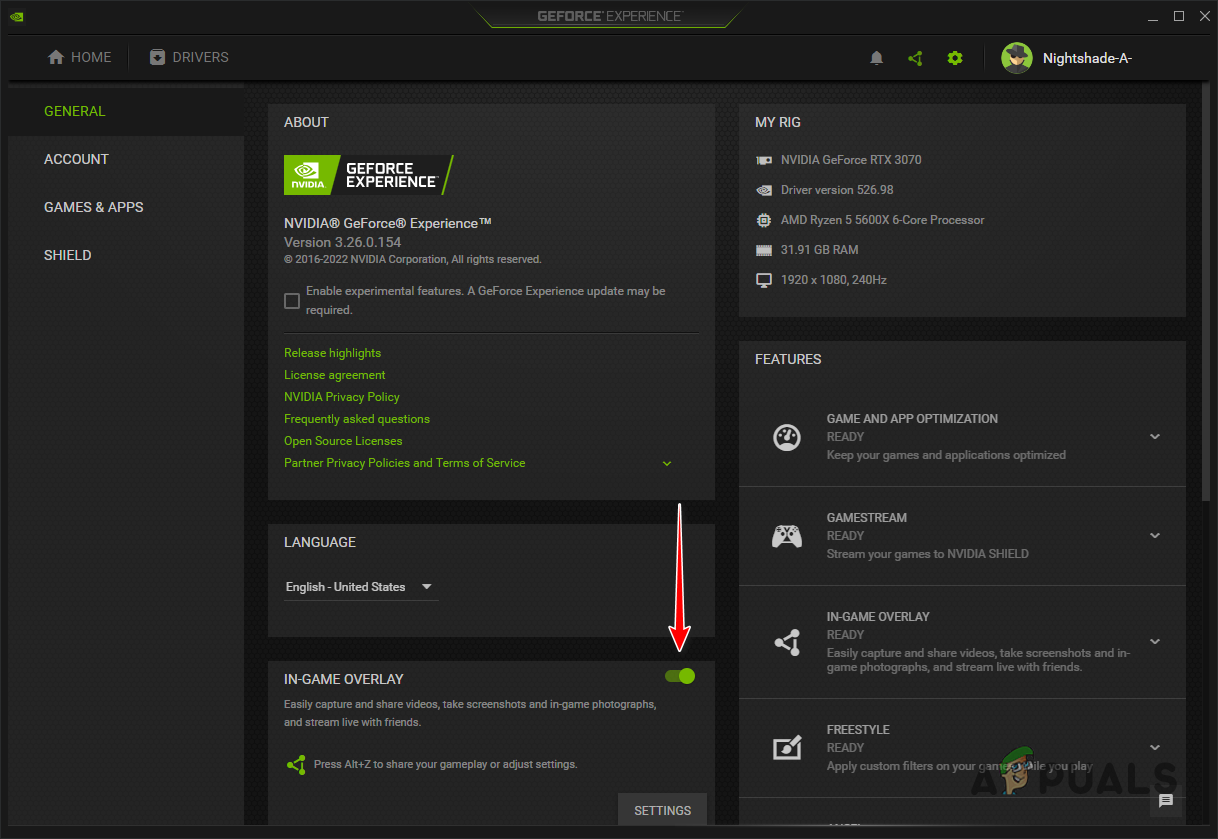
Enabling In-Game Overlay - Once you do that, press Alt + Z on your keyboard.
- This will bring up the GeForce Experience overlay.
- After that, navigate to the Performance option.
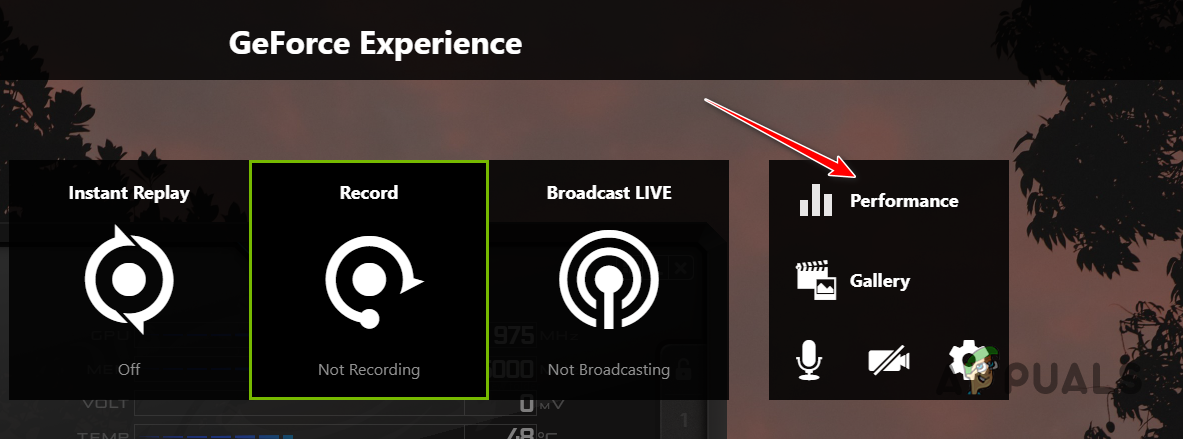
Navigating to Performance Settings - Finally, use the Enable automatic tuning slider to turn it on.
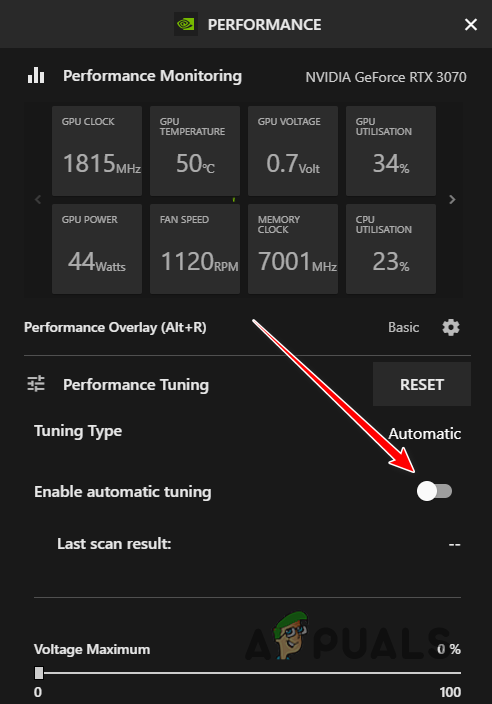
Enabling Auto Tuning - Restart your computer and see if the problem persists.
3. Allow GPU Performance Counters Access
MSI Afterburner requires access to the GPU counters on your computer to be able to run the OC scan. These counters are restricted by default by the NVIDIA Control Panel for normal users on your system. In such a case, you will need to allow access to the GPU performance counters to other users and apps on your PC.
To do this, you will need the developer mode in NVIDIA Control Panel. Once you have allowed access to the performance counters, MSI Afterburner should be able to run the OC scan without any issues. Follow the instructions below to do this:
- Start by opening the NVIDIA Control Panel on your PC. You can use the Start Menu to do this.
Opening the NVIDIA Control Panel - After that, click on the Desktop option at the top.
Desktop Menu - Then, select Enable Developer Settings from the menu.
Enabling Developer Settings - Once you do that, select the Manage GPU Performance Counters option under the new Developer category.
- Select the Allow access to the GPU performance counters to all users option.
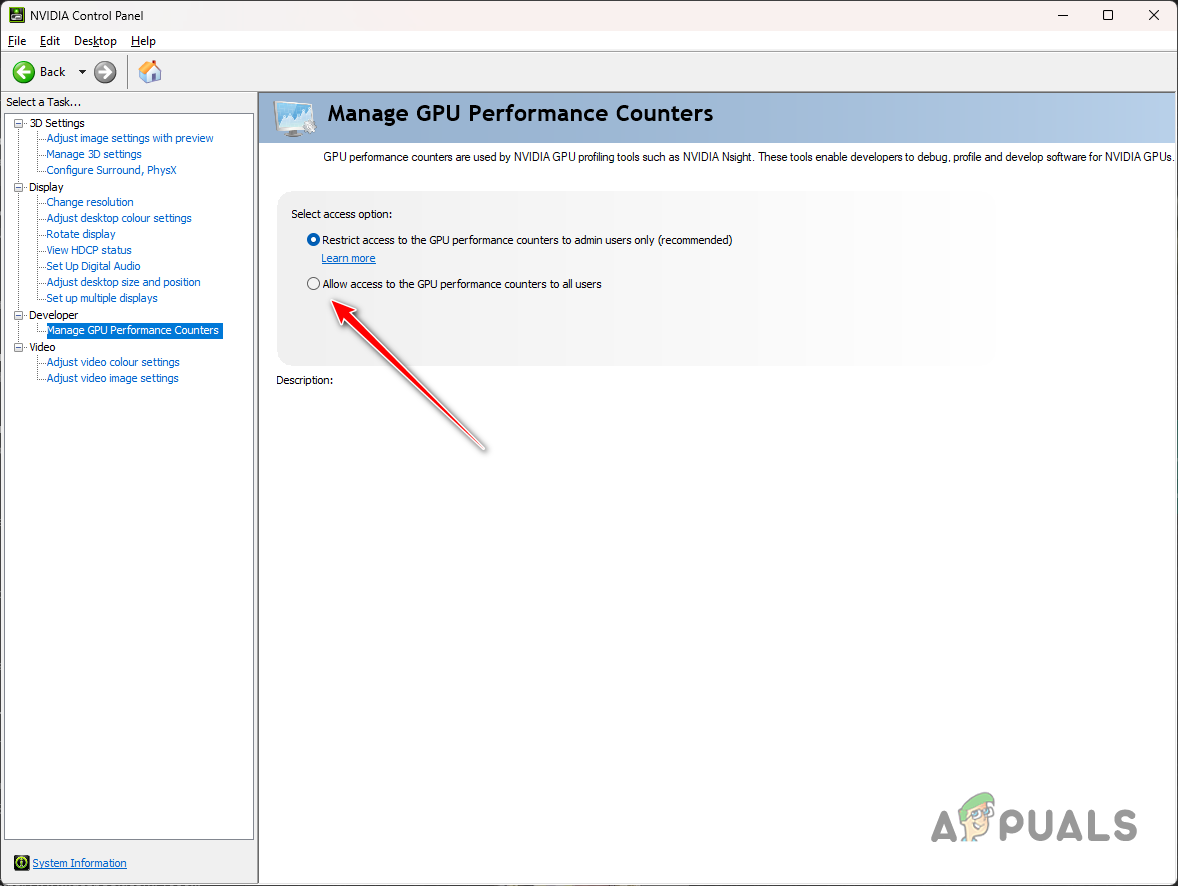
Allowing Performance Counters Access to All Users - Click Apply.
- Finally, restart your computer for the changes to take effect.
- Run the MSI Afterburner OC scan again to see if the error message occurs again.
4. Use Legacy OC Scanner
Another potential cause for the error message can be the version of the OC scanner that you are using in the MSI Afterburner. The newer versions of the OC scanner have an issue with older cards and require 30 series or above cards to function properly.
As such, if you are using the new OC scanner on an old card, you will have to revert to the legacy OC scanner. This can be done by editing the config file of MSI Afterburner. Follow the instructions below:
- First, close MSI Afterburner on your PC.
- Then, open the File Explorer window.

Opening File Explorer - After that, navigate to the installation folder of MSI Afterburner. By default, you will find it in the following location:
C:\Program Files (x86)\MSI Afterburner
- Then, locate the MSIAfterburner.cfg file and open it.
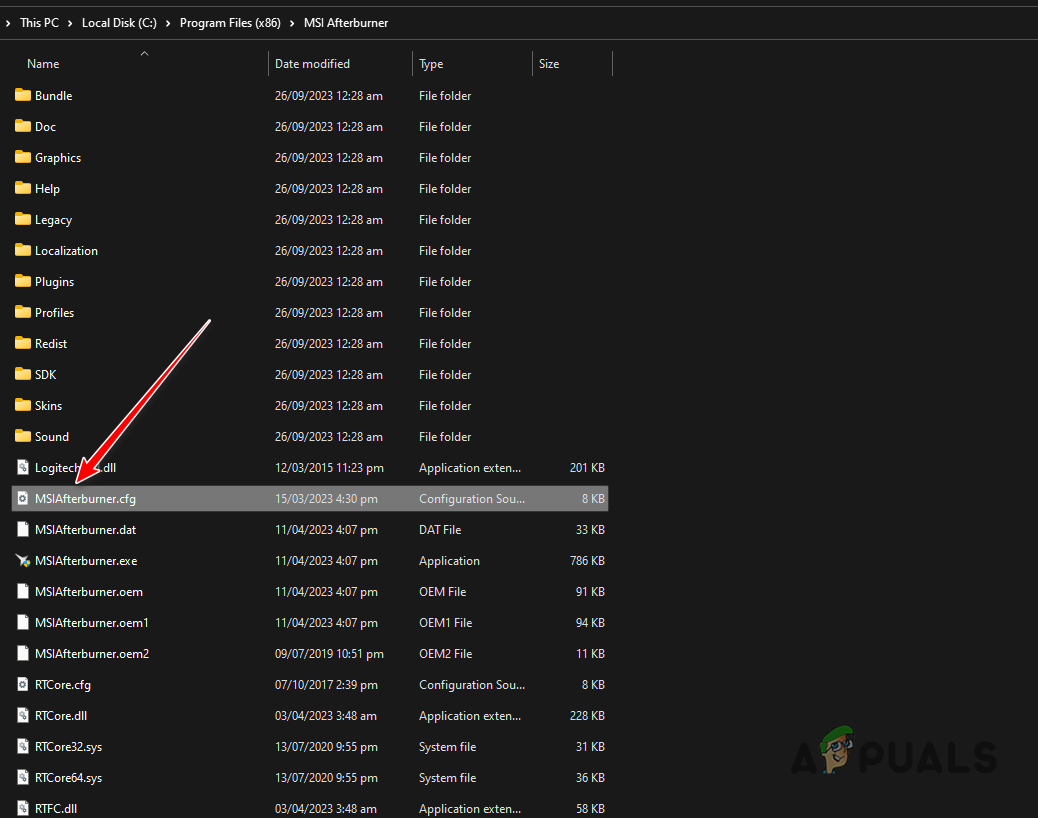
Opening MSI Afterburner Config - Inside the config folder, search for the LegacyOCScanner option.
- Change the value from 0 to 1.
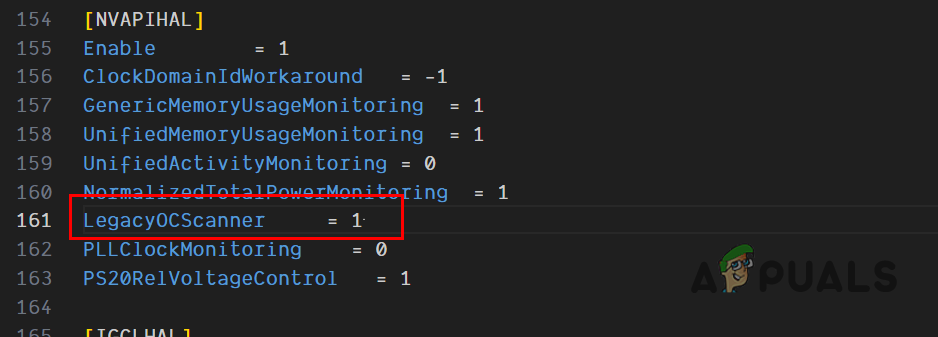
Changing OC Scanner to Legacy - Save the file and start MSI Afterburner.
- See if the problem persists.
5. Clean Boot Windows
In some instances, the background services on your computer can interfere with MSI Afterburner which can result in the “Failed to start scanning” error message. This can be triggered by various apps on your PC, such as the Wallpaper Engine, and more.
In this case, you will have to execute a clean boot. This will only start the needed Windows services when booting your computer. As such, any other background and third-party service will be disabled so there is no interference.
If the problem goes away when you do this, the problem will be evident and you will need to find the culprit app that is causing the issue. One way of achieving this would be to enable the services one by one.
Follow the instructions below to do this:
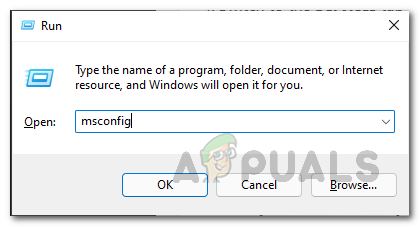
- Press the Windows key + R shorthand to bring up the Run box.
- Use the Run box to enter msconfig. This will open the System Configuration window.
Opening System Configuration - After that, jump to the Services tab and start by selecting the Hide all Microsoft services checkbox.

Removing System Services from the List - Then, disable the remaining services by clicking the Disable all button.
- Save the changes by clicking Apply.
- Once you do that, go to Startup.
- There, click the Open Task Manager option.
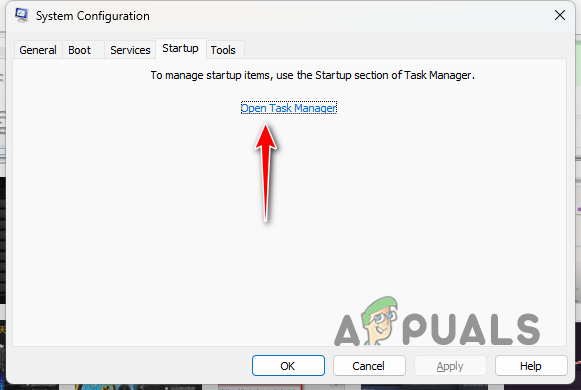
Startup Tab in System Configuration - Once Task Manager is open, click on the startup programs one by one and click Disable.
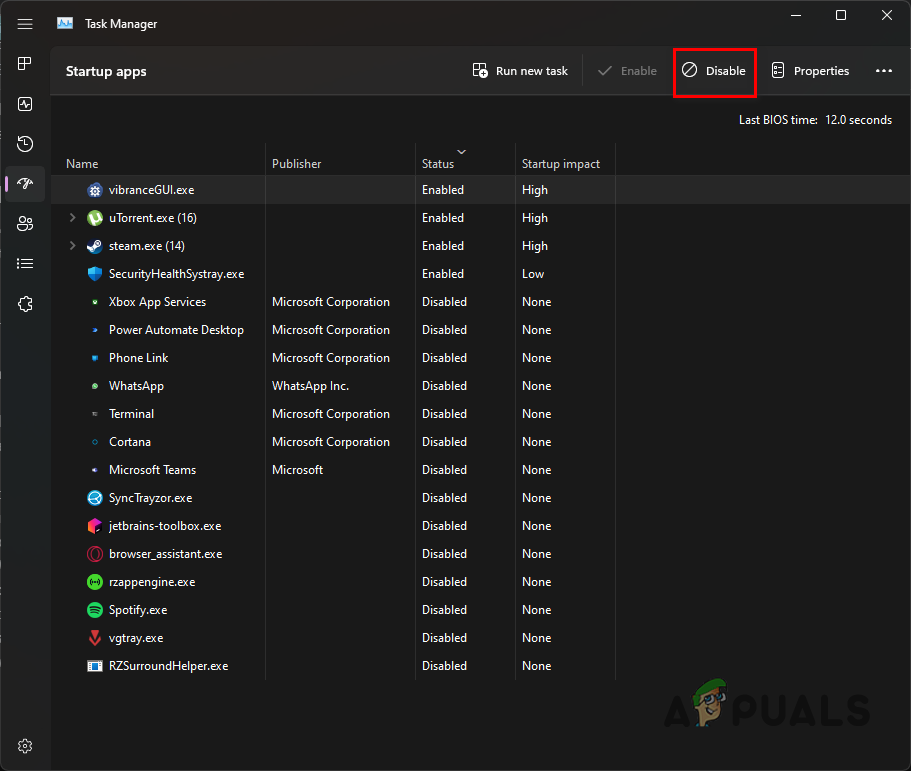
Disabling Startup Programs - After doing that, reboot your computer to perform a clean boot.
6. Downgrade MSI Afterburner
If reverting to the legacy OC scanner does not fix the issue for you, the issue is likely due to the version of MSI Afterburner you are using. Newer versions of the app have been facing issues with the old Pascal series graphics card, which prevents the app from running the scan.
In such an instance, you will have to downgrade to an older version of MSI Afterburner to see if that resolves the issue. To do this, follow the instructions below:
- First, open the Control Panel via a search in the Start Menu.
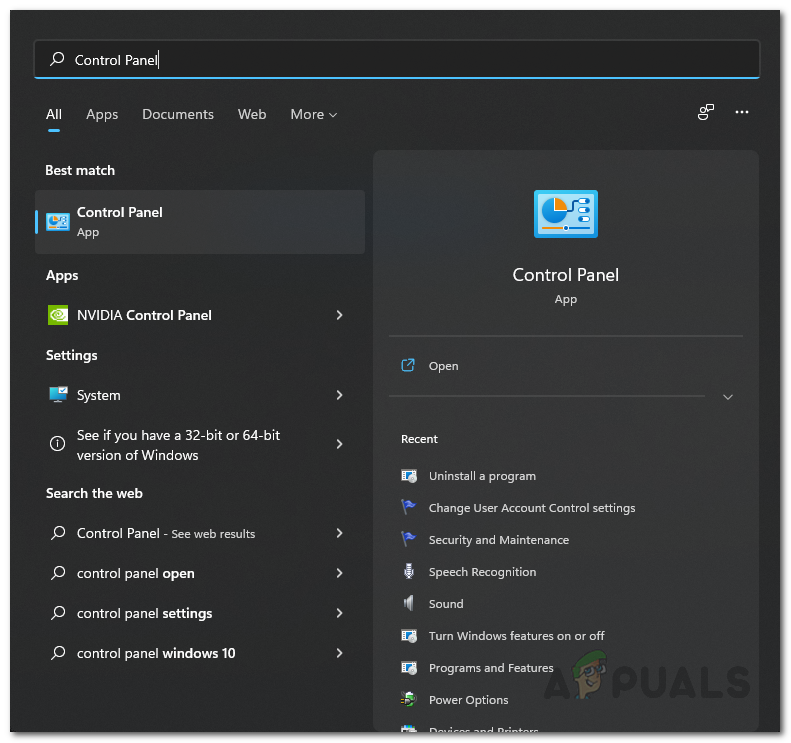
Opening the Control Panel - In the Control Panel, click on the Uninstall a program option.
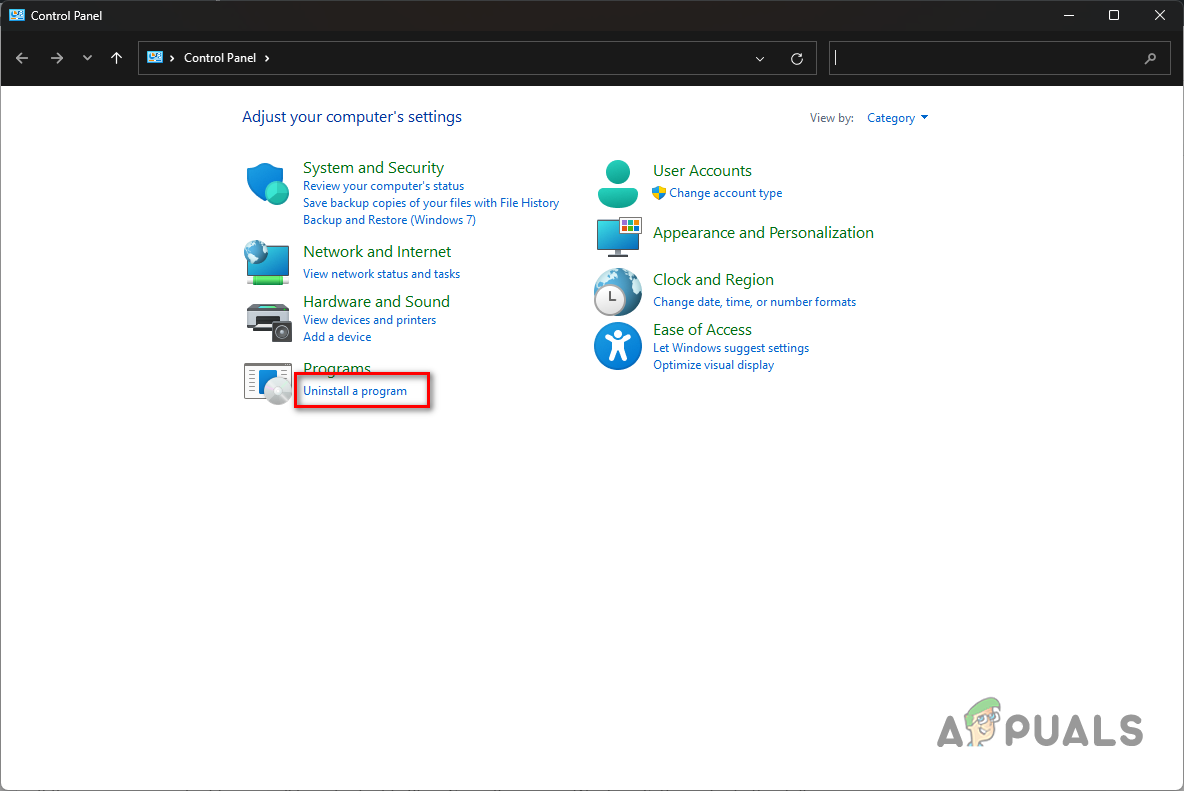
Going to the Installed Apps List - Then, locate MSI Afterburner from the list of apps.
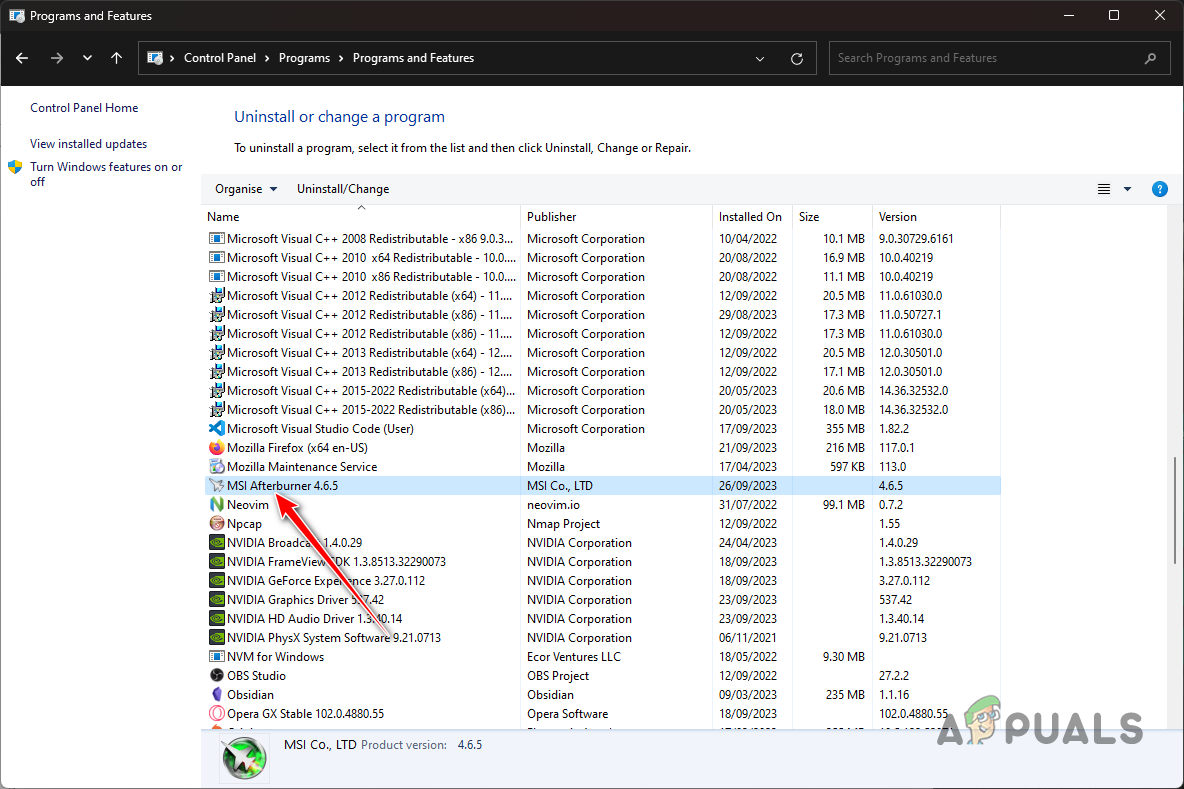
Uninstalling MSI Afterburner - Double-click on it to uninstall it from your PC.
- After that, search for the older version of MSI Afterburner. You can find them on websites like Guru3D.
- Install the older version and see if the problem still occurs.
You should be able to resolve the error message in question with the solutions above. The problem, in most cases, occurs due to the MSI Afterburner not being able to access the performance counters or the use of the incorrect OC scanner. You can overcome the issue by rectifying these inconsistencies and the error message should go away.
Reviewed by Huzaifa Haroon


