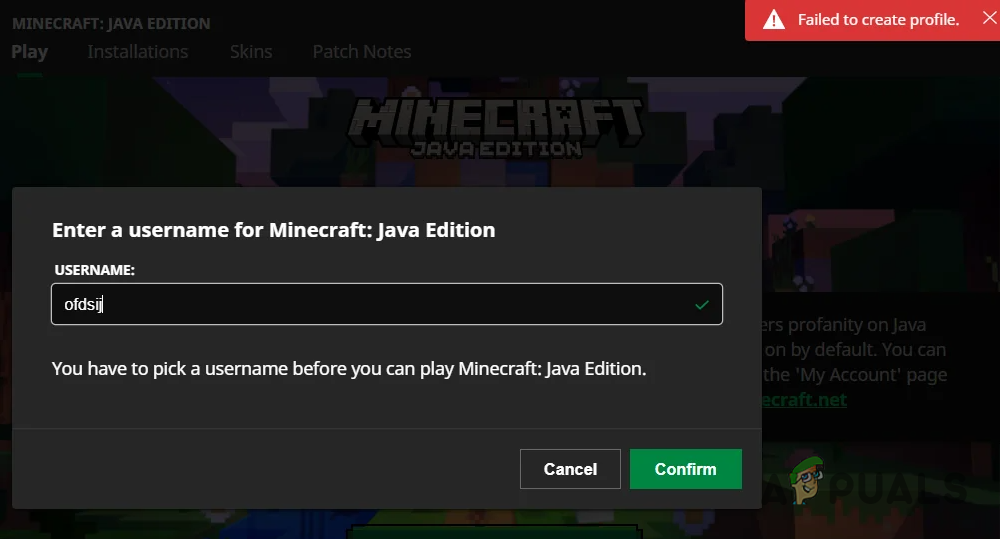
How to fix ‘Failed to create profile’ error in Minecraft?
The “Failed to create profile” error message in Minecraft primarily occurs due to an active VPN connection in the background. Moreover, permissions of the Minecraft Launcher or the use of separate Microsoft accounts can also cause the problem.
In most cases, a VPN prevents the network request from processing properly, resulting in bad headers that the server cannot resolve. In this article, we will guide you through various methods that should help you eliminate this error.
1. Restart Minecraft Launcher
The first step to take when solving the “Failed to create profile” error is to restart the Minecraft launcher. Restarting the launcher reinitializes the background services that Minecraft uses to establish a connection with the game server.
This can rectify any transient issues that may have occurred and allow you to log into your Minecraft account without further difficulties. To do this, follow the steps below:
- Right-click on the Start Menu icon and select Task Manager from the menu.
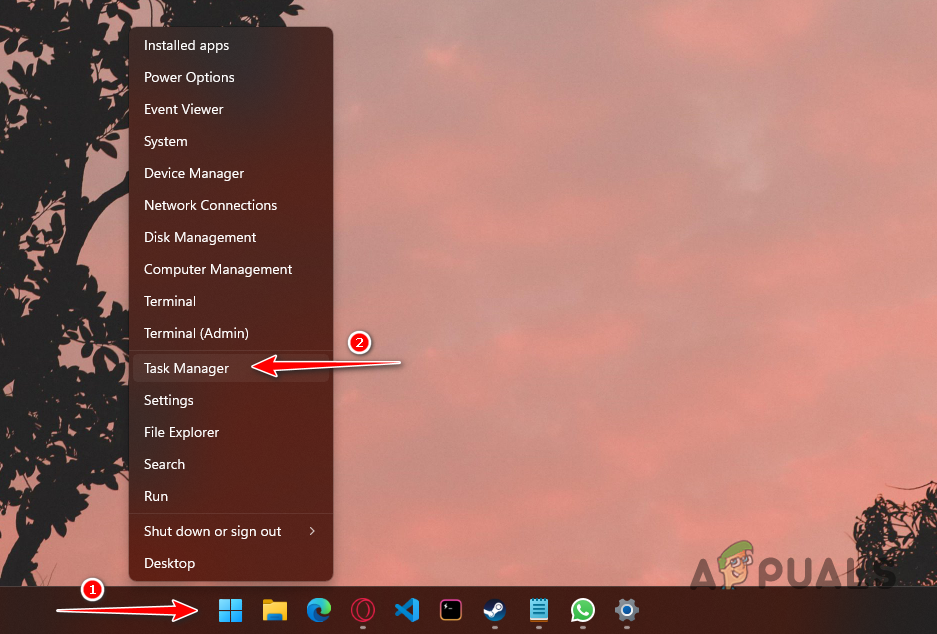
Opening Task Manager - In the Task Manager window, locate the Minecraft process.
- Select the Minecraft process and click the End task button.
- Reopen the Minecraft launcher and check if the error message persists.
2. Run Minecraft Launcher as Admin
The error message may appear due to insufficient permissions for the Minecraft process, which interferes with its ability to communicate with the game servers.
Often, third-party services and processes can be the culprit. To address this, you should run the launcher with administrative privileges. Follow the below instructions to do so:
- Close the Minecraft launcher on your PC.
- Open the Start Menu and search for the Minecraft Launcher.
- Right-click and select the Run as administrator option.
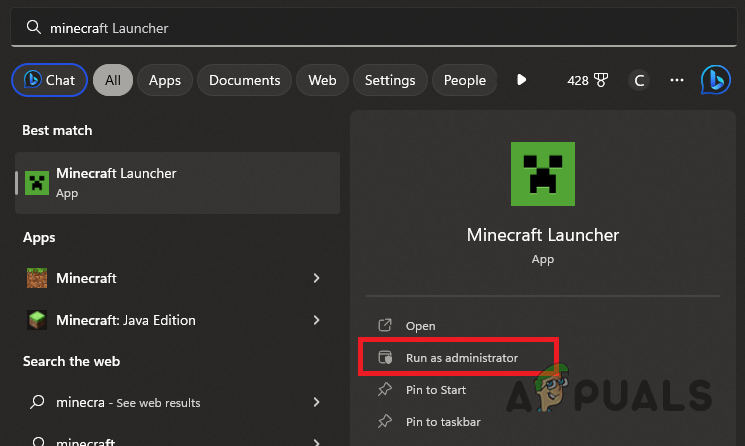
Running Minecraft Launcher as Admin - On the User Account Control prompt, select Yes.
- Log in with your username and check if the error reoccurs.
3. Turn Off VPN
An active VPN connection may interfere with the network requests from your computer, preventing Minecraft from appropriately contacting its game servers.
When this happens, your user session fails to be verified, which means you cannot connect to your account. To resolve this, disconnect any active VPN connections, including browser VPN extensions or Proxy servers.
For third-party VPN services, open the app and select the Disconnect option. If you have added a VPN connection to Windows settings, follow these instructions to disconnect it:
- Press Win key + I to open the Settings app.
- Navigate to the Network and Internet > VPN section.
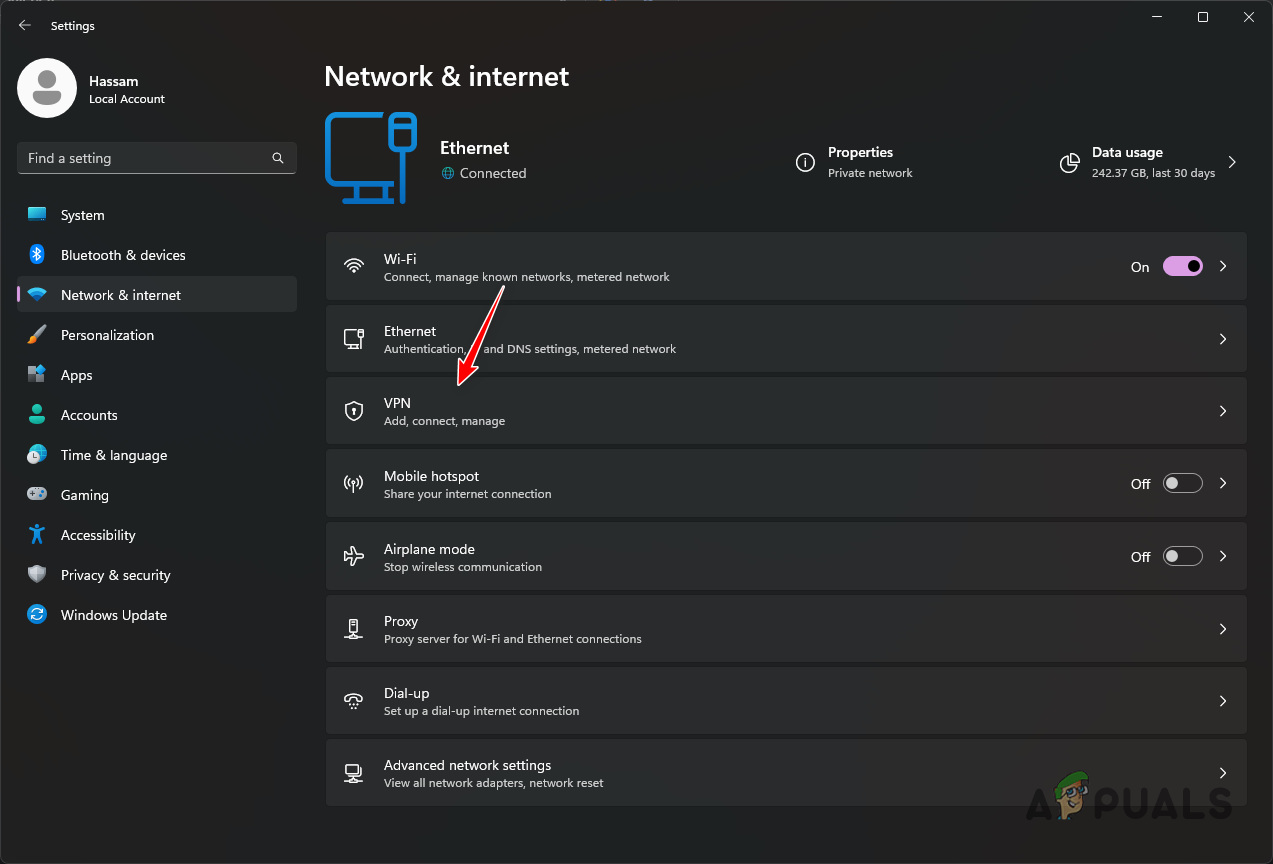
Opening VPN Settings - Click the Disconnect button next to your VPN connection.
- Restart the Minecraft Launcher and verify if the error still appears.
4. Log Out and Log In
If you’re not using a VPN, logging out of your Minecraft account and then logging back in can help address the issue.
This refreshes the login credentials and parameters sent over the network to the Minecraft servers. To log out of the Minecraft launcher, follow these steps:
- Launch the Minecraft Launcher.
- Click on your profile icon in the top left corner.
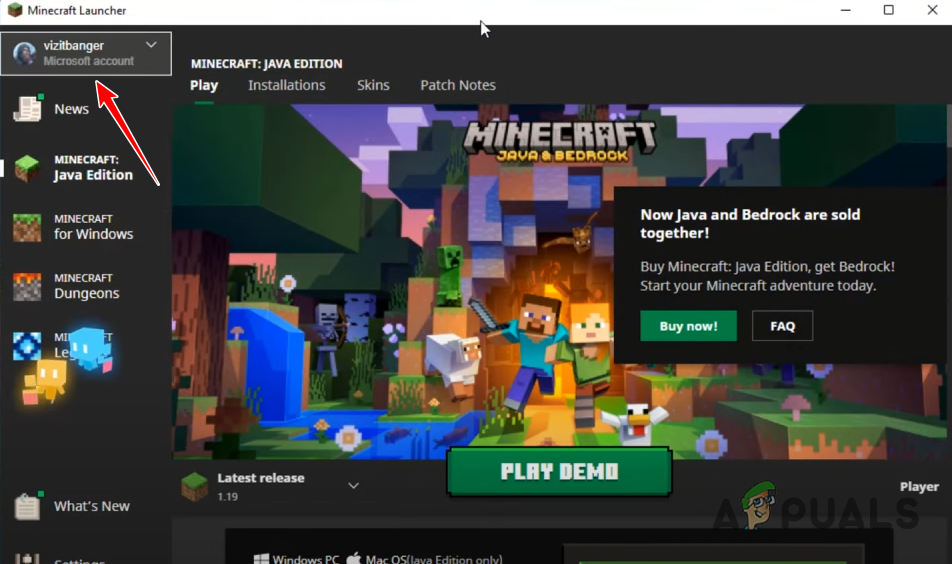
Expanding Profile Menu - Select Log out from the dropdown menu.
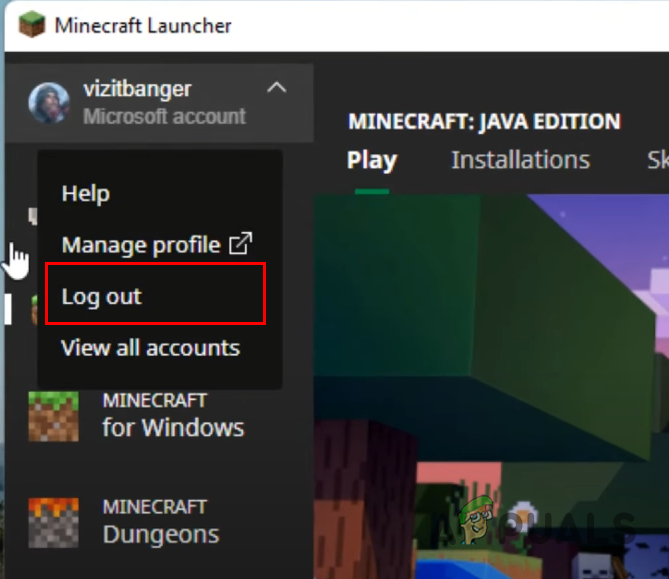
Logging Out of Minecraft Account - Close the launcher.
- Relaunch and log in to your account.
- Check if the error has been resolved.
5. Change Profile Name via Minecraft Website
Alternatively, you can attempt to circumvent the error message by changing your profile through the official Minecraft website. Doing this removes the need for the Minecraft launcher to send a network request to the servers.
Direct interaction with the Minecraft platform via your browser should force the servers to sync your user data, potentially resolving the issue.
To change your profile name, follow these steps:
- Visit the official Minecraft website at this link.
- Sign in to your Minecraft account using the login form.
- Navigate to the My Games section.
- Under Minecraft, select the Profile Name option.
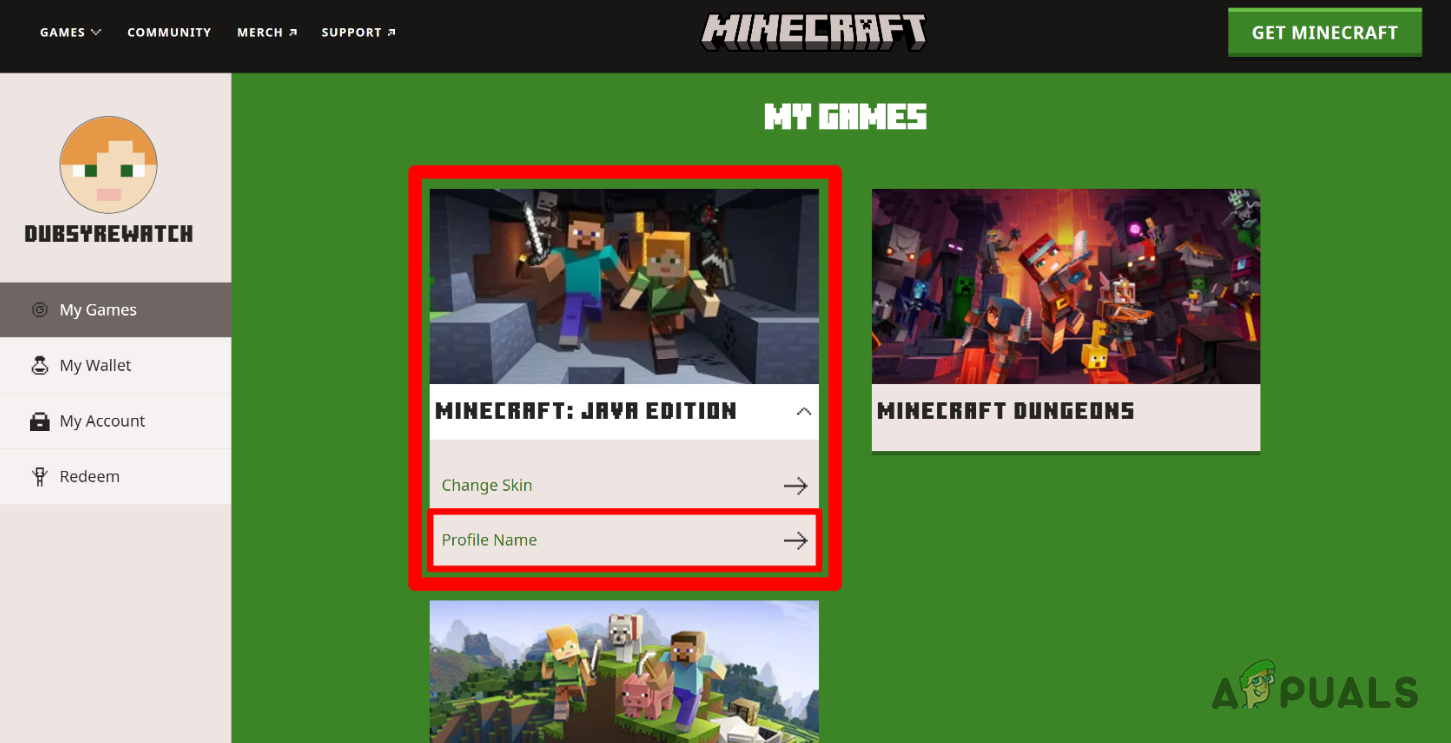
Navigating to Profile Name - Enter a new profile name and click Change Profile Name.
- Reopen the Minecraft Launcher and check for the error.
6. Use the Same Microsoft Account
If you have purchased Minecraft through the Microsoft Store, it is essential that you use the same Microsoft account in the Minecraft launcher as in the Microsoft Store.
The game is tied to the Microsoft account associated with your Microsoft Store purchase, as confirmed by the official Minecraft team as a solution to the “Failed to create profile” error message.
To verify the Microsoft account used with the Microsoft Store on your PC, follow these steps:
- Open the Microsoft Store by searching for it from the Start Menu.
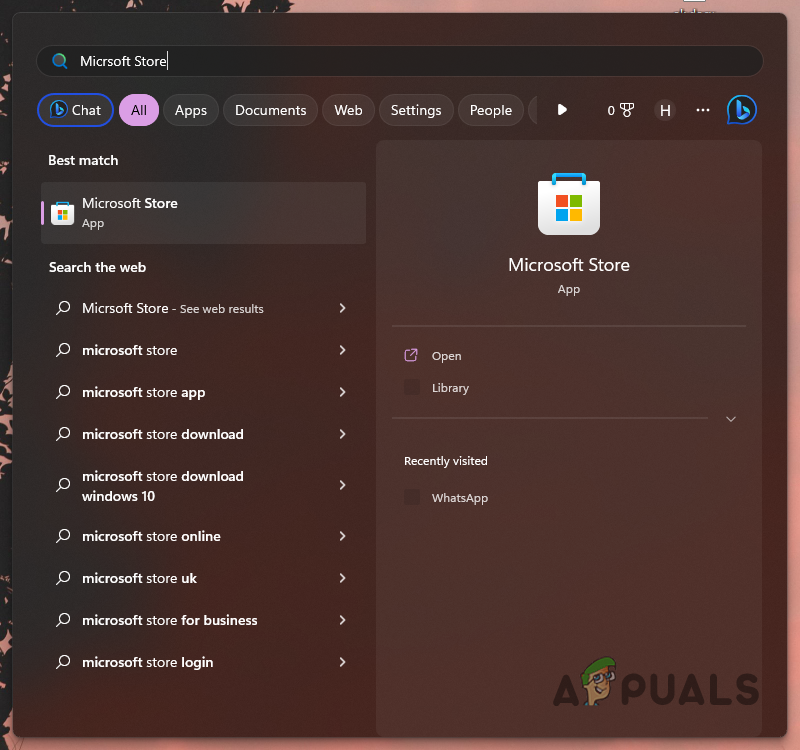
Opening Microsoft Store - Click on the profile icon at the top.
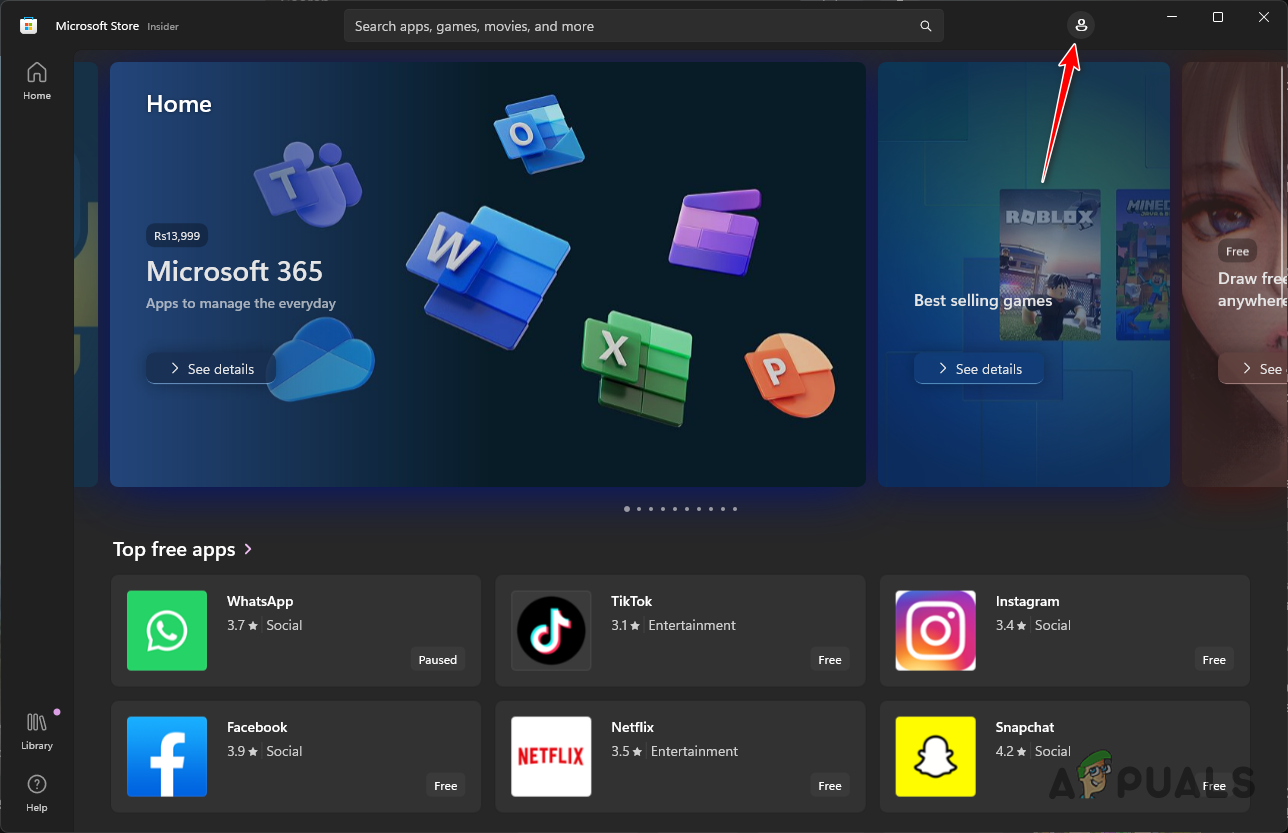
Microsoft Store Profile Icon - You will see the account linked to your Microsoft Store here.
- Ensure that you are logged into the Minecraft Launcher with that same Microsoft account and verify if the issue is resolved.
By applying these methods, the error message “Failed to create a profile” should no longer be an issue. If the problem continues, you should reach out to the official Minecraft support team for further assistance.


