How to Fix “Error Code: 51900101” in World of Warcraft?
Some Word of Warcraft (WOW) players are reporting a weird issue where the classic or burning crusade version of the game crashes with the 51900101 error code. When this error appears, the game will disconnect you from the servers, preventing you from maintaining a stable connection.
We’ve investigated a lot of user reports that dealt with this error and it’s clear that there are several underlying scenarios that might be responsible for causing the 51900101 error. Here’s a list of potential culprits that might be causing this issue:
- Ongoing server error – If you’re experiencing his issue with every Classic or Burning Crusade server that you attempt to connect to, chances are Blizzard is dealing with a server outage. This has happened several times in the past and unfortunately, the issue is likely beyond your control. All you can do in this case is confirm the server issue and wait for the involved developers to fix the problem indefinitely.
- Bad DNS range – As it turns out, this particular issue can also be caused by a bad DNS range that is inhibiting the connection between your PC and the WOW servers. In this case, you might be able to make the connection more stable by changing making the switch to the IPV4 and IPV6 equivalents provided by Google.
- File Corruption inside the cache folder – As it turns out, another viable scenario that is confirmed to cause this problem is some kind of corruption that is affecting the World of Warcraft file cache. To fix this issue, you’ll need to start by stopping every Blizzard-related service before deleting the main cache folder.
Now that we went over every potential cause of this error, let’s go over a series of troubleshooting methods that will allow you to pinpoint the cause and fix the 51900101 World of Warcraft error:
1. Check for an ongoing server issue
The first thing you should do if you’re experiencing the 51900101 error with every Word of Warcraft Classic and Word of Warcraft Burning Crusade Classic realm is to check if the underlying services are currently under maintenance.
To make this verification, open the Word of Warcraft status page from your favorite browser.
Once you’re inside the status page, select Word of Warcraft Classic or Burning Crusade Classic (depending on the game mode that is triggering the 51900101 error) tab.
Next, scroll through the list of servers below and locate the server that is causing the error. You can find it easily by using the filters (top-right corner) to filter the list based on the Region and Locale.
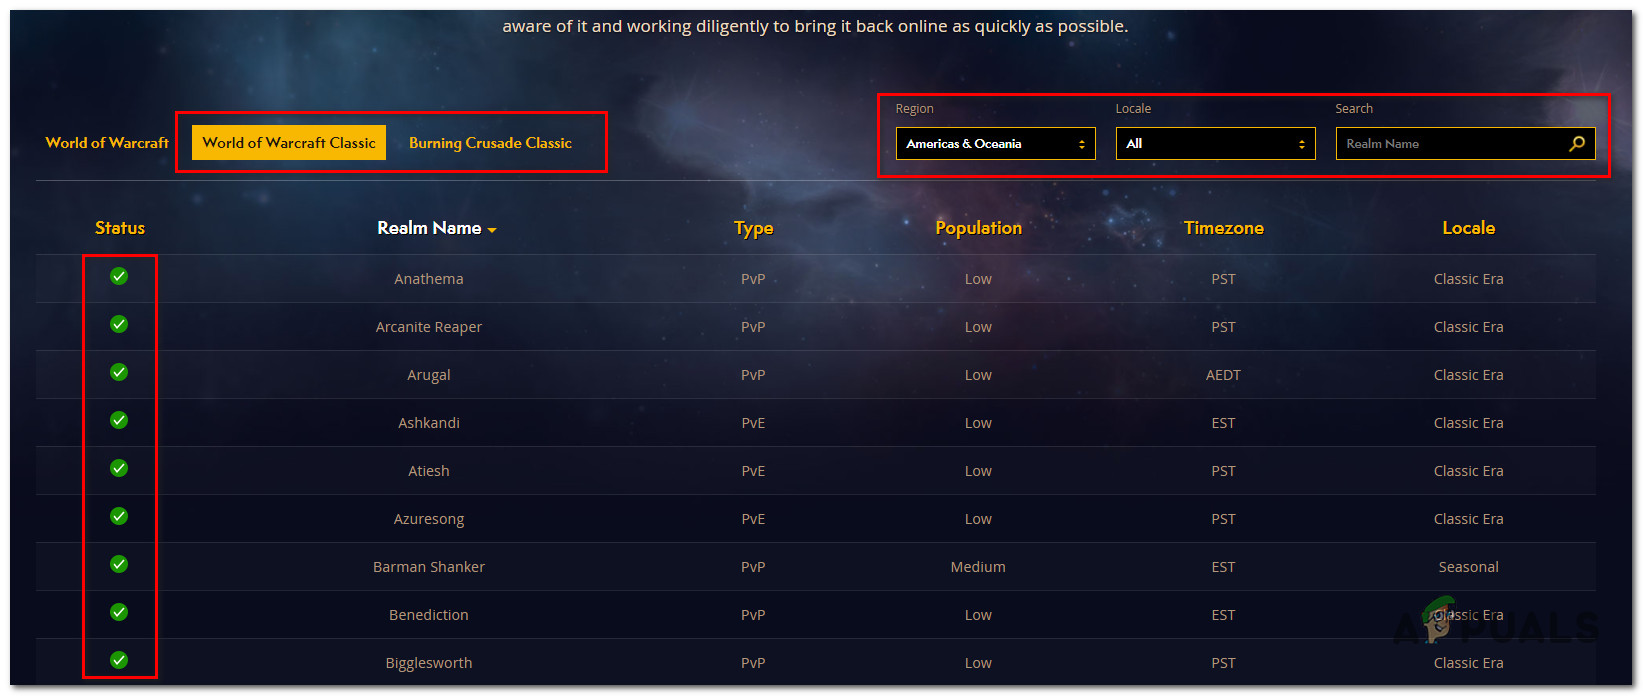
Once you manage to identify the server that is giving you troubles, check its status (left-section of the screen). If the status has an exclamation point, you’ve just confirmed that you’re dealing with an underlying server problem that is beyond your control.
Additionally, you can also check the official Twitter @BlizzardCS account for an official announcement regarding a server issue that the developers are working to mitigate.
If you’ve managed to pinpoint the server issue, there’s nothing you can do other than play on a different server (or realm) until the developers are successful in repairing the server problem.
On the other hand, if the investigation has not revealed any underlying server problem, move down to the next method below.
2. Change DNS to Google Equivalents
If you’re experiencing this issue on and off, you should also consider the fact that you might be dealing with a bad DNS (Domain Name System) range that is affecting the connection stability with the game server.
In case your ISP is using Level 3 nodes, you might be able to alleviate the frequency of the 51900101 error by making the switch to a DNS address range provided by Google.
This method was confirmed to be effective by users that we’re getting this error frequently after a few minutes of playing on a Classic or Burning Crusade Classic server.
Follow the instructions below for specific instructions on making the switch to a Google DNS:
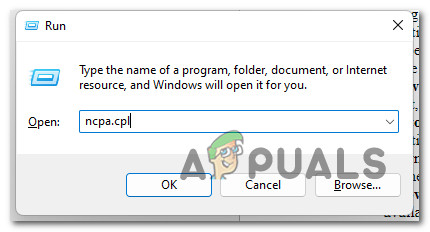
- Open up a Run dialog box by pressing Windows key + R. Next, type ‘ncpa.cpl’ and press Enter to open up the Network Connections window.
Open up the Network Connections tab - Once you’re inside the Advanced Network settings menu, move over to the right-hand section, scroll down to the Related settings section and click on More network adapter options.

Accessing the More Network Adapter Options - Once you’re inside the specialized Network Connections menu, right-click on the network that you’re currently using (Wi-Fi or Ethernet).

Accessing the Properties screen - Once you’re inside the dedicated Ethernet or Wi-Fi menu, select the Networking tab from the menu at the top.
- From the next menu, move your cursor to the This connection uses the following items section, then select Internet Protocol Version 4 (TCP / IPv4) and click on the Properties button.

Accessing the IPV4 settings menu - Once you arrive in the next menu, access the General tab from the list of options, then check the box associated with Use the following DNS server address.
- Once the custom DNS boxes have become available, replace the current values for the Preferred DNS server and Alternate DNS server with the following Google equivalents:
Preferred DNS Server - 8.8.8.8
Alternate DNS Server - 8.8.4.4
- Next, once you manage to make the modifications as specified above, click on Apply to save the changes.
- Once the changes have been saved, return to the initial Properties screen and this time select Internet Protocol Version 6 (TCP / IPv6) and click on the Properties button once again to modify the IPV6 DNS too.
- After you get to the next screen, start by checking the box associated with Use the following DNS server address box and change the Preferred DNS Server and Alternate DNS Server to the following values:
Preferred DNS Server - 2001:4860:4860::8844
Alternate DNS Server - 2001:4860:4860::8888 - Finally, click Apply to save the changes. Once you do this, you will have replaced the default DNS range with the equivalent range from Google.
If the problem was actually caused by a DNS issue, you should now be able to play World of Warcraft without experiencing the same 51900101 error.
In case this method did not fix the issue in your case or you were already using the Google DNS, move down to the next potential fix below.
Delete the cache folder
If changing the DNS address to the equivalents provided by Google didn’t work in your case and you confirmed that the problem is not caused by a server issue, the final thing that you should do is clear the cache folder of your World of Warcraft installation.
As it turns out, a corrupted cache folder can cause connectivity issues with World of Warcraft. This is even more likely if you’re experiencing the same 51900101 error with every WOW server that you attempt to connect to (even if the status page shows no server problems).
If this scenario is applicable, follow the instructions below to delete the WOW cache folder:
Note: Deleting the cache folder of World of Warcraft will not affect your game data and should resolve the majority of issues caused by corrupted temp data and outdated files.
- First things first, ensure that World of Warcraft, Battle.net, and every other Blizzard program are closed and not running in the background.
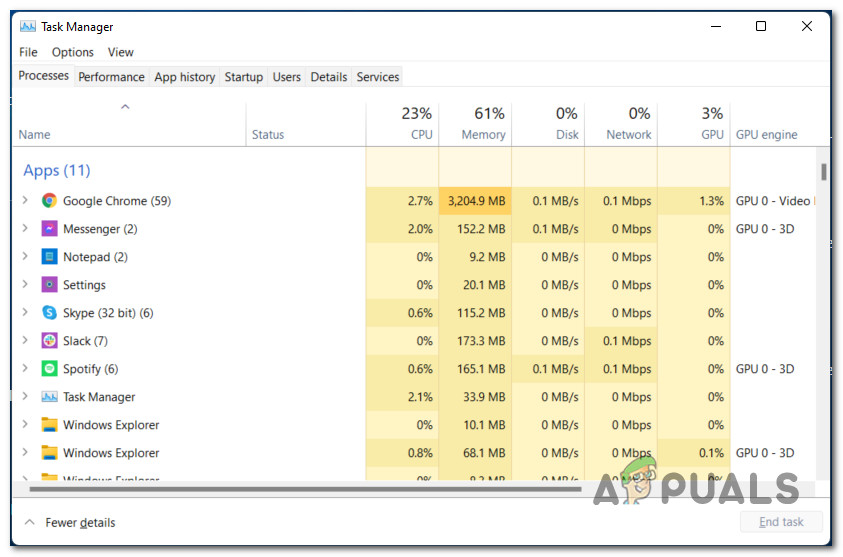
- Next, press Ctrl + Shift + Esc to open up the Task Manager interface.
- Once you’re inside Task Manager, ensure that you’re viewing the Expert interface. If you can’t view the different tabs, click on More Details (bottom-left section of the screen).
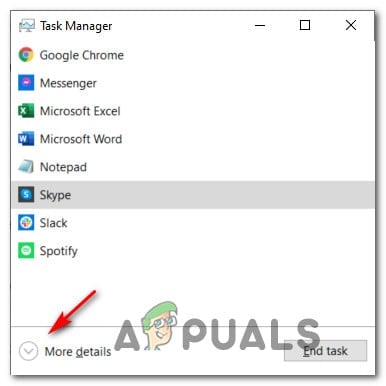
Accessing the More Details screen - Once you’re inside the advanced interface of Task Manager, click on the Processes tab at the top.
Accessing the Processes tab - Next, scroll down through all the processes that are currently running and close agent.exe or Blizzard Update Agent by right-clicking and choosing End Process.
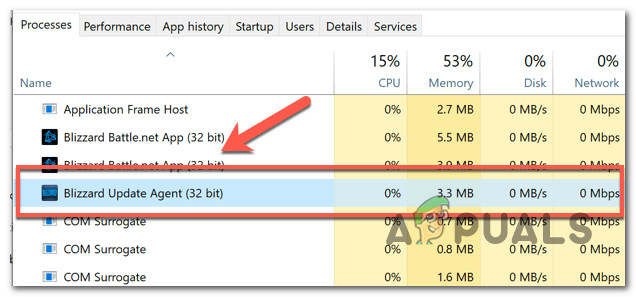
End every Blizzard process - Once you’ve ensured that every Blizzard-related process is closed, close Task Manager and then press Windows key + R to open up a Run dialog box. Inside the text box, type ‘%ProgramData%’ and press Ctrl + Shift + Enter to open up the Program Data folder with admin access.
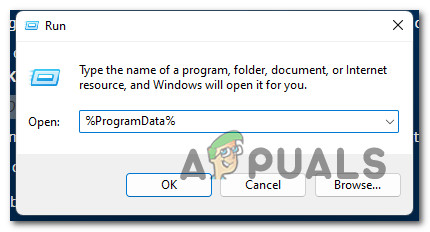
Open up the Program data folder - If you’re prompted by the User Account Control window, click Yes to grant admin access.
- Inside the Program Data folder, locate the Blizzard Entertainment folder and delete it conventionally by right-clicking on it and clicking on the Delete icon/button from the context menu.
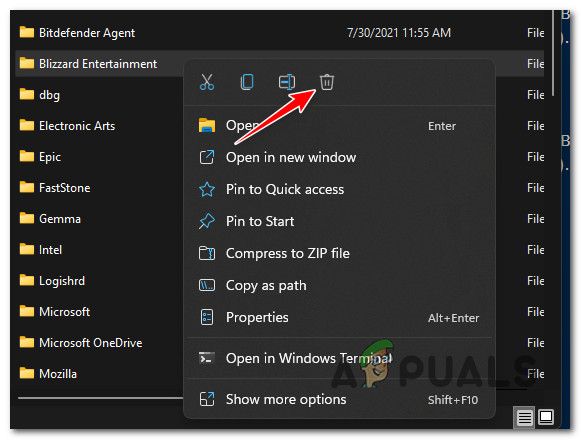
Delete the Blizzard Entertainment folder - Start the Battle.net desktop launcher once again and launch World of Warcraft to see if the problem is now fixed.


