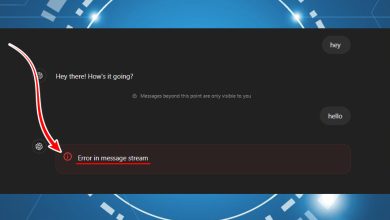
How to Fix “Error Code: 409” on Browsers?
HTTP code 409 might occur mainly due to browser issues or interference from the device’s security application. The browser issues might range from an outdated browser to corrupt browser configurations. The error occurs when a client tries to visit a website or perform an action (like updating Ubuntu) but fails to do so and encounters the error 409. The issue is not limited to a particular browser, OS, application, or game.
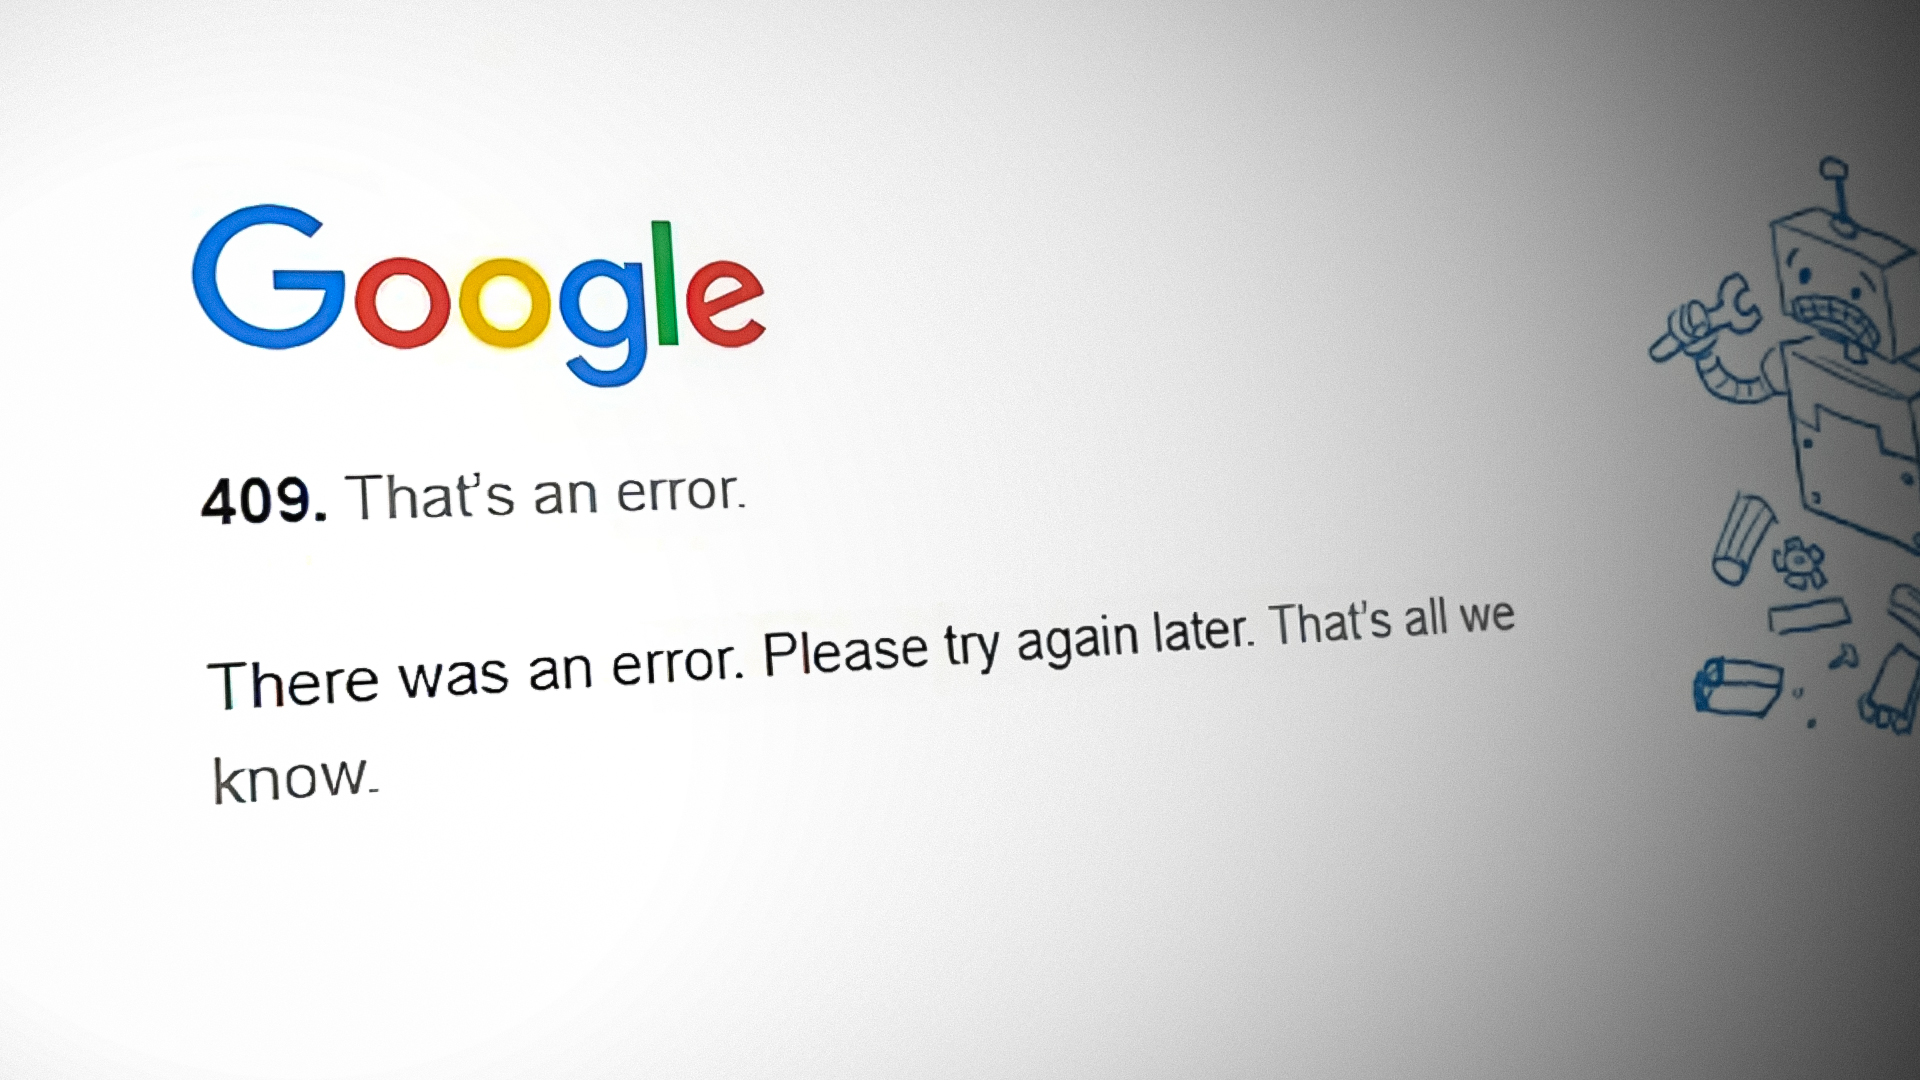
As per the HTTP standards, status code 409 means conflict. This implements that the client, a browser, or an application through web services, has issued an HTTP request under false assumptions or the request conflicts with the server’s current status. This can happen if two HTTP requests are issued by the client to modify the same object or if the server is overloaded. For example, if you try to upload an older version of a file that is already present on the version control system, then the version control system might return the error 409.
This error can also occur due to server-side and client-side issues. The article is intended to clear the client-side issues due to which error 409 occurs. Due to the diversity of the servers, technologies, platforms, and APIs involved, it is not possible to cover those in this article.
The following can be easily considered as the main reasons on the client-side which can trigger HTTP error 409:
- Outdated Browser: You may encounter the HTTP error 409 if the browser on your device is outdated as an outdated browser may fail to implement the latest developments as per the HTTP standards and cause conflict with a server following the latest HTTP standards.
- Corrupt Cookies, Cache, Site Data of the Browser: If the browser’s cookies, site data, or cache are corrupt, then that may cause a conflict between the server and client communication, leading to the error 409.
- Incompatible Customization of the Browser Configurations: A non-default configuration of the browser can cause the error 409 as a conflicting request might be issued from the browser and thus cause the error.
- The Security Product on the Device: The HTTP error 409 might occur due to the interference in the server/client communication from the system’s security product and as result, the conflicting data packets are being sent to the server.
1. Perform a Restart of the Device and Networking Equipment
A temporary communication glitch may cause the HTTP error 409 as the conflicting requests might be issued from the client-side. Here, performing a restart of the device and networking equipment may clear the HTTP error.
- Power off your device and networking equipment (like a router).
- Then unplug the power cable of the devices from the power sources (in the case of a non-battery device like a PC is being used). If a device with a battery is used (like a USB dongle), then remove its battery.

Unplug the Router from the Power Source - Now wait for 5 minutes and then plug back the devices into the relevant power sources. In the case of a device with a battery, put back its battery.
- Then power on the router and wait till it is properly powered on.
- Now power on your device (like a PC) and once properly powered on, check if it can access the problematic website, and the HTTP error 409 is cleared for the website.
2. Update the Browser to the Latest Build
An outdated browser may lack the ability to follow the latest amendments to the HTTP standards and this can make the browser incompatible with many websites. And the same can be true if the browser on your device is outdated and updating your browser to the latest build may clear the HTTP error at hand. For illustration, we will go through the process of updating the Chrome browser.
- Launch the Chrome browser and then click on the three vertical ellipses (near the top right).
- Now hover your mouse over Help and select About Google Chrome.
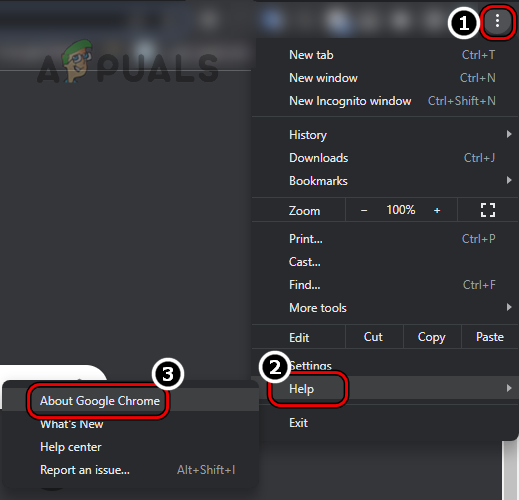
Open About Google Chrome - Then, in the resulting window, make sure the Chrome browser is updated to the latest built, and afterward, click on Relaunch.
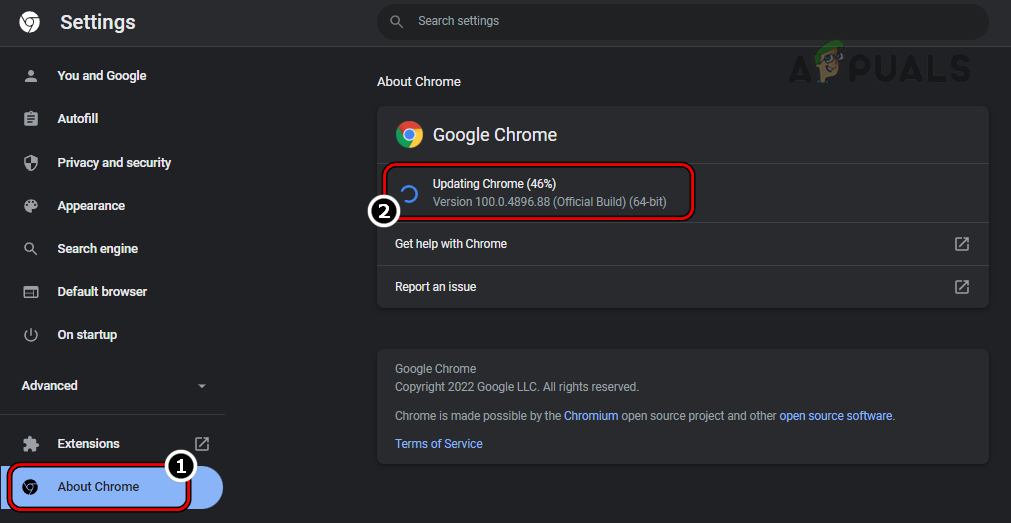
Update Chrome to the Latest Build - Now check if the problematic websites can be opened without triggering the error 409.
3. Run the Browser in Incognito or Private Mode
If any of the browser’s extensions is causing a conflict between the device and server communications, then that may result in the HTTP error 409. In this case, accessing the problematic website in the Incognito or Private mode of the browser may clear the error under discussion. For illustration, we will go through the process of launching the Chrome browser in Incognito mode.
- Launch the Chrome browser and expand the Chrome menu.
- Now select New Incognito Window and then, in Chrome’s Incognito window, head to the problematic website to check if it is loading normally. If so, then launch the browser in the normal mode and disable all its extensions. Now check if the website still loads fine. If so, then any of the extensions is causing the issue and you may enable the extensions one by one to find the problematic one. If the error occurs even after disabling all the extensions, then you may clear the browser cache or cookies (discussed below).
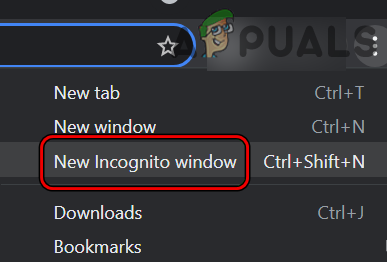
Open New Incognito Window in Chrome
4. Try a Different Server
If the HTTP error 409 is occurring due to a misconfiguration on a particular server, then trying another server may clear the issue. Keep in mind this method may only work for the applications, games, or websites where you are allowed to switch servers. For illustration, we will discuss the process of selecting a different server when updating Ubuntu (a reported scenario where the error 409 is shown).
- Open Software & Updates on Ubuntu and head to the Ubuntu Software tab.
- Now set the dropdown of Download From to the Main Server.
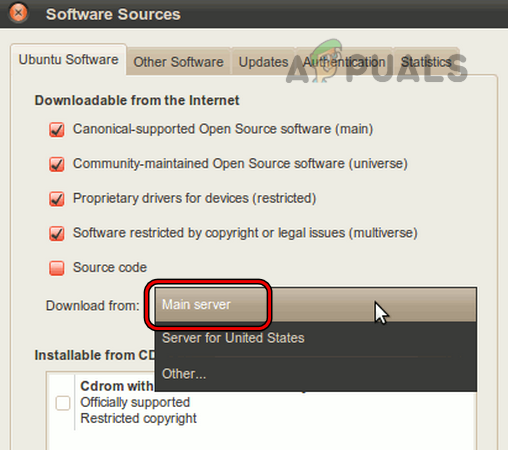
Set Ubuntu to Download from the Main Server - Then check if the Ubuntu software is updating fine.
- If that fails and the issue is occurring in Snap, launch the Ubuntu Terminal and execute the following:
snap changes
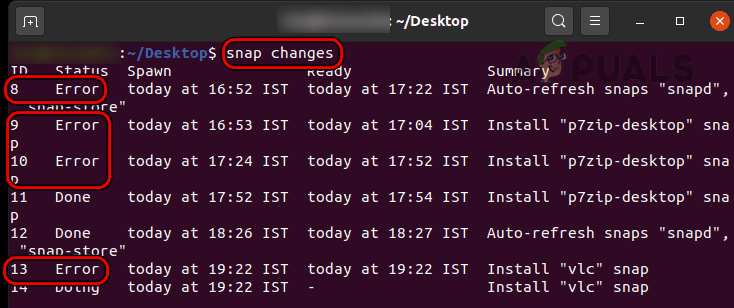
Find the IDs of the Errors in Snap Changes on Ubuntu - Now note down the ID of the processes causing the issue and then run the following (in the case there is more than one process with an error status, repeat for all the processes) in the Terminal window (where XX is the ID of the process):
sudo snap abort xx
- Once done, check if the system is clear of error 409.
5. Clear the Browser’s Cookies and Cache
The HTTP 409 error might occur if the browser’s cookies or cache are corrupt as it can cause conflict in the communication with the server of the problematic website. In this context, clearing the website cookies or site data in the browser, and the browser’s cache may clear the 409 error. For elucidation, we will go through the process of clearing the cache and cookies of the Chrome browser on a PC. Before proceeding, back up the essential info or data (like logins to websites) in the browser.
- Launch the Chrome browser and head to the problematic website (for example, Google Classroom).
- Now, when the error 409 is shown, click on the padlock icon in the address bar and select Cookies.
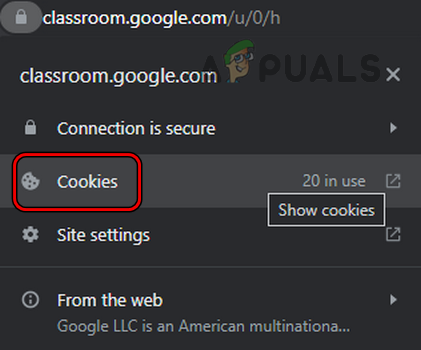
Open the Cookies Settings of the Google Classroom on Chrome - Then select a cookie and click on Remove.
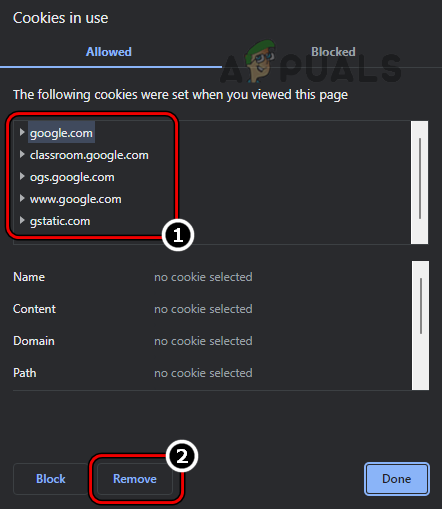
Clear the Google Classroom Cookies on Chrome - Now repeat the same to remove all the cookies of the problematic website.
- Then relaunch the Chrome browser and check if the problematic website is opening fine.
- If not, head to the problematic website, and when the error is shown, click on the padlock icon in the browser’s address bar.
- Now select Site Settings and in the resulting window, click on Clear Data.
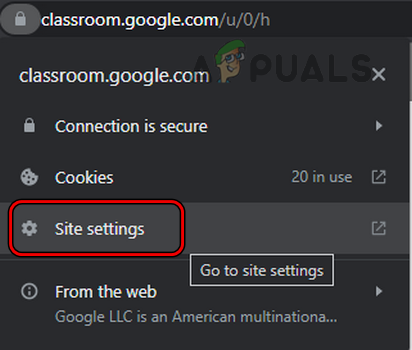
Open Site Settings of the Google Classroom in Chrome - Then confirm to clear the data of the problematic website and once done, relaunch the browser to check if the website has started to open normally.
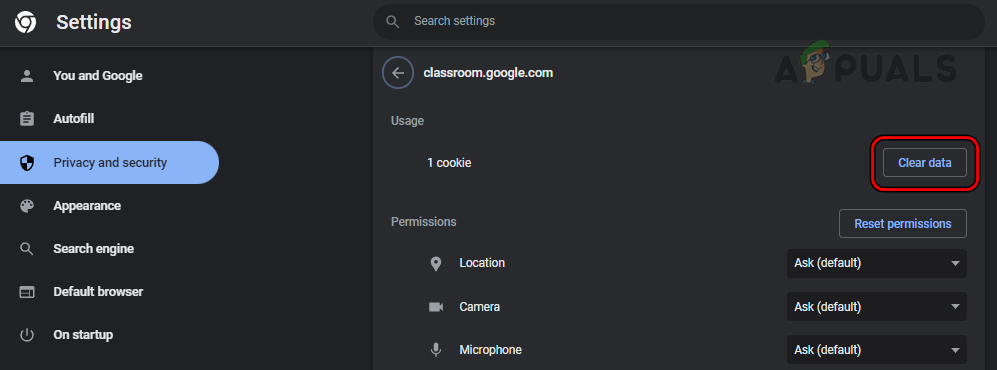
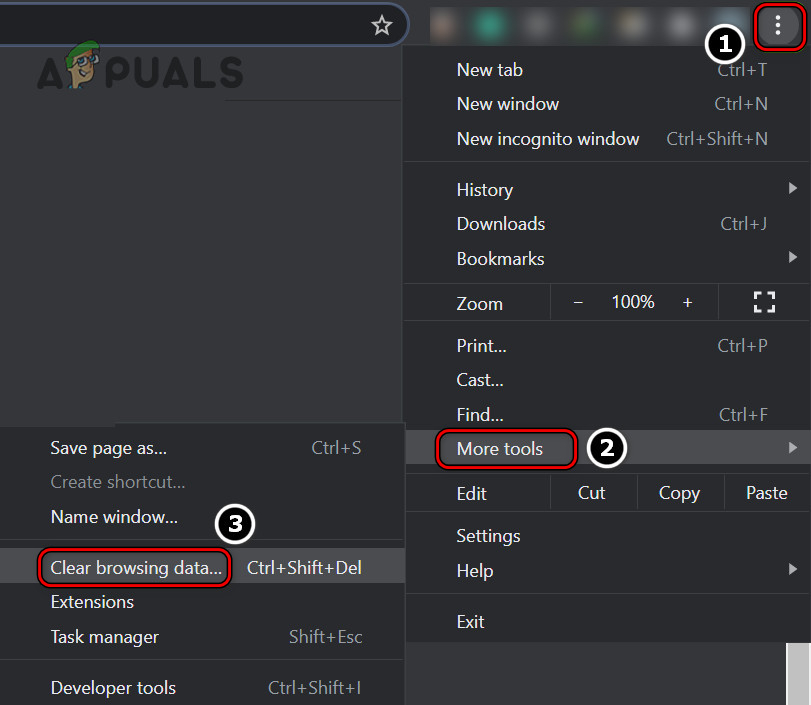
Clear Data of the Google Classroom on Chrome - If not, relaunch the Chrome browser and near the top right corner of the window, click on the three vertical ellipses to expand the Chrome menu.
- Now select More Tools and in the resulting sub-menu, click on Clear Browsing Data.
Open Clear Browsing Data in the Chrome Menu - Then click on Sign Out (near the bottom of the resulting window) and switch to the Advanced tab.
- Now, set the Time-Range dropdown to All-Time, and afterward, select all the categories by ticking the relevant checkboxes.
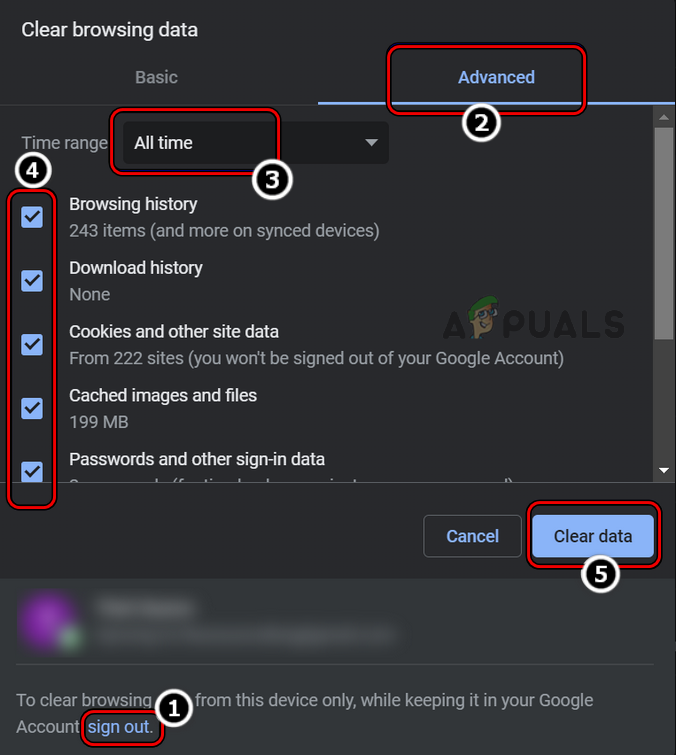
Clear Browsing Data of All Time in Chrome - Then click on Clear Data and once done, relaunch the browser to check if it can access the problematic website without showing the HTTP 409 error.
6. Reset the Browser’s Settings to the Factory Defaults
If any of the customizations to the browser’s default settings are hindering the browser’s communication with a website in such a way that it is conflicting with the server’s current status, then that could result in the HTTP error 409. In this context, resetting the browser’s settings to the factory defaults may clear the error at hand. For illustration, we will discuss the process of resetting the Chrome browser to its factory defaults.
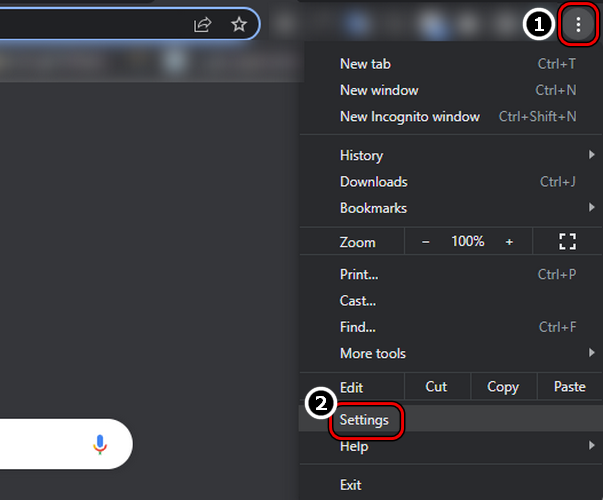
- Launch the Chrome browser and open its menu by clicking on the three vertical ellipses in the top right.
- Now select Settings and in the left pane, expand Advanced.
Open the Chrome Browser Settings - Then steer to the sub-tab of Reset and Clean Up.
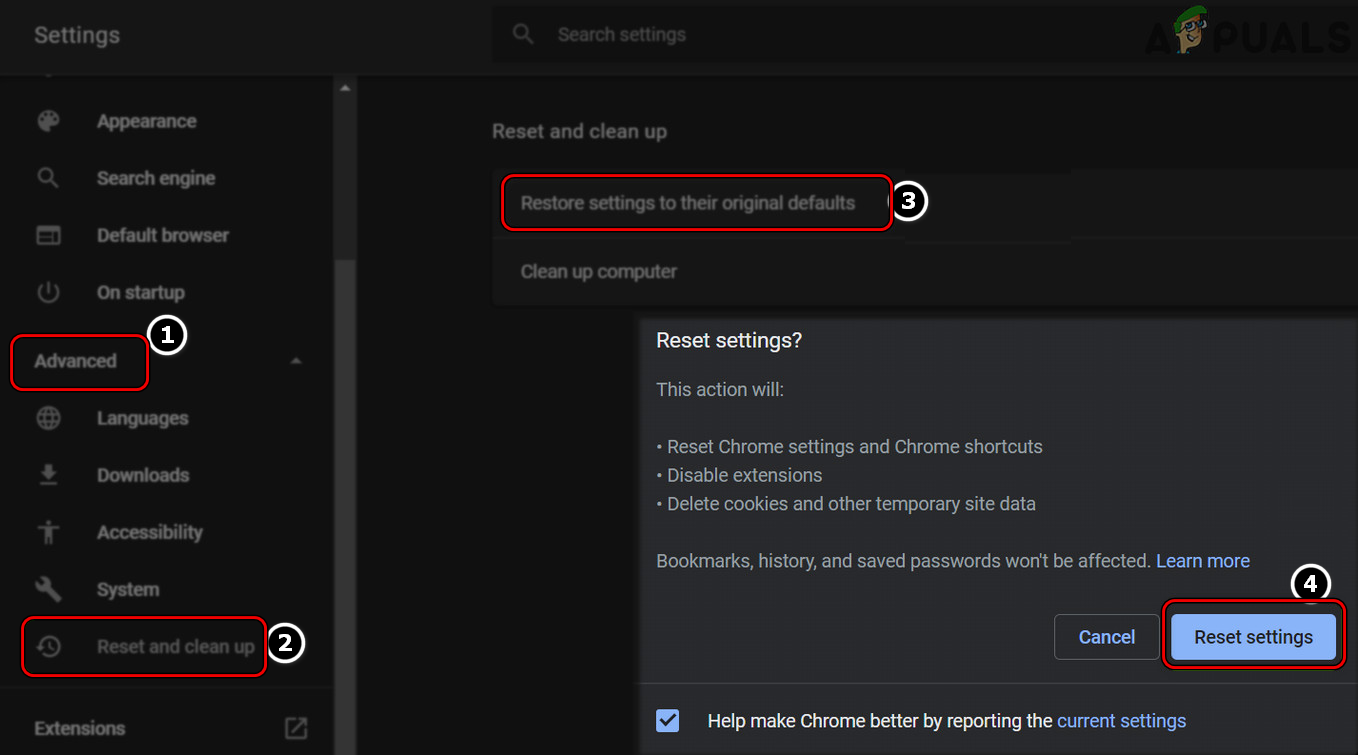
Reset Chrome Settings to Defaults - Now, click on Reset Settings to Their Original Defaults (in the right half of the window), and afterward, confirm to reset the Chrome settings to the original defaults.
- Once done, relaunch the Chrome browser and upon relaunch, check if the browser is clear of the HTTP error 409.
7. Disable the Security Software of Your Device
If the system’s security application (like a firewall, antivirus, antimalware, etc.) is hindering the data exchange between your device and the problematic website server in a way that the released data packets to the server are conflicting with the server’s current status, then that can cause the error 409. In this scenario, disabling the system’s security product may clear the HTTP error. For elucidation, we will go through the process of disabling the ESET antivirus on a Windows system.
Warning:
You may advance at your own risk as disabling or editing the configurations of the security application of your system can expose the system, network, data, browser, etc. to threats.
- Right-click on the ESET product in the system tray (you may have to expand the hidden icons) and select Pause Protection.
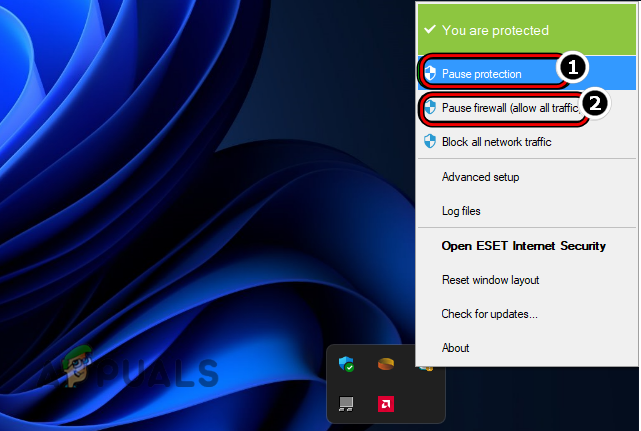
Pause ESET Protection and Firewall - Then select the time frame (like 10 minutes) for which you want to disable the ESET product and again, right-click on the ESET icon in the system’s tray.
- Now select Pause Firewall and then confirm to pause the ESET firewall.
- Then launch a web browser and check if it can access the problematic website without the HTTP 409 error. If so, then you may add the exception for the website in the security application settings and enable back the security product.
8. Try Another Network
The HTTP issue might occur if your current network is hindering the web traffic between the client and a server in a way that causes a conflict on the server, then the server may return the error 409. Here, trying another network may clear the HTTP error at hand.
- Disconnect your device from the current network in use and then connect it to another network (like your phone’s hotspot).
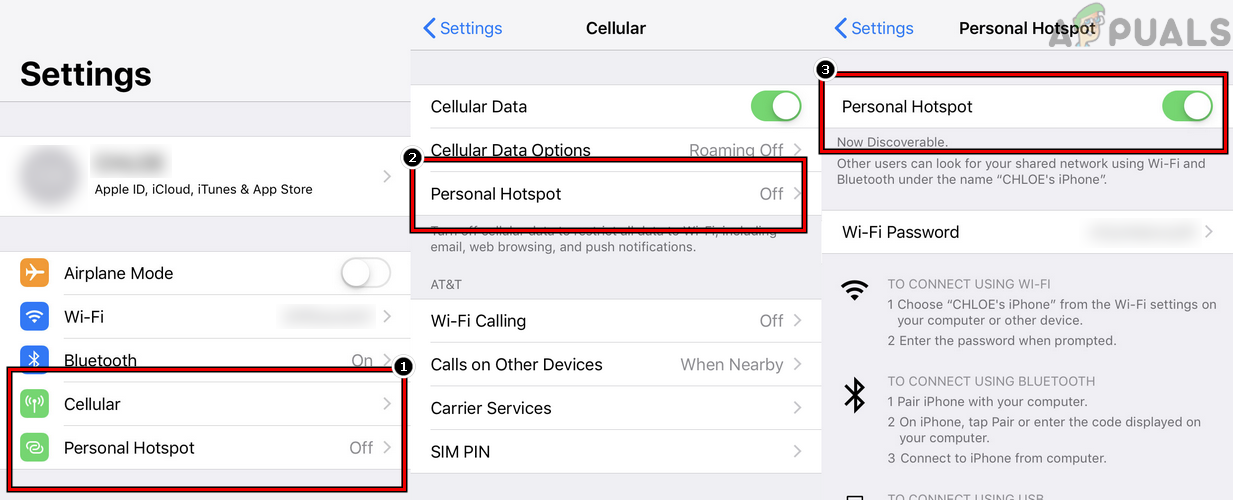
Enable Hotspot on the iPhone - Now launch (or relaunch) the browser and hopefully, you could access the problematic website without encountering the HTTP error 409.
If that fails and the HTTP error 409 is occurring with a particular application, you may reinstall that application to clear the error.