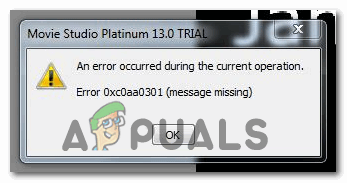
[FIX] Error Code 0xc0AA0301 (Message Missing)
The Error Code 0xc0aa0301 appears when Windows users attempt to use Movie Studio to print a CD or DVD using a connected CD or DVD writer. In most cases, this problem is reported to occur on Windows 7.
As it turns out, there are several different causes that might end up causing this error:
- DVD blank is incompatible with DVD writer – If you’re using an older DVD writer, chances are you are using blank DVDs (either DVD-R or DVD+R) that are not compatible with your DVD writer. In this case, you should try using a hybrid DVD blank that supports both DVD-R and DVD+R in order to avoid this type of incompatibility.
- Outdated chipset driver – This might seem like an unlikely culprit, but outdated chipset drivers have been confirmed to cause this error code. This problem is prevalent with chipset drivers for notebooks, ultrabooks, and laptop. If this scenario is applicable, you need to follow the official channels and update the chipset driver to the latest version available.
- Common Movie Studio glitch – This problem has been coming around with Movie Studio for years, and it’s one of the reasons why the majority of its original users ended up migrating to other 3rd party tools. There is no fix for this problem other than using ImageBurn or a different reliable burning tool that allows you to circumvent this problem.
- Improper DVD driver – Under certain circumstances, you might expect to see this error due to an inconsistency having to do with your the DVD writer is installed. Most likely, a malware infection or an unexpected shutdown contributed to the apparition of this problem. To fix this problem, you will need to uninstall the current DVD driver via Device Manager in order to force your OS to install a generic equivalent.
- Corrupted iTunes installation – If you’re seeing the error code while attempting to burn DRM protected content via iTunes, chances are you’re dealing with a bad iTunes installation. In this case, you can fix the problem by reinstalling the desktop or UWP version of iTunes.
Method 1: Switching to DVD-R Banks
DVD/CD writers are pretty much-outdated technology by now, but it’s possible that you are seeing the 0xc0aa0301 error due to the fact that the DVD burner does NOT support the newer DVD+R format.
Keep in mind that there are 2 main DVD types – DVD-R and DVD+R.
DVD-R was the initial technology developed in 1997 followed by the newer DVD-R format that was patented by Sony and Philips and released in 2002. While the DVD-R uses tiny marks along the grooves of the disk to determine the location of the laser beam, DVD-R relies on the ‘wobble frequency’ as the laser moves to determine the location.

What I’m trying to convey is, IF you’re trying to burn content on the DVD+R blank with a DVD writer that doesn’t support DVD+R, you will get this error 0xc0aa0301 error. The same goes the other way around.
The solution, in this case, is to either migrate to a new DVD writer or that support both DVD-R and DVD-R formats (most of them do), or go out and buy a new blank DVD. Every blank DVD that you can currently get is nowadays built to support both technologies.
In case you figured that the DVD blank you’re using is not relevant in your case, move down to the next potential fix below.
Method 2: Update Chipset Driver
Chipset drivers are commonly known for being responsible for controlling communications between the processor, the GPU, the hard drives, and the system memory. But an improper chipset driver can cause a host of issues including issues with burning blank DVDs via DVD writer.
In most cases, chipset related issues that lead to the apparition of the 0xc0aa0301 error are reported with notebooks, ultrabooks, and laptops.
Fortunately, if this problem is applicable, you should be able to fix the problem by updating your chipset drivers. The exact version that you need and the steps of installing the chipset update will be different depending on the manufacturer and the model of your motherboard.
To make things easier for you, we’ve created 2 separate guides – one for Intel and one for AMD.
A. Updating the AMD chipset driver
- Open your default browser and visit AMD’s Drivers and Support page.
- Once you get to the correct page, scroll down to the Search for your product section.
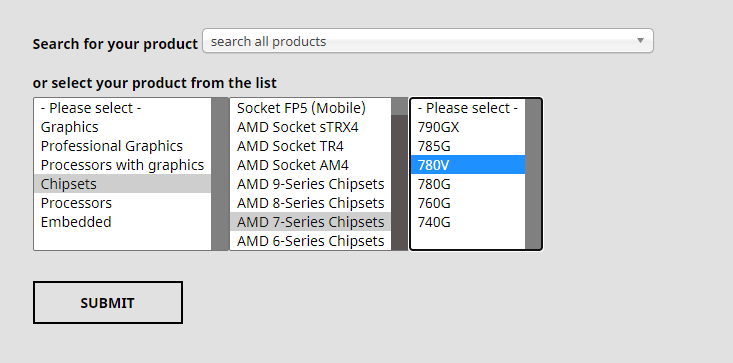
- Next, choose Chipsets from the column on the left, then choose your processor socket from the section on the right.
- After you select the socket, select your processor from the newly appeared column and click Submit to find the correct chipset version.
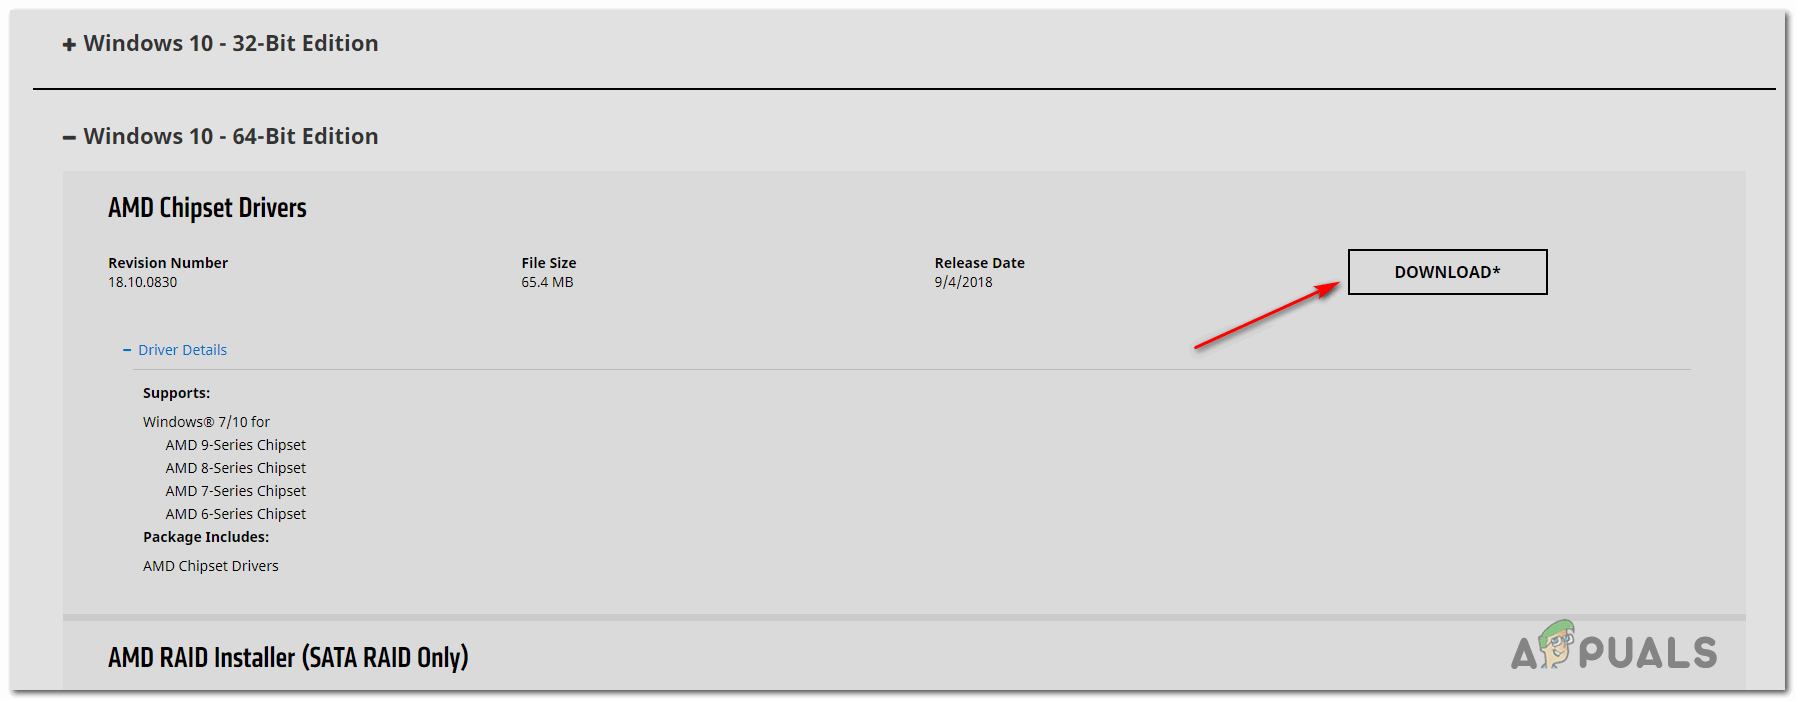
Downloading the latest Chipset Driver - From the list of results, expand the drop-down menu associated with the Windows version that you’re using and click Download from the newly appeared menu.
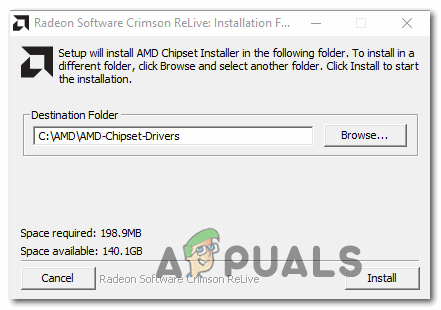
Downloading the latest AMD chipset drivers - Once the download is complete, double-click on the installer, then follow the on-screen prompts to complete the installation of the latest chipset driver.
Downloading the latest AMD chipset driver - After the installation is complete, restart your computer and see if the problem is now fixed.
B. Updating the Intel chipset driver
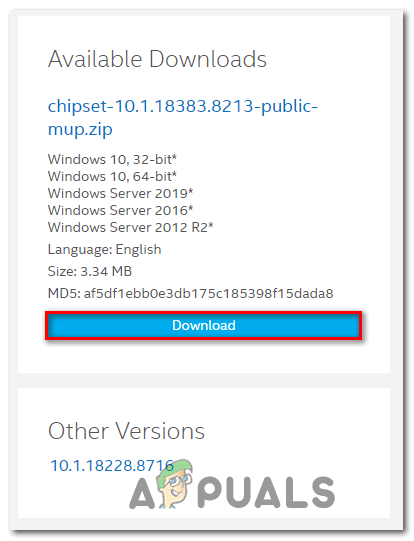
- Open your default browser and visit the download page for the Chipset INF Utility.
- Once you arrive at the correct page, click on the Download button in the top-left corner of the screen.
Downloading the Chipset INF Utility - At the next screen, click on I accept the terms in the license agreement to agree with the ToS.
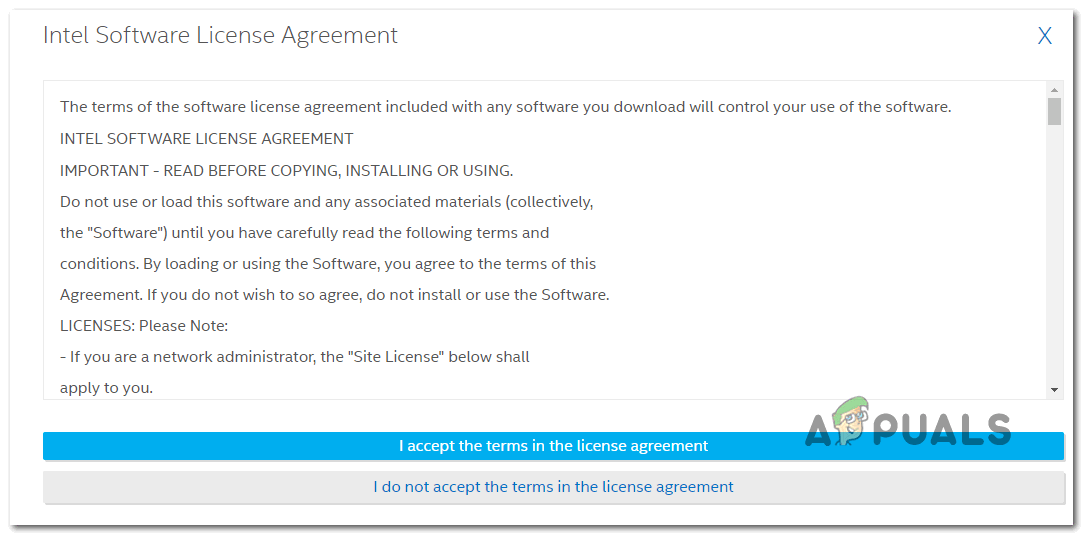
Agreeing with the Terms of Licensing - Wait until the download is complete, then use a utility like 7zip, WinZip or Winrar to extract the contents of the archive.
- Next, double-click on the SetupChipset.exe executable, then follow the on-screen prompts to install the latest chipset driver.
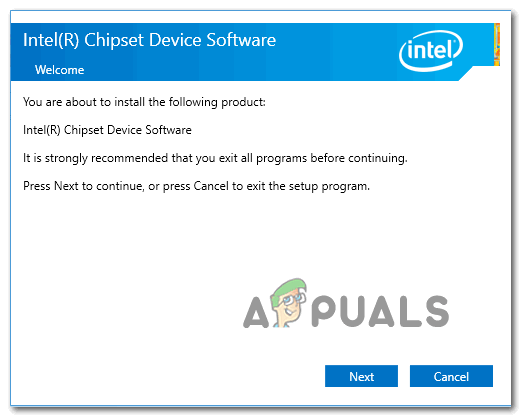
Installing the Chipset driver - Once the installation is complete, restart your computer and see if the problem is fixed at the next computer startup.
Method 3: Using ImageBurn
If you’re encountering this error while trying to print content via Movie Studio, chances are you are either using the trial version or you’re dealing with a common glitch that is affecting this tool for years.
Some affected users that were struggling with the same problem have finally managed to fix the issue by migrating to a 3rd party tool that’s widely accepted as the best general purposing DVD burner – ImgBurn.
If you don’t mind using a 3rd party tool to circumvent the 0xc0aa0301 error, go ahead and uninstall the latest version of ImgBurn and retry the burning attempt once the installation is complete.
If you already tried using a different tool in order to write on the blank DVD and you’re still seeing the same error, move down to the next potential fix below.
Method 4: Reinstalling the DVD Writer driver
If none of the fixes above have worked for you, you should start to consider the fact that you might be dealing with an improper or corrupted DVD writer drive. As it turns out, an unexpected machine shutdown during the installation of an update, a malware infection, or a botched upgrade attempt might end up corrupting the DVD driver which might end up causing the 0xc0aa0301 error.
If this scenario seems like it could be applicable, you should attempt to uninstall the current DVD driver, forcing your operating system to install a generic equivalent that is known to function properly.
Several affected users have confirmed that the problem was fixed after they used Device Manager to uninstall the current DVD drive. Follow the instructions below to reinstall the DVD writer driver:
- Press Windows key + R to open up a Run dialog box. Next, type ‘devmgmt.msc’ and press Enter to open up Device Manager. If you’re prompted by the UAC (User Account Control), click Yes to grant administrative privileges.
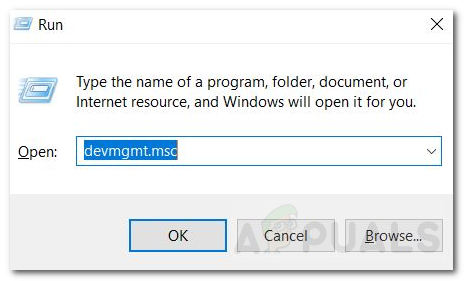
Device Manager - Once you’re inside the Device Manager, expand the drop-down menu associated with DVD /CD-ROM drives and see if you can see a yellow exclamation point associated with your DVD drive. If you see it, it’s confirmation that you’re dealing with a DVD driver issue.
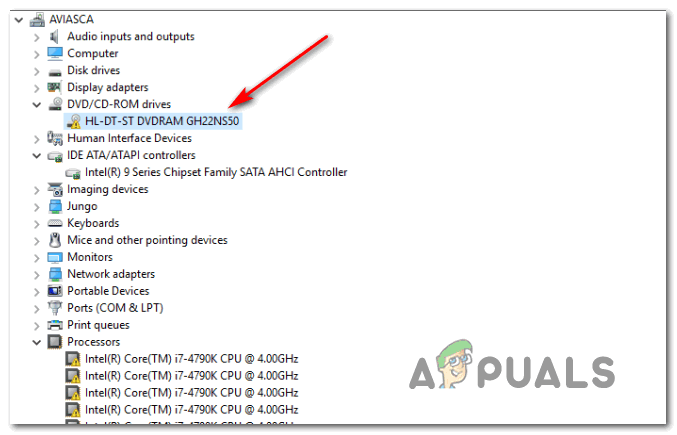
Uninstalling the DVD driver - Go ahead and uninstall the current DVD driver by right-clicking on the DVD entry and choosing Uninstall from the newly appeared context menu.
- Confirm the uninstallation at the next prompt, then wait for the process to complete.
- Restart your computer in order to allow your operating system to install a generic driver at the next system startup.
- Repeat the action that was previously causing the 0xc0aa0301 error and see if the problem is now fixed.
In case this scenario is not applicable and you’re encountering this problem with iTunes, move down to the next potential fix below.
Method 5: Reinstalling iTunes (if applicable)
In case you end up seeing the 0xc0aa0301 error while trying to burn a DVD using iTunes, chances are you are actually dealing with a bad iTunes installation. Several affected users that faced the same problem have confirmed that the problem was resolved and they were able to burn DVDs without issues after they uninstalled the current iTunes version and then the latest version through the official channels.
As it turns out, one of the most common causes that will end up triggering this error is an AV scan that ends up quarantining some items or dependencies linked to iTunes or Bonjour.
While you’ve already been briefed on the solution, keep in mind that depending on the iTunes version that you’re using, the exact steps of reinstalling iTunes will be different. If you’re using the desktop version of iTunes, the uninstallation is handled by the Programs and Features infrastructure. But if you’re using the UWP (Universal Windows Platform) version of iTunes for Windows 10, you’ll need to take a different approach.
To accommodate both potential scenarios, we’ve created 2 separate guides, so feel free to follow the one applicable to your particular scenario.
A. Reinstalling iTunes for Desktop
- Press Windows key + R to open up a Run dialog box. Next, type ‘appwiz.cpl’ inside the text box and press Enter to open up the Programs and Features window.
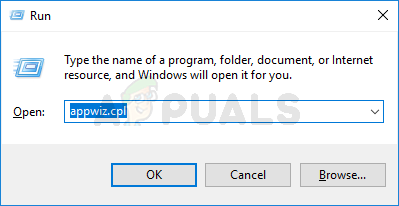
Type appwiz.cpl and Press Enter To Open Installed Programs Page - Once you’re inside the Programs and Features screen, scroll down through the list of installed applications and locate the iTunes app. Right-click on the iTunes app and choose Uninstall from the newly appeared context menu.
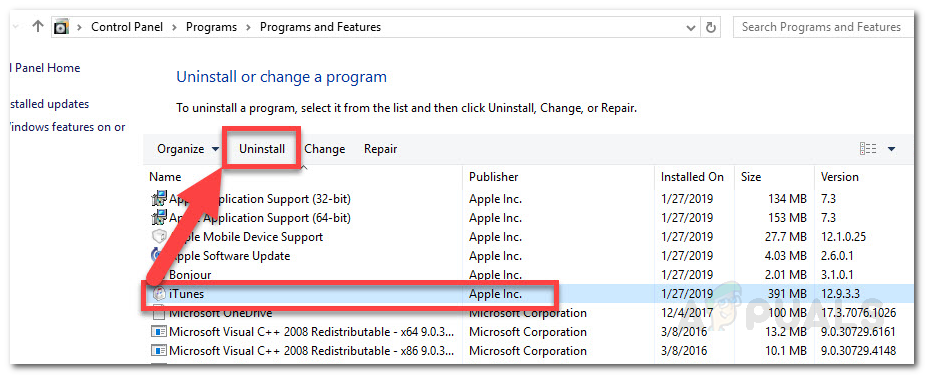
Uninstalling problematic application - Inside the uninstallation screen, follow the on-screen instructions to complete the process, then restart your computer.
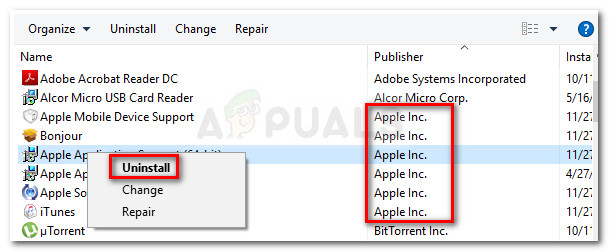
- Next, click on the Publisher column in order to order every piece of installed software via their publisher so it’s easier to uninstall every remaining Apple supporting software.
- After you do this, go ahead and uninstall everything that’s signed by Apple Inc. After you do this, restart your computer and wait for the next startup to complete.
Uninstalling Apple’s supporting software - After the next startup is complete, download the latest version of iTunes by scrolling down to the Looking for other versions section and click on Windows to download the latest version of iTunes for desktop.

Downloading the desktop version of iTunes - After the download is complete, open the executable and follow the on-screen instructions to complete the installation of iTunes.
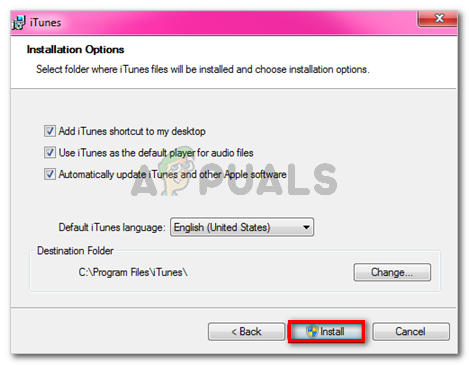
Installing iTunes on your computer - Repeat the action that was previously causing the 0xc0aa0301 error and see if the problem is now fixed.
B. Reinstalling iTunes UWP
- Open up a Run dialog box by pressing Windows key + R. Next, type ”ms-settings:appsfeatures” and press Enter to open up the Apps & Features tab of the Settings app.
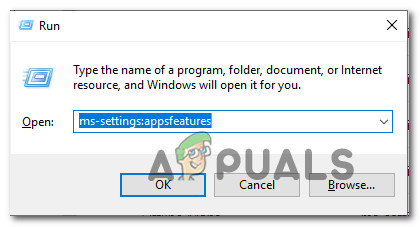
Accessing the Apps & Features Menu - Inside the Apps & Features menu, use the search function in the top-right section to search for ‘iTunes’. From the list of results, click on Itunes and then click on the Advanced Hyperlink menu associated with it.
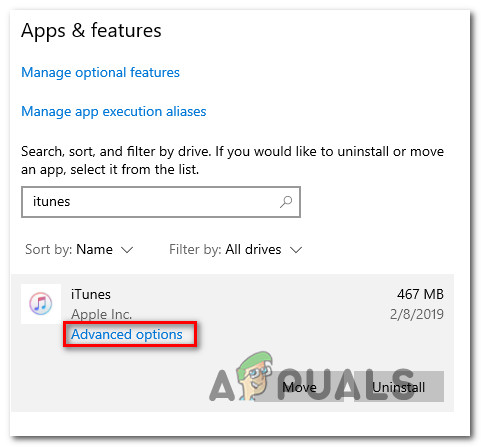
Accessing the Advanced Options menu of iTunes - Inside the Advanced Options menu, scroll down to the Reset sub-menu and click on the Reset button.
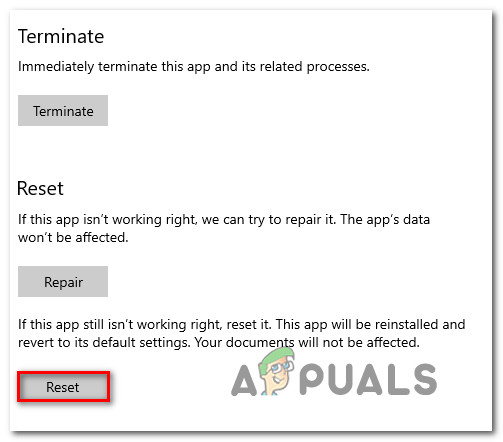
Resetting the iTunes app - At the final confirmation prompt, click on Reset once again, then wait for the process to complete.
- Once iTunes UWP is reset, open it again, connect with your Apple account and see if the problem is now fixed.


