How to Fix ‘Error Code 0x800f0908’ When Installing Language Packs
The error code 0x800f0908 occurs when Windows users attempt to install an additional language pack on top of the default system-wide language being used. This issue is confirmed to occur on both Windows 10 and Windows 11.
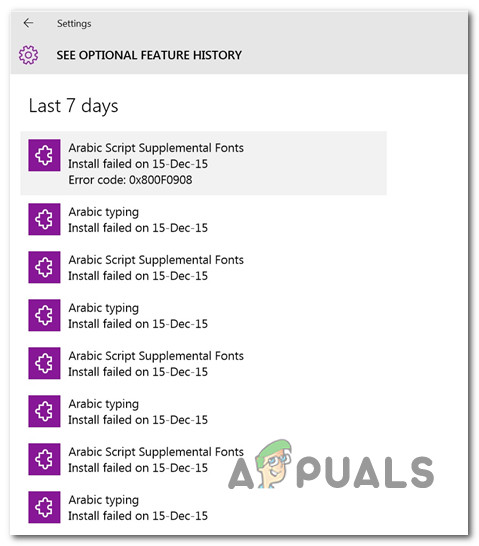
This issue will occur when the Metered Connection feature is enabled. Other potential culprits include a partially corrupted WU component, temporary Windows files, interference caused by .NET Framework, or system file corruption. In rare circumstances, the language packs might refuse to install due to a security breach.
Below you’ll find a series of potential fixes that should allow you to troubleshoot the issue.
1. Disable Metered Connection
If you’re just beginning to troubleshoot the 0x800f0908 error, you should first check if the metered connection feature is enabled for your active connection.
Note: Whether you are connected to the Internet through Wi-Fi or ethernet cable, a metered connection will prevent your system from receiving automated updates. Most people think of features & cumulative Windows updates, but this feature also affects the download of language packs (since those are also installed via Windows Update).
The steps listed below can help you turn off the metered connection if you’re trying to install a language pack and getting the error 0x800f0908:
- To access Windows 11’s primary Settings panel, press Windows + I.
- Next, select Network & Internet from the vertical menu on the left.
- Move over to the right-hand section, then click on Wi-Fi.
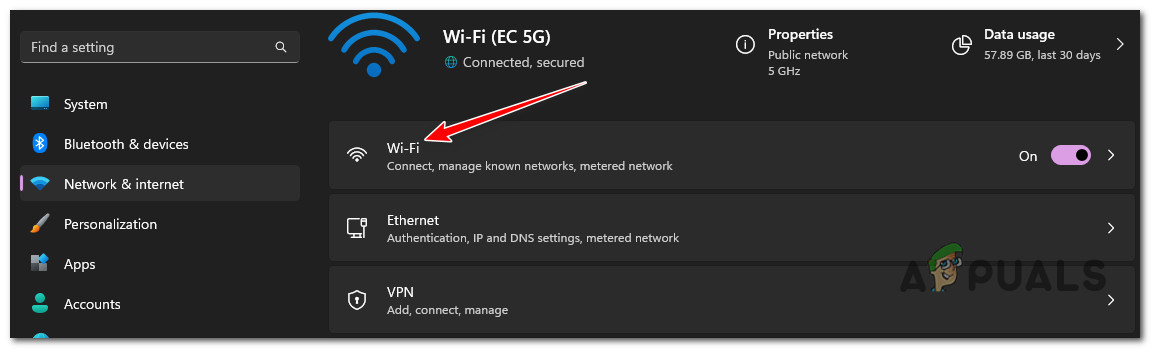
Access the Wi-Fi Section Note: If you are not connected to a Wi-Fi connection, skip this method and move directly to step 6.
- From the next screen, navigate to the right-hand side of the screen and select Properties from the menu that appears.
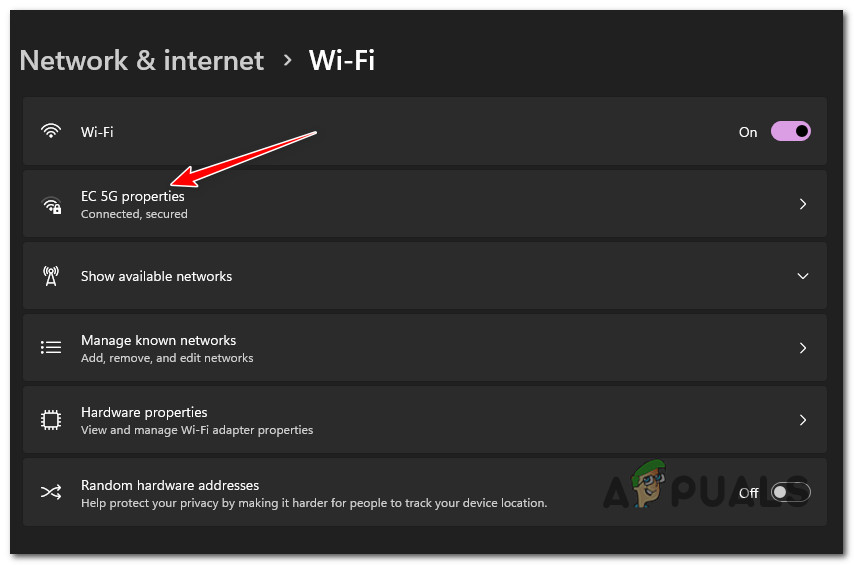
Access the Properties menu of Wi-Fi Connection - From the next screen, scroll down under the Properties screen and make sure that the toggle associated with Metered connection is disabled.
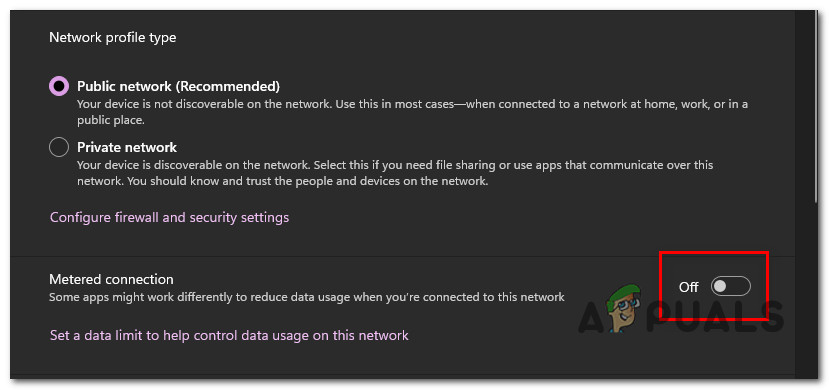
Disable the Metered Connection Feature - Get back to the Network & Internet tab, then click on Ethernet.
- From the next screen, make sure that Metered connection is disabled.
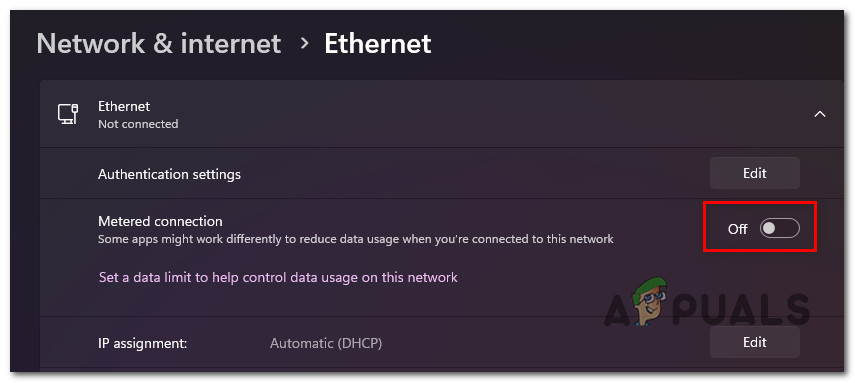
Disable Metered connection for Ethernet connection - Reboot your PC and attempt to install the language pack once again.
If you’re still experiencing the same 0x800f0908 error, move down to the next method below.
2. Run the Windows Update Troubleshooter
If disabling the metered connection didn’t resolve your problem, you should look into any potential WU component issues.
Windows Update is responsible for downloading & installing a secondary language pack. Often, if every language fails with the same error, the issue can be traced back to Windows Update.
Fortunately, Microsoft provides an automated utility that should allow you to fix the issue. The Windows Update Troubleshooter is useless, but this is less true if you’re using Windows 11 (since Microsoft has upgraded the available fleet of automated repair strategies & diagnostic processes).
Follow the instructions below to run the Windows Update Troubleshooter and apply the recommended fix:
Note: The instructions below can be followed on every recent Windows version.
- To open the Run dialog box and attempt to fix the Windows Update component, use the Windows key + R.
- Type “control” into the text area of the dialog box that just appeared, then press Enter to bring up the Control Panel interface.

Open the classic Control Panel Menu Note: If the User Account Control box asks for administrator access, click Yes.
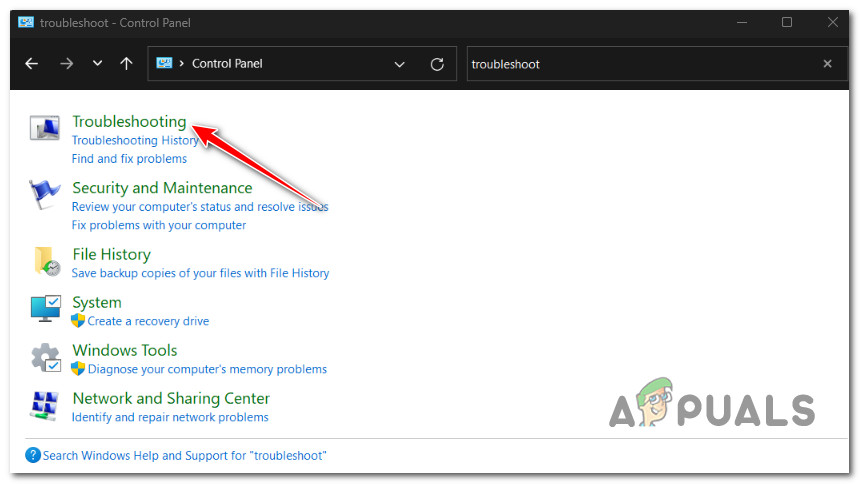
- Type “troubleshoot” into the search bar in the Control Panel window.
- In the results box, click on Troubleshooting.
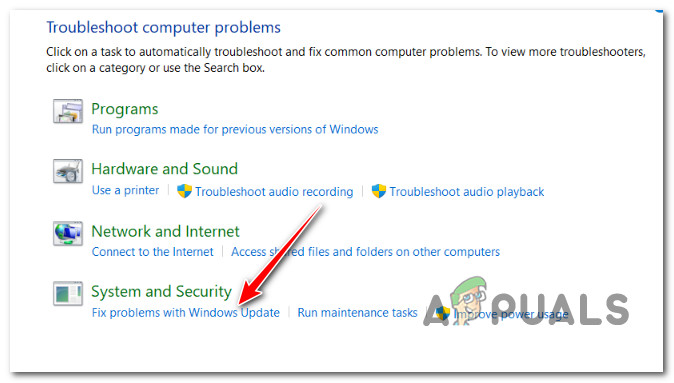
Click on Troubleshooting - Go under System and Security and click on Fix Problems with Windows Update.
Fixing Problems with Windows Update - After selecting Next, wait until the initial analysis is complete.
- Click Apply this Fix to apply the solution – only applicable if the Windows Update Troubleshooter has identified one recommended for the identified issue.
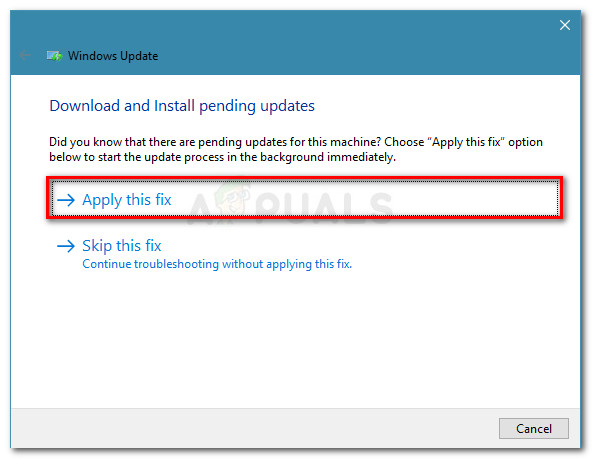
Applying the recommended fix Note: The troubleshooter could suggest a few manual steps in addition to the automated fixe.
- Restart your computer after the fix has been successfully applied and see if the 0x800f0908 error is now fixed.
If the issue is still there, follow the next step below.
3. Remove temporary Windows Update Files
If you’ve reached this point without a viable fix, the next thing you should do is get rid of every temporary file that your OS might have downloaded about a language pack installation.
There are three main locations where a cached file might conflict with the download of a new language pack:
- C:\Windows\SoftwareDistribution SoftwareDistribution.old
- C:\Windows\SoftwareDistribution\DataStore
- C:\Windows\SoftwareDistribution\Download
However, before removing the data from these 3 directories, you will need to disconnect yourself from the internet, kill the main Services task and turn off every service dependency.
For specific instructions on how to do this, follow the steps below:
- First things first, make sure you are disconnected from the internet. The easier way to do this is by enabling Airplane Mode – Press the Windows key + A, then click on Airplane Mode.

Enable Airplane mode - Once Airplane Mode is enabled, and internet access is cut off, press Windows key + R to open up a Run dialog box.
- Next, type ‘cmd’ inside the Run box and press Ctrl + Shift + Enter to open up an elevated Command Prompt.
Open a CMD window - Click Yes to grant admin access at the User Account Control (UAC).
- Once you’re inside the elevated Command Prompt, type the following command and press Enter to kill the main Services task:
taskkill /f /fi "SERVICES eq wuauserv"
Note: For the best results, run this command multiple times before moving to step 6.
- Next, run the following commands in the same order as bellow and press Enter after each one to stop every relevant service dependency:
net stop cryptSvc
net stop bits
net stop msiserver
- Once every service dependency is stopped, run the following commands in the same order to remove any data from the 3 directories mentioned above effectively:
ren C:\Windows\SoftwareDistribution SoftwareDistribution.old
rmdir C:\Windows\SoftwareDistribution\DataStore
rmdir C:\Windows\SoftwareDistribution\Download
- Once these commands are processed successfully, close the elevated CMD prompt and reboot your PC.
- After the next startup is complete, attempt to install the language pack once again and see if you’re still getting the same 0x800f0908 error.
If the issue is still not fixed, move down to the next method below.
4. Deploy SFC & DISM scans
If none of the methods featured so far have allowed you to bypass the 0x800f0908 error and you’re still unable to install a new language pack for your Windows 10 or Windows 11 installation, the next thing you should investigate is potential system corruption.
The easiest way to do this is with a few scans with System File Checker (SFC) and Deployment Image Servicing and Management(DISM) if this situation seems like it could be applicable.
Although SFC and DISM are somewhat similar, we advise running both checks quickly after one another to increase your chances of restoring the faulty system files.
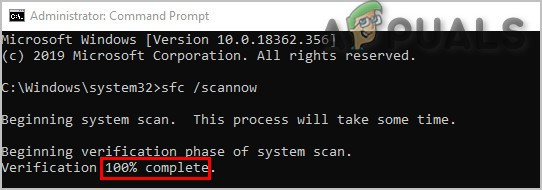
If this case applies, begin with an elevated SFC scan.
Note: This tool is purely local and won’t necessitate an active internet connection.
It’s crucial to keep the CMD window open after starting an SFC scan – even if the program appears to have frozen. Stopping the procedure might result in logical errors on your HDD or SSD/
Once the SFC scan has been finished, restart your computer to verify if you can install language packs on your Windows system.
If the same 0x800f0908 issue persists, run a DISM scan and follow the on-screen instructions to finish the process.
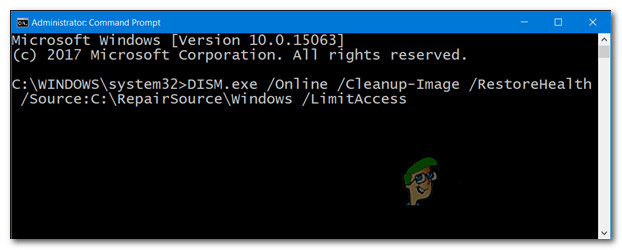
Note: DISM uses Windows Update to download healthy alternatives to replace broken system files. Because of this, before beginning this procedure, you need to confirm that you have dependable Internet.
Restart your computer once the DISM scan is finished, and check if the problem is now fixed.
If you’re still experiencing the 0x800f0908 error when attempting to install a secondary language pack, move down to the next method below.
5. Disable .NET Frameworks temporarily
One more potential conflict you should explore is a scenario in which the .NET Framework is facilitating the conflict.
Some resourceful Windows users have finally installed the language pack that was previously falling with the 0x800f0908 error by taking a trip into Programs and Files first and disabling every active .NET Framework package.
Note: Disabling the active .NET frameworks will not affect the installation of language packages but other apps, so make sure you re-enable them once you’re done.
Follow the instructions below to disable every active .NET framework temporarily:
- Press the Windows key + R to open up a Run dialog box.
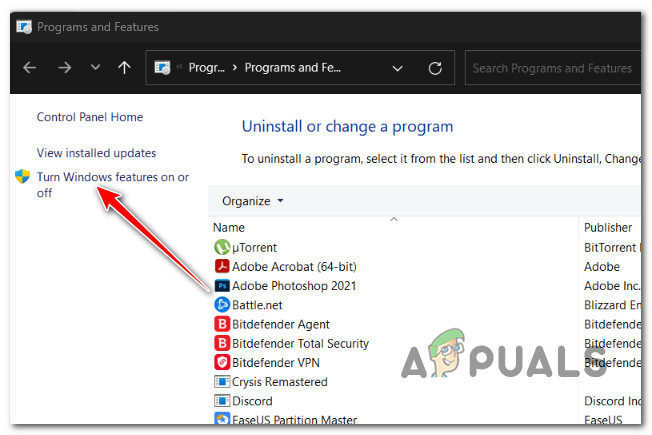
- Next, type ‘appwiz.cpl’ and press Ctrl + Shift + Enter to open up the Programs and Features menu.
Open the Programs and Features menu - Click Yes to grant admin access at the User Account Control (UAC).
- Once inside the Programs and Features menu, click on Turn Windows features on or off.
Access the Windows Features screen - Uncheck the boxes associated with .NET Framework 3.5 (includes .NET 2.0 and 3.0) and .NET Framework 4.8 Advanced Services, then click OK to save the changes.
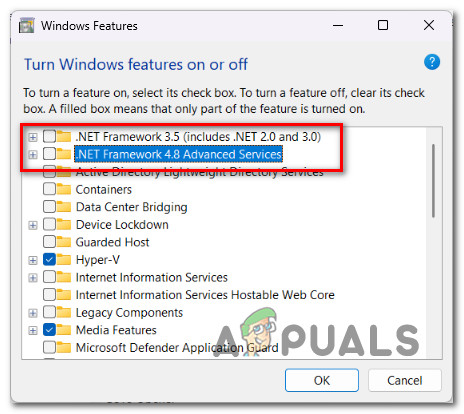
Disable every active .NET Framework - Now that every active .NET framework has been disabled install the language pack that was previously failing with the 0x800f0908 error.
- Regardless of the outcome (operation is successful or not), return to the Windows Features screen and enable the .NET Frameworks that you previously disabled.
If the issue is still not fixed, move to the final method below.
6. Run the Microsoft Safety Scanner
If you’ve come this far without a viable outcome and you get the 0x800f0908 error every time you try to download something through the official Microsoft channels (e.g. when installing a Windows Update, when installing a new virus signature for Windows Defender, etc.), you should investigate for potential malware.
There are several third-party programs that can assist you in doing this, but most of them are either expensive or need you to sign up for a trial that ends in a monthly or quarterly membership.
The best choice is to download the Microsoft Safety Scanner from the official website and use it to perform a system-wide scan of your system. But arm yourself with patience
Note: Depending on the size of your standard HDD, you should plan for this procedure to take more than 10 to 15 hours. You’ll likely finish the process in two hours if you use an SSD.
The official Microsoft Safety Scanner may be downloaded, installed, and used by following the steps listed below:
- You should start by downloading the Microsoft Safety Scanner. You may do this from the official Microsoft website.
- Choose the system-appropriate option for your bit version of Windows to begin the download.
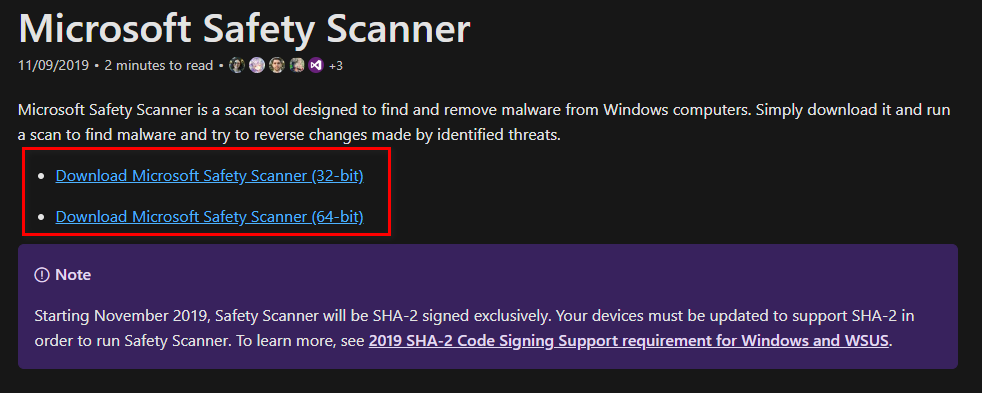
Download the correct bit version of Microsoft Safety Scanner - After the scanner has finished downloading completely, run it and use User Account Control to indicate that you wish to allow changes to be made to your PC.
- After that, follow the instructions to get to the next screen. Be sure you choose a complete computer scan. Click Next to continue.
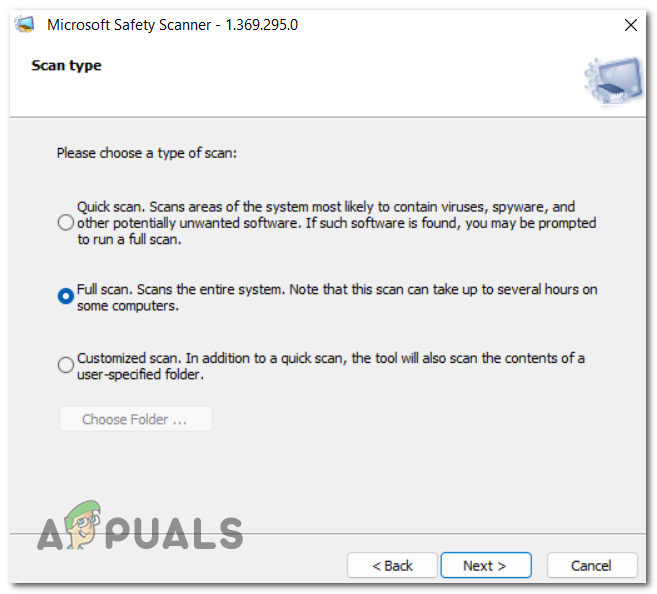
Choosing the Full Scan Note: The scanning process might take two to twenty hours, depending on whether you’re using a HDD or SSD.
- After the scan is complete, reboot your PC and see if you can install complementary Windows updates such as additional language packs.


